
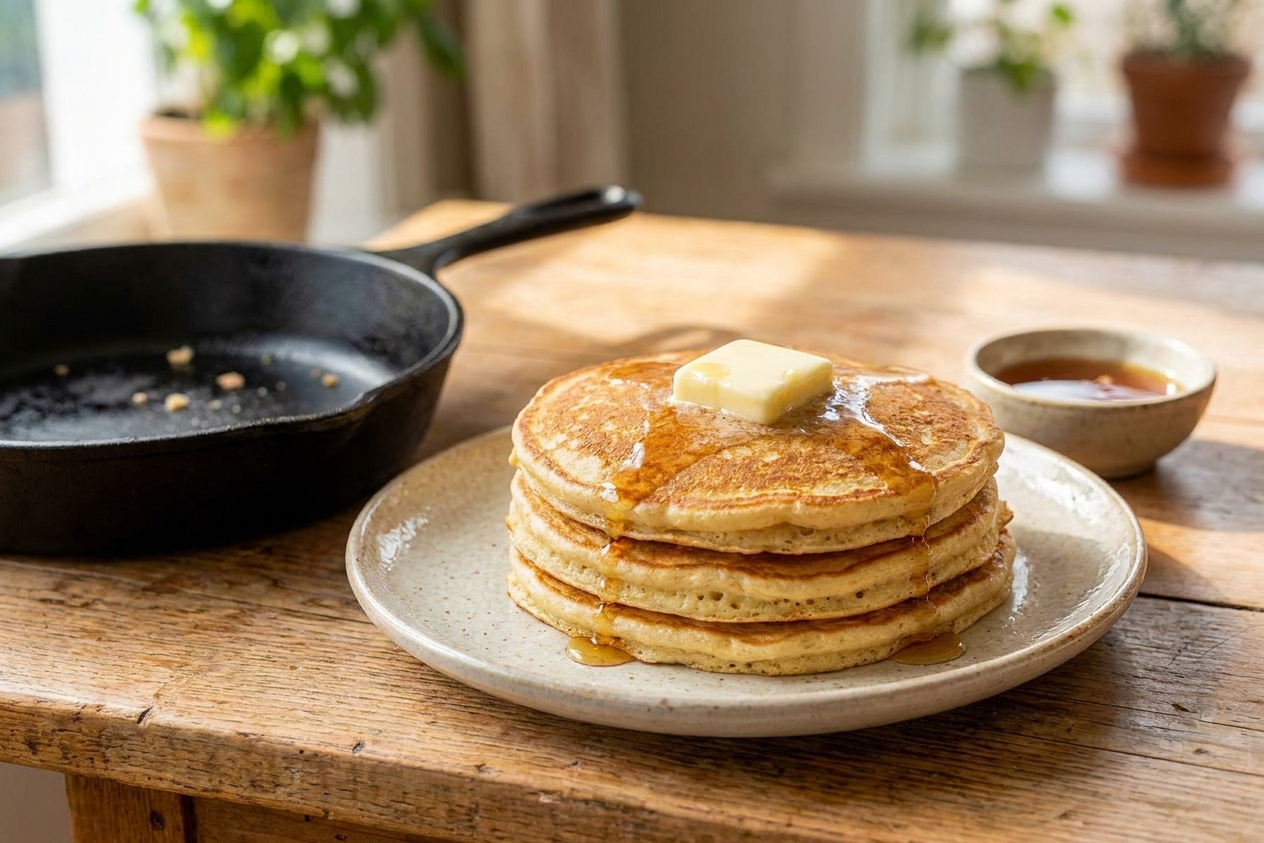
When I managed a bakery, there was always a deli container of starter in the cooler and always a little discard that needed a purpose. Pancakes became my favorite solution because they are forgiving, fast, and somehow feel special even on a regular weekday.
The key is understanding what discard can and cannot do. Unfed starter adds flavor and structure, but it usually will not puff your pancakes reliably on its own, especially if you are mixing and cooking right away. A longer rest can build a little gas, and some discard is more active than others, but I still treat baking soda as the non-negotiable for a consistently fluffy stack.
That is why this recipe uses baking soda at the end. It reacts with the natural acidity in sourdough and gives you the lift you expect from a classic, tender pancake.

You have two paths here. If you need pancakes now, mix the batter, let it sit briefly while the pan heats, then cook. If you want deeper flavor and an extra tender crumb, do an overnight rest in the fridge (my favorite for weekend mornings). In both cases, you will add the baking soda right before cooking so it stays active.
When I say “add baking soda at the end,” I mean: sprinkle it evenly over the surface, then whisk gently just until it disappears. You want it evenly mixed, but you do not want to beat the air out of the batter.
One more promise before we cook: you do not need a perfectly maintained, Instagram-worthy starter. This is a discard recipe. If your discard smells pleasantly tangy, a little yeasty, or like mild vinegar, you are in business.
How much discard to use
For pancakes, I like using a generous amount of discard so you actually taste the sourdough. In this recipe, 240 g discard is the sweet spot for a standard family-sized batch. If you measure by volume, that is about 1 cup for a 100% hydration starter, but grams are the more reliable way to hit the same batter texture every time.
Discard thickness varies a lot. If yours is very thick, you may need a splash more milk to reach a scoopable, slow-flowing batter. If it is very thin, hold back a little milk at first. The batter should pour, but not run like water.
Overnight option
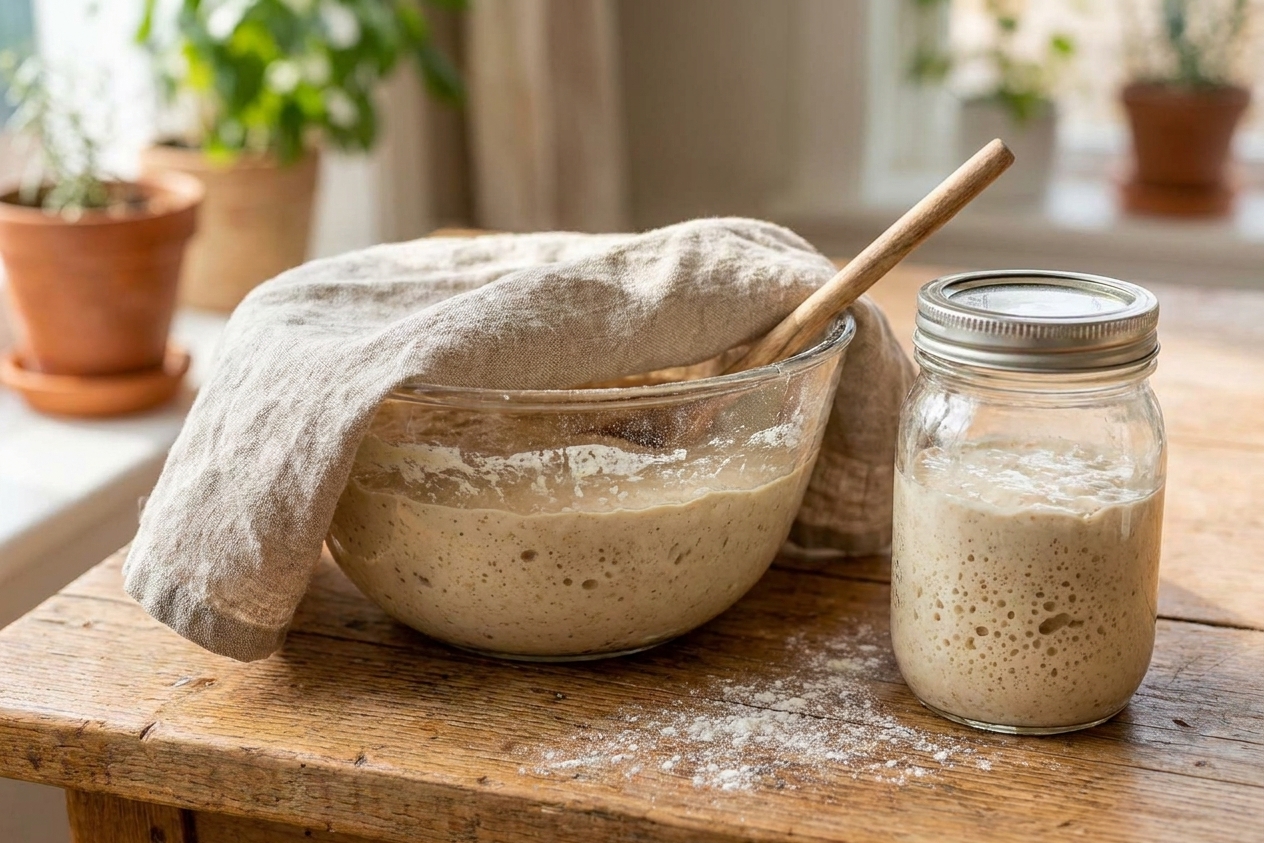
Overnight pancakes are not about making them rise while you sleep. The real benefit is that flour hydrates fully and the starter has time to gently acidify the batter. That adds flavor and makes the pancakes cook up especially tender.
If you do the overnight rest, keep it simple and safe: cover the bowl and refrigerate it. In the morning, expect the batter to be thicker. That is normal, so loosen it with a small splash of milk if needed.
The key detail is still the same: the baking soda goes in at the very end, right before cooking. That is when it is most effective.
Griddle heat
Pancakes love steady, moderate heat. Too hot and they brown before the centers set. Too cool and they dry out and go pale.
- Electric griddle: aim for 350°F.
- Stovetop skillet: medium to medium-low is usually right. Preheat for a few minutes, then test with a few drops of water. They should dance and evaporate quickly, not scorch.
- Grease lightly: a thin film of butter or neutral oil gives crisp edges without frying.
Look for bubbles across the surface and edges that look set before flipping. The second side typically needs less time than the first.
Why this recipe works
- Discard brings acidity and flavor: Unfed sourdough starter adds tang and helps keep pancakes tender.
- Baking soda adds the lift: Sourdough is acidic. Baking soda is alkaline. When they meet, you get carbon dioxide bubbles that puff the batter right on the griddle.
- Resting improves texture: A short rest (or overnight rest) hydrates the flour and relaxes gluten for a softer bite.
- Moderate heat prevents gumminess: Cooking gently sets the center before the outside over-browns, giving you fluffy insides and golden edges.
Ingredient notes
Sourdough discard
This recipe assumes 100% hydration starter (equal weights flour and water). If your starter is maintained differently, start with the same weight of discard and adjust milk to reach a thick, pourable batter.
Flour
All-purpose flour gives the fluffiest, most predictable pancakes. Whole wheat flour works too, but it will be a bit heartier and may need an extra splash of milk.
Milk
Any milk works. Whole milk gives the most tender result, but plant milks are fine too. If using an unsweetened plant milk, you may want an extra teaspoon of sugar for balance.
Egg
Egg adds structure so the pancakes rise and hold.
Baking soda
Add it at the very end, right before cooking. Once it hits the acidic batter, the clock starts.
Butter
Melted butter adds flavor and helps crisp the edges. Let it cool slightly so it does not scramble the egg.
Equipment you will need
- Large mixing bowl
- Whisk and rubber spatula
- Measuring cups and spoons (or a kitchen scale)
- Cast iron skillet, nonstick skillet, or griddle
- Thin spatula for flipping
- Cookie scoop or 1/4 cup measure for portioning
Pro tips
- Hold back a little milk at first: Discard thickness varies. You can always thin the batter, but you cannot easily thicken it without overmixing.
- Do not overwhisk after adding flour: A few small lumps are good. Overmixing makes pancakes tough.
- Let the batter sit 10 minutes: Even a short rest helps the flour hydrate.
- Add baking soda last: Whisk it in just until combined, then start cooking.
- Use a test pancake: The first one tells you if your pan is too hot or too cool. Adjust before you cook the whole batch.
- Keep them warm the right way: If cooking for a crowd, hold pancakes on a sheet pan in a 200°F oven. Do not stack them tightly or they steam and soften.
Substitutes that work
- Milk: swap in buttermilk, kefir, or any plant milk. If using buttermilk or kefir, the pancakes will be slightly tangier and brown faster.
- Butter: use neutral oil or melted coconut oil. If using salted butter, reduce added salt slightly.
- Sugar: honey or maple syrup works. Whisk it into the wet ingredients so it disperses evenly.
- Egg-free: use 1 flax egg (1 tbsp ground flaxseed + 3 tbsp water, rested 5 to 10 minutes). Expect a slightly more tender, delicate pancake.
- Flour: you can replace up to half the all-purpose flour with whole wheat flour. For gluten-free blends, results vary by brand. Choose a cup-for-cup blend that includes a binder, and cook a test pancake before committing.
Variations
Overnight pancakes
Mix discard, flour, milk, and sugar. Cover and refrigerate overnight. In the morning, whisk in egg, melted butter, salt, then baking soda right before cooking.
Blueberry
Scatter berries onto the wet side of each pancake right after pouring onto the griddle. This prevents purple streaking through the whole batter.
Chocolate chip
Add a small handful of chips per pancake on the griddle, not into the bowl, so the batter does not seize from cold chips.
Banana walnut
Fold in mashed ripe banana (start with 1 medium) and chopped walnuts. Reduce milk slightly if the batter gets loose.
Cinnamon sugar
Add 1/2 tsp cinnamon to the dry ingredients and sprinkle the finished pancakes with cinnamon sugar while hot.
Serving ideas
- Butter and warm maple syrup
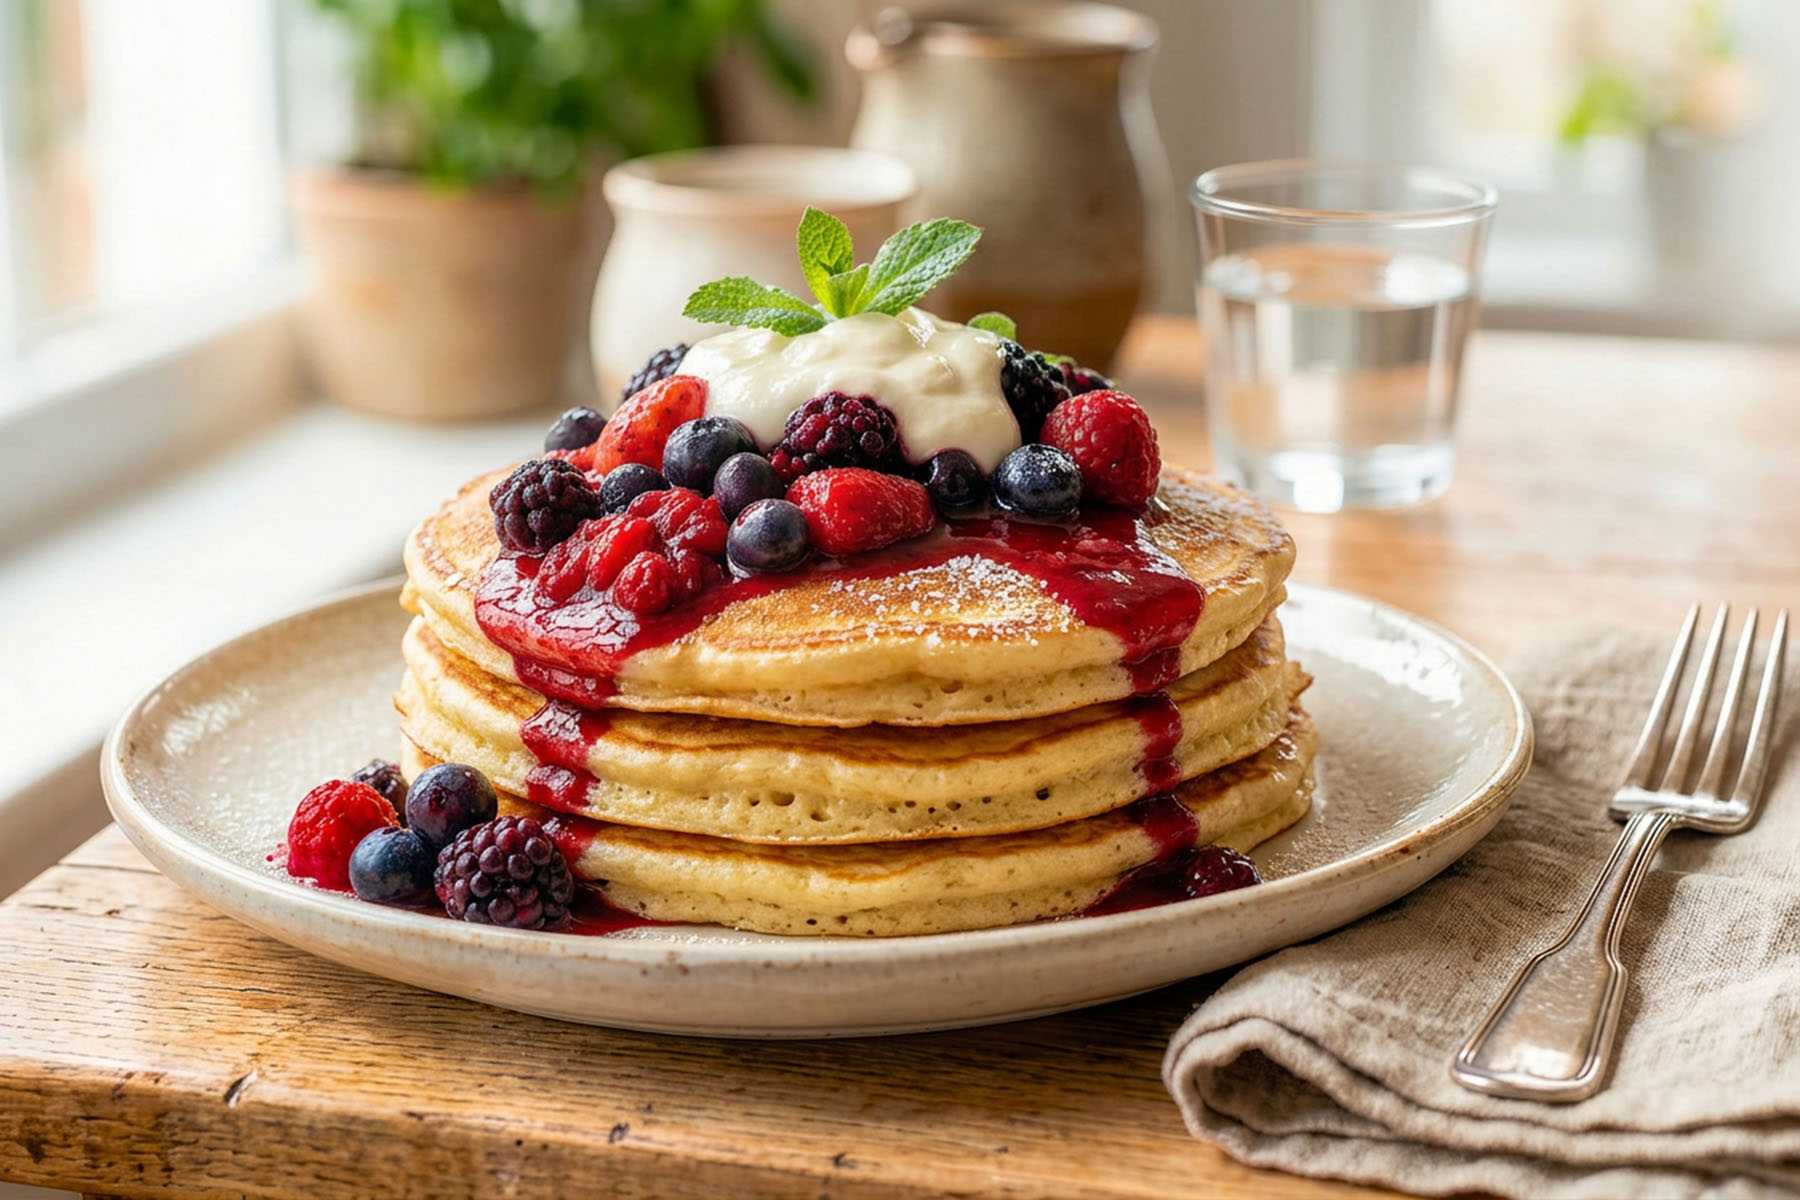
- Greek yogurt and jam
- Peanut butter and sliced bananas
- Ricotta and honey with a pinch of flaky salt
- Lemon zest and powdered sugar
- Savory twist: top with a fried egg and a spoonful of salsa or chili crisp
Storage and reheating
Refrigerate
Cool leftover pancakes completely, then store in an airtight container in the fridge for up to 4 days.
Freeze
Freeze pancakes in a single layer until firm, then transfer to a freezer bag with parchment between layers. They keep well for up to 2 months.
Reheat
- Toaster: best for crisp edges.
- Oven: 350°F for 6 to 10 minutes on a sheet pan.
- Microwave: fastest, but softens them. Cover with a damp paper towel and heat in short bursts.
Common mistakes
- Adding baking soda too early: The batter loses its lift while it sits. Add it right before cooking.
- Pan too hot: Dark outsides and raw centers. Lower heat and give the pan a minute to settle.
- Overmixing: Tough pancakes. Mix just until you do not see dry flour.
- Flipping too soon: If the edges still look wet and you do not see bubbles, it will tear. Wait for set edges and bubbles across the surface.
- Pressing pancakes with the spatula: It squeezes out the air you worked for. Flip gently and leave them alone.
FAQ
Can I use discard straight from the fridge?
Yes. Cold discard works fine. Your batter may feel thicker at first, so give it a minute to sit, then adjust with a splash of milk if needed.
Do I have to do the overnight rest?
No. You will still get fluffy pancakes without it. Overnight just deepens flavor and improves tenderness.
Why does this recipe use baking soda instead of baking powder?
Sourdough discard is naturally acidic, which makes baking soda especially effective. Baking powder works too, but baking soda is the simplest way to get reliable lift with sourdough flavor.
My batter got very thick after resting. Is that normal?
Yes. Flour keeps absorbing liquid as it sits. Thin with milk, 1 tablespoon at a time, until it pours in a thick ribbon.
Can I make the batter and cook later?
If the batter already has baking soda mixed in, it is best cooked right away. If you want to prep ahead, do the overnight base (without baking soda), then add baking soda right before cooking.
How do I know my discard is safe to use?
Discard should smell pleasantly tangy, yeasty, or mildly vinegary. If you see mold, or it smells putrid or rotten, discard it and clean the container.
The recipe
Sourdough Discard Pancakes
Fluffy, tangy sourdough discard pancakes with crisp edges. Make them right away or do an overnight rest for extra flavor, then add baking soda at the end for the perfect rise.
- Prep
- 10 minutes
- Cook
- 20 minutes
- Total
- 30 minutes
- Yield
- About 10 pancakes (serves 4)
Ingredients
- 240 g sourdough starter discard (unfed, 100% hydration, about 1 cup)
- 120 g all-purpose flour (about 1 cup)
- 240 g milk (about 1 cup), plus more as needed
- 2 tablespoons sugar
- 1 large egg
- 3 tablespoons (42 g) unsalted butter, melted and slightly cooled, plus more for the pan
- 1/2 teaspoon fine salt
- 1 teaspoon baking soda
- Neutral oil or butter for greasing the pan
Instructions
- Mix the base. In a large bowl, whisk together the sourdough discard, flour, milk, and sugar until no dry flour remains. The batter should be thick but pourable. If it feels like paste, add more milk 1 tablespoon at a time.
- Rest (optional). Let the batter rest 10 minutes at room temperature. For the overnight option, cover and refrigerate 8 to 12 hours, then continue in the morning.
- Add egg and butter. Whisk in the egg, melted butter, and salt until just combined. If the batter thickened during the rest, loosen with a splash of milk.
- Add baking soda last. Sprinkle baking soda over the batter and whisk gently just until incorporated. Start cooking right away.
- Preheat the pan. Heat a griddle to 350°F or a skillet over medium to medium-low. Lightly grease with butter or neutral oil.
- Cook the first side. Scoop about 1/4 cup batter per pancake onto the hot surface. Cook until bubbles form across the top and the edges look set, 2 to 3 minutes.
- Flip and finish. Flip and cook until the second side is golden and the center springs back lightly when touched, 1 to 2 minutes more.
- Serve warm. Repeat with remaining batter, greasing the pan as needed. Keep finished pancakes warm on a sheet pan in a 200°F oven if cooking in batches.
Notes
Overnight method: The night before, whisk together discard, flour, milk, and sugar. Cover and refrigerate 8 to 12 hours. In the morning, whisk in egg, melted butter, and salt. Add baking soda right before cooking.
Discard thickness varies: If your discard is very thick, you may need an extra 2 to 4 tablespoons milk. If it is thin, start with 180 g milk (about 3/4 cup) and add more only if needed.
Do not let baking soda batter sit: Once baking soda is mixed in, cook promptly for maximum lift.