
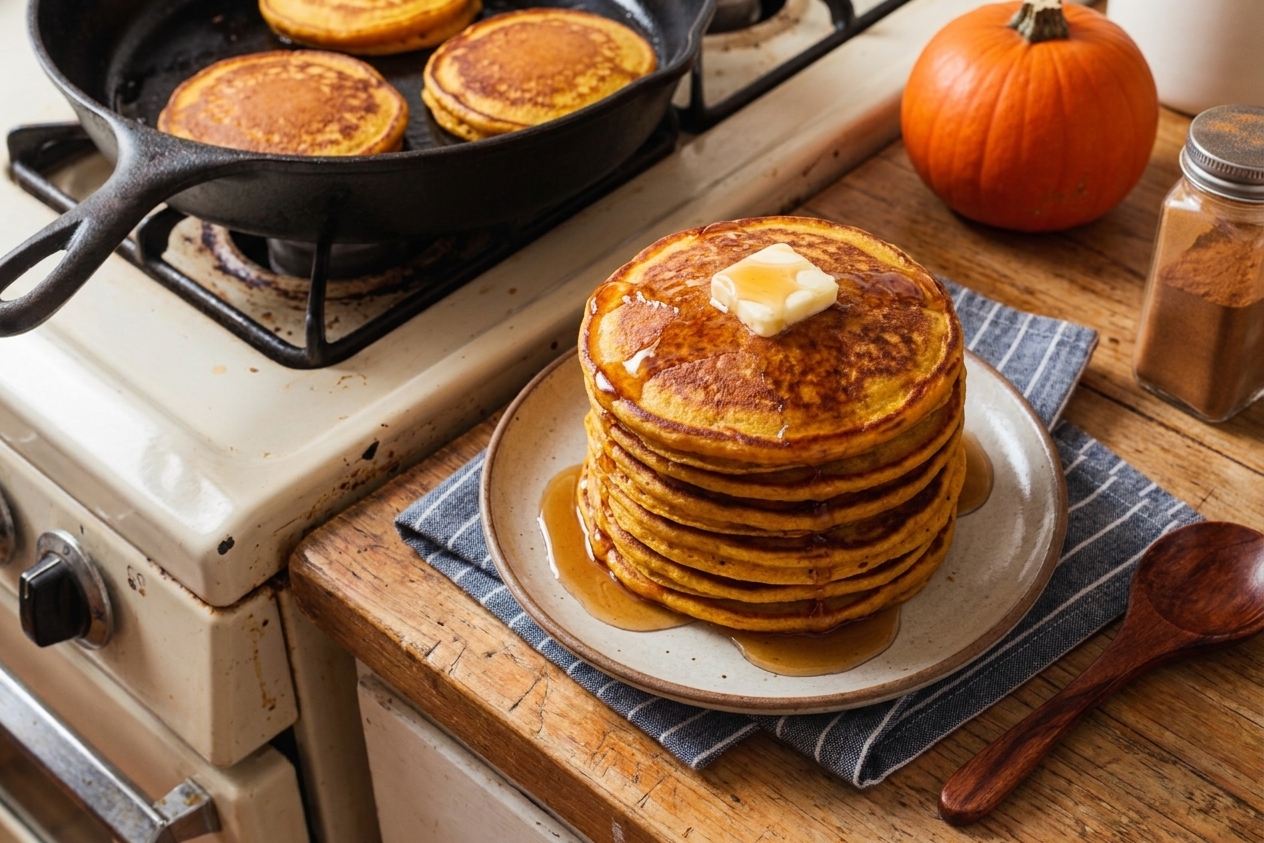
Pumpkin pancakes are sneaky. They smell like October candles and taste like weekend brunch, but pumpkin puree is basically water plus fiber, and both of those things can quietly sabotage your pancake dreams.
I learned this the hard way years ago when I was managing a bakery and thought, more pumpkin equals more flavor. What I got was a stack that looked perfect on the outside and felt like pudding in the center. The fix was not cooking them forever. It was using the right amount of puree, tightening up the batter structure, and lowering the heat just enough to let the middle set before the outside went too dark.

How much pumpkin can pancake batter take?
For a standard batch of pancakes (about 2 cups of flour total in the recipe), the batter is happiest with about 3/4 cup to 1 cup pumpkin puree. Past that, you get a batter that is heavier, spreads less, and is much more likely to stay damp inside.
If you want a stronger pumpkin presence without adding more puree, use the flavor boosters that do not add water: pumpkin pie spice, vanilla, brown sugar, and a little extra salt. You can also finish with pumpkin butter or a spiced syrup at the table.
Spice that tastes warm, not dusty
Pumpkin is mild. The cozy flavor comes from spice and browning. I like a blend built around cinnamon, then a smaller amount of ginger for brightness, plus nutmeg and cloves for depth. If you only have pumpkin pie spice, it works great. Just add it with the dry ingredients so it disperses evenly.
One small but important note: a pinch more salt than you think you need makes the spice read as warm and complex instead of flat and sweet.
Getting golden browning with pumpkin batter
Pumpkin batter browns faster than plain buttermilk batter because it tends to include more sugar and the puree itself has natural sugars. That means your best friend is medium or medium-low heat and a well preheated pan.
Here are the cues I use on a griddle:
- Preheat first: give your pan a full 3 to 5 minutes so the heat is even.
- Grease lightly: a thin film of butter or oil helps browning, but pools of fat fry the edges before the center cooks.
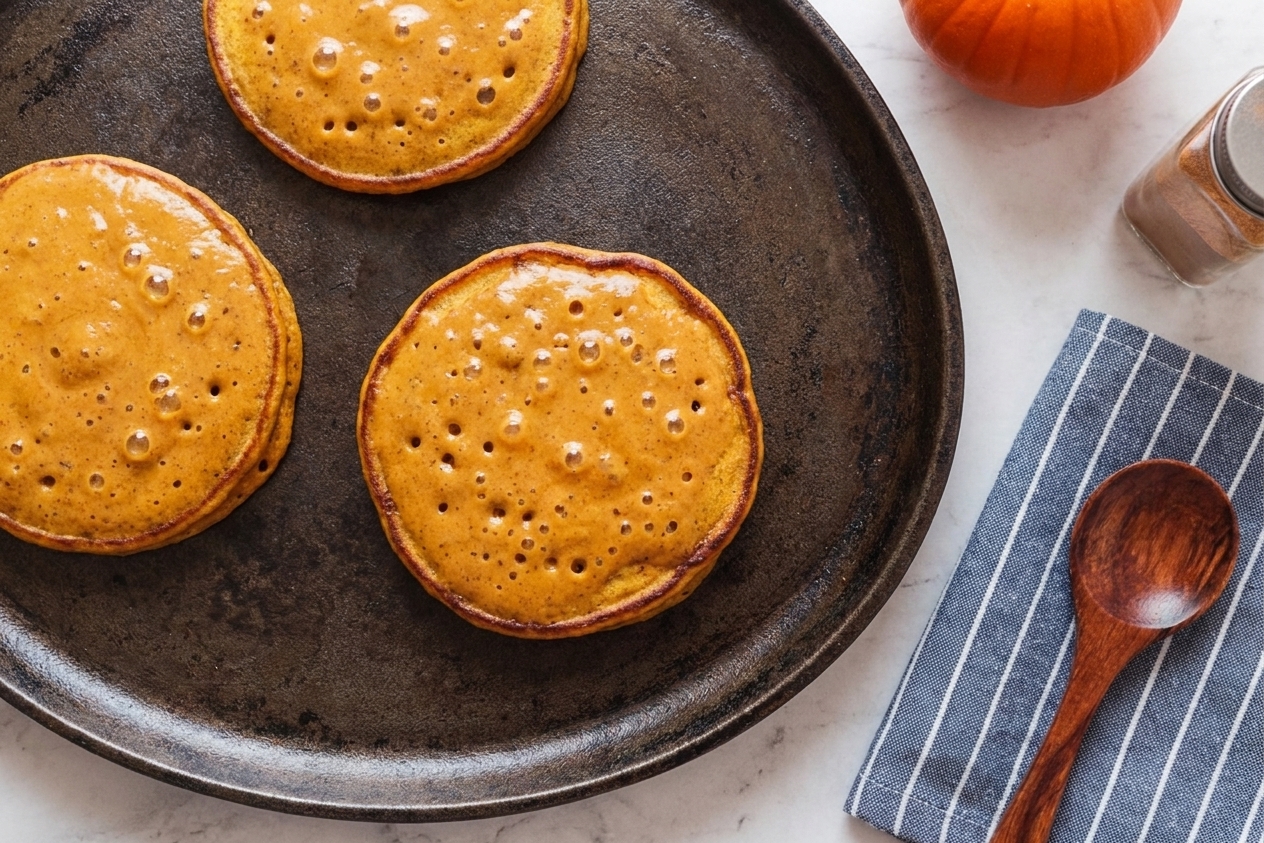
- Flip when bubbles look set: you want bubbles across the surface that pop and leave little craters that do not immediately fill back in.
- Second side cooks faster: once flipped, it is usually about half the time of the first side.
How to keep pumpkin pancakes from being wet in the middle
Wet centers come from a few things happening at once: too much puree, batter that is too thick to spread slightly, and heat that is too high. The outside sets quickly and looks done, while the center is still steaming.
These are the fixes that reliably work:
- Stay in the puree sweet spot: 3/4 cup to 1 cup per batch is plenty for flavor and color.
- Rest the batter: 5 to 10 minutes gives flour time to hydrate and lets the leavening start working, which helps the pancake cook more evenly.
- Use medium-low heat: a slightly gentler pan gives the center time to set.
- Make them a touch smaller: 1/4 cup scoops cook through more easily than giant diner-style rounds.
- Cover for 30 to 60 seconds if needed: if your pancakes are browning fast but the center is lagging, cover the pan briefly. That trapped steam finishes the middle without burning the bottom.
My go-to rule: if your pumpkin pancakes look done but feel heavy and damp, lower the heat for the next round. More time is not the same as better cooking when the pan is too hot.
Why this recipe works
- Just enough puree gives pumpkin flavor and tenderness without turning the batter waterlogged and heavy.
- A short batter rest hydrates the flour so the pancakes cook evenly, which is key with thicker pumpkin batters.
- Medium-low heat lets the center set before the outside over-browns, preventing the classic wet-middle problem.
- Balanced spice and salt makes the pumpkin taste richer without needing extra puree.
Ingredient notes
Pumpkin puree
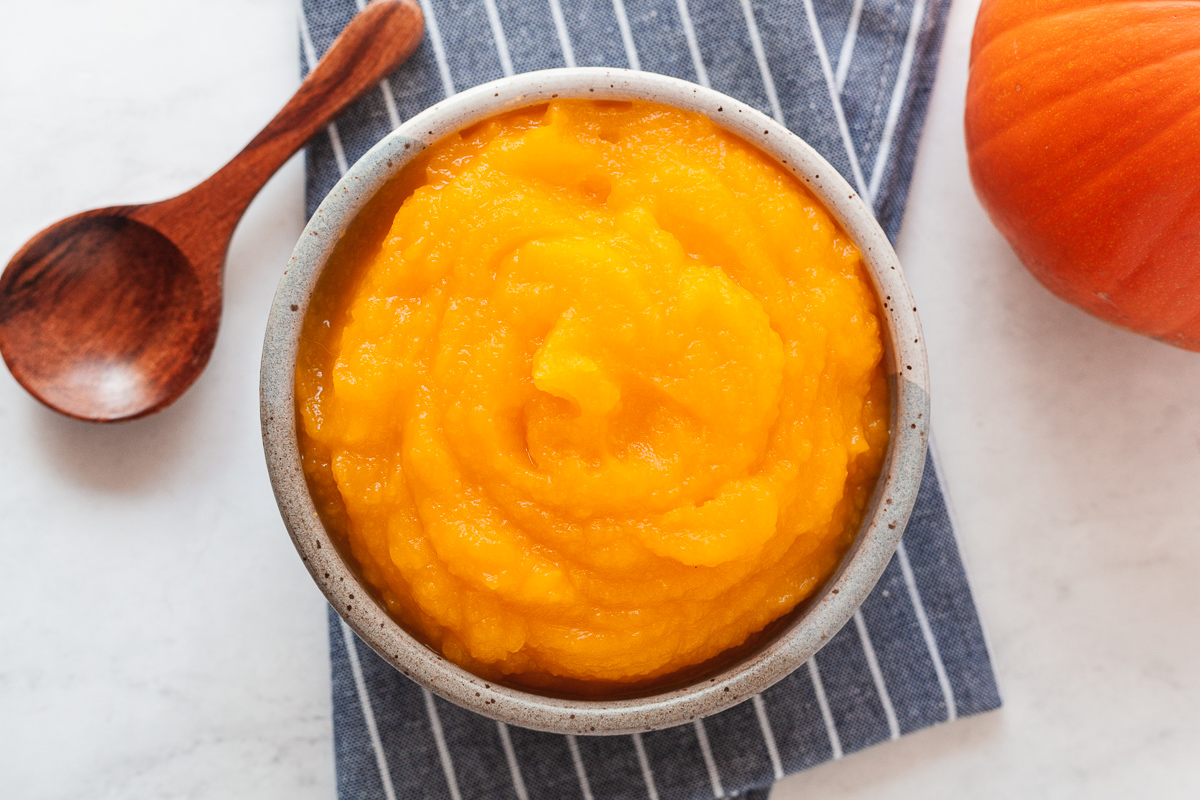
Use plain pumpkin puree, not pumpkin pie filling. If your puree looks very watery (some brands vary), blot it briefly with paper towels or reduce the milk slightly to keep the batter from going slack.
Flour
All-purpose flour gives the fluffiest, most predictable result. Pumpkin adds weight, so this is not the moment to go too far into heavy whole grains unless you also adjust liquid.
Leavening
Most pumpkin pancake recipes rely on baking powder, sometimes with a little baking soda if there is an acidic ingredient like buttermilk. The goal is lift plus a tender crumb that still cooks through.
Sugar
A little brown sugar boosts flavor and browning. Too much sugar, though, can cause early darkening before the middle is set.
Spice
Pumpkin pie spice is convenient and consistent. If mixing your own, lean on cinnamon and keep cloves modest so it does not taste medicinal.
Equipment you will need
- Nonstick skillet or well-seasoned cast iron for even browning
- Thin spatula for clean flips
- Mixing bowls and whisk
- Measuring cups and spoons
- 1/4 cup measure or cookie scoop for uniform pancakes
- Lid for your skillet (optional but helpful for the quick steam-finish trick)
Pro tips
- Mix gently, then stop: a few small flour streaks are fine. Overmixing makes pumpkin pancakes tough and more prone to gumminess.
- Dial in the heat before you start: cook one test pancake. If it browns too fast, drop the heat. If it looks pale and takes forever, bump it slightly.
- Keep finished pancakes warm the right way: place on a wire rack set over a sheet pan in a low oven (around 200°F) so steam does not soften the edges.
- Watch the edges: you want them to look set and slightly matte before flipping. With pumpkin batter, the surface can look darker even when the middle is not ready, so the edge cue matters.
- Use the brief cover trick when needed: cover the pan for 30 to 60 seconds after flipping if the batch is trending wet in the middle.
Substitutes that work
- Buttermilk: swap with plain yogurt thinned with a splash of milk, or use milk plus 1 tablespoon lemon juice or vinegar per cup (let it sit 5 minutes).
- Pumpkin pie spice: use a mix of cinnamon, ginger, nutmeg, and a pinch of cloves.
- Brown sugar: use white sugar, or maple sugar if you have it.
- Butter: use neutral oil for the batter and for greasing the pan.
- Egg: for an egg-free option, use a flax egg (1 tablespoon ground flaxseed plus 3 tablespoons water, rested 5 minutes). Expect a slightly denser pancake.
Variations
Chocolate chip pumpkin pancakes
Sprinkle chocolate chips onto the pancakes right after you portion the batter onto the griddle. This keeps them from scorching on the pan.
Pecan streusel pumpkin pancakes
Add chopped toasted pecans to the batter, or sprinkle on top before flipping so they adhere.
Extra fluffy pumpkin pancakes
If you love a tall, fluffy stack, separate the eggs and fold in softly whipped egg whites at the end. Keep the heat on the gentle side so the centers set.
Savory pumpkin pancakes
Reduce the sugar and add black pepper and a pinch of smoked paprika. Serve with fried eggs and a little sharp cheddar.
Serving ideas
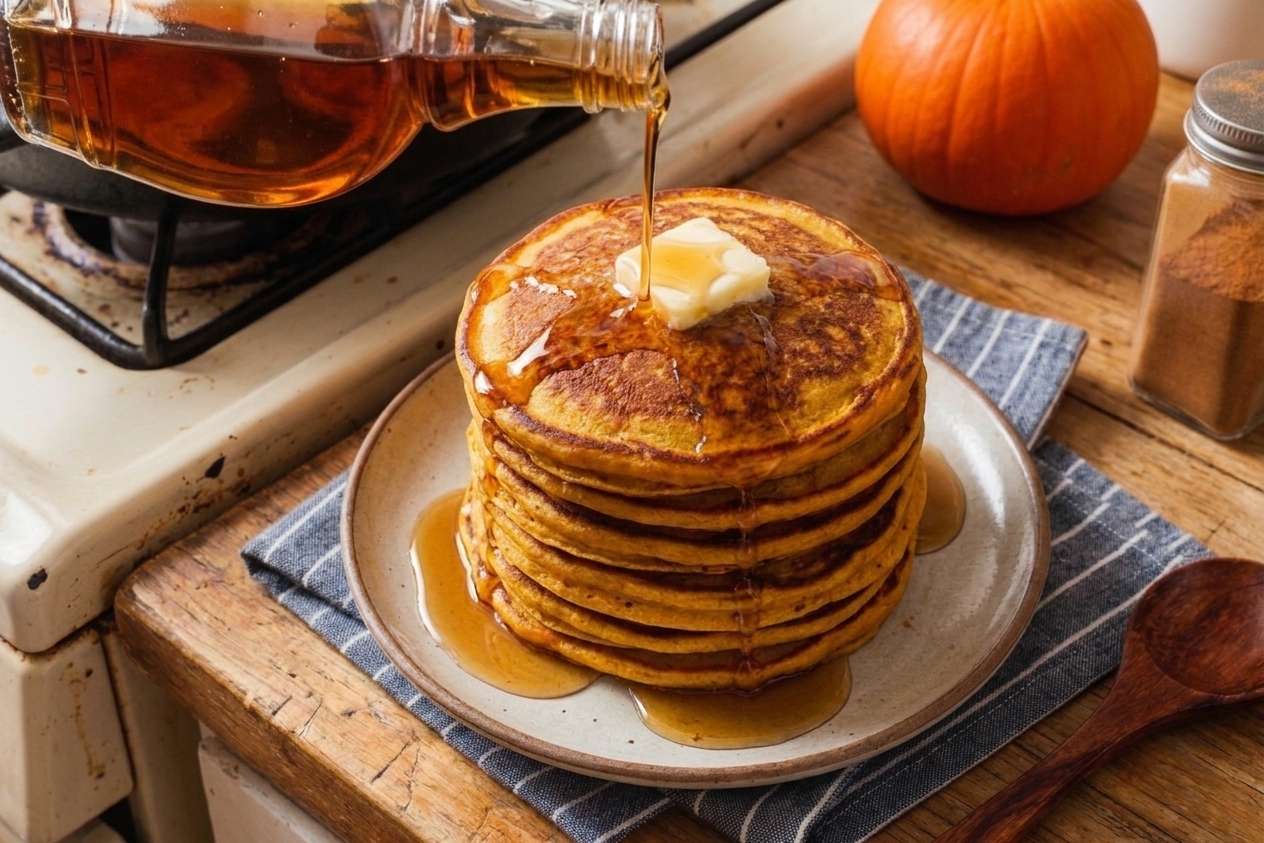
- Classic: butter and warm maple syrup
- Cozy: whipped cream and a dusting of cinnamon
- Bright: Greek yogurt and a spoonful of cranberry sauce
- Nutty: toasted pecans and maple syrup
- Dessert-for-breakfast: vanilla ice cream for the kids, or for very playful adults
Storage and reheating
Refrigerator
Cool completely, then store in an airtight container for up to 3 days. I like layering with parchment so they do not stick.
Freezer
Freeze pancakes in a single layer until firm, then transfer to a freezer bag. They keep well for about 2 months.
Reheating
- Toaster: best for crisp edges and quick mornings.
- Skillet: reheat over medium-low with a tiny bit of butter.
- Microwave: works, but expect softer edges. Cover with a damp paper towel to prevent drying.
Common mistakes
- Adding too much pumpkin puree: this is the fastest route to dense pancakes with damp centers.
- Cooking on high heat: pumpkin batter browns quickly, so high heat gives you dark outsides and undercooked middles.
- Overmixing the batter: it develops gluten and makes pancakes chewy and heavy.
- Making pancakes too large: big pancakes take longer to cook through and are harder to time correctly.
- Stacking hot pancakes on a plate: trapped steam softens them. Use a rack if you are cooking for a crowd.
FAQ
Why are my pumpkin pancakes gummy?
Usually it is a combination of too much puree, overmixing, and heat that is too high. Use less puree, mix gently, and lower the burner. If the batter is extremely thick, thin it slightly so it spreads just a bit on the griddle.
Can I use homemade pumpkin puree?
Yes, but homemade puree is often wetter than canned. Drain it in a fine mesh strainer for 15 to 30 minutes or blot it, then proceed. If you skip this, you may need less milk.
How do I know when to flip pumpkin pancakes?
Look for bubbles across the surface that pop and leave little craters, plus edges that look set and slightly matte. With pumpkin batter, color is less reliable than texture cues.
Why are my pancakes not browning?
Your pan is likely not hot enough, or you are using too much batter which cools the surface. Preheat longer and cook in smaller portions. A small amount of sugar and butter also helps browning.
Can I make the batter ahead?
I do not love leaving fully mixed pancake batter overnight because the leavening loses power. You can mix the dry ingredients and wet ingredients separately the night before, then combine in the morning.
The recipe
Fluffy Pumpkin Pancakes
Fluffy pumpkin pancakes with warm spice, golden edges, and a fully cooked center. Designed for the stovetop with the right puree ratio and simple cues for perfect browning.
- Prep
10 minutes
- Cook
15 minutes
- Total
25 minutes
- Yield
Makes about 10 pancakes
Ingredients
- 1 1/2 cups all-purpose flour
- 2 tablespoons brown sugar
- 2 teaspoons baking powder
- 1/2 teaspoon baking soda
- 1 teaspoon pumpkin pie spice
- 1/2 teaspoon ground cinnamon
- 1/2 teaspoon kosher salt
- 1 1/4 cups buttermilk
- 3/4 cup pumpkin puree (not pumpkin pie filling)
- 2 large eggs
- 3 tablespoons melted butter, plus more for the pan
- 1 teaspoon vanilla extract
Instructions
- Mix the dry ingredients. In a large bowl, whisk together the flour, brown sugar, baking powder, baking soda, pumpkin pie spice, cinnamon, and salt.
- Mix the wet ingredients. In a medium bowl, whisk the buttermilk, pumpkin puree, eggs, melted butter, and vanilla until smooth.
- Combine gently. Pour the wet mixture into the dry mixture. Fold with a spatula just until no dry pockets remain. The batter should look thick and fluffy, not pourable like crepe batter. Do not overmix.
- Rest the batter. Let the batter sit for 5 to 10 minutes while you heat the pan. This helps the flour hydrate and improves even cooking.
- Preheat the skillet. Heat a nonstick skillet or cast iron pan over medium-low to medium heat for 3 to 5 minutes. Add a small amount of butter and spread it into a thin film.
- Cook the first side. Scoop about 1/4 cup batter per pancake onto the pan. Cook until bubbles form across the surface and the edges look set and slightly matte, 2 to 3 minutes.
- Flip and finish. Flip and cook the second side until golden and the pancake springs back lightly when pressed, 1 to 2 minutes. If the pancakes are browning too quickly but still feel underdone, reduce the heat slightly.
- Optional wet-center insurance. If you suspect the centers are still damp, cover the pan for 30 to 60 seconds after flipping to trap gentle steam and finish the middle without burning.
- Keep warm and repeat. Transfer pancakes to a wire rack set over a sheet pan in a 200°F oven while you cook the remaining batter, adding a small amount of butter to the pan between batches as needed.
Notes
Pumpkin puree limit: For a batch this size, 3/4 cup is the sweet spot for fluffy pancakes that cook through. If you increase to 1 cup, reduce the buttermilk by 2 to 4 tablespoons to keep the batter from getting too wet.
Heat note: Pumpkin pancakes brown faster than plain pancakes. If your first pancake is dark before bubbles set, lower the heat and give the pan a minute to stabilize.
Doneness cue: Look for a gentle spring-back in the center when pressed. A pancake that feels heavy and squishy likely needs either a little more time at lower heat or the brief cover trick.