Professional pastry-style shortcuts for faster prep, fewer dishes, and cleaner counters, plus my favorite cleanup tricks for busy home bakers.
recipes
12 Essential Baking Tools Every Home Baker Needs

Elena Martinez
Elena Martinez is a former bakery manager turned full-time food writer and recipe developer. With over a decade of experience translating professional culinary techniques into approachable home cooking, she believes that a great meal doesn't require a culinary degree or expensive ingredients.
Created September 21, 2026
Last updated September 21, 2026
If you have ever followed a recipe exactly and still wondered why your cookies spread too much or your cake baked unevenly, I have good news: it is often not you. Consistent baking comes from a few unglamorous, hardworking tools that help you measure accurately, mix efficiently, and bake evenly.
I managed a bakery for years, and my favorite home baking setups are not the ones with the most gadgets. They are the ones with the right basics. Below is my go-to checklist of 12 essential baking tools that earn their drawer space, plus what to prioritize if you are buying slowly.
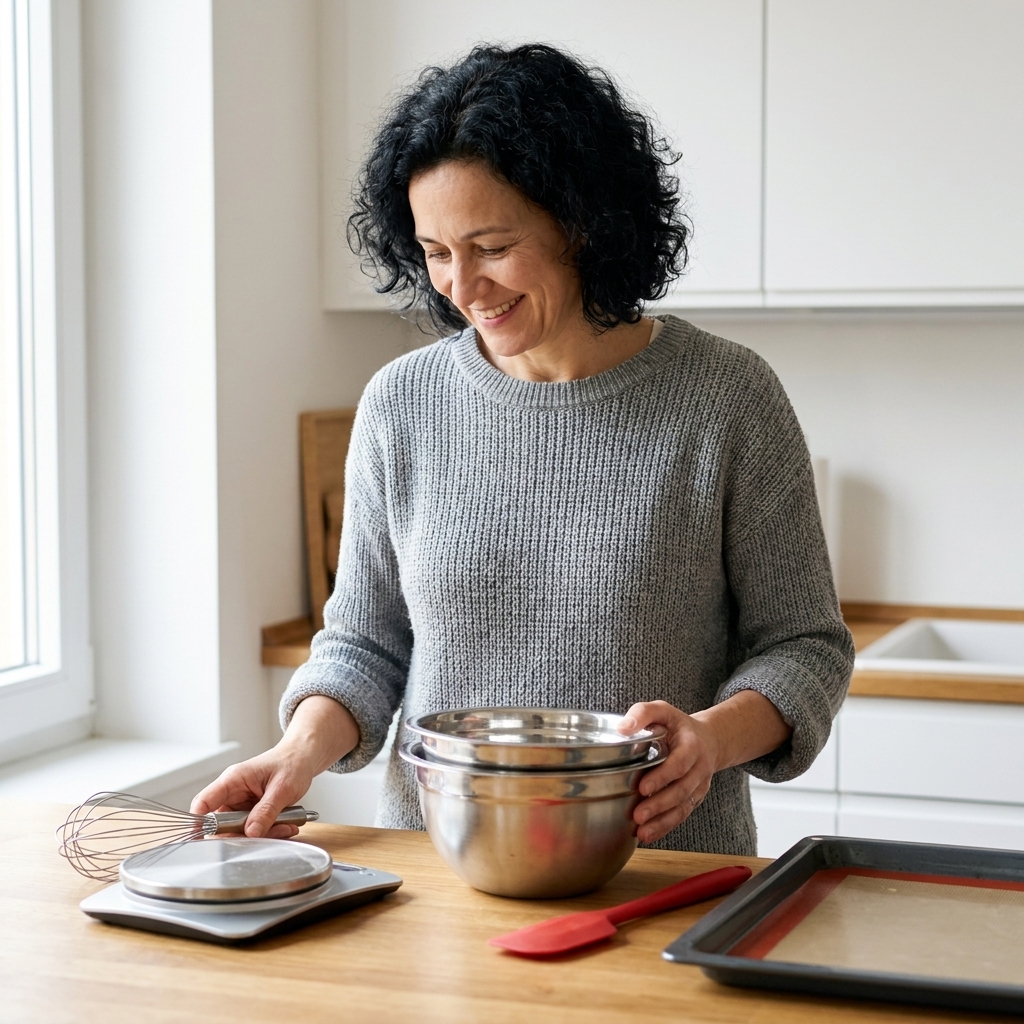
The 12 essential tools
Think of these as the backbone of your baking. Once you have them, you can make almost anything from banana bread to birthday cake with fewer surprises.
1) Digital kitchen scale
If you buy one tool first, make it a scale. Flour compacts, measuring cups vary, and small differences add up fast. A scale makes your results repeatable, especially for bread, cookies, and cakes.
- What to look for: Gram measurements, tare function, flat platform, easy-to-clean surface.
- Elena tip: Weigh your flour instead of scooping. It is the quickest way to stop dry, dense bakes.
2) Measuring cups and spoons (dry and liquid)
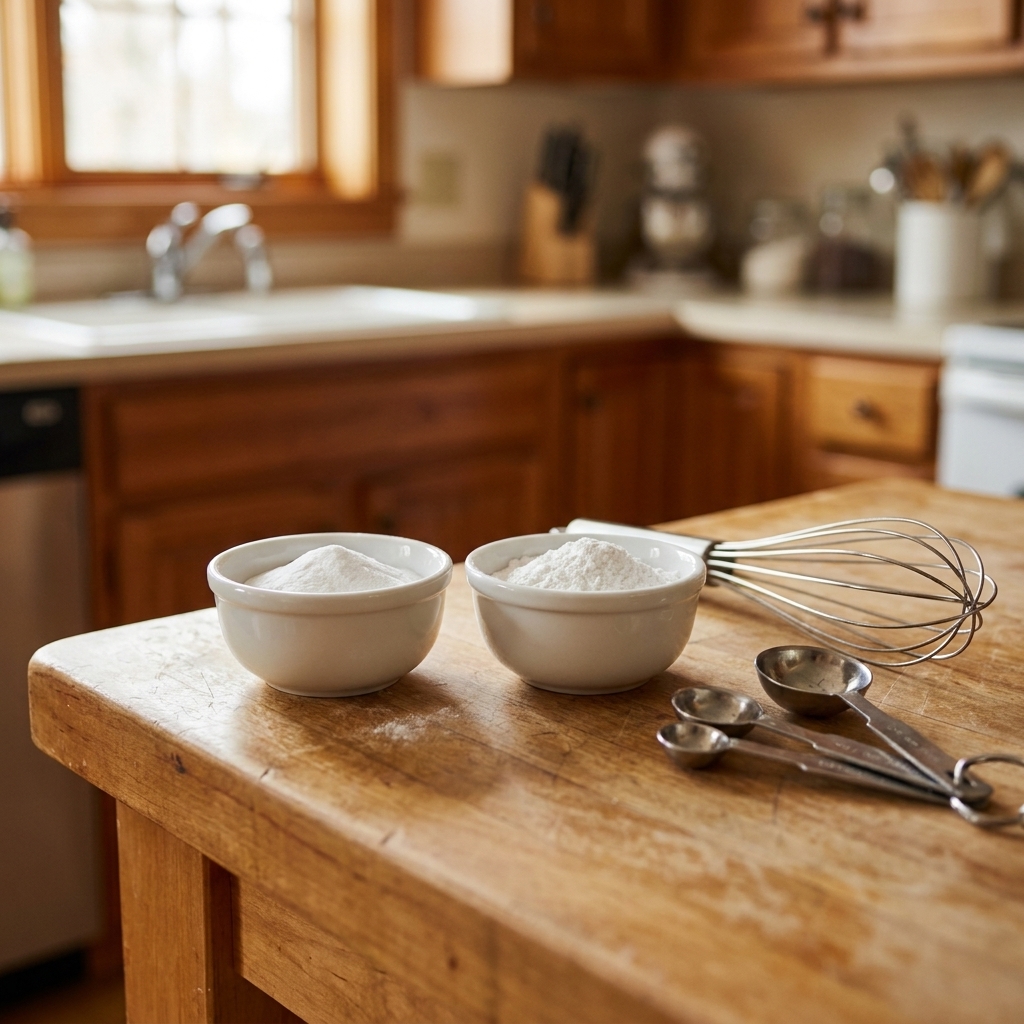
Even with a scale, you will still measure things like baking powder , vanilla, and milk. A sturdy set of measuring spoons and both dry and liquid measuring cups keep you from guessing.
- What to look for: Clear liquid cup markings, metal dry cups with straight sides, spoon set that includes 1/2 tablespoon if you bake often.
- Elena tip: For dry cups, spoon flour in and level it off. Do not scoop straight from the bag unless the recipe specifically says so.
3) Mixing bowls (at least two)
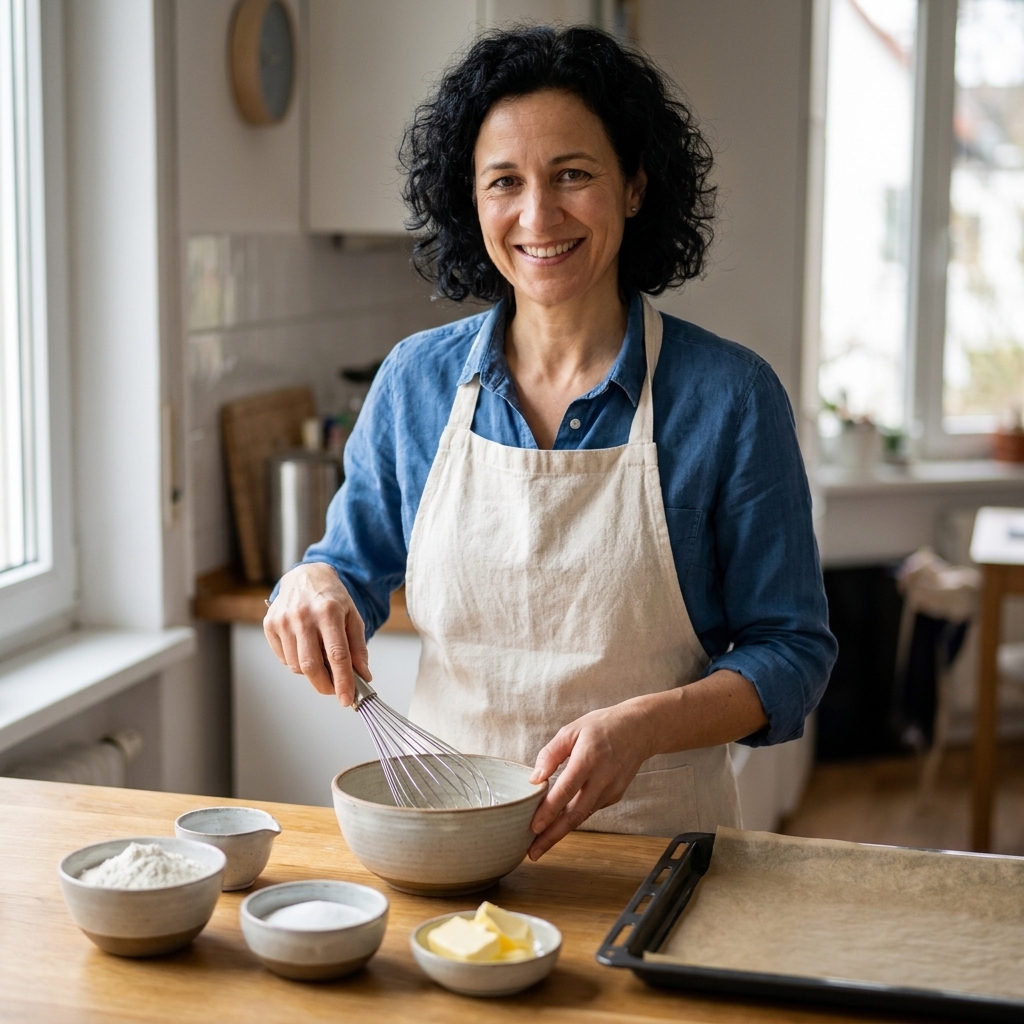
You need room to whisk, fold, and chill dough without flour snowing all over your counter. Two bowls covers most recipes: one for dry, one for wet. If you can swing it, a nested set (small, medium, large) makes life easier when you are melting chocolate, tempering eggs, or staging ingredients.
- What to look for: Stainless steel or glass, a grippy base or a damp towel underneath, and a size that fits your mixer if you use one.
- Elena tip: A medium bowl is your best friend for tempering eggs and melting chocolate gently over simmering water.
4) Balloon whisk
A whisk is not just for mixing. It adds air. That matters for lighter batters, smooth custards, and lump-free dry ingredients.
- What to look for: A comfortable handle and flexible wires that spring back.
- Elena tip: Whisk your dry ingredients together for 20 seconds before adding wet. It distributes leaveners more evenly.
5) Silicone spatula (plus one sturdy scraper)
A silicone spatula is how you get every bit of batter into the pan and fold without deflating. A firmer bowl scraper is great for doughs and for cleaning your work surface.
- Key features: Heat-resistant silicone, one-piece construction if possible, and a thin edge.
- Elena tip: When folding, scrape down the sides and cut through the center with slow, confident turns. Gentle beats fast.
6) Hand mixer or stand mixer
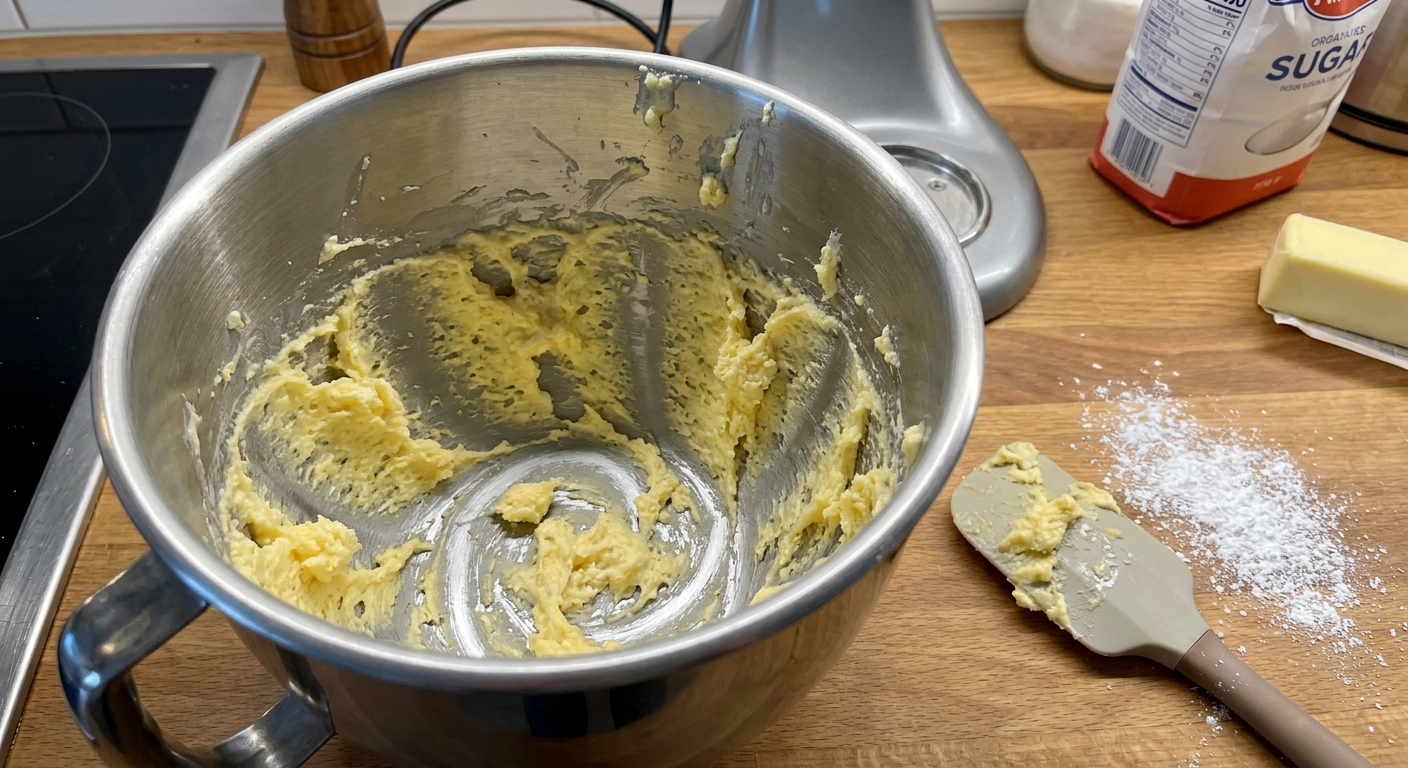
You can absolutely bake without an electric mixer, but it makes creaming butter and sugar, whipping cream, and beating meringues much easier and more reliable.
- What to look for: For a hand mixer, multiple speeds and comfortable weight. For a stand mixer, a sturdy base and strong motor.
- Elena tip: If your kitchen is small, a hand mixer plus good arm stamina covers a lot of ground.
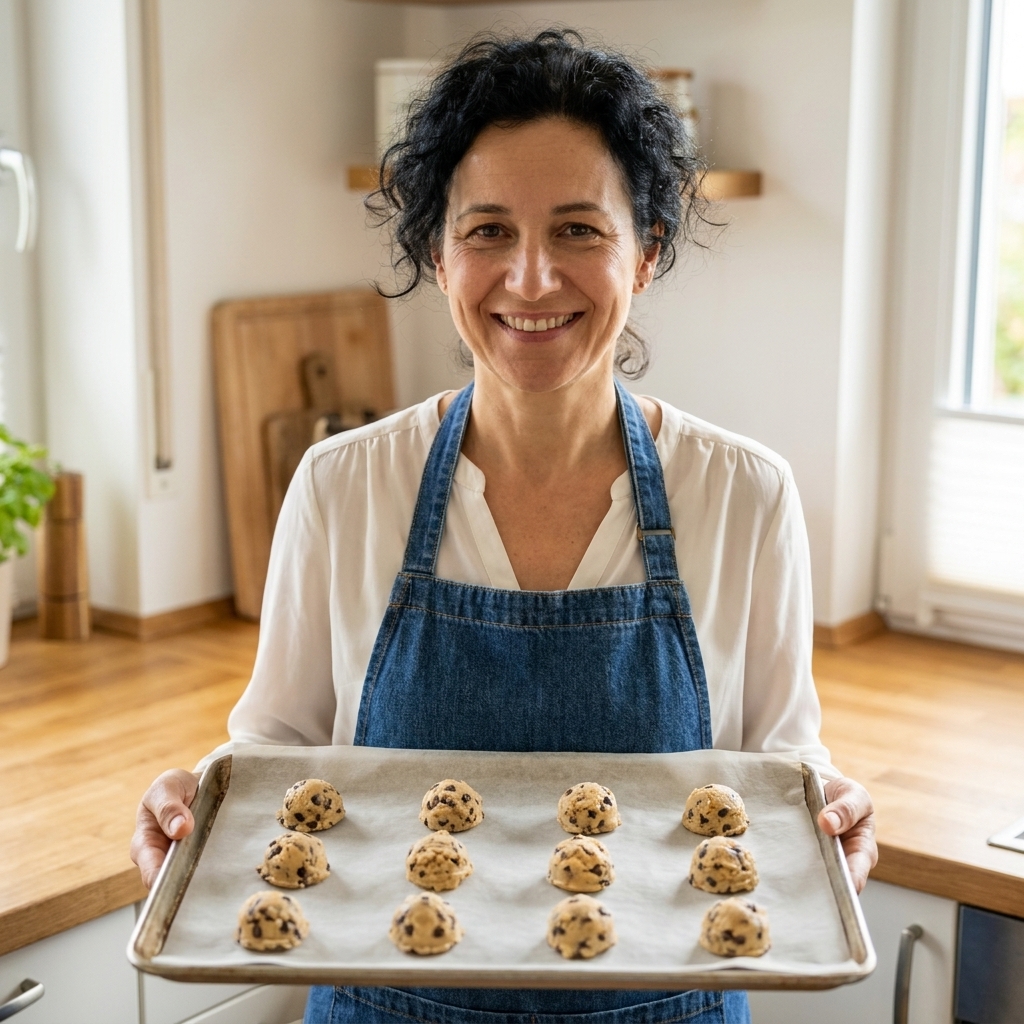
7) Rimmed sheet pan
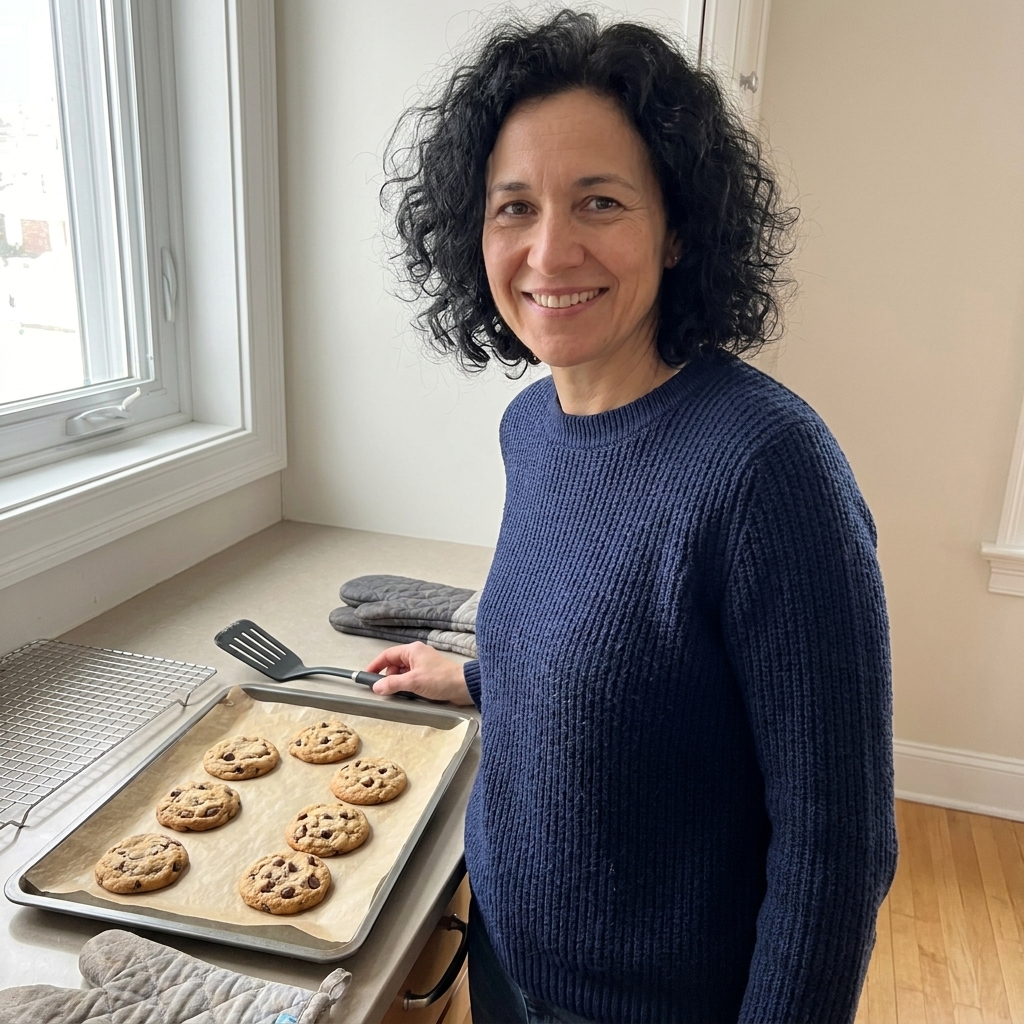
This is the everyday workhorse. Cookies, roasted nuts, granola, toasting flour, catching pie drips. A rim keeps butter from sliding off and saves your oven floor.
- What to look for: Heavy-gauge aluminum or steel, rolled edges, and a size that fits your oven.
- Elena tip: Use parchment paper for cookies when you want easy release and more even browning. Baking directly on a clean, ungreased pan can brown a bit more, but parchment helps prevent over-browned bottoms and makes cleanup painless.
8) Cake pan basics (two 8- or 9-inch rounds)
If you want layer cakes, two matching round pans are the simplest path. Matching pans bake at the same rate, so you are not juggling bake times.
- What to look for: Light-colored metal for even baking, straight sides if you can find them.
- Elena tip: Grease, parchment, then flour. Or grease and parchment for most cakes, then run a thin knife around the edge after cooling a few minutes.
9) Loaf pan
Banana bread, pound cake, quick breads, and even some yeasted loaves love a dependable loaf pan. It is also perfect for gifting baked goods.
- What to look for: Standard 9 x 5-inch is most common, sturdy and not too dark. Note that 8.5 x 4.5-inch pans are smaller, so batters bake taller and may need a longer bake time. If your recipe specifies a size, follow it.
- Elena tip: If the top is browning too fast, tent loosely with foil for the last 15 to 25 minutes.
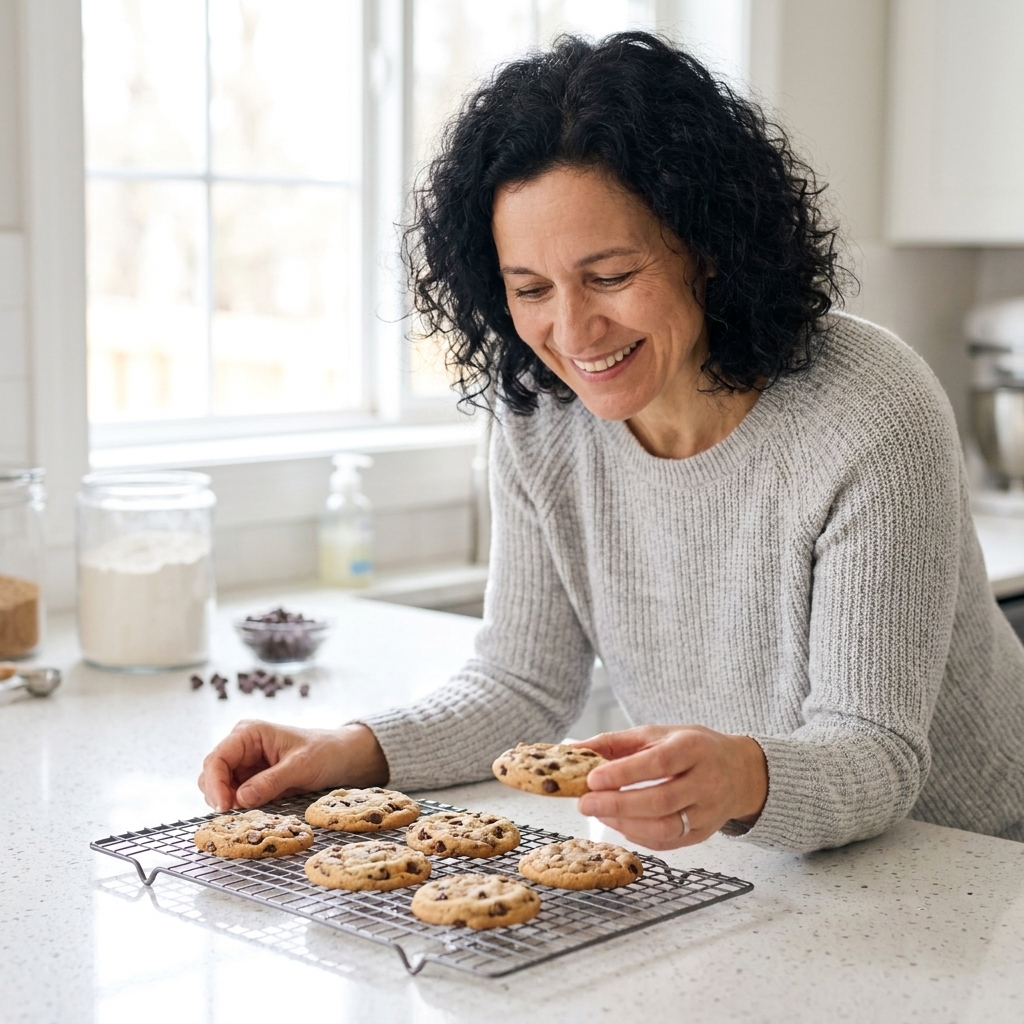
10) Cooling rack
When baked goods sit in a pan too long, steam makes the bottoms soggy. A cooling rack lets air circulate so cookies stay crisp and cakes cool evenly.
- What to look for: A rack that fits inside your sheet pan, sturdy grid lines, and feet for airflow.
- Elena tip: For glazed items, set the rack over a sheet pan to catch drips and keep your counter clean.
11) Instant-read thermometer
This is your secret weapon for not overbaking. Cakes and breads have doneness clues, but a thermometer removes guesswork. It is especially helpful for enriched breads, cheesecakes, and custards.
- What to look for: Fast read time, easy-to-read display, and a thin probe.
- Elena tip: Always follow your recipe first, but here are helpful reference points: many lean breads land around 200 to 210°F (93 to 99°C), enriched breads are often a little lower, and many cheesecakes are happiest around 150°F (65°C) in the center depending on style.
12) Cookie scoop or portion scoop
Uniform scoops bake evenly. That means fewer burnt edges and underdone centers. A scoop also speeds up muffin batter, meatballs, and portioning drop biscuits or drop-style scones.
- What to look for: Comfortable trigger, sturdy spring, and a medium size for most cookies.
- Elena tip: Scoop, then chill the tray if your kitchen is warm. Cold dough spreads less.
What to buy first
If you are stocking up slowly, here is the order I recommend for the biggest immediate payoff:
- Start here: digital scale, rimmed sheet pan, measuring spoons, mixing bowls, silicone spatula.
- Next: cooling rack, whisk, loaf pan or round cake pans depending on what you bake most.
- Nice to have: mixer and instant-read thermometer if you bake often, scoop for frequent cookie or muffin bakers.
Do not forget your oven
One more quiet variable: oven temperature. Many home ovens run hot or cold, which can mean spread-out cookies, domed cakes, or edges that brown before the center sets. If your bakes are consistently “almost right,” an inexpensive oven thermometer can be a game changer. It helps you see what your oven is actually doing so you can adjust with confidence.
Easy swaps
Sometimes you just want to bake now with what you have. I love that energy. Here are swaps that work in a pinch:
- No cooling rack? Slide cookies onto a piece of parchment on the counter and separate them so steam can escape. If you use a stove grate, make sure it is completely cool, very clean, and stable before setting food on it.
- No mixer? Cream soft butter and sugar with a sturdy spoon. It takes longer, but it works. For whipped cream, chill the bowl and whisk and plan on a good arm workout.
- No scale? Use the spoon-and-level method for flour and be consistent every time.
- No scoop? Use two spoons to portion dough, or weigh portions for perfect consistency.
Care tips
- Sheet pans: Avoid the dishwasher if possible. It can discolor aluminum and dull finishes.
- Nonstick pans: Use gentle utensils and hand wash to extend the coating’s life.
- Silicone tools: If they start holding onto smells, soak in hot water with a little baking soda, then rinse well.
- Thermometer: Calibrate occasionally if your model allows it, especially if you bake bread and custards often.
Quick FAQ
Do I really need both dry and liquid measuring cups?
It helps. Liquid cups are designed so you can fill to the line without spilling, and dry cups are meant to be leveled. You can make do with one set, but having both removes a common source of measurement errors.
What pan material bakes most evenly?
For most home baking, light-colored aluminum pans are reliably even. Very dark pans absorb more heat and can brown edges faster, which is not always a dealbreaker, but you may need to reduce oven temperature slightly.
Is parchment better than silicone baking mats?
Both are useful. Parchment tends to give more even results and easy release for cakes, bars, and cookies. Silicone mats are reusable and great for sticky candy or evenly shaped cookies, but they can reduce browning a bit.
A gentle pep talk
You do not need a bakery-level setup to bake something wonderful on a Tuesday night. If you have accurate measuring tools, a solid pan, and a way to cool what you bake, you are already most of the way there. Build your tool kit the same way you build cooking confidence: one reliable piece at a time.