
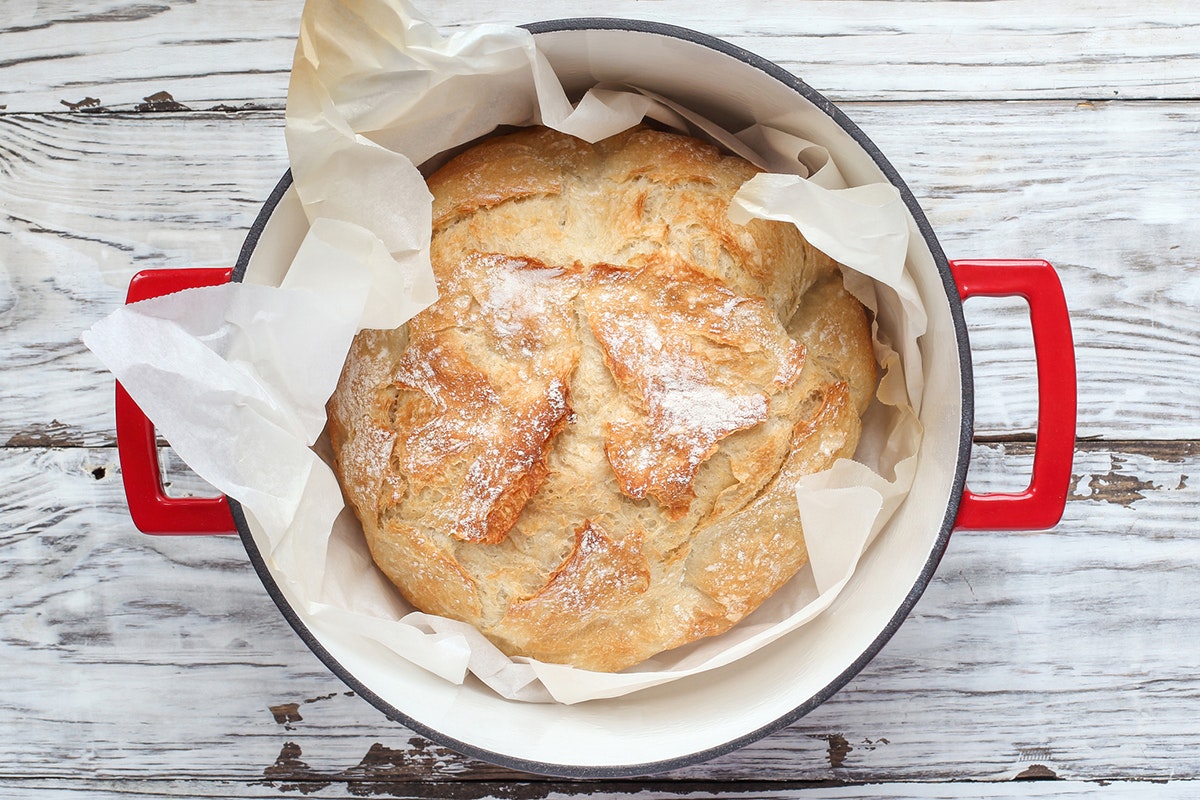
The first sourdough loaf I ever made taught me two things: sourdough is not hard, and sourdough timing is not a strict schedule. It is more like learning your kitchen’s rhythm. Once you know what the dough is supposed to look and feel like at each stage, you can bake beautiful bread without hovering over a clock.
This beginner loaf starts with an active, bubbly starter and uses a straightforward method: mix, rest, a few sets of folds, bulk fermentation until the dough is airy and elastic, then a gentle shape, a cold proof for better flavor and easier scoring, and finally a hot Dutch oven bake for that crackly crust.

If you are used to yeast bread, here is the mindset shift: we are not forcing the dough to double on command. We are building strength and fermentation gradually, then baking when the dough tells us it is ready.
Feeding timing
Your starter is the engine of this loaf. Plan to mix your dough when your starter is at or near peak, meaning it has risen to its highest point, looks domed, and is full of bubbles. With a 1:1:1 feed by weight, many established starters peak somewhere around 4 to 8 hours at a comfortably warm room temperature (roughly 72 to 78 F, or 22 to 26 C), but flour choice, starter strength, and temperature can swing that earlier or later. Brand-new or recently neglected starters often take longer, and that is normal.
A quick clue some bakers use is the float test: drop a small spoonful of starter into water. If it floats, it can be a sign there is enough trapped gas to leaven bread. If it sinks, it does not automatically mean your starter is unusable. Hydration, how much you disturbed it, and simple luck can all affect this test. I treat it as a supporting hint, not a pass or fail. Peak rise and a strong, bubbly structure are the signals I trust most.
Dough cues
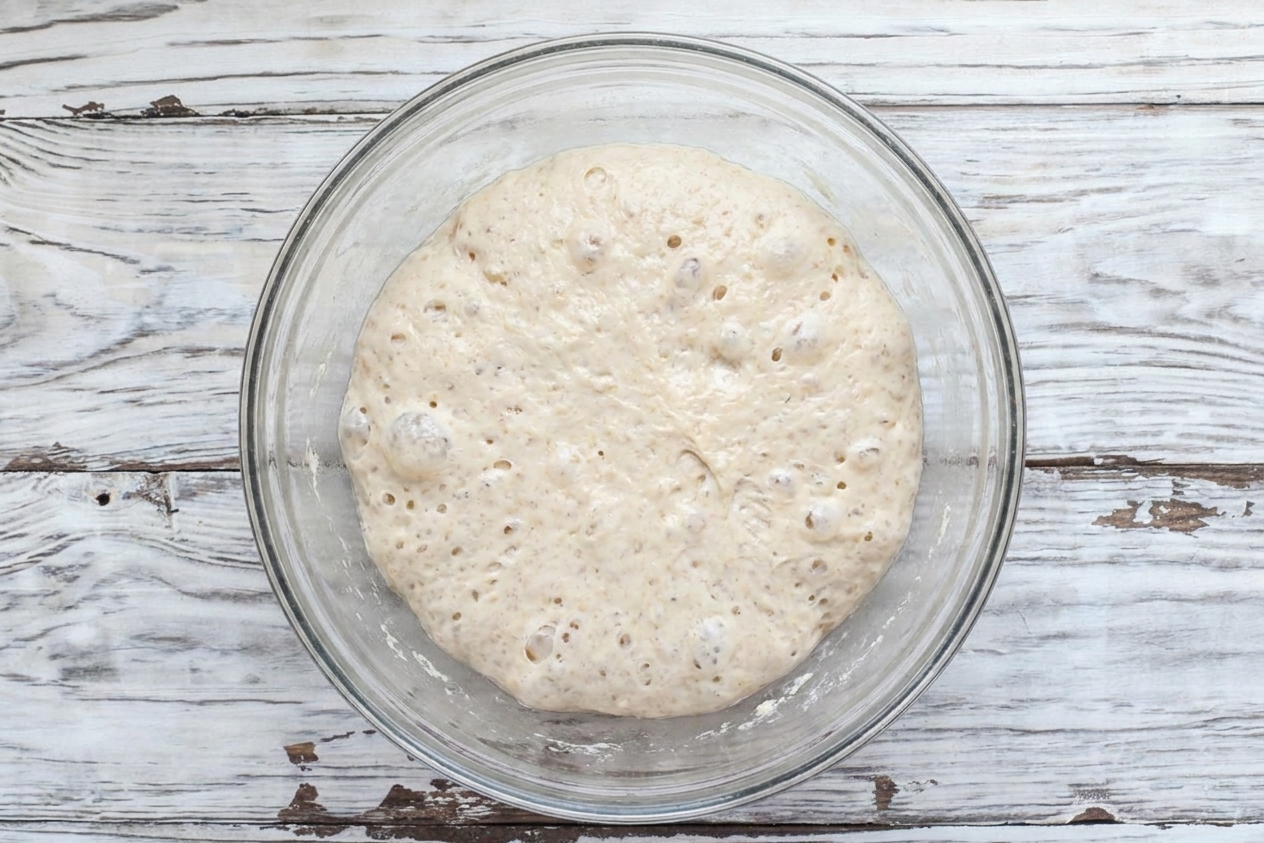
This dough starts shaggy and sticky and ends smooth, stretchy, and airy. During the folds, you will feel it tighten and become easier to handle. By the end of bulk fermentation, you are looking for a dough that has risen noticeably (often about 30 to 60 percent), with visible bubbles along the sides, a slightly domed top, and a gentle jiggle when you shake the bowl. It should feel pillowy and aerated when you lift an edge, and it will usually release from the bowl a little more cleanly than it did at the start.
If you want guardrails, bulk fermentation is often 3 to 6 hours at typical room temperature, but it can be shorter in a warm kitchen or longer in a cool one. A higher rise target is generally safer in cooler doughs or with strong flour, while warmer doughs can overproof if you push the volume too far. When in doubt, trust the dough over the clock.
Shaping and scoring
Beginner shaping is not about being fancy. It is about building surface tension without deflating the dough. Think gentle but decisive. You want the outside to feel taut, like you are wrapping the dough around itself, so the loaf rises up instead of spreading out.
Scoring is easier when the loaf is cold, which is one reason I love an overnight proof. Use one confident slash at a slight angle to the surface, about 1/4 to 1/2 inch deep. Hesitant sawing tends to drag and flatten the top.
Why I use a Dutch oven
A preheated Dutch oven traps steam from the dough itself. That steam keeps the crust flexible early in the bake so the loaf can expand and spring. Then, when you remove the lid, the crust turns deeply browned and crisp.
If you have ever pulled a pale, tight loaf from your oven, the Dutch oven is the fix that makes sourdough feel like magic. I also like it for safety and control: parchment paper acts like a sling so you can lower the dough into the hot pot without getting too close to the sides. Use sturdy oven mitts, and keep little hands well away from the open oven and the hot lid.
When it is done
Forget chasing an exact time. Use cues:
- Color: You want deep golden brown, with darker edges along your score.
- Internal temperature: If you use a thermometer, aim for about 205 F to 210 F (about 96 to 99 C) in the center.
- Sound: Tap the bottom. It may sound hollow, but I treat this as a bonus clue rather than the main test.
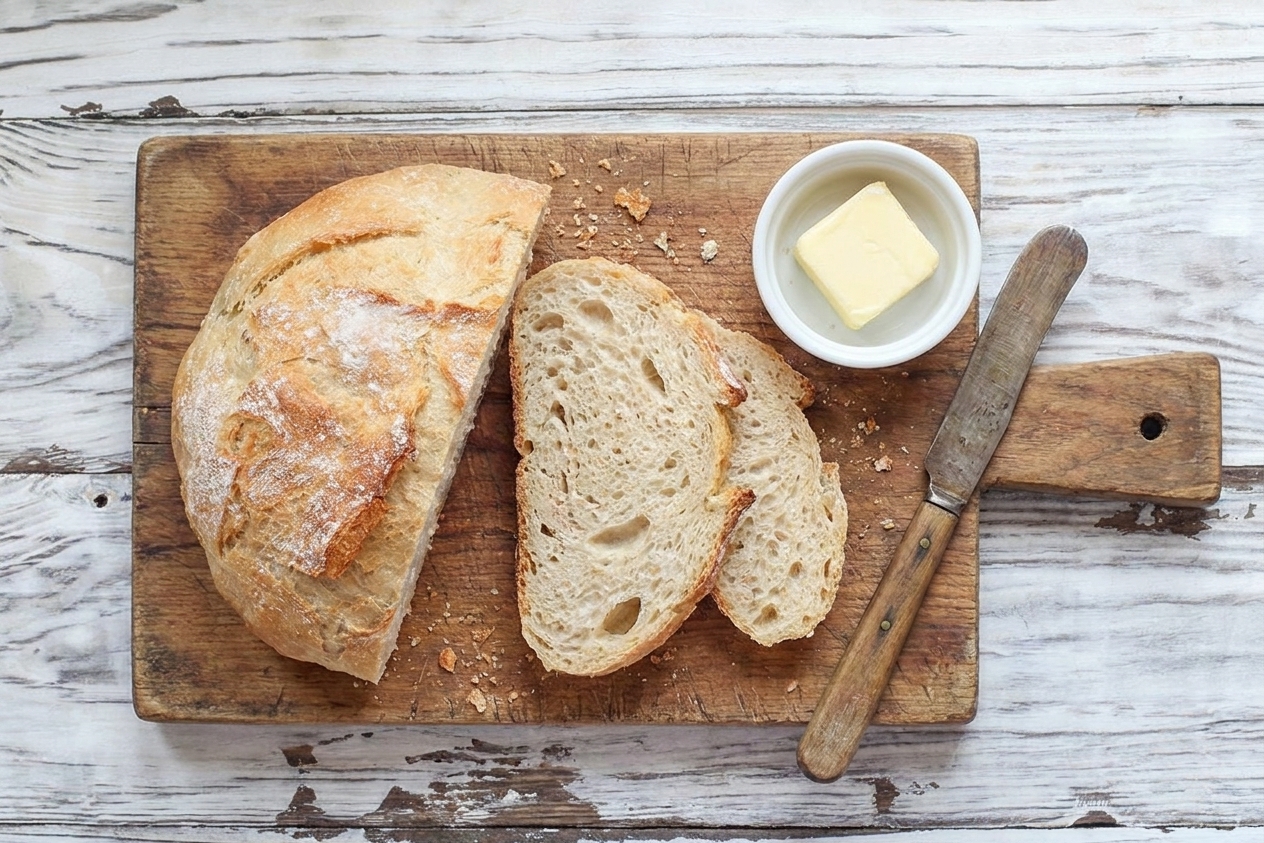
- Cooling: This is part of “done.” Let it cool fully before slicing so the crumb sets instead of turning gummy.
That last one is the hardest, I know. In my house, I literally put the loaf on the highest shelf and set a timer so nobody “tests” it to death.
Why this recipe works
- Active starter at peak: Mixing when your starter is strong gives you a reliable rise and better flavor development.
- Autolyse rest: A short rest after mixing flour and water jumpstarts gluten formation, making the dough easier to strengthen without heavy kneading.
- Stretch-and-folds build structure: A few fold sets create dough strength gradually, which is perfect for beginners and forgiving with sticky dough.
- Bulk fermentation guided by dough cues: Watching bubbles, volume increase, and jiggle helps you avoid overproofing or underproofing.
- Cold proof helps shape and scoring: A chilled loaf holds its form and scores cleanly, which supports good oven spring.
- Dutch oven steam: Trapped steam mimics a professional deck oven, giving you a crisp crust and a tender crumb.
Ingredient notes
Active sourdough starter
Use starter that has been fed and is at peak rise. If it is sluggish or smells sharply like acetone, give it a couple of feedings to strengthen before baking.
Bread flour
Bread flour’s higher protein makes shaping easier and helps the loaf hold height. All-purpose flour can work, but the dough may spread more.
Whole wheat flour
A small amount boosts flavor and fermentation. You can swap it for more bread flour if you want an all-white loaf.
Salt
Salt tightens gluten and controls fermentation. If you reduce it too much, the dough can feel slack and ferment too quickly.
Water
Room temperature water is a good default. If your kitchen is cold, use slightly warm water to help fermentation along.
Equipment you will need
- Kitchen scale: Sourdough is much easier and more consistent by weight.
- Large mixing bowl: Clear is helpful for seeing bubbles and rise.
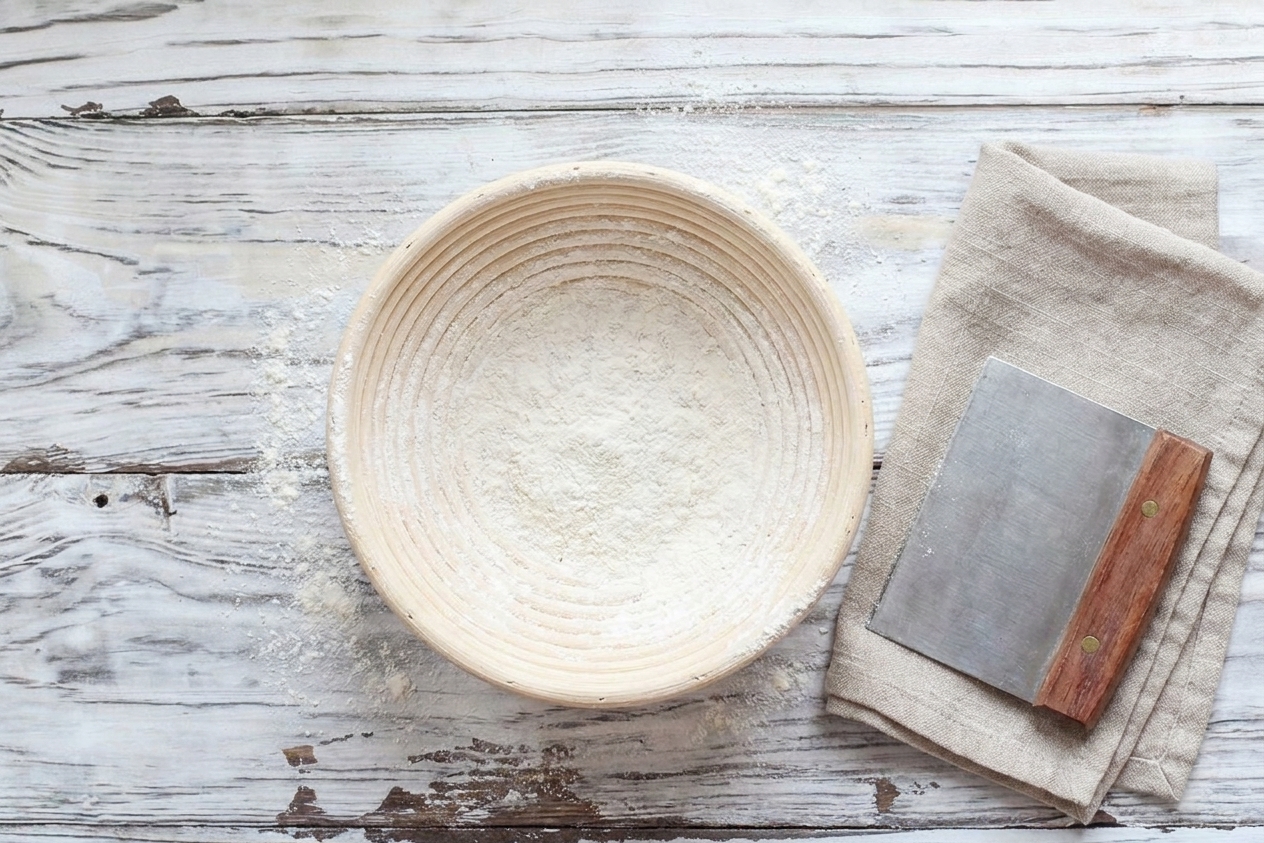
- Bench scraper: Makes shaping and moving sticky dough far less stressful.
- Proofing basket (banneton) or a bowl with a floured towel: Supports the shaped loaf during the final rise.
- Lame or sharp razor: For clean scoring. A very sharp knife can work in a pinch.
- Dutch oven with lid: Cast iron or enameled is ideal. A 5 to 7 quart size works well for a single boule.
- Parchment paper: Helps lower the loaf safely into the hot pot.
- Instant-read thermometer (optional): The easiest doneness check for new bakers.
Pro tips
- Keep your hands wet for folds: A little water prevents sticking better than adding extra flour, which can tighten the crumb.
- Use a straight-sided container if you have one: It makes it easier to judge how much the dough has risen during bulk.
- Watch the dough, not the clock: Fermentation can vary widely based on starter strength and room temperature.
- Build surface tension during shaping: A taut “skin” on the loaf helps it rise up instead of spreading out.
- Score with confidence: One clean slash at a slight angle is better than hesitant sawing.
- Use parchment as a sling: It makes loading a hot Dutch oven much safer.
- Let it cool fully: At least 1 hour, preferably 2. The crumb keeps setting as steam escapes.
Substitutes that work
- No banneton: Line a medium bowl with a smooth kitchen towel and dust generously with rice flour or a 50:50 mix of rice flour and wheat flour.
- No bread flour: Use all-purpose flour. Expect a slightly softer dough and a loaf that may be a bit wider. Hold back 20 to 30 grams of water at mixing, then add only if the dough can handle it.
- No whole wheat flour: Replace with additional bread flour.
- No Dutch oven: Bake on a preheated baking stone or sheet pan and add steam by placing a sturdy metal pan on the lower rack and pouring in hot water right after loading the bread. Results vary, but it can still be delicious.
Variations
Seeded crust
After shaping, lightly mist the outside of the dough and roll it in sesame seeds, poppy seeds, or a mix before placing it in the proofing basket.
Garlic and herb
Add 1 to 2 teaspoons dried Italian seasoning to the dough with the salt. For roasted garlic, mash a few cloves and fold it in during the second fold set.
Olive loaf
Fold in 100 to 150 grams drained, chopped olives during the last fold set. Pat them dry so they do not turn the dough gummy.
Serving ideas
- Warm slices with salted butter and honey for an easy breakfast.
- Toast and top with smashed avocado, lemon, and flaky salt.
- Make a simple tomato soup and use sourdough for dunking.
- Turn day-old slices into croutons or sourdough breadcrumbs.
- Build the ultimate grilled cheese with sharp cheddar and a swipe of mustard.
Storage and reheating
Room temperature
Store the loaf cut-side down on a cutting board for the first day, or wrap in a clean towel. For longer storage, keep in a paper bag or a loosely closed bread box. Avoid airtight plastic at room temperature if you want a crisp crust.
Freezing
Slice the cooled loaf, then freeze slices in a freezer bag. Toast straight from frozen for quick breakfasts.
Re-crisping
If the crust softens, reheat the loaf in a 375 F oven for 10 to 15 minutes. Let it cool for 10 minutes before slicing again.
Common mistakes
Mixing with weak starter
If your starter is not rising reliably, the dough will struggle. Give your starter a couple of strong feedings and try again.
Overproofing during bulk
An overproofed dough feels very gassy but fragile and can turn slack and soupy. Next time, shorten bulk fermentation or use cooler water.
Underproofing
If your loaf bursts randomly and the crumb is tight, it probably needed more fermentation time. Extend bulk fermentation and make sure your starter is at peak.
Adding lots of flour during shaping
Extra flour makes the outside dry and prevents good surface tension. Use a lightly floured counter and a bench scraper, and rely on confident movements.
Slicing too soon
This is the most common “my crumb is gummy” issue. Let the loaf cool fully so the interior moisture redistributes.
FAQ
Can I bake sourdough in one day?
Sometimes, yes, especially in a warm kitchen with a very active starter. That said, the easiest beginner workflow is an overnight cold proof, which also improves flavor and makes scoring simpler.
How do I know bulk fermentation is done?
Look for a noticeable rise (often about 30 to 75 percent), bubbles along the sides, a smoother and slightly domed surface, and a dough that jiggles when you gently shake the bowl. It should feel airy and elastic, not dense.
Is the float test required?
No. It can be a helpful clue, but it is not reliable for every starter. Peak rise, a domed top, and lots of bubbles are better signs that your starter is ready.
Why is my dough so sticky?
Sticky is normal at the start. It gets easier after the rests and folds. Wet your hands for folds and resist adding lots of flour.
Why did my loaf spread out?
Common causes are underdeveloped dough strength, overproofing, or flour that cannot absorb as much water. Next time, add one extra fold set, shorten bulk slightly, or hold back a little water.
What if I do not have a thermometer?
Go by color and sound. A deeply browned loaf that sounds hollow on the bottom is usually done. Cooling fully also helps the crumb finish setting.
The recipe
Beginner Sourdough Bread
A simple, confidence-building sourdough boule made with active starter, gentle folds, an overnight cold proof, and a Dutch oven bake for a crisp crust and tender crumb.
- Prep
- 30 minutes
- Cook
- 45 minutes
- Total
- 18 hours
- Yield
- 1 loaf (about 10 slices)
Ingredients
- 100 g active sourdough starter (at peak)
- 350 g water (room temperature)
- 450 g bread flour
- 50 g whole wheat flour
- 10 g fine sea salt
- Rice flour, for dusting (optional but helpful)
Instructions
- Mix the dough. In a large bowl, whisk together 100 g active starter and 350 g water until mostly dissolved. Add 450 g bread flour and 50 g whole wheat flour. Mix until no dry flour remains. The dough will look shaggy. Cover and rest for 30 minutes.
- Add salt. Sprinkle 10 g fine sea salt over the dough. Pinch and fold the dough to incorporate, then mix until the salt is evenly distributed. Cover and rest for 20 minutes.
- Stretch and fold (3 to 4 sets). Over the next 2 hours, perform 3 to 4 sets of stretch-and-folds, about every 30 minutes. To do this, wet your hand, grab one edge of the dough, stretch it up gently, and fold it over itself. Rotate the bowl and repeat 4 times per set. Cover between sets. The dough should become smoother and hold its shape better each round.
- Bulk fermentation. Let the dough rise at room temperature until it looks puffier and aerated, with bubbles along the sides and a slight jiggle when you shake the bowl, typically 3 to 6 hours depending on starter strength and room temperature. As a general guide, look for roughly 30 to 75 percent rise rather than a strict doubling. The dough should feel lighter and more elastic than when you started.
- Pre-shape. Lightly flour the counter. Turn out the dough and gently form it into a loose round. Let it rest, uncovered, for 15 to 20 minutes.
- Shape. Shape the dough into a tighter round by pulling the dough toward you against the counter to build surface tension, using a bench scraper if needed. Dust a banneton or towel-lined bowl generously with rice flour (or flour). Place the dough seam-side up in the basket.
- Cold proof. Cover and refrigerate for 8 to 16 hours.
- Preheat the oven and Dutch oven. Place a lidded Dutch oven in your oven and preheat to 500 F for 45 to 60 minutes.
- Score. Cut a piece of parchment paper. Turn the cold dough out onto the parchment seam-side down. Score the top with one confident slash at a slight angle, about 1/4 to 1/2 inch deep.
- Bake covered. Carefully remove the hot Dutch oven. Lower the dough in using the parchment as a sling. Cover with the lid and bake at 500 F for 20 minutes.
- Bake uncovered. Reduce the oven temperature to 450 F, remove the lid, and bake for 20 to 25 minutes more until the crust is deep golden brown.
- Check doneness. The loaf is done when it is richly browned and sounds hollow when tapped on the bottom. If using a thermometer, the center should read about 205 F to 210 F.
- Cool completely. Transfer to a rack and cool for at least 1 to 2 hours before slicing for the best crumb texture.
Notes
Timing tip: If you want fresh bread for dinner, mix in the morning, bulk ferment through the day, shape in the late afternoon, and cold proof overnight to bake the next morning.
Room temperature matters: A warm kitchen speeds everything up. If your dough is fermenting too quickly, use cooler water or shorten bulk.
Starter note: The float test is optional and not always reliable. A starter at peak rise that looks domed and bubbly is the best sign you are ready to mix.
Flour tip: Rice flour is fantastic for dusting bannetons because it resists absorbing into the dough and helps prevent sticking.