
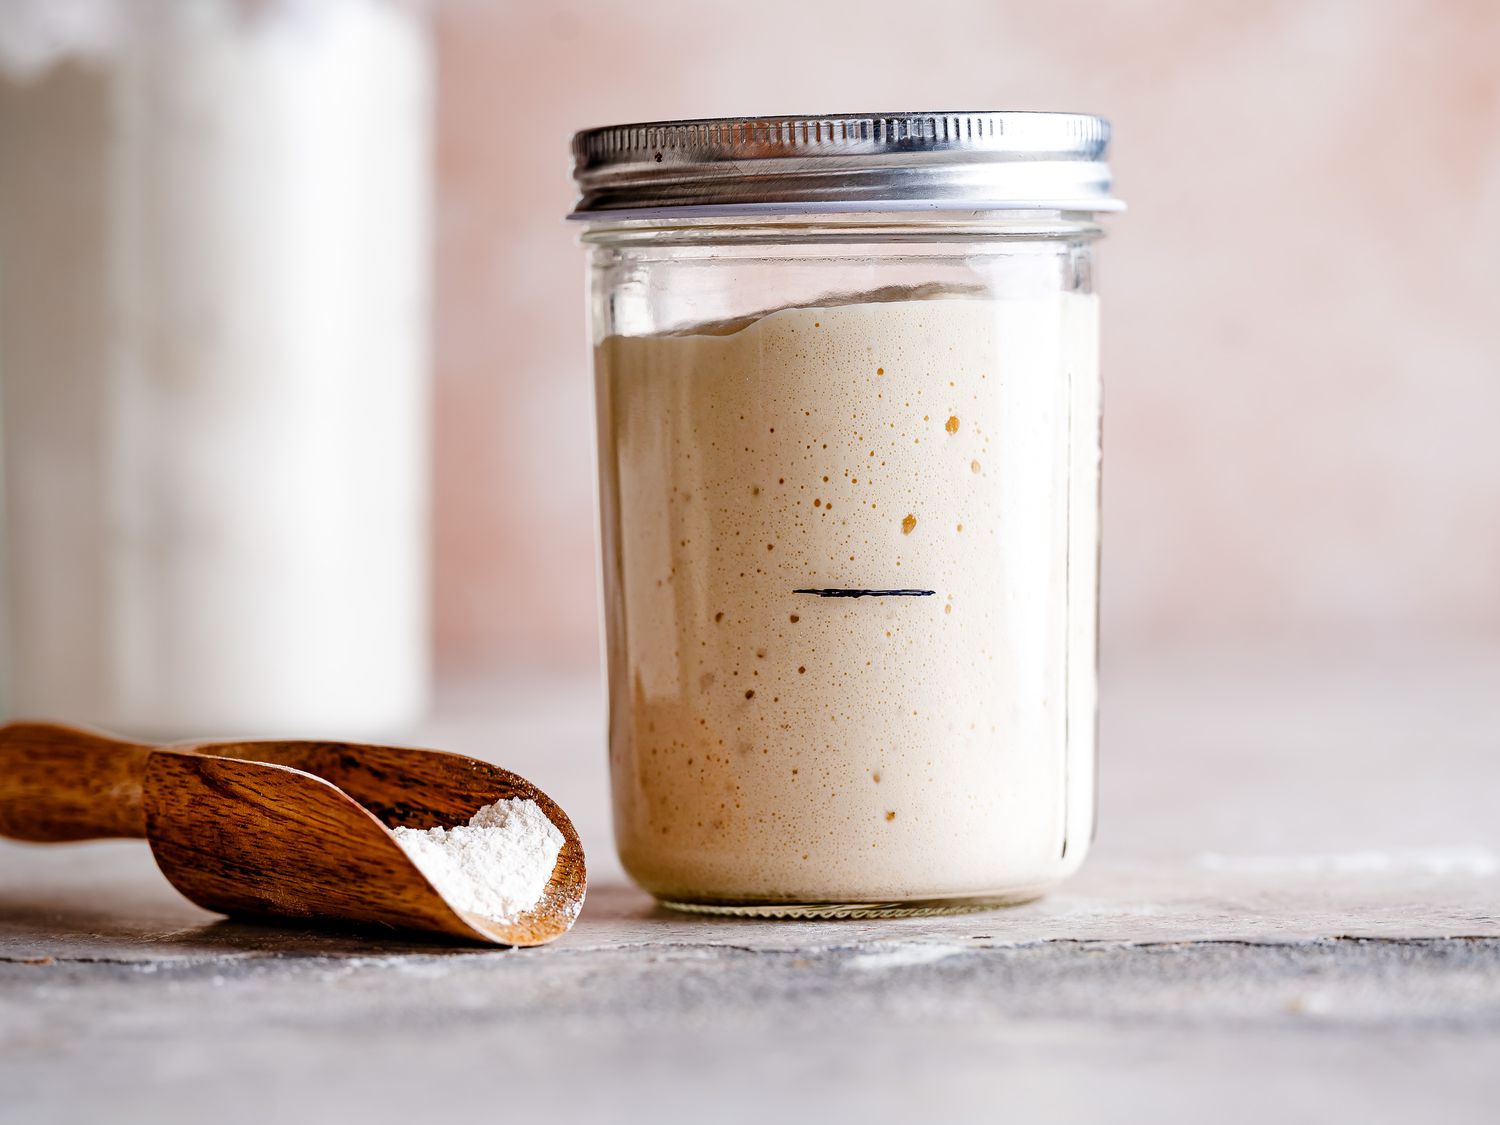
Sourdough starter is just flour, water, and time, but it feels like magic the first time you see those bubbles rise. If you have ever thought, “I’m going to mess this up,” this is for you. We are going to keep the process simple, use small amounts so you are not wasting bags of flour, and focus on what matters: a starter that becomes reliably active for baking.
The goal is a community of wild yeast and friendly bacteria that can lift dough and add that signature tang. It is a tiny living kitchen pet, but it does not need constant babysitting. It needs consistency, warmth, and a clean jar.

What you need
You can make starter with almost any wheat flour and water that is not heavily treated with chlorine. Fancy tools are optional. What helps most is a warm spot and a little patience.
Ingredients
- Flour: Unbleached all-purpose flour works great. Whole wheat or rye can jump-start activity, but they are not required.
- Water: Room temperature water. If your tap water smells strongly of chlorine, filtered water is easiest. Letting water sit out uncovered overnight can help with chlorine, but it does not reliably remove chloramine (used by some cities).
Equipment
- A clear jar (1 quart is comfortable, even though we start small)
- A spoon or chopstick for stirring (metal is fine)
- A scale if you have one (recommended), or measuring spoons
- A loose lid (not airtight), or a lid set on top
- A rubber band or piece of tape to mark the level
What “cover loosely” means: You can set the lid on top, or screw it on lightly so gases can escape. Do not seal it airtight.
The simple method
This method uses 25 grams flour + 25 grams water to start, then keeps feedings manageable. If you do not have a scale, I included spoon-based volume measurements as rough equivalents, but a scale removes guesswork because flour packs differently from kitchen to kitchen.
You are building a 100% hydration starter, which just means equal weights flour and water. It is a sweet spot for easy mixing, predictable feedings, and lots of baking recipes.
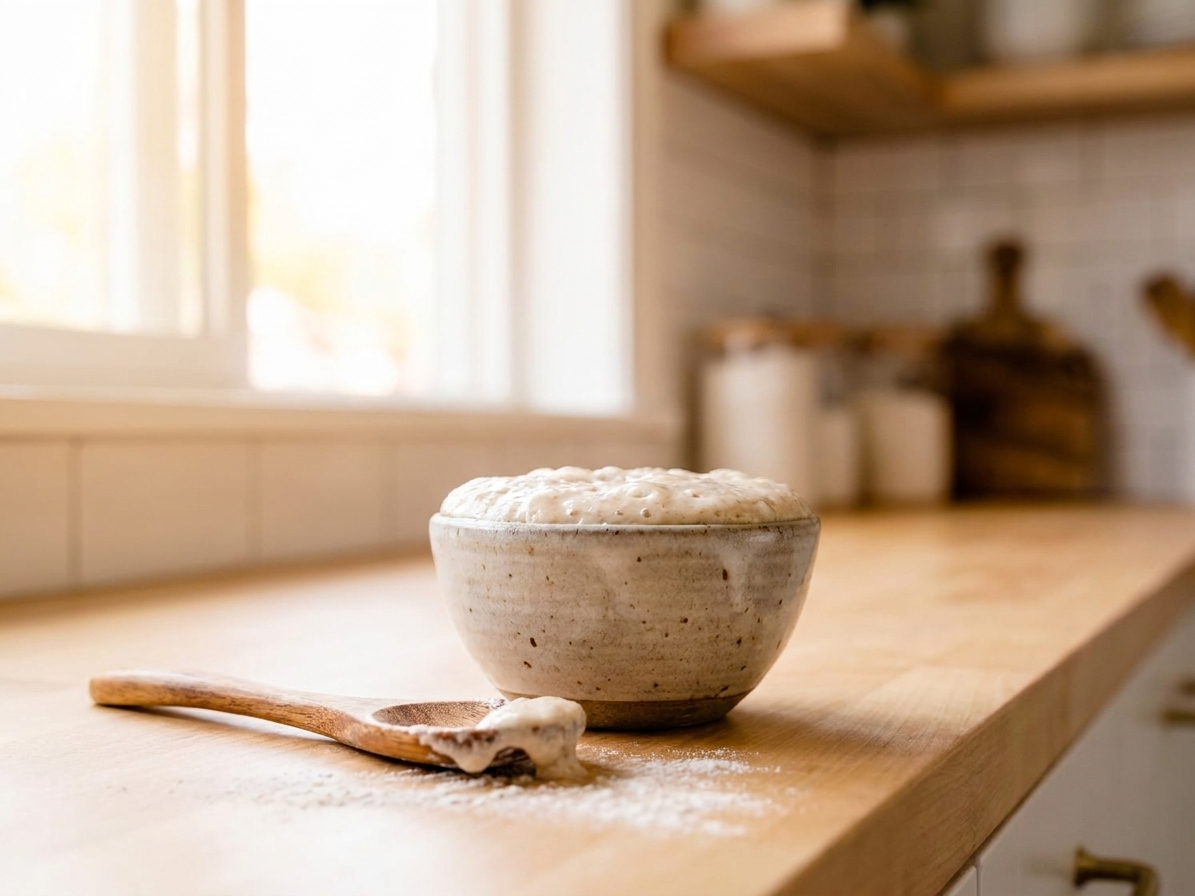
Consistency target (especially for no-scale starters): aim for a thick, stirrable paste, like very thick pancake batter. It should hold ridges for a moment when you stir, then slowly level out.
Consistency matters more than perfection. If your starter is a little thicker or thinner than mine, it can still succeed.
Day 1
- In a clean jar, mix 25 g flour with 25 g water.
- No scale? Use about 3 tablespoons flour plus about 5 teaspoons water (that is 1 tablespoon + 2 teaspoons, about 25 mL). These are approximations. Adjust to that thick, stirrable paste described above.
- Stir until no dry flour remains. Scrape down the sides.
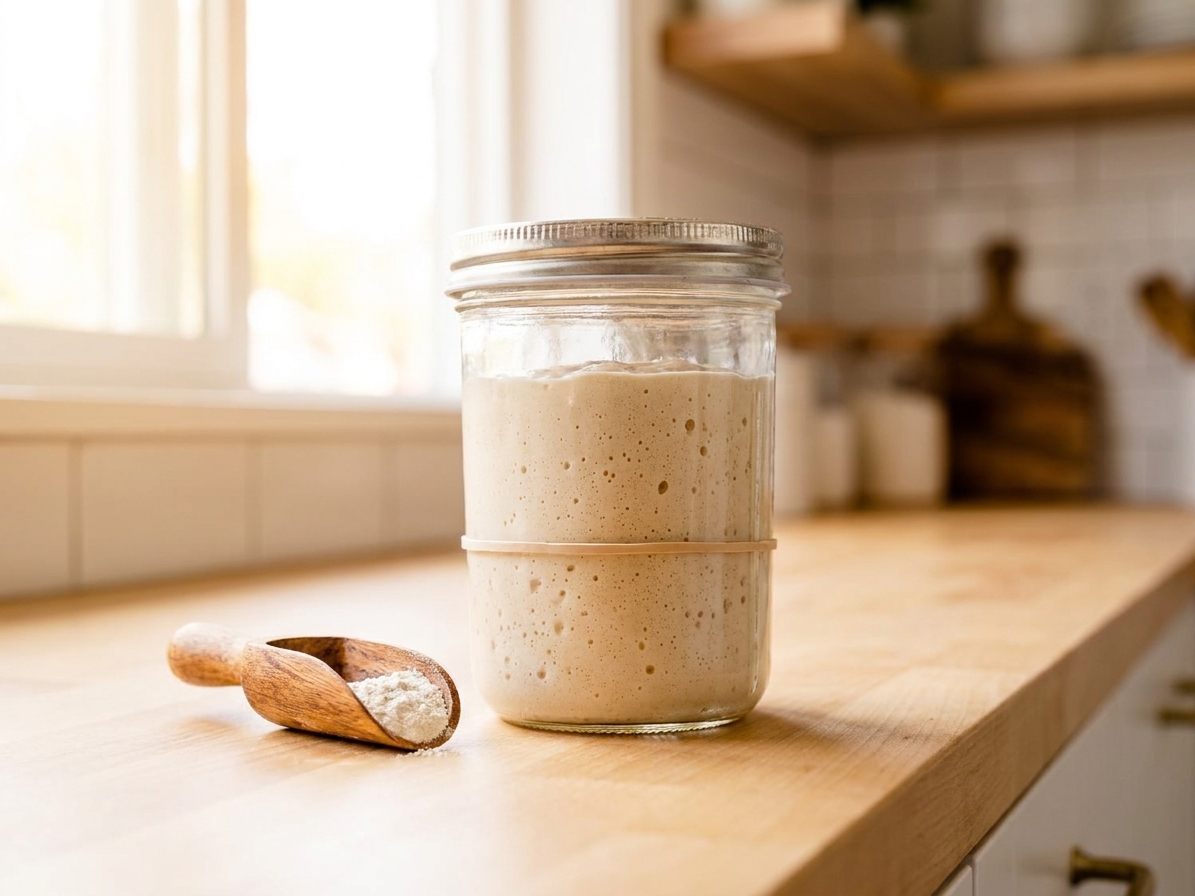
- Cover loosely. Mark the level with a rubber band.
- Leave at room temperature, ideally 72 to 78°F.
What to look for: Not much yet. Maybe a few bubbles. That is fine.
Day 2
- Check for bubbles and smell. It may smell like wet flour, cereal, or slightly fruity.
- Stir once.
- Rest day: No feeding today in this low-waste method. This pause gives early microbes time to establish before we begin daily discard and feed, and it helps you avoid feeding so often that the jar never gets a chance to ferment.
What to look for: A few bubbles along the sides. Some starters surge early then slow down. That early burst is normal and not the finish line.
Day 3
- Discard down to 25 g starter. No scale? Keep about 1 heaping tablespoon of starter in the jar and discard the rest.
- Feed with 25 g flour + 25 g water.
- No scale? Use the same rough starting point as Day 1: about 3 tablespoons flour and about 5 teaspoons water, then adjust to a thick, smooth paste.
- Quick hygiene habit: Wipe down the rim, and use a clean spoon each time to lower mold risk.
What to look for: More bubbles, a slightly tangy smell, and maybe a little rise. If it smells funky like gym socks, that can be part of the early bacterial shuffle. Keep going.
Days 4 to 7
Each day, do the same simple routine:
- Discard down to 25 g starter. No scale? Keep about 1 heaping tablespoon of starter and discard the rest.
- Feed 25 g flour + 25 g water (a 1:1:1 feeding by weight).
- No scale? Start with the same Day 1 spoon measures and adjust by texture.
- Stir, cover loosely, mark the level, and keep it in that 72 to 78°F range if you can.
- Quick hygiene habit: Wipe down the rim, and use a clean spoon each time.
- If the jar gets crusty up the sides, transfer the starter to a clean jar. A clean jar is a happy jar.
What to look for: By the end of the week, many starters begin rising more predictably. Some need 10 to 14 days, especially in cooler kitchens. Time is not a failure, it is fermentation.
When it is ready
Your starter is ready to bake when it consistently does two things after a feeding (at roughly a 1:1:1 feed and typical room temperature):
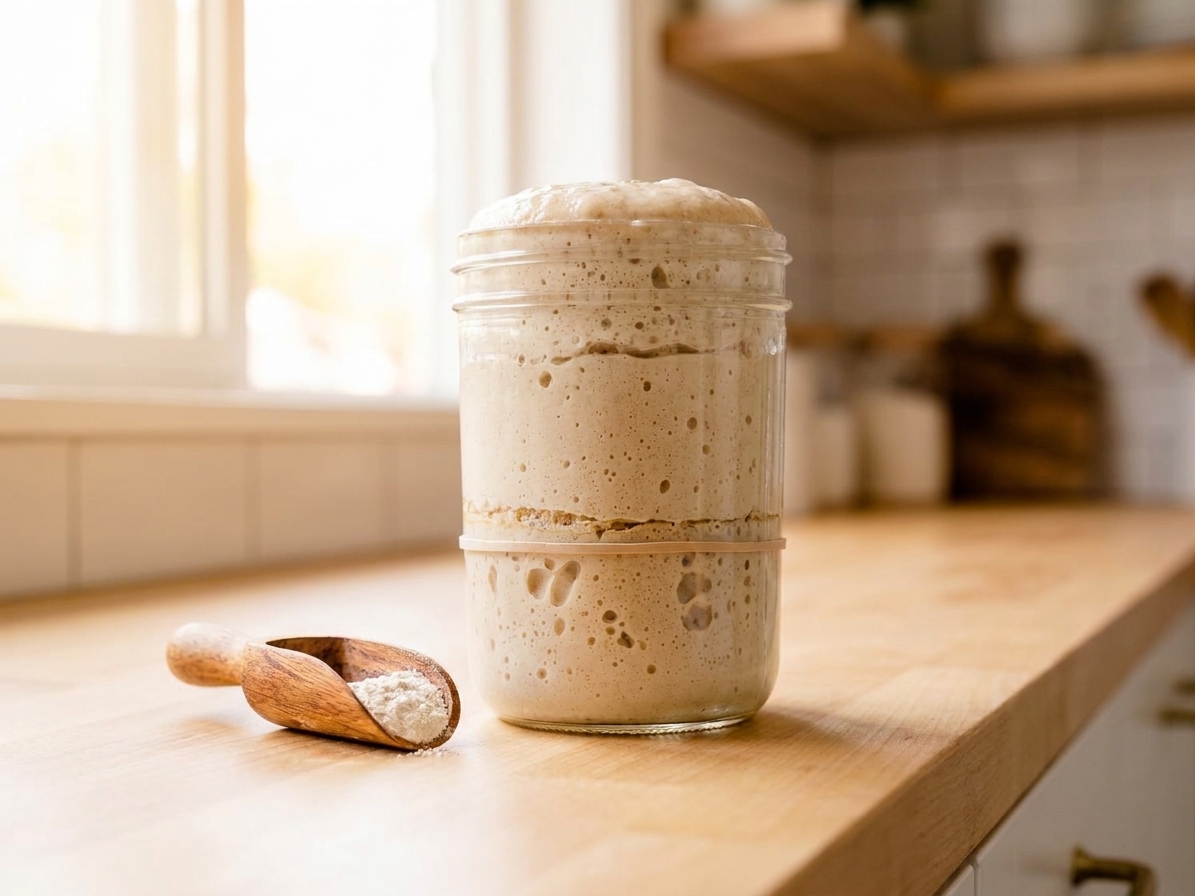
- Doubles in volume in about 4 to 8 hours (faster in warm kitchens, slower in cool ones).
- Smells pleasantly tangy, like yogurt, apples, or mild vinegar, not rotten.
You will also notice the texture looks webby and aerated inside the jar, and the surface domes slightly before it begins to fall.
About the float test: Dropping a spoonful into water can work, but it is not foolproof. A thick starter can float even when weak, and a very active starter can sink if you knock out the gas. I trust the doubling and timing more than floating.
Common problems
It smells terrible on days 2 to 4
Very normal. Early on, less desirable bacteria can dominate briefly. Keep feeding daily once you begin Day 3, keep the jar clean, and do not seal it airtight. The smell usually turns pleasantly tangy as the starter matures.
If you ever get a truly rotten smell that does not improve after a couple of feedings, or you see visible mold, it is safest to toss it and start fresh with a clean jar.
No bubbles, no rise
- Warmth: Move it to a warmer spot, like near the stove or on top of the fridge. Aim for the mid 70s °F.
- Water: Switch to filtered water if chlorine or chloramine is an issue.
- Flour: Try 50% whole wheat or rye for a few feedings, then go back to all-purpose once activity improves. When you switch flours, expect a day or two of adjustment.
Liquid on top (hooch)
That grayish liquid usually means your starter is hungry or has been sitting a bit too long between feedings. It can also show up with cold storage or timing shifts. Pour it off or stir it in, then feed. If you see hooch often at room temperature, increase feeding frequency or use a larger feed ratio (see the maintenance section below).
Mold or pink or orange streaks
If you see fuzzy mold or any pink, orange, or red coloring, discard the starter and start over with a clean jar. This is one of the few times I say, no second chances.
It rises then collapses quickly
That usually means it peaked before you checked. Mark the jar and watch the pattern. Once you learn its rhythm, you can catch it at its strongest point for baking.
How to maintain it
Once your starter is reliably doubling, you have options. You can keep it on the counter for frequent baking, or store it in the fridge for a weekly routine. Both are valid.
Counter method
Feed once a day, or twice a day in a warm kitchen if it peaks very fast.
- Keep 25 g starter
- Feed 25 g water + 25 g flour (or more if it is peaking too quickly)
Fridge method
Feed it, let it start fermenting at room temperature for about 1 to 2 hours, then refrigerate with a lid that is closed but not cranked down airtight.
- Once a week, take it out, discard, and feed.
- If you plan to bake, give it 1 to 2 room-temperature feedings before mixing dough so it is lively.
When to feed bigger
If your starter gets hungry fast or smells sharply acidic, try a bigger feed. A common upgrade is 1:2:2 or 1:3:3 (starter:water:flour by weight). Example: keep 20 g starter, then feed 40 g water + 40 g flour.
Discard ideas
During the first week, I recommend tossing discard because the microbial balance is still settling. After your starter is reliably active and smells clean and tangy, discard becomes a pantry asset.
Storage note: If you want to save discard for recipes, keep it in the fridge and use it within a few days. If it smells off or shows any mold, toss it.
- Scallion pancakes: Stir discard with a little salt, chopped scallions, and enough flour or water to make a pourable batter, then pan-fry.
- Waffles or pancakes: Discard adds tang and crisp edges.
- Crackers: Mix discard with olive oil, salt, and herbs, spread thin, and bake until snappy.
- Thickener for soups: A spoonful can add body, but cook it thoroughly.
Beginner FAQ
Can I start with all-purpose flour only?
Yes. Unbleached all-purpose flour is enough. Whole wheat or rye can speed things up, but they are optional.
Do I need to use warm water?
Room temperature is perfect. Warm water can help in a chilly kitchen, but avoid hot water since it can stress or kill yeast.
Should I use a tight lid?
No. Fermentation produces gas, so you do not want a jar sealed airtight. A loosely screwed-on lid is usually better than cloth because it helps protect the surface from dust and fruit flies. Think “covered, not sealed.”
How big should my jar be?
A 1-quart jar gives you space for stirring and rising. Even if you are keeping a small starter, the extra headroom is helpful.
Why is my starter not doubling by day 7?
It is common for starters to take 10 to 14 days, especially in cool or dry kitchens. Focus on daily feedings, warmth, and a clean jar. If you have bubbles and a tangy aroma, you are on track.
Can I bake with starter that is not mature yet?
You can use it for crackers or flatbreads, but for a lofty sourdough loaf, wait until it is doubling reliably after feedings.
A quick pep talk
Starter teaches you to cook by noticing, not by obsessing. You are going to learn its smell, its rhythm, and the way it looks when it is strong. If you miss a feeding, it is not ruined. If your kitchen is cold, it is not your fault. We adjust and keep going.
Once you have an active starter, you have the key to sourdough pizza, sandwich bread, cinnamon rolls, and the kind of Sunday dinner bread basket that makes people linger at the table. One jar, two ingredients, and a little time.