Save split, curdled, or runny buttercream with simple temperature fixes, mixing tricks, and ingredient adjustments that bring it back to silky smooth.
recipes
Reliable French Macarons

Elena Martinez
Elena Martinez is a former bakery manager turned full-time food writer and recipe developer. With over a decade of experience translating professional culinary techniques into approachable home cooking, she believes that a great meal doesn't require a culinary degree or expensive ingredients.
Created September 21, 2026
Last updated September 21, 2026
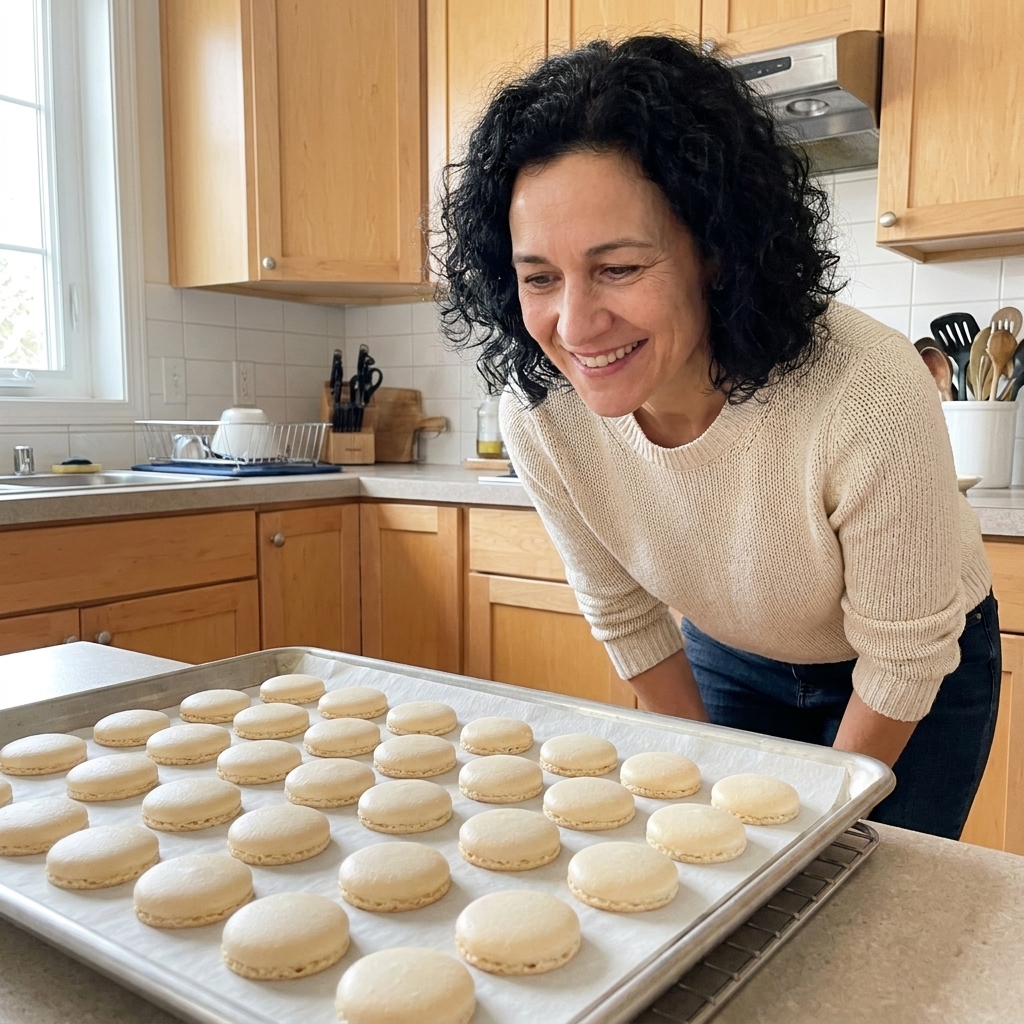
French macarons have a reputation for being moody little cookies. By “moody,” I mean they are sensitive to a few things that vary kitchen to kitchen: humidity, how you mix, and how your oven behaves. But the truth is, they are not “hard” so much as they are specific. Once you understand what you are looking for at each stage, you can make consistent, glossy shells with that classic ruffled “foot” and a tender, chewy center.
I am going to walk you through a beginner-friendly French meringue method (no sugar syrup). I will tell you exactly what to watch for, what each step is doing, and how to fix the most common hiccups. You have this.
What makes a macaron work
A great macaron shell is basically a controlled balance of air, sugar, and almond flour.
- Meringue provides lift and structure.
- Almond flour + powdered sugar create the batter body and that signature chew.
- Macaronage (mixing) intentionally deflates some air so the tops smooth out instead of peaking.
- Resting forms a skin so the shells rise upward in the oven, creating feet.
If you remember one thing: most macaron issues come from meringue strength, over or under macaronage, or oven temperature.
Equipment you will want
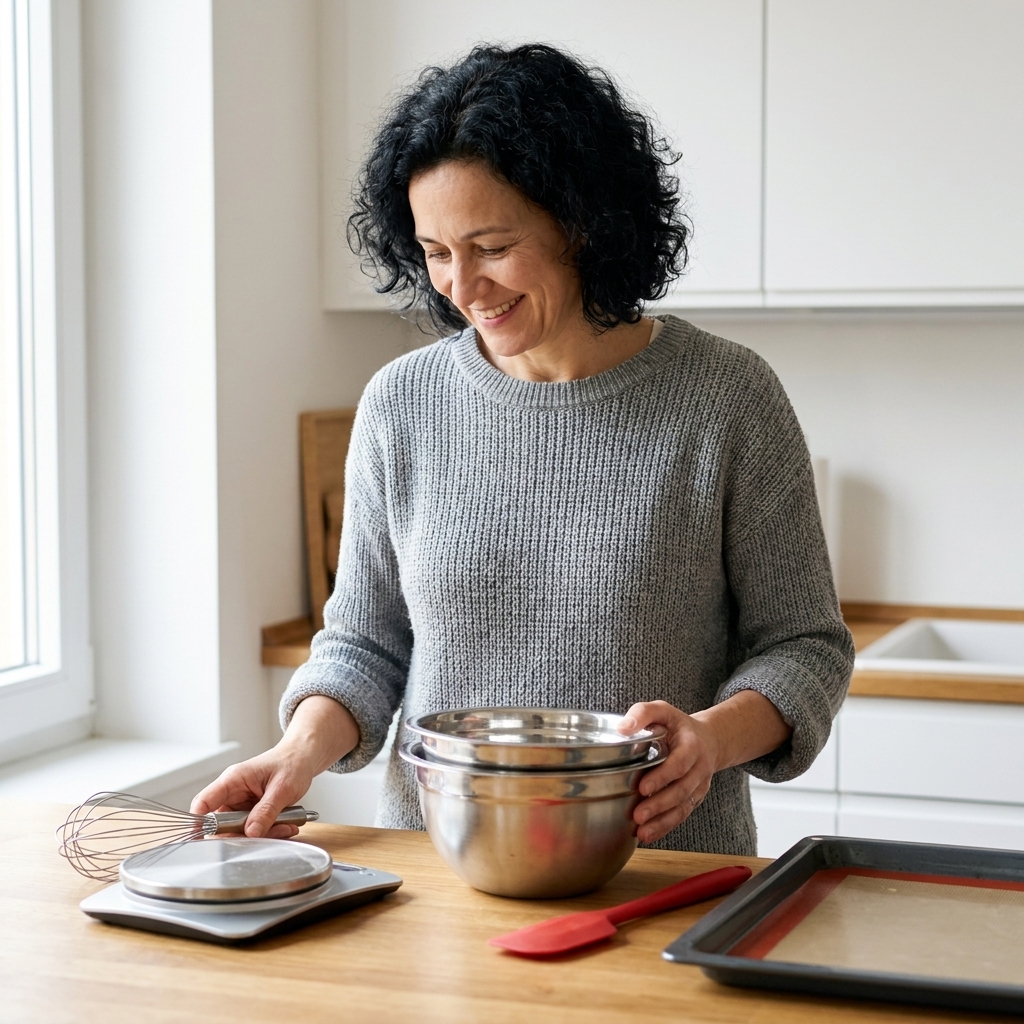
- Kitchen scale: macarons are a ratio game. Weighing is the easiest path to consistency.
- Fine-mesh sieve: removes almond flour lumps for smoother tops.
- Stand mixer or hand mixer: you need stable peaks.
- Piping bag + round tip (about 1/2 inch): for even circles.
- Heavy baking sheets: thin pans can overbrown bottoms.
- Parchment paper or silicone mat: parchment tends to give crisper bottoms; silicone can be forgiving but sometimes needs an extra minute or two in the oven.
- Oven thermometer: your oven dial is probably lying. Mine definitely is.
Helpful, not required: a template under your parchment (circles drawn on paper) so you pipe same-size shells.
Ingredients
For the macaron shells (about 40 to 48 shells, or 20 to 24 sandwiches)
Yield note: This assumes you pipe circles around 1.25 inches (3 cm). If you pipe larger shells (closer to 1.5 inches), you will get fewer.
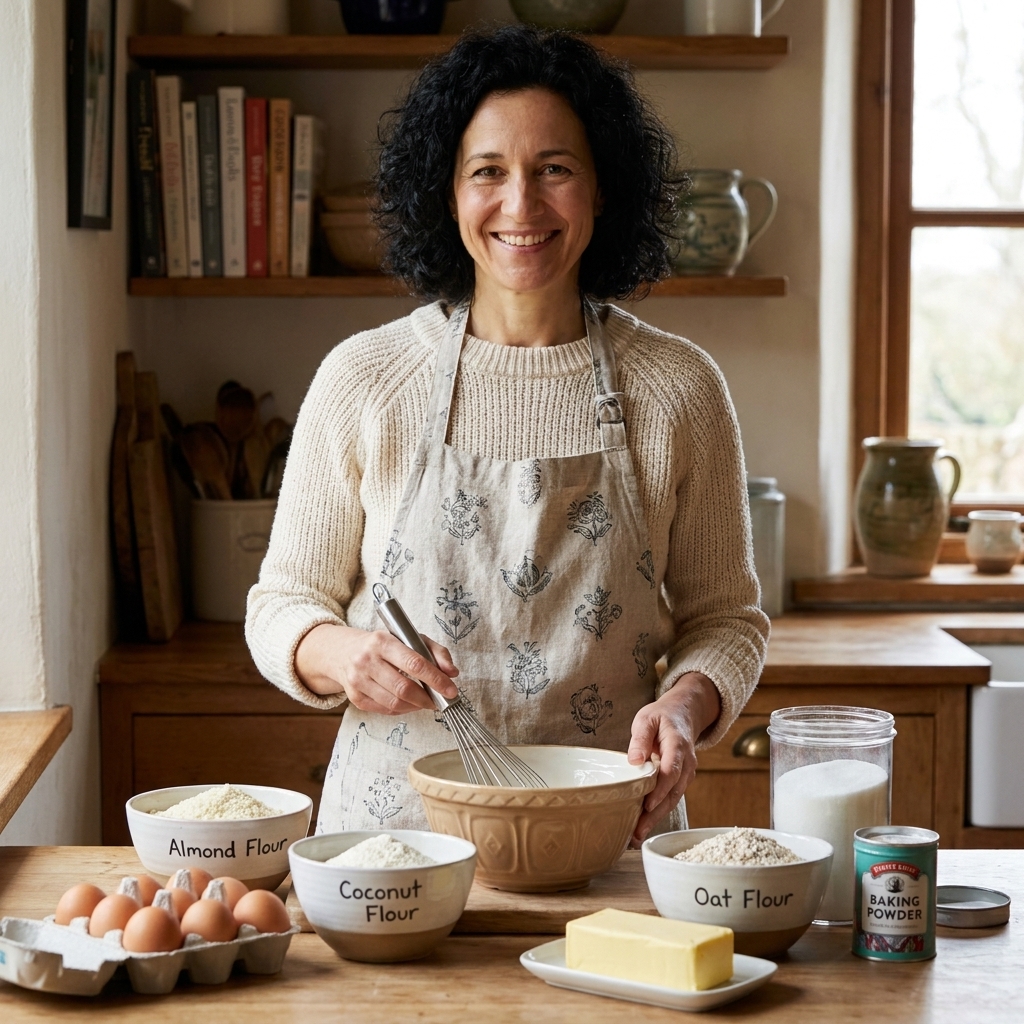
- 100 g egg whites, room temperature (from about 3 large eggs)
- 90 g granulated sugar
- 120 g powdered sugar
- 120 g fine almond flour
- 1/8 tsp fine salt (optional but helpful)
- 1/4 tsp cream of tartar (optional but helps stabilize)
- Gel food coloring (optional)
Simple vanilla buttercream filling
- 85 g (6 tbsp) unsalted butter, softened
- 180 to 240 g (1 1/2 to 2 cups) powdered sugar, sifted
- 1 to 2 tbsp heavy cream or milk
- 1 tsp vanilla extract
- Pinch of salt
Ingredient notes (this saves frustration):
- Almond flour: use finely ground almond flour. If it looks coarse, pulse it briefly with the powdered sugar (not alone, or it can turn pasty).
- Egg whites: room temp whites whip up more efficiently. Cold whites can work, but they take longer and you risk over-whipping chasing peaks.
- Food coloring: gel is best. Liquid colors can loosen your batter.
Egg note: macarons are baked, but if you have concerns about using raw egg whites in your kitchen, consider pasteurized egg whites (and choose fillings accordingly).
Step-by-step: Reliable French macarons
1) Prep your pans and oven
Line 2 heavy baking sheets with parchment or silicone mats. If using parchment, you can dot a tiny bit of batter under each corner later to “glue” it down.
Place an oven rack in the center. Preheat to 300°F (150°C). If your oven runs hot, start at 295°F (145°C). If it runs cool, you may need 305°F (152°C). Use an oven thermometer if you have one.
Oven hot spot tip: If your oven bakes unevenly, rotate the pan halfway through baking, but wait until the feet have formed and look set (usually after minute 8). Rotating too early can knock the rise around.
2) Sift the dry ingredients
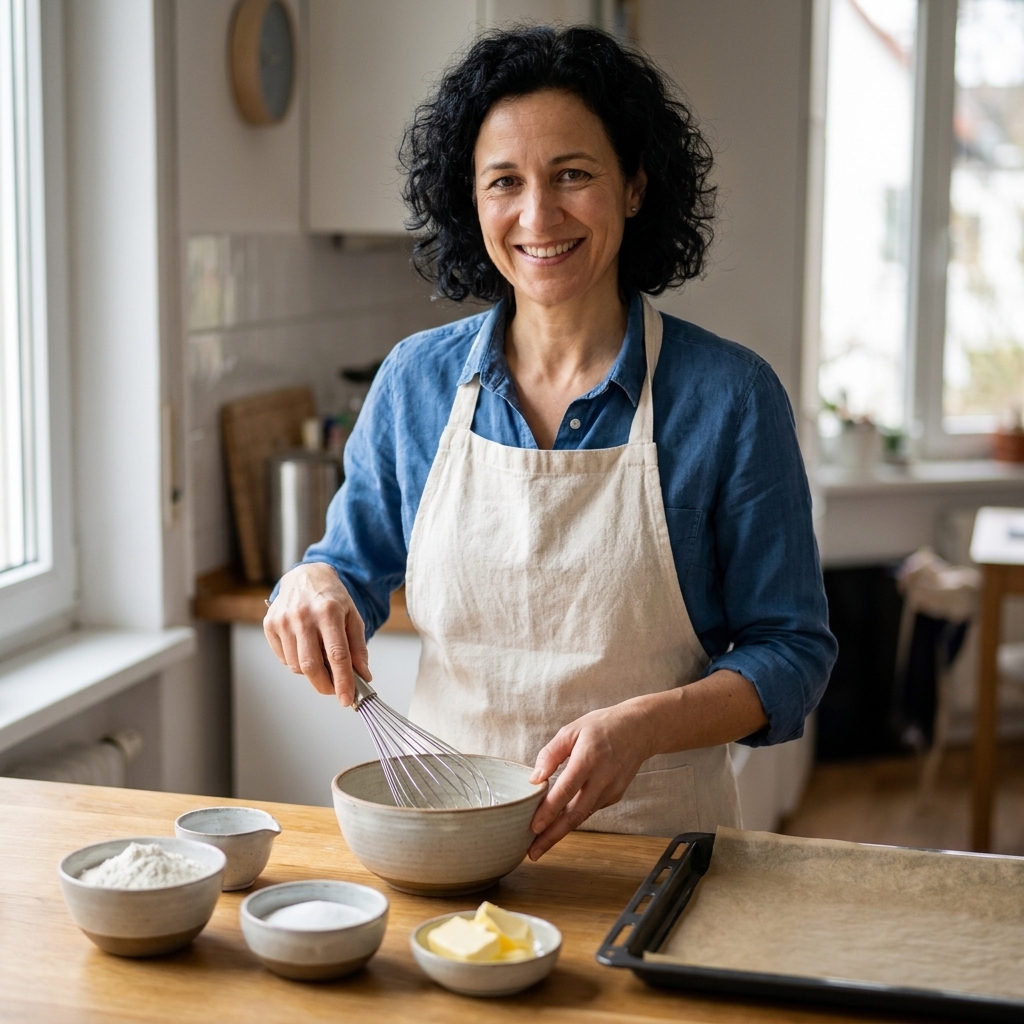
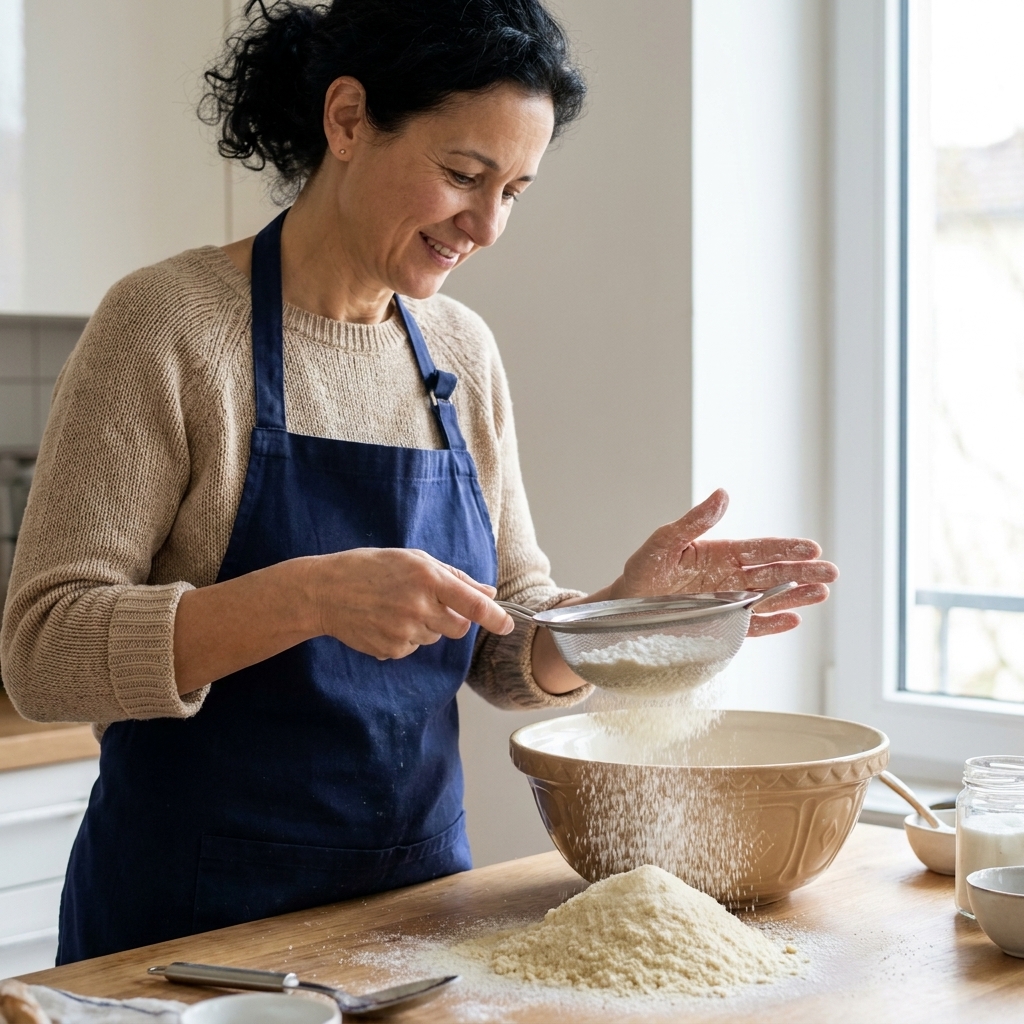
In a bowl, whisk together almond flour and powdered sugar. Sift them together into a larger bowl. If you have a few stubborn almond bits left in the sieve, you can discard them or press very gently. Do not force big lumps through.
3) Make the meringue
In a clean, grease-free mixing bowl, add egg whites and salt. Begin mixing on medium speed until foamy, about 30 to 60 seconds. Add cream of tartar if using.
With the mixer running, slowly rain in the granulated sugar (do not dump it all at once). Increase speed to medium-high and whip until you reach stiff, glossy peaks.
What stiff peaks look like: when you lift the whisk, the peak should stand upright. The very tip may hook slightly, but it should not slump. The meringue should look shiny, not dry and clumpy.
If using gel color, add it near the end and mix just until evenly tinted.
4) Macaronage
Add about one-third of the sifted almond mixture to the meringue. Fold gently with a silicone spatula until mostly incorporated. Add the rest in two additions.
Now comes the part everyone talks about. “Macaronage” is simply folding and pressing the batter against the bowl to knock out some air.
Your target texture: thick, glossy batter that flows like slow lava. When you lift the spatula, the batter should fall in a ribbon and you should be able to draw a “figure 8” without the ribbon breaking.
Quick test: let the batter fall back into the bowl. The ridges should settle and look smooth again in about 10 to 20 seconds.
Common mistake: stopping too soon. Under-mixed batter stays bumpy and peaks when piped.
Other common mistake: going too far. Over-mixed batter turns runny and spreads, giving thin shells and weak feet.
5) Pipe the shells
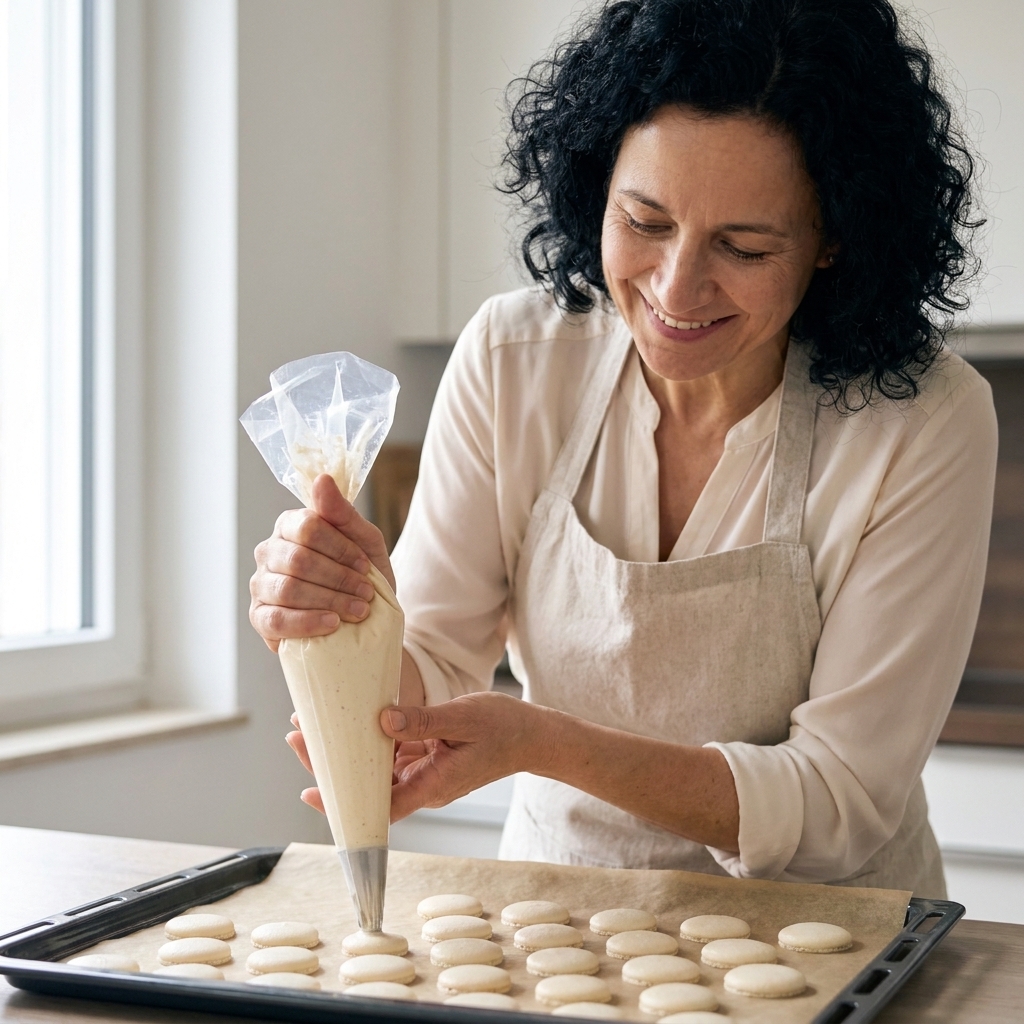
Fit a piping bag with a round tip and fill with batter. Hold the bag straight up and down, about 1/2 inch above the pan. Pipe 1 to 1 1/2 inch circles, then stop pressure and flick the tip away in a small circle to avoid a tail.
Firmly tap the baking sheet on the counter 10 to 15 times to release air bubbles. Use a toothpick to pop any visible bubbles on the surface.
6) Rest until a skin forms
Let the piped shells sit at room temperature until the tops are dry to the touch, usually 20 to 45 minutes depending on humidity.
How to check: lightly touch the top of a shell. Your finger should come away clean and the surface should feel like satin, not sticky.
If your kitchen is very humid, run a dehumidifier or set the trays near (not on) a warm, dry spot. Avoid a strong direct fan that can dry the tops unevenly and create lopsided shells.
7) Bake
Bake one sheet at a time on the center rack for 14 to 18 minutes. Around minute 5 to 7, you should see feet forming.
Doneness cues:
- Tops are set and not wet-looking.
- The feet look set, not squishy.
- Tops do not wobble if you gently nudge one shell.
- If you try to lift one, it should release from the parchment cleanly once cooled. If it sticks badly, it likely needs more time.
Cool the shells completely on the pan before removing.
8) Make the filling
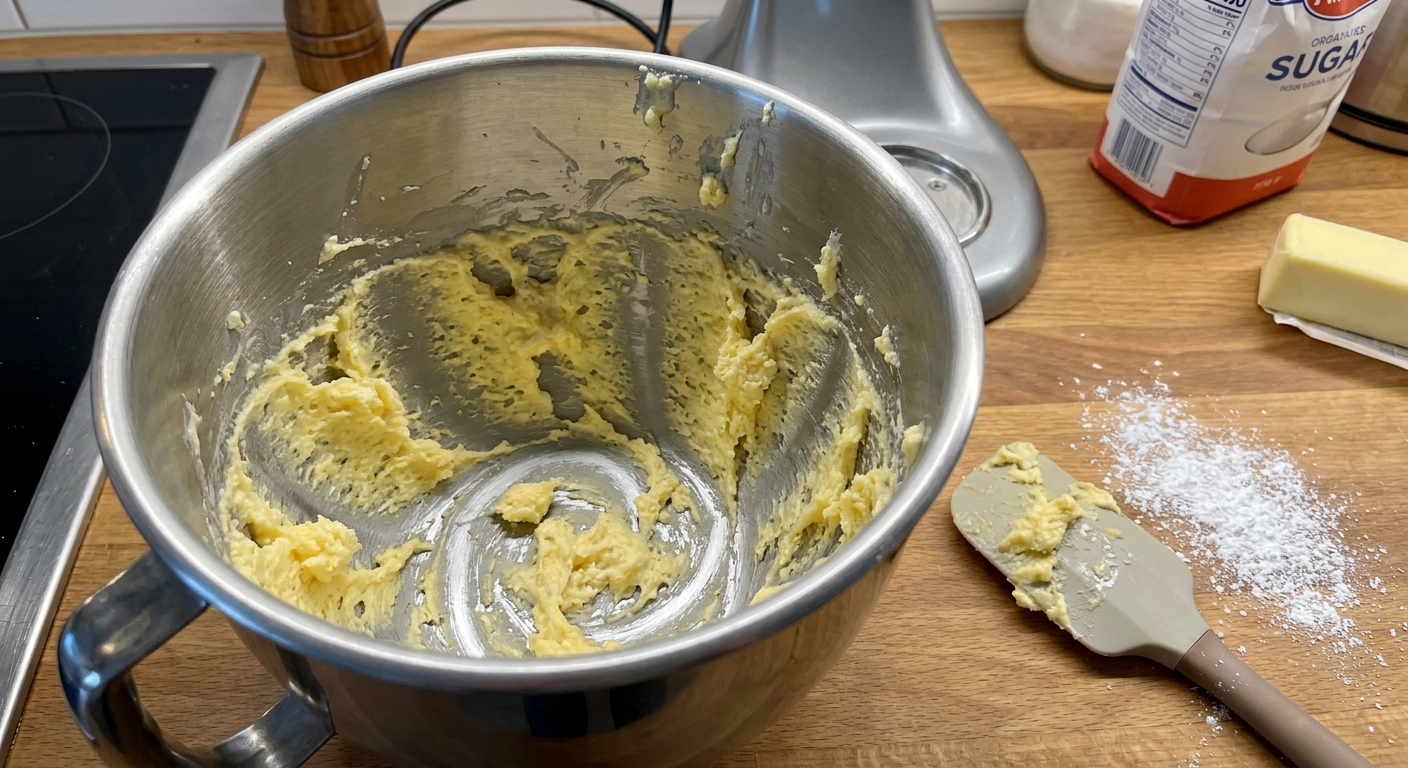
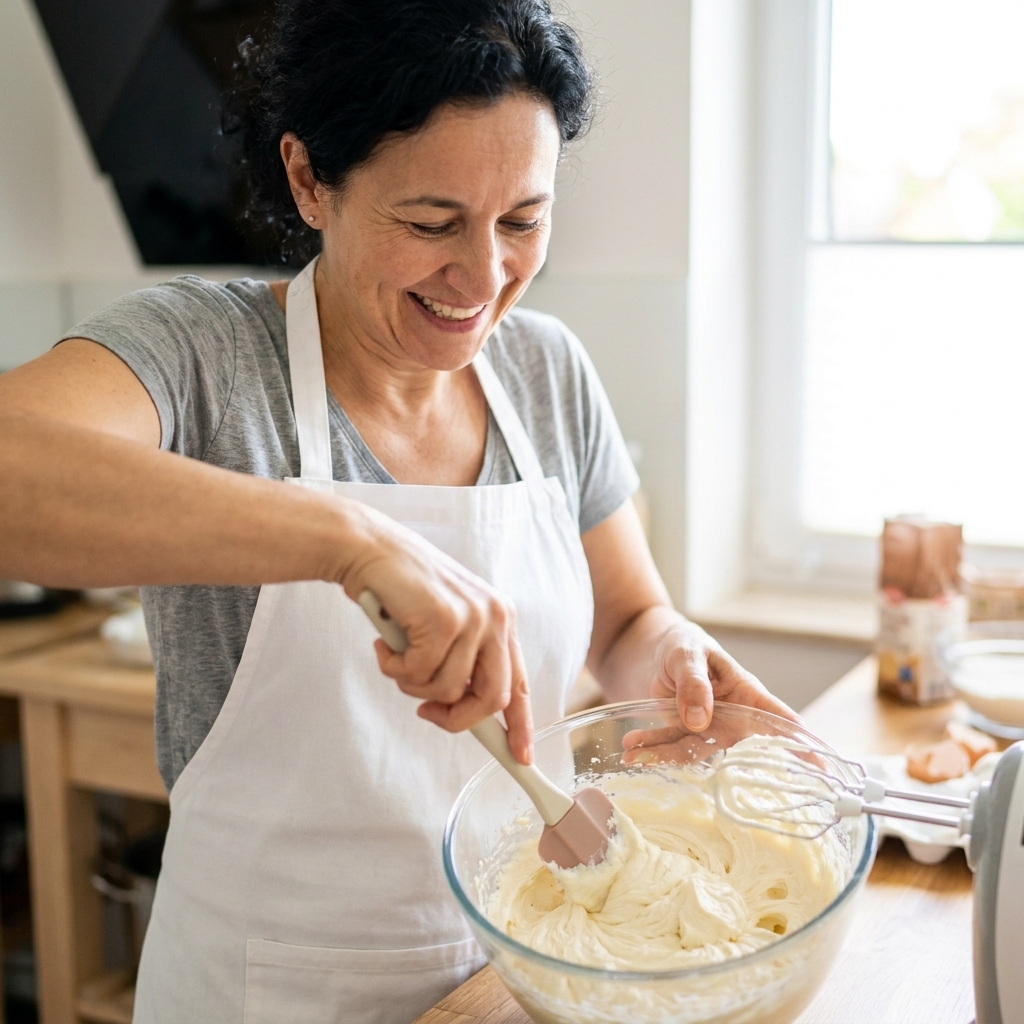
Beat butter until smooth and creamy, about 1 to 2 minutes. Add powdered sugar gradually, then vanilla and salt. Add cream a teaspoon at a time until the buttercream is smooth and pipeable.
It should hold its shape but still be easy to squeeze from a piping bag.
9) Fill and sandwich
Match shells by size. Pipe a small mound of buttercream on the flat side of one shell, then gently twist the other shell on top until the filling reaches the edges.
10) Mature
This is the secret step many first-timers skip. Place filled macarons in an airtight container and refrigerate for 24 hours. This allows moisture from the filling to soften the interior slightly, giving that classic chewy bite.
Bring to room temperature for 15 to 20 minutes before serving.
Flavor ideas
- Lemon: add lemon zest to buttercream and a spoonful of lemon curd in the center.
- Chocolate: replace 15 g of powdered sugar with 15 g cocoa powder in the dry mix; fill with chocolate ganache.
- Pistachio: use pistachio paste in buttercream; sprinkle finely chopped pistachios on top before resting.
- Raspberry: swirl a small amount of seedless jam into buttercream, or pipe a jam ring with buttercream in the center.
Troubleshooting
Shells cracked on top
- Most likely: not rested long enough, oven too hot, or trapped air bubbles.
- Try: rest until fully dry, tap trays more firmly, pop bubbles, lower oven 10 to 15°F (about 5 to 8°C).
No feet
- Most likely: under-whipped meringue, over-mixed batter, or shells did not form a skin.
- Try: whip to true stiff peaks, stop macaronage earlier, rest longer.
Hollow shells
- Most likely: meringue whipped too stiff and dry, oven too hot, underbaked, or batter was over-mixed.
- Also possible: shells went into the oven before a good skin formed, or the oven is a bit too cool and the structure sets too slowly.
- Try: stop whipping at glossy stiff peaks, rest until truly dry, bake 1 to 2 minutes longer, and adjust oven by 5 to 10°F (about 3 to 6°C) as needed. If your batter is flowing like soup, stop macaronage earlier next time.
Shells spread and look flat
- Most likely: over-mixed batter or warm, slack meringue.
- Try: shorten macaronage, ensure bowl and whisk are grease-free, consider aging egg whites 24 hours in the fridge and bringing to room temp before whipping.
Shells stick to parchment
- Most likely: underbaked or removed too soon.
- Try: bake longer, cool fully. If still sticky, you can briefly chill the pan to help release.
Brown tops or over-browned bottoms
- Most likely: oven too hot or pan too thin.
- Try: lower temp 10 to 25°F (about 5 to 14°C), double-pan (stack a second sheet under), move rack slightly higher.
Storage
- Unfilled shells: store airtight at room temp 1 to 3 days, or freeze up to 1 month.
- Filled macarons: refrigerate airtight up to 5 days, depending on the filling. (Buttercream is typically stable; fresh fruit or cream-based fillings are more perishable.) For best texture, enjoy days 2 to 4.
- Freezing filled macarons: freeze airtight up to 1 month, thaw overnight in the fridge.
Macaron checklist
- Ingredients weighed, almond flour and powdered sugar sifted.
- Meringue is glossy stiff peaks, not dry.
- Batter passes the figure-8 test.
- Shells rested until dry to the touch.
- Oven temperature verified.
- Shells cooled fully before peeling.
- Filled macarons matured 24 hours for the best bite.
If your first batch is not perfect, you are still doing real pastry work in a home kitchen. Take notes, adjust one variable at a time, and you will get there faster than you think.
FAQ
Do I need to age egg whites?
Not strictly. Many bakers love aged whites because some moisture evaporates and the proteins relax a bit, which can improve consistency. If you want to try it: separate whites, cover loosely, refrigerate 24 hours, then bring to room temp before whipping.
Can I make macarons on a rainy day?
You can, but you may need a longer rest time, and results can be less predictable. If humidity is high, use a dehumidifier or wait for a drier day for your first attempt.
Why did my macarons have little nipples (peaks)?
That is usually under-mixed batter, or you stopped piping without a clean flick. Mix a few more folds next time and tap the tray firmly to help the peaks settle.
What filling is the most beginner-friendly?
Buttercream is forgiving and stable. Ganache is also easy, but it needs time to thicken to the right piping consistency.