
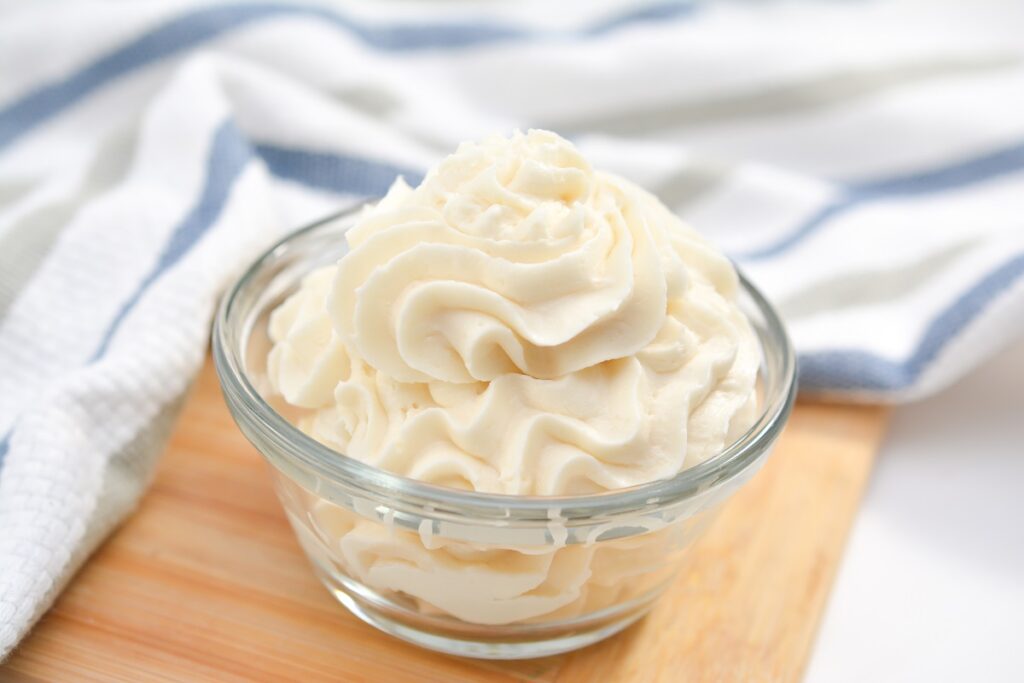
Vanilla buttercream is one of those recipes that feels almost too simple until it isn’t. When it’s right, it is cloud-like, silky, and sweet in that nostalgic birthday-cake way. When it’s off, it can go grainy, greasy, or so stiff it fights your spatula.
The good news is that buttercream is forgiving. A couple of small technique tweaks make a huge difference. I’m going to walk you through the classic American-style vanilla buttercream, plus the little “bakery manager” tricks I still use at home.

What it is
This is classic American buttercream: butter whipped with powdered sugar, vanilla, and a splash of cream or milk. It is sweet, stable, and incredibly versatile. It is the frosting you want for cupcakes, sheet cakes, birthday layer cakes, sugar cookies, and quick decorative piping.
If you want something less sweet and more “meringue-forward,” you might prefer Swiss or Italian meringue buttercream. But for approachable home baking, American vanilla buttercream is the dependable workhorse.
Ingredients that matter
- Unsalted butter: Gives you control over salt. Use butter that is softened, not melty. Softened means your finger makes an indent easily, but the butter still holds its shape. If you like a number, aim for about 65 to 70°F (18 to 21°C).
- Powdered sugar: Also labeled confectioners’ sugar. Sifting helps prevent random little sugar pebbles.
- Vanilla: Pure vanilla extract is great. Vanilla bean paste is extra fragrant and gives those pretty specks. I skip imitation unless I am specifically chasing that old-school bakery flavor.
- Salt: A pinch makes the vanilla pop and keeps the sweetness from feeling flat.
- Cream or milk: Adjusts texture. Cream makes it richer and can help it feel a bit sturdier. Milk works fine for everyday frosting.
Optional: 1 to 2 tablespoons of sour cream or cream cheese can add a subtle tang and make the sweetness taste more balanced, but it will soften the frosting slightly and it should be refrigerated.
Vanilla buttercream recipe
Classic Vanilla Buttercream
Makes: about 3 cups (enough for 12 to 16 cupcakes or a thin coat on a 2-layer 8-inch cake, think “naked-style” finish). For a thicker layer and extra piping, plan on 1 1/2x to 2x.
Time: 10 minutes
Ingredients
- 1 cup (226 g) unsalted butter, softened
- 3 1/2 to 4 cups (420 to 480 g) powdered sugar, sifted if lumpy
- 1 tablespoon vanilla extract (or 2 teaspoons vanilla bean paste)
- 1/4 teaspoon fine salt (more to taste)
- 2 to 4 tablespoons heavy cream or milk
Instructions
- Whip the butter first. In a stand mixer with the paddle attachment or in a large bowl with a hand mixer, beat the softened butter on medium-high for 2 to 3 minutes, until noticeably lighter and fluffy. Scrape the bowl.
- Add sugar gradually. With the mixer on low, add 3 1/2 cups powdered sugar in batches so it does not puff everywhere. Once incorporated, scrape the bowl again.
- Flavor and balance. Add vanilla and salt. Mix on low to combine.
- Adjust the texture. Add cream or milk 1 tablespoon at a time until you like the consistency. For piping, you want it to hold a peak. For swooshing onto cake, a slightly softer texture is lovely.
- Finish with a final whip. Beat on medium-high for 30 to 60 seconds to make it extra fluffy. Taste and add a pinch more salt if it tastes overly sweet.
Elena’s cues for “done”
- It looks lighter in color than plain butter.
- It feels airy on the spoon, not dense or fudgy.
- When you drag a spatula through it, the edges of the swipe are smooth, not jagged.
Get the texture you want
For piping
Use a touch more powdered sugar or a touch less cream. You want a frosting that holds ridges from a piping tip without slumping. If your kitchen is warm, chill the frosting 10 minutes, then re-whip briefly.
For smooth cakes
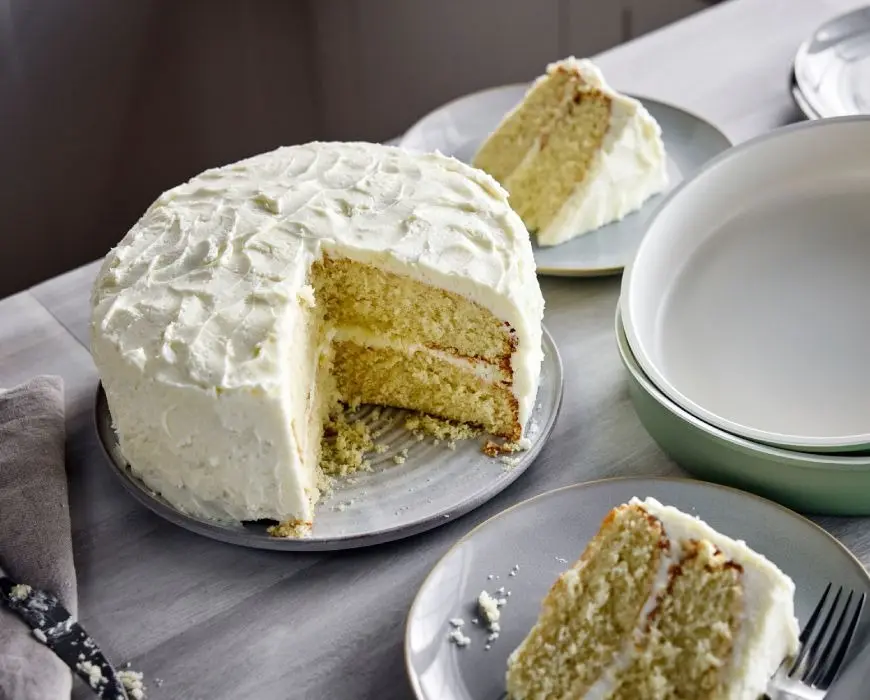
Slightly softer buttercream spreads more easily and makes clean sides simpler. Add an extra tablespoon of cream, then do a quick crumb coat and chill the cake before your final layer of frosting.
Problems and quick fixes
My frosting is grainy
- Cause: Powdered sugar lumps or not enough mixing time.
- Fix: Keep beating for another 1 to 2 minutes. If you still feel grit, gently warm the outside of the bowl with a warm towel for 30 seconds, then whip again. Next time, sift your sugar if it tends to clump.
My frosting is runny
- Cause: Butter too warm or too much liquid.
- Fix: Chill the frosting 10 to 20 minutes, then re-whip. If it is still loose, add powdered sugar 2 tablespoons at a time.
It looks broken, lumpy, or separated
- Cause: Temperature issues, usually butter that was a little too cold or too warm. (American buttercream is less finicky than meringue styles, but it still hates extremes.)
- Fix: Keep mixing for 2 to 3 minutes. If it is cold and chunky, let it sit 10 minutes at room temperature, then whip again. If it looks a little greasy or slippy, chill it briefly, then re-whip.
It’s too sweet
- Fix: Add a pinch more salt and a tiny splash more vanilla. You can also add 1 to 2 tablespoons sour cream for a gentle tang. If you have it, a tablespoon of cocoa powder can mellow sweetness for a “vanilla-chocolate” vibe.
It’s too stiff
- Fix: Add cream or milk 1 teaspoon at a time. A little goes a long way. Whip between additions.
Crusting and heat notes
American buttercream can “crust” because of the powdered sugar. That can be helpful for certain decorations, but it also means the surface can dry out while you work. Keep the bowl covered with plastic wrap or a damp towel when you are not actively frosting.
If you need a little more working time, you can beat in 1 to 2 teaspoons light corn syrup. It helps keep the frosting smoother and slows crusting a bit.
Like all butter-forward frostings, it is heat-sensitive. For outdoor parties or warm rooms, keep the cake cool as long as possible. If you need extra insurance, you can replace 2 to 4 tablespoons of the butter with vegetable shortening (optional, and yes, it slightly changes the flavor).
Tools I use
- Stand mixer with paddle: The paddle beats in fewer air bubbles than the whisk, which helps you get a smoother finish on cakes.
- Hand mixer: Totally fine. Just plan on a couple extra bowl scrapes.
- Silicone spatula: Non-negotiable for scraping the bowl so you do not get butter streaks at the bottom.
- Fine mesh sieve: For sifting powdered sugar when it’s lumpy.
Make-ahead and storage
Room temperature
If your kitchen is cool and you are using it the same day, buttercream can sit out for several hours. Keep it covered so it does not crust.
Refrigerator
Store in an airtight container up to 1 week. Before using, bring to room temperature, then re-whip for 1 to 2 minutes to restore the fluffy texture. If your buttercream includes sour cream or cream cheese, refrigerate it.
Food-safety expectations vary by setting. When in doubt, refrigerate, especially in warm kitchens or when serving to vulnerable guests.
Freezer
Freeze up to 3 months in a freezer bag or airtight container. Thaw overnight in the fridge, then bring to room temperature and re-whip.
If you pull buttercream from the fridge and it looks dense, do not panic. Let it warm up a bit, then whip. It almost always comes back like nothing happened.
Flavor variations
- Vanilla bean: Use vanilla bean paste instead of extract.
- Lemon: Add 1 tablespoon lemon zest and replace 1 tablespoon cream with lemon juice.
- Almond-vanilla: Add 1/4 teaspoon almond extract with the vanilla.
- Strawberry: Beat in 2 to 3 tablespoons freeze-dried strawberry powder. It adds flavor without making the frosting runny.
- Chocolate: Add 1/2 cup unsweetened cocoa powder and an extra splash of cream.
FAQ
How much do I need?
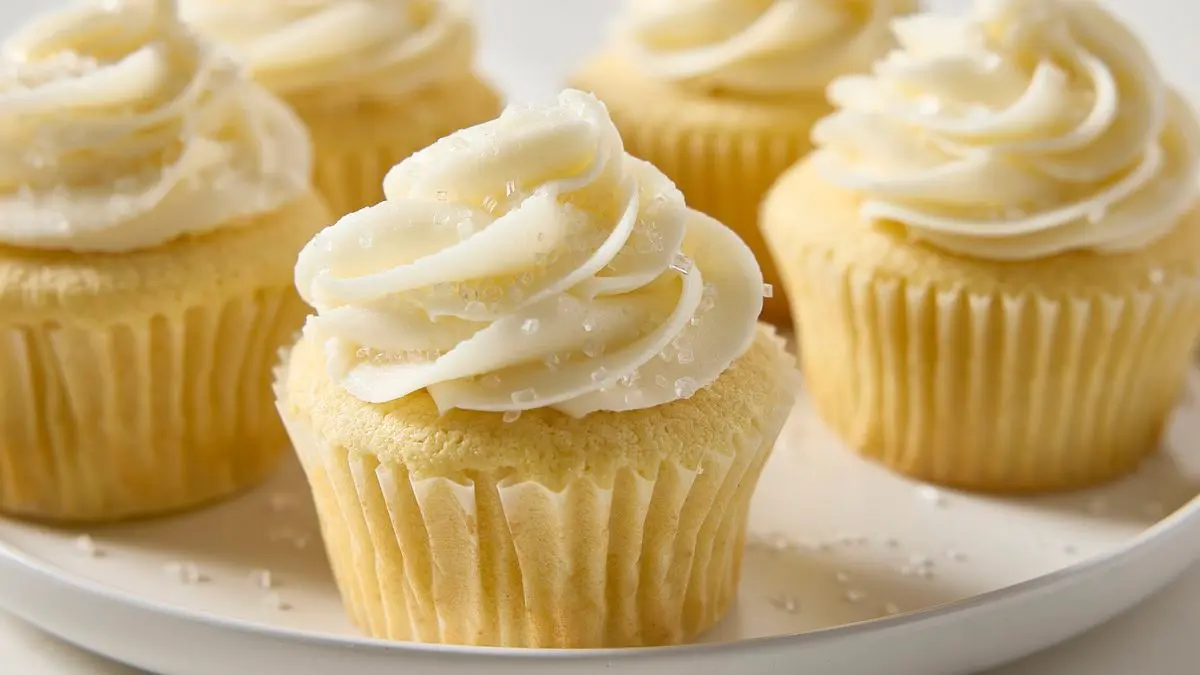
As a rough guide: 2 1/2 to 3 cups will frost 12 to 16 cupcakes generously. For a 2-layer 8-inch cake, 3 cups gives you a thinner finish, and 4 cups is more comfortable for a fuller coat. For a thicker layer cake or lots of piping, plan on 5 to 6 cups.
Can I make it without heavy cream?
Yes. Use milk, half-and-half, or even a non-dairy milk. Add slowly, since thinner liquids loosen frosting quickly.
Can I color it?
Gel food coloring is easiest because it adds strong color without thinning the frosting. Start with a tiny amount and build gradually.
Why does mine have air bubbles?
Over-whipping at high speed can trap bubbles. Fix it by mixing on low for a minute, then pressing the frosting against the side of the bowl with a spatula to knock out extra air.