
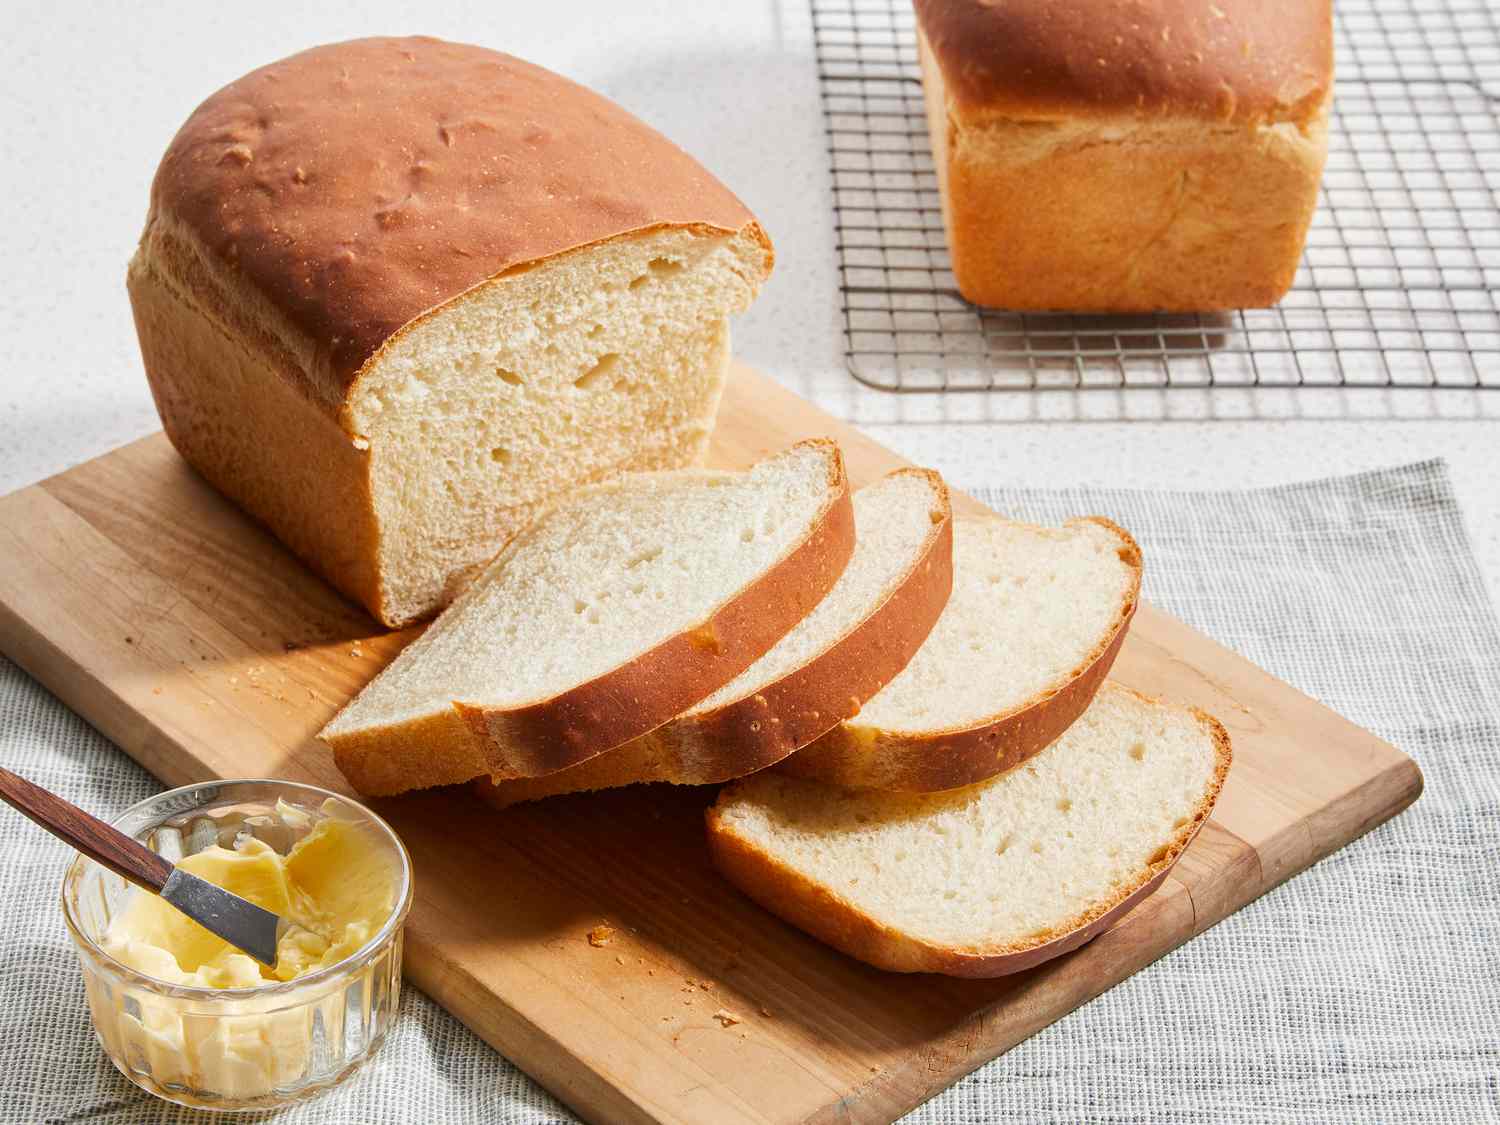
There is something deeply calming about bread dough. It is just flour, water, yeast, and salt, but with a little time it becomes this fragrant, golden thing that makes your kitchen feel like home. If yeast bread has ever felt intimidating, I want you to know this: you do not need a culinary degree. You need a bowl, a spoon, and a few cues to watch for.
This page gives you a truly doable loaf: soft crumb, crisp edges, and that classic “real bread” flavor. I will walk you through what to look for at each stage, offer swaps if your pantry is missing something, and help you troubleshoot the common hiccups.

What makes this bread easy
Easy does not mean bland. It means we set you up for success with a dough that is forgiving and a method that fits real life.
- One bowl, no stand mixer required: You can knead by hand and still get a beautiful loaf.
- Flexible timeline: If dinner runs long, the dough can usually handle it. You are watching the dough, not the clock.
- Simple shaping: No complicated folds or fancy scoring needed.
- Pan loaf friendly: A loaf pan helps the dough rise tall and gives you neat slices for toast and sandwiches.
Yeast basics
Active dry vs instant yeast
Both work great here.
- Instant yeast: Mixes right into flour. It tends to rise a little faster.
- Active dry yeast: Usually benefits from being dissolved in warm liquid first. If your packet says to proof it, follow that.
How warm should the water be?
Aim for warm, not hot. The cozy-bath test works, but if you like numbers, shoot for about 100 to 110°F (38 to 43°C) for proofing yeast. Cooler water is fine too, it just takes longer. Too hot can damage yeast.
If you are unsure, err on the cooler side. Bread can wait. Dead yeast cannot un-die.
Ingredients (and smart swaps)
This loaf is designed for everyday pantry ingredients. Here is what each one does, plus substitutions that keep the bread approachable.
- All-purpose flour: Reliable and easy to find. You can swap in bread flour for a slightly chewier loaf.
- Yeast: Instant or active dry.
- Warm water or warm milk: Water makes a slightly leaner loaf. Milk adds softness and a gentler crumb.
- Salt: For flavor and structure. Do not skip it.
- Sweetener (sugar or honey): Helps with browning and gives yeast a little boost. You can reduce it slightly if you prefer.
- Oil or melted butter: Keeps the bread tender and helps it stay softer longer.
Whole wheat note: If you want to use whole wheat flour, start by replacing 25 to 50 percent of the flour. Whole wheat absorbs more water, so the dough may need an extra splash.
Step-by-step: Easy Yeast Bread
Think of bread-making as a small set of repeating skills: mix, knead, rise, shape, rise again, bake. Once you recognize what each stage should look like, you can bake bread almost anywhere.
1) Mix the dough
Combine your warm liquid, yeast, and sweetener, then add flour and salt. Stir until you get a shaggy, slightly sticky dough with no dry flour patches.
Quick reassurance about salt: It is fine to add salt with the flour. Just do not pour salt directly onto yeast that is sitting in liquid.
What you are looking for: A rough ball that looks messy but cohesive. It should feel tacky and soft. If it is dusty or stiff, add water 1 tablespoon at a time. If it is soupy, sprinkle in flour 1 tablespoon at a time.
2) Knead until smooth
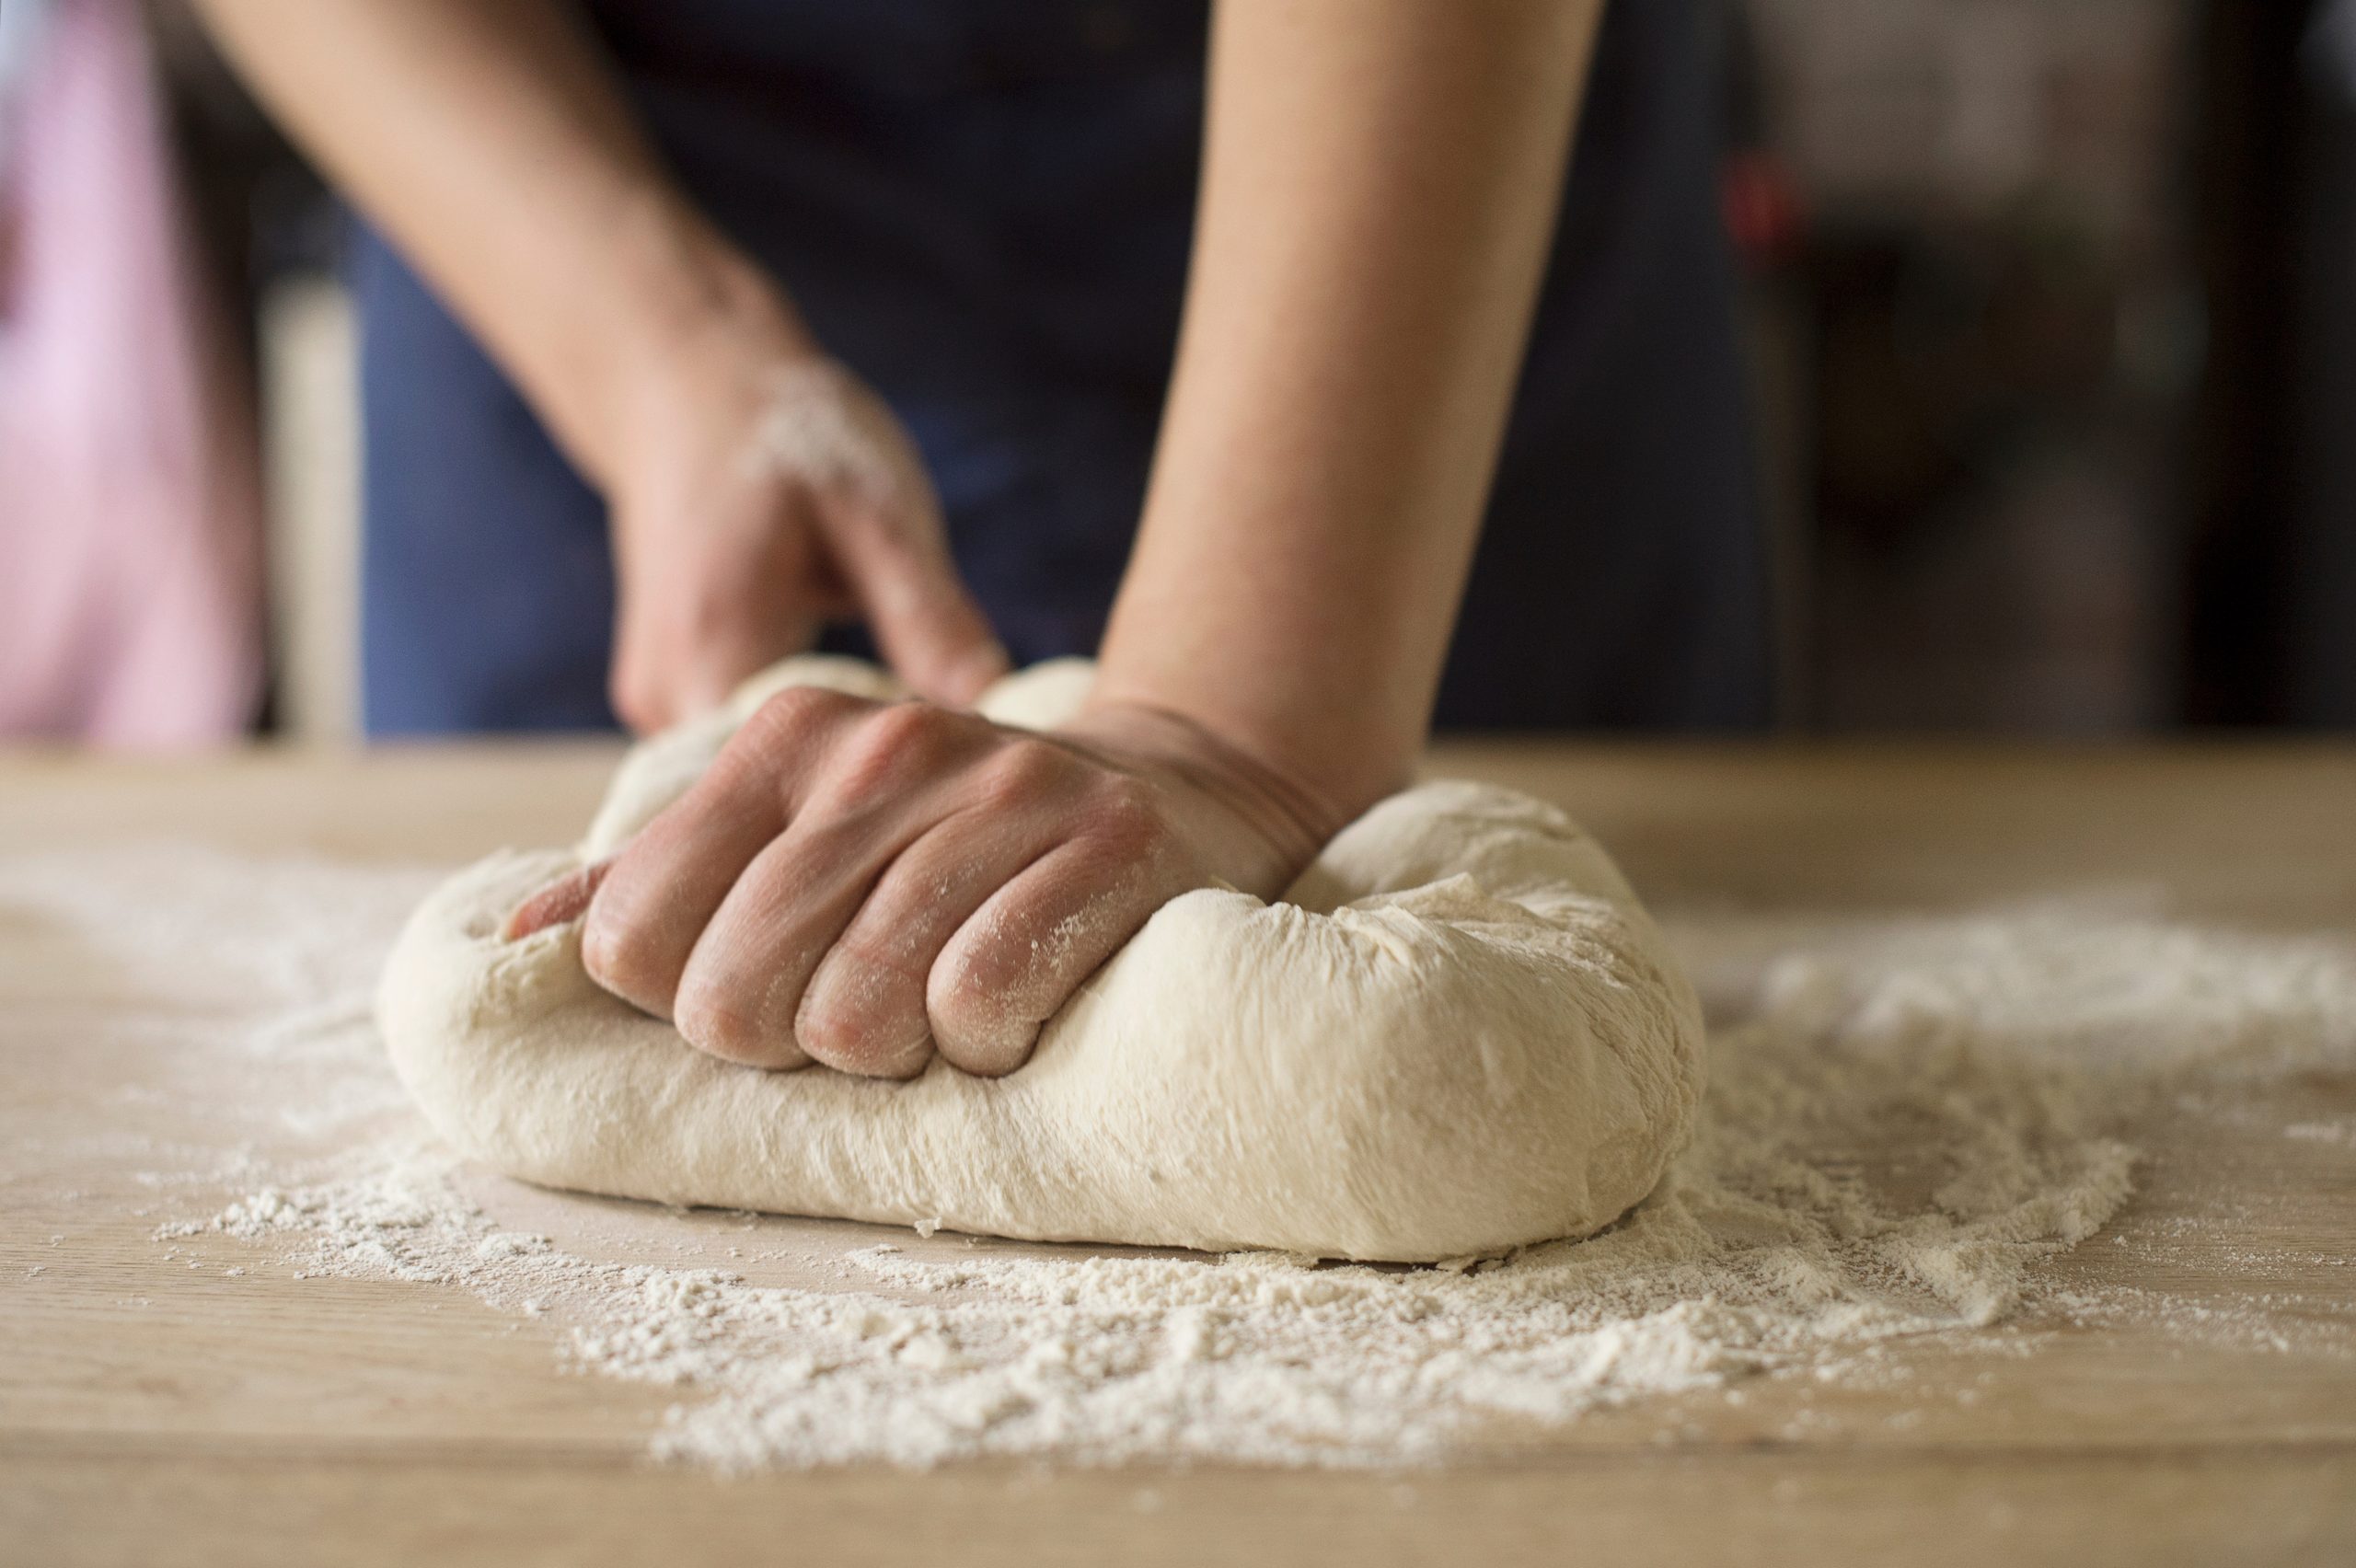
Kneading organizes gluten so the dough can trap gas and rise well. You can knead on a lightly floured counter for about 8 to 10 minutes.
What you are looking for: Dough that feels elastic and smoother than when you started. It should be tacky but not cling to your hands like glue.
Optional cue (if you want one): Try a gentle “windowpane” check. Stretch off a small piece. If it stretches a bit before tearing, you are in a good place. It does not need to be perfect for a cozy everyday loaf.
The two rises
First rise (bulk rise)
Place dough in a lightly oiled bowl, cover, and let it rise until doubled. In a warm kitchen, this might take around 60 to 90 minutes. In a cool kitchen, it can take longer and that is normal.
How to tell it is ready: Gently press a fingertip into the dough. If the dent slowly springs back but stays visible, you are in a great spot.
Second rise (after shaping)
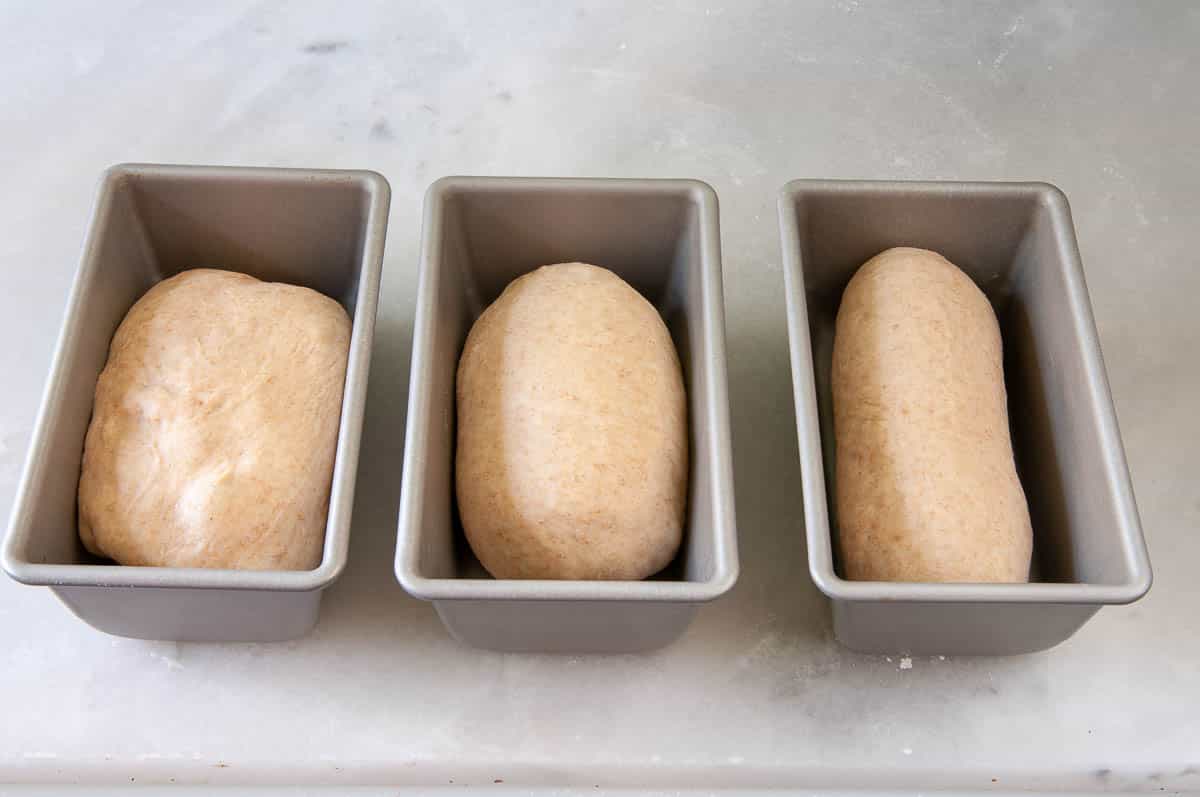
After you shape and place the dough in the pan, it rises again until it looks puffy and has lifted above the rim of the pan.
Tip: Over-proofing is more likely on the second rise. If the dough looks very fragile and airy, bake sooner rather than later.
Shaping a loaf
You do not need perfection here. The goal is a snug roll with a little tension on the surface.
- Turn the dough out and press it into a rectangle.
- Roll it up tightly from the short side, like a sleeping bag.
- Pinch the seam closed and tuck the ends under.
- Place seam-side down into a greased loaf pan.
Why tight rolling matters: It helps avoid large tunnels and gives you even slices for sandwiches.
Pan size note: A 9x5-inch pan is standard here. If you use an 8.5x4.5-inch pan, your loaf will be taller and may need a few extra minutes in the oven.
Baking
Preheat the oven fully and bake on the middle rack for even heat. Bake until deeply golden and the loaf sounds hollow when tapped. You may also notice the sides start to pull slightly away from the pan.
If you have an instant-read thermometer, aim for 190 to 195°F (88 to 91°C) in the center. If you hit 200°F (93°C), it is not ruined, but it can be a little drier depending on your oven and flour.
- For a softer crust: Brush warm bread with melted butter right after baking.
- For a darker crust: Brush the top with milk or an egg wash before baking.
- For clean slices: Let the loaf cool at least 45 minutes. Hot bread is still setting inside, and slicing too soon can make it gummy.
Troubleshooting
My dough did not rise
- Your yeast might be expired or the liquid was too hot.
- Your kitchen may be cold. Give it more time, or let it rise in an off oven with the light on.
- If you proofed active dry yeast and it did not get bubbly and fragrant (a light foam is great, but not required), your yeast may be the issue.
My bread is dense
- Most often: not enough rise time, or the dough needed a little more kneading.
- Too much flour can also cause density. Next time, hold back a little flour and add only if the dough is unmanageably sticky.
- If your dough felt stiff while mixing, add a bit more liquid. Even 1 to 4 tablespoons can make a big difference in softness.
My bread cracked on the side
- This usually means it was under-proofed on the second rise. Let it get puffier next time before baking.
My loaf browned too fast
- Your oven may run hot. Tent the top loosely with foil for the last 10 to 15 minutes.
Make-ahead and storage
- Room temperature: Store cooled bread in a bag or bread box for 2 to 3 days.
- Freeze for later: Slice first, then freeze in a freezer bag. Toast slices straight from frozen.
- Revive day-old bread: Toast it, or warm slices briefly in the oven to bring back that bakery smell.
Leftover magic: If you end up with a few dry slices, cube them for croutons or pulse into breadcrumbs. This is one of my favorite “nothing wasted” kitchen wins.
Easy Yeast Bread Recipe
Easy Yeast Bread (Soft Everyday Loaf)
Makes: 1 loaf (about 10 to 12 slices)
Time: About 2 hours 30 minutes (mostly hands-off)
Ingredients
- 3 cups (360 g) all-purpose flour, plus more as needed
- 2 1/4 teaspoons (1 packet) instant yeast or active dry yeast
- 1 1/4 teaspoons fine salt
- 1 tablespoon sugar or honey
- 1 cup (240 ml) warm water or warm milk, plus 1 to 4 tablespoons more as needed
- 2 tablespoons olive oil or melted butter
- Optional: 1 tablespoon melted butter for brushing after baking
Instructions
- Mix: In a large bowl, combine warm water (or milk), sugar, and yeast. If using active dry yeast, let sit 5 to 10 minutes until bubbly and fragrant (a light foam is great, but not required). Stir in oil. Add flour and salt, then stir until a shaggy dough forms. If the dough feels stiff or dry, add 1 tablespoon more warm water at a time until it feels soft and tacky.
- Knead: Turn dough onto a lightly floured counter and knead 8 to 10 minutes, adding a sprinkle of flour only if needed, until smooth and elastic.
- First rise: Place dough in a lightly oiled bowl, cover, and let rise until doubled, about 60 to 90 minutes (longer in a cool kitchen).
- Shape: Grease a 9x5-inch loaf pan. Gently press dough into a rectangle, roll into a tight log, pinch seam closed, and place seam-side down in the pan.
- Second rise: Cover and let rise until puffy and the dough crowns about 1 inch above the rim of the pan, about 30 to 60 minutes.
- Bake: Heat oven to 375°F (190°C) and place a rack in the middle. Bake 30 to 38 minutes, until deep golden and the loaf sounds hollow when tapped. If browning too quickly, tent with foil.
- Cool: Remove from pan and cool on a rack at least 45 minutes before slicing. Brush with melted butter for a softer crust, if you like.
Notes
- Flour measuring tip: Spoon flour into the cup and level it off. Scooping directly from the bag can pack in extra flour and make the loaf dry.
- Doneness check: If you have a thermometer, aim for 190 to 195°F (88 to 91°C) in the center.
- Pan size note: An 8.5x4.5-inch pan makes a taller loaf and may take a few extra minutes.
FAQ
Can I make this bread without a mixer?
Absolutely. Hand-kneading is perfect here. If you have a stand mixer, you can use a dough hook, but it is not required.
Can I reduce the sugar?
Yes. The sugar helps browning and gives yeast a nudge, but you can cut it down. I would keep at least 1 to 2 teaspoons so the loaf still bakes up nicely golden.
What if I only have bread flour?
Use it. Bread flour can absorb a little more water, so if the dough feels stiff, add a teaspoon or two of water during mixing.
How do I make it more flavorful?
Two easy options: let the first rise go a little longer in a cooler spot, or refrigerate the dough (covered) overnight after mixing, then shape and let it rise the next day. More time equals more flavor.