
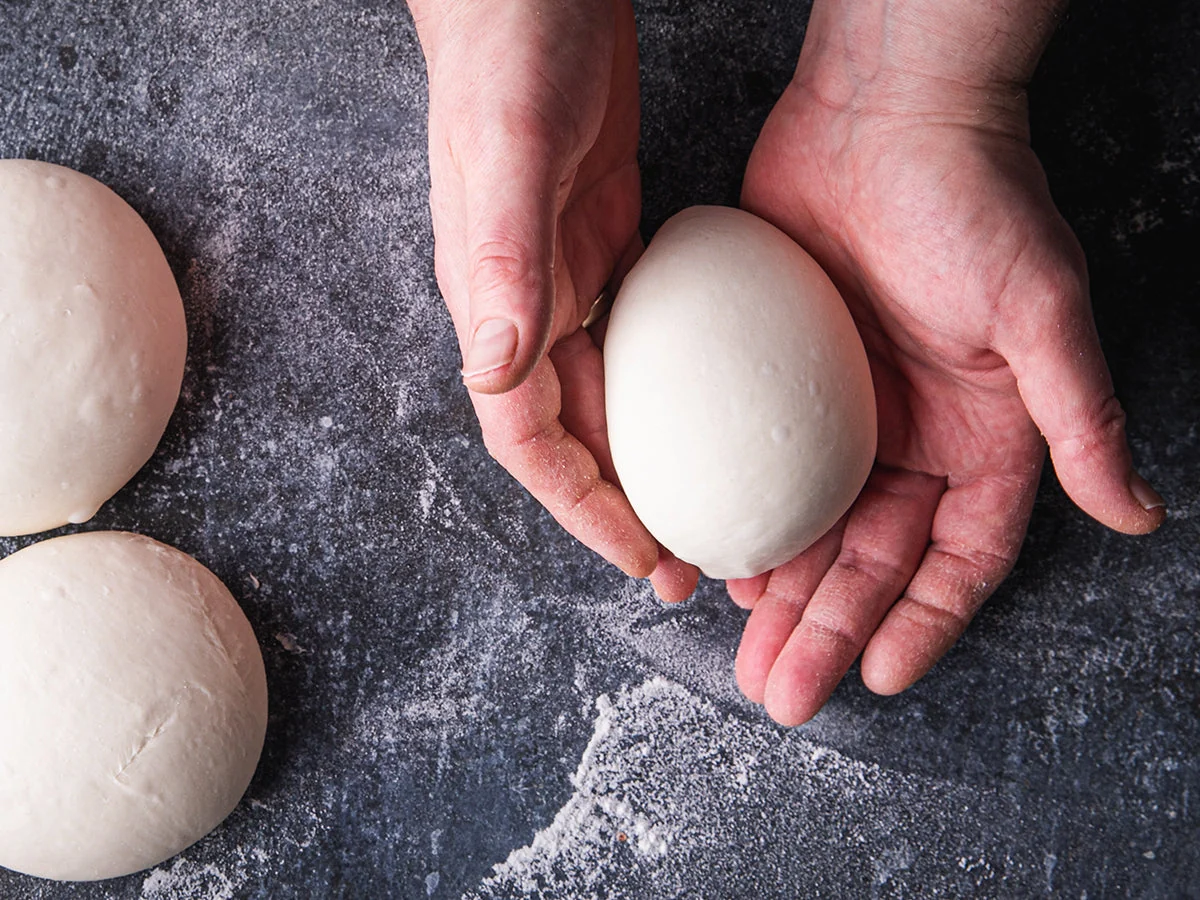
If pizza night has ever made you feel like you need a degree in dough, let me be your calm kitchen buddy for a minute. Yeast pizza dough is less about perfection and more about learning what “good signs” look and feel like. Once you know those cues, you can make a crust that is crisp at the edges, chewy in the center, and sturdy enough to hold your toppings without turning soggy.
This recipe is designed for real life: standard all-purpose flour, a quick knead, and flexible timing so you can bake tonight or stash dough for later.

What yeast does in pizza dough
Yeast is a tiny living organism that eats sugars and releases carbon dioxide. In dough, that gas gets trapped in a stretchy network of gluten, creating air pockets that give you lift, chew, and a lighter texture.
- Fermentation equals flavor. The longer the dough ferments (especially in the fridge), the more complex and slightly tangy it tastes.
- Gluten equals structure. Mixing and kneading organize flour proteins into gluten so the dough can stretch thin without tearing.
- Heat equals oven spring. In the first minutes of baking, trapped gases expand fast, puffing the rim. Those dramatic little blisters are more likely with a longer cold ferment and a very hot baking surface.
Ingredients and why they matter
- Flour: All-purpose works beautifully. Bread flour gives a chewier crust and a little more stretch. If you swap to bread flour, hold back a tablespoon or two of water at first since it absorbs more.
- Yeast: Instant yeast is easiest because you can mix it right into the flour. Active dry yeast also works; it just benefits from dissolving in warm water first.
- Water: Warm water (about 100 to 110°F / 38 to 43°C) helps yeast get moving. Instant yeast is also happy with lukewarm or even cool water; the rise will just take longer. If water is too hot, yeast can get stressed or die.
- Salt: Makes dough taste like pizza instead of bland bread and helps strengthen gluten. Try not to forget it.
- Olive oil: Adds tenderness and flavor, and helps browning. It also makes the dough easier to handle.
- Sugar (optional but helpful): A small amount can help yeast get started and encourages browning, especially in home ovens that do not run as hot as pizza ovens.
Good to know: This dough sits at about 62% hydration (240 g water to 390 g flour). That is a manageable, medium-hydration sweet spot: stretchy and chewy, but not so wet that it feels like a sticky science project.
Note on measuring: If you can, use a kitchen scale. It makes pizza dough much more consistent. If you are using cups, fluff your flour, spoon it into the cup, then level it. Scooping packs flour and can make dough dry.
Pizza Dough with Yeast (2 large pizzas)
Overview
- Yield: 2 dough balls (about 12 to 14-inch pizzas)
- Time: 15 minutes active, 60 to 90 minutes rise (or 12 to 72 hours in the fridge)
- Best conditions: A warm room helps. Around 70 to 75°F (21 to 24°C) is a happy place for steady rising.
Ingredients
- 390 g (about 3 cups) all-purpose flour, plus more for dusting
- 7 g (2 1/4 tsp) instant yeast
- 10 g (1 3/4 tsp) fine salt
- 10 g (2 tsp) sugar or honey (optional)
- 240 g (1 cup) warm water, about 100 to 110°F / 38 to 43°C
- 20 g (1 1/2 tbsp) olive oil, plus a little more for the bowl
Method
- Mix the dry ingredients. In a large bowl, whisk together the flour, instant yeast, salt, and sugar (if using). Make a well in the center.
- Add water and oil. Pour in the warm water and olive oil. Stir with a spoon or dough whisk until you have a shaggy dough with no dry patches. If it looks very dry and floury after a full minute of stirring, add 1 to 2 teaspoons of water.
- Rest (quick autolyse). Cover and let the dough sit for 10 minutes. This little pause hydrates the flour and makes kneading easier.
- Knead. Turn the dough onto a lightly floured counter and knead 6 to 8 minutes, until smooth and elastic. The dough should feel soft and slightly tacky, not sticky like paste. If it is sticking to everything, dust your hands and counter lightly. If it feels stiff or keeps tearing, knead in a teaspoon of water at a time.
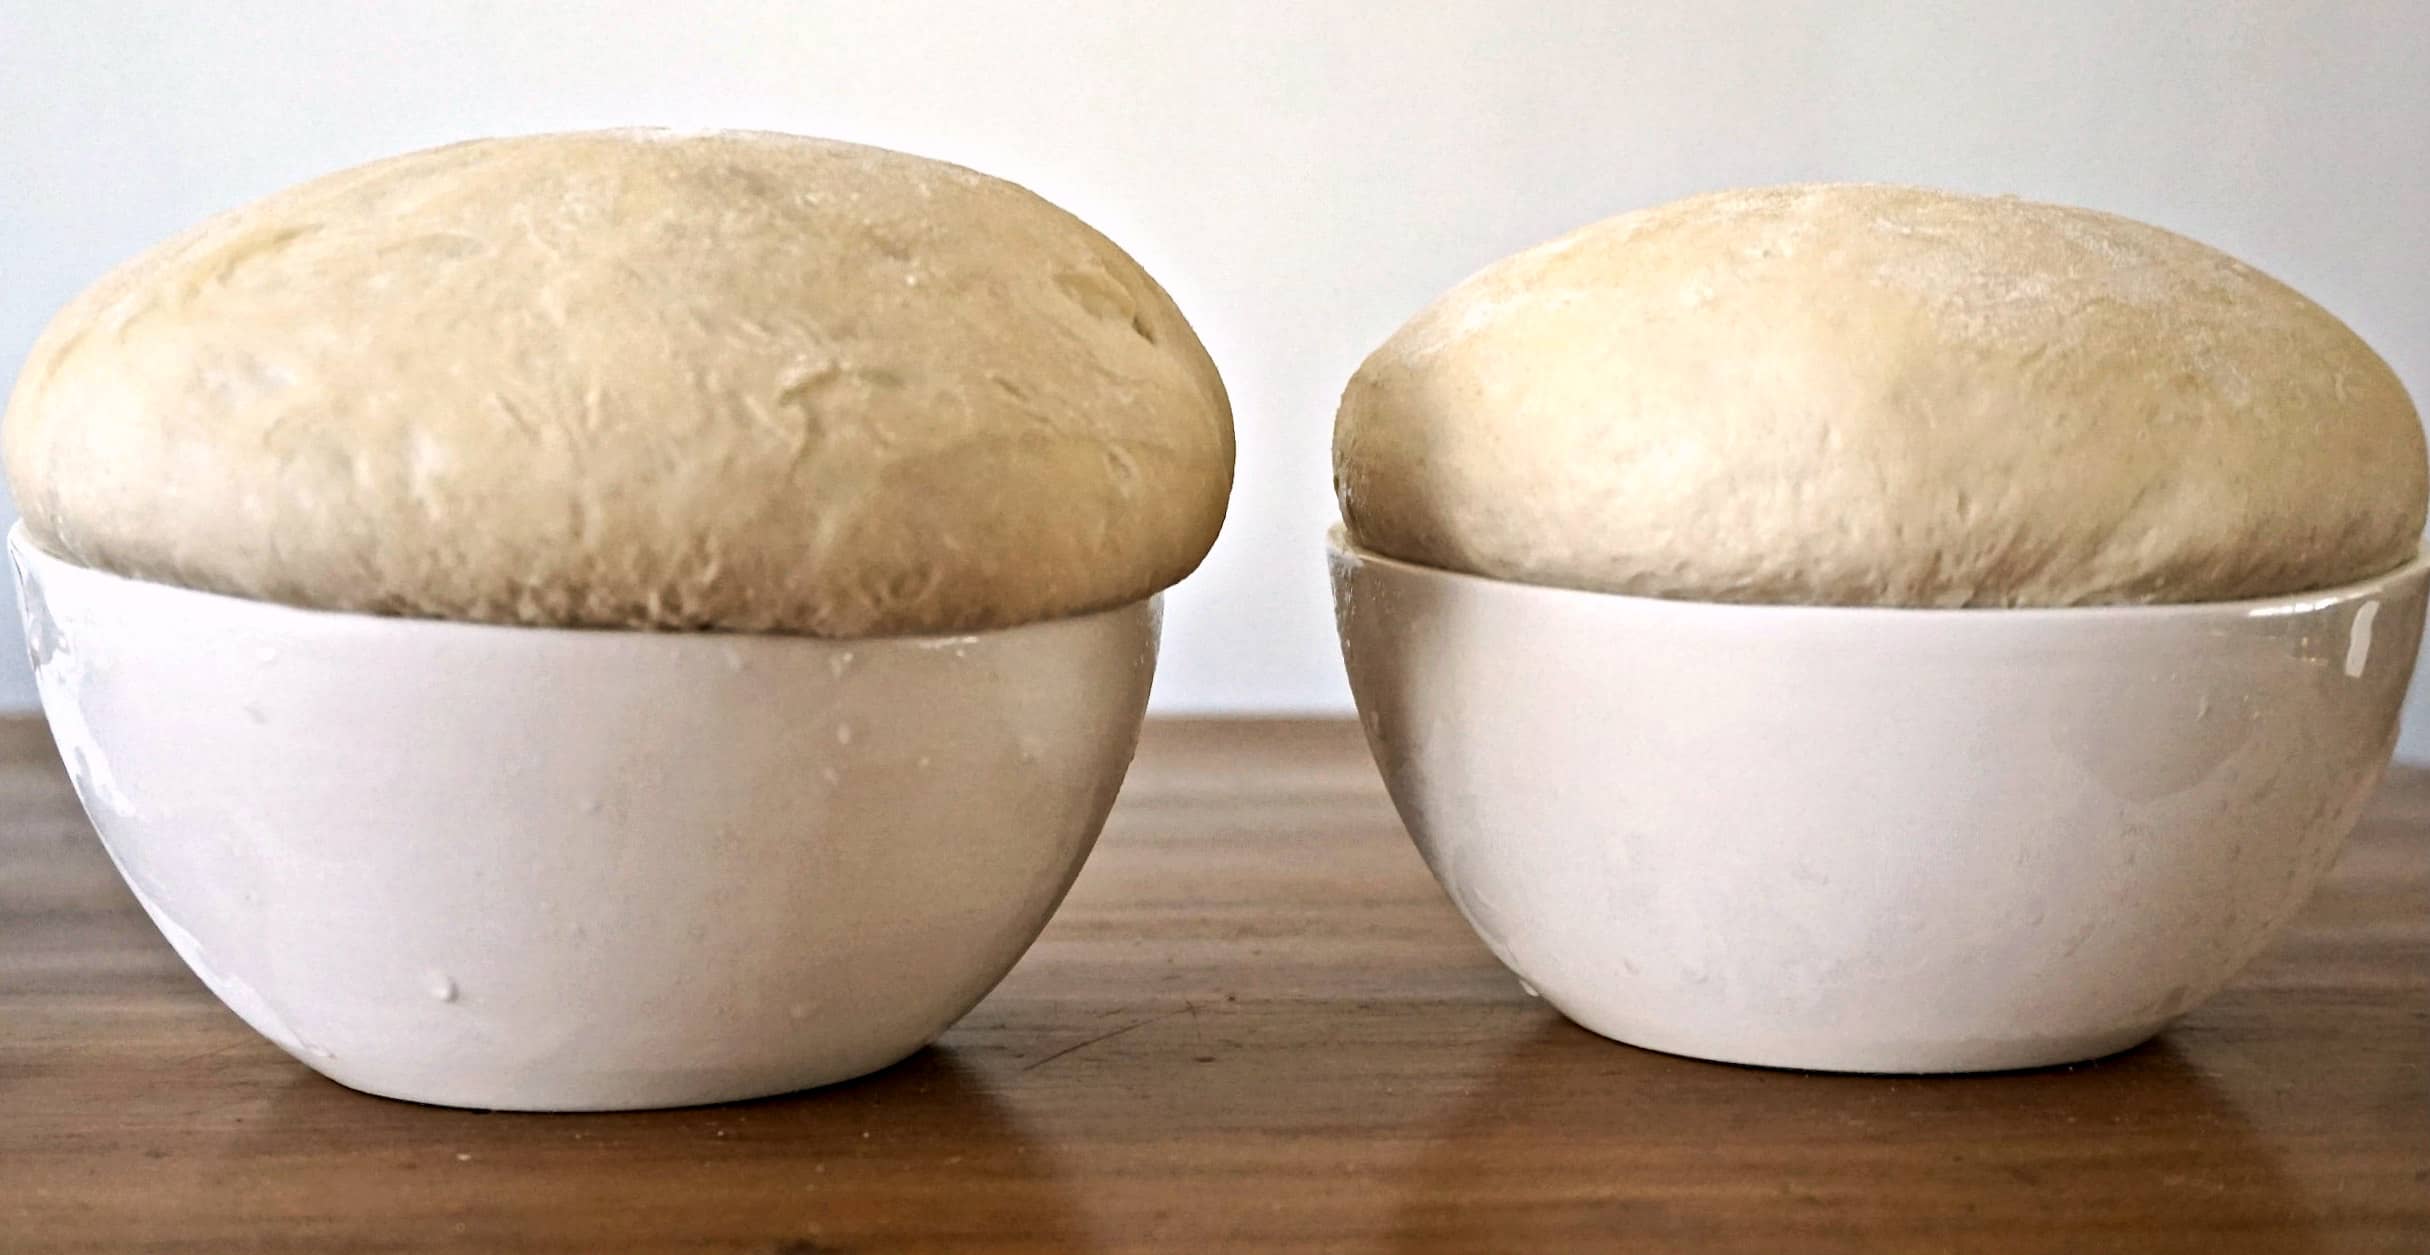
- First rise. Lightly oil the bowl, place dough inside, and turn once to coat. Cover and let rise until doubled, 60 to 90 minutes depending on room temperature.
- Divide and ball. Turn out the dough and divide into 2 equal pieces. Shape each into a tight ball by tucking the edges under and pinching to seal.
- Choose your timing.
- Bake tonight: Cover the dough balls and rest 15 to 30 minutes. This relaxes gluten so stretching is easy.
- Overnight (more flavor): Place each dough ball in a lightly oiled container with a lid or a zip-top bag. Refrigerate 12 to 72 hours. Before baking, let dough sit at room temperature 60 to 90 minutes so it warms and relaxes.
- Stretch and bake. Preheat the oven to 500 to 550°F (260 to 290°C) with a pizza stone or steel on the middle rack. Give it at least 30 minutes, and 45 to 60 minutes if your stone is thick. Stretch dough (thin in the center, thicker at the rim), top lightly, and bake until the rim is deep golden and the underside is browned.
- On a steel: usually 7 to 10 minutes.
- On a stone: usually 8 to 12 minutes.
- On a sheet pan: usually 10 to 14 minutes (and you may want a touch more oil under the dough).
Active Dry Yeast Option
If using active dry yeast, dissolve it (and the sugar if using) in the warm water and wait 5 to 10 minutes until foamy, then mix with flour, salt, and oil.
How to tell your dough is ready
Yeast dough does not run on a stopwatch; it runs on temperature. Here are the cues I rely on:
- Volume: It should look doubled or close to it.
- Feel: Puffy and lighter when you lift the bowl.
- Finger test: Press a floured fingertip into the dough. If the dent slowly springs back but still leaves a slight impression, it is ready.
If your kitchen is cool, rise time will take longer. That is not failure, it is just physics.
Shaping dough without fighting it
The biggest shaping mistake is using too much flour and too much force. You want the dough to stretch, not be rolled into submission. Use only a light dusting, and save your energy for eating the pizza.
My no-stress method
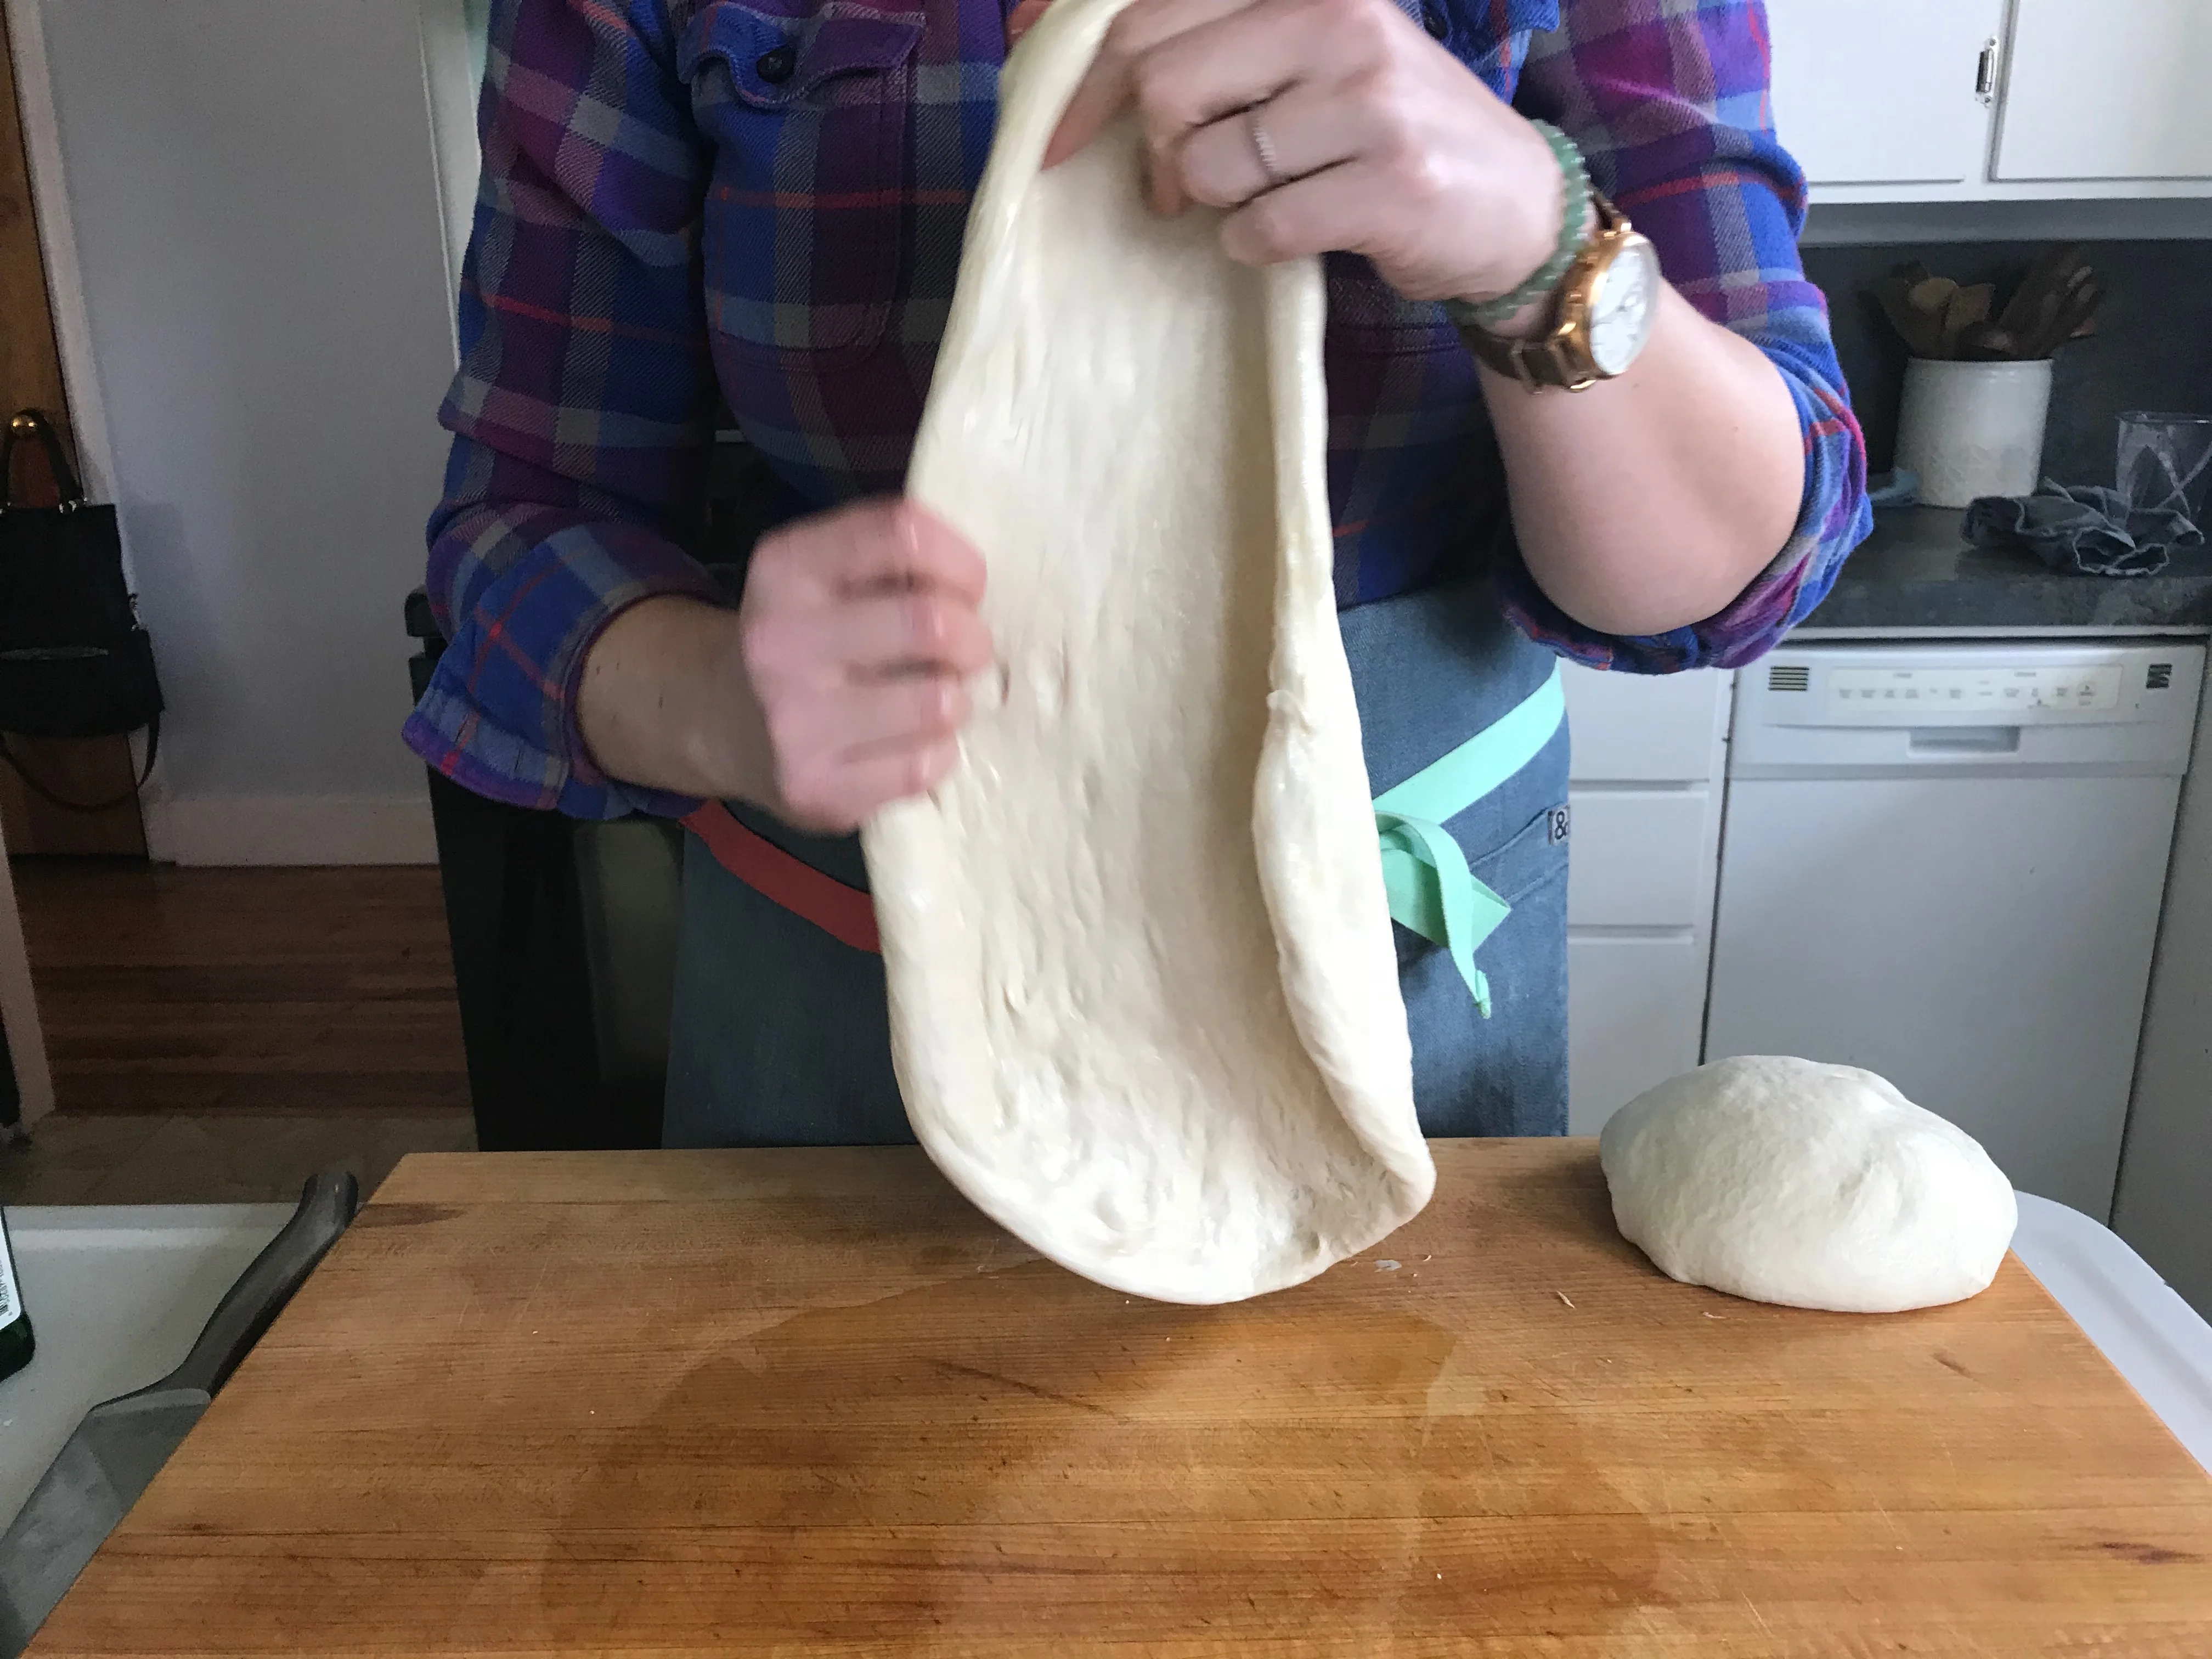
- Start on the counter. Lightly flour your work surface. Place one dough ball down and gently press it into a disk, leaving a thicker rim.
- Pick it up. Lift and drape over your knuckles. Let gravity help while you rotate the dough. If it starts shrinking back, set it down and let it rest 5 minutes.
- Stop earlier than you think. Once it is about 10 to 11 inches, transfer to parchment. When you nudge and stretch on the parchment, it will naturally reach 12 to 14 inches without tearing. Aim for thin in the center, thicker at the edges.
If a hole happens: Pinch it closed like you are mending a little rip in fabric. Then lay that area down so it is supported by the peel or parchment.
Easy transfer tip: Parchment is the most foolproof. If you prefer launching directly onto a stone or steel, dust your peel with semolina or cornmeal (a little goes a long way) to help the dough slide.
Best baking setup for a crisp crust
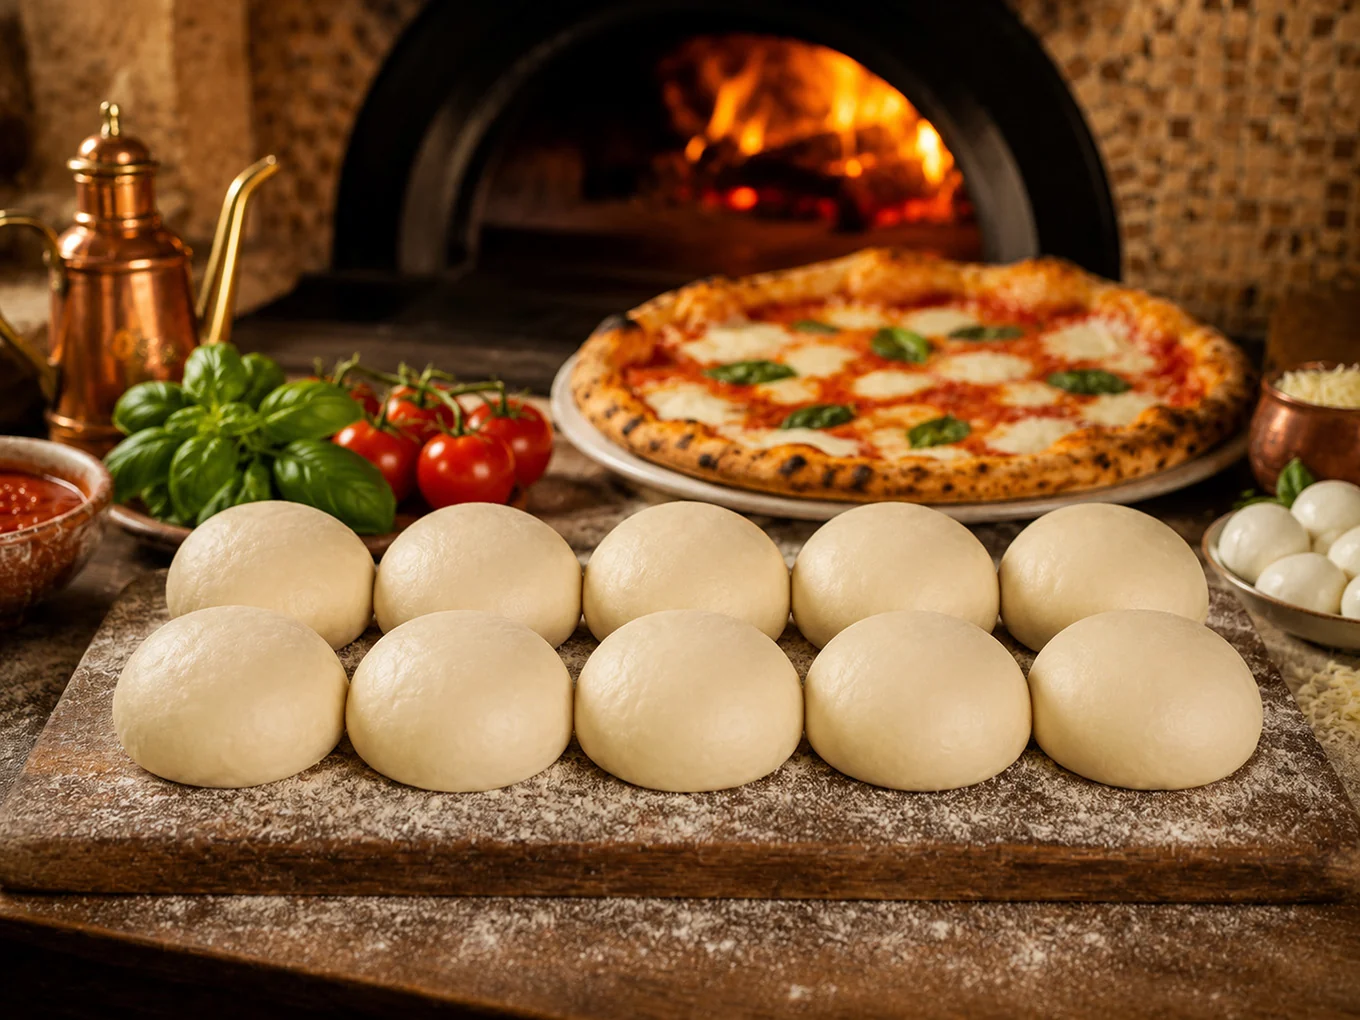
Most home ovens can make incredible pizza if you use strong heat and a good surface.
- Pizza steel: Fastest heat transfer, great browning.
- Pizza stone: Excellent option, preheat longer for best results.
- Sheet pan: Works in a pinch. Use a dark, heavy pan if you have one and preheat it if it is safe to do so.
Two little tricks that help a lot
- Preheat longer than you think. Give the stone or steel at least 30 minutes, and up to 60 minutes for thick stones.
- Go lighter on sauce and toppings. A thin layer bakes up better than a piled-high situation. You can always finish with fresh toppings after baking.
Broiler finish (optional): If your crust is baked through but you want more char on the top, switch to broil for 30 to 90 seconds at the end. Do not walk away, it goes from perfect to tragic quickly.
Make-ahead options
Overnight fridge rise
After the first rise, divide and ball the dough. Place each ball in a lightly oiled container with a lid or a zip-top bag. Refrigerate 12 to 72 hours. When ready to bake, let dough sit at room temperature 60 to 90 minutes so it warms and relaxes.
Freezing dough
Freeze after you divide and ball it. Lightly oil each dough ball, place in a freezer bag, and freeze up to 3 months.
- To thaw: Move to the fridge overnight, then bring to room temp 60 to 90 minutes before stretching.
- In a hurry: You can thaw at room temp for a few hours, but keep it covered so the surface does not dry out.
Troubleshooting yeast pizza dough
Dough did not rise
- Your yeast might be old or the water was too hot. If you are unsure, proof active dry yeast in warm water to confirm it foams.
- Your kitchen might be cold. Give it more time, or let it rise in the oven with just the light on.
Dough is sticky and hard to handle
- Sticky is normal early on. Kneading develops gluten and reduces stickiness.
- Oil your hands lightly instead of adding lots of flour. Too much flour can make the crust tough.
Dough keeps snapping back
- It needs more rest. Cover and let it sit 10 minutes, then try again.
- It may be too cold from the fridge. Warm it up a bit longer.
Crust is pale
- Preheat longer and consider a steel.
- Try a tiny bit of sugar in the dough, or bake a rack higher for more top heat.
Bottom burns before the top is done
- Move the stone or steel up one rack.
- Reduce oven temp by 25°F (about 15°C) and bake a minute or two longer.
FAQ
Can I use instant yeast and active dry yeast interchangeably?
Yes, in most home recipes they are interchangeable at a 1:1 swap by weight, and many people swap 1:1 by volume with good results too. Instant yeast can be slightly more potent, so if you want to be extra precise, use a touch less instant (or just watch the rise and go by the dough cues).
Do I need to knead by hand?
No. A stand mixer with a dough hook works great. Mix on low until combined, then knead 5 to 6 minutes. You still want a smooth, elastic dough that clears the sides of the bowl.
What if I only have whole wheat flour?
You can swap in whole wheat flour for up to half the flour without drastically changing handling. Start with slightly more water since whole wheat absorbs more, and expect a slightly denser, nuttier crust.
How thin should I stretch the dough?
For a 12 to 14-inch pizza, aim for thin in the center with a thicker rim. If you can see light through the center when you lift it, you are in a great zone.