
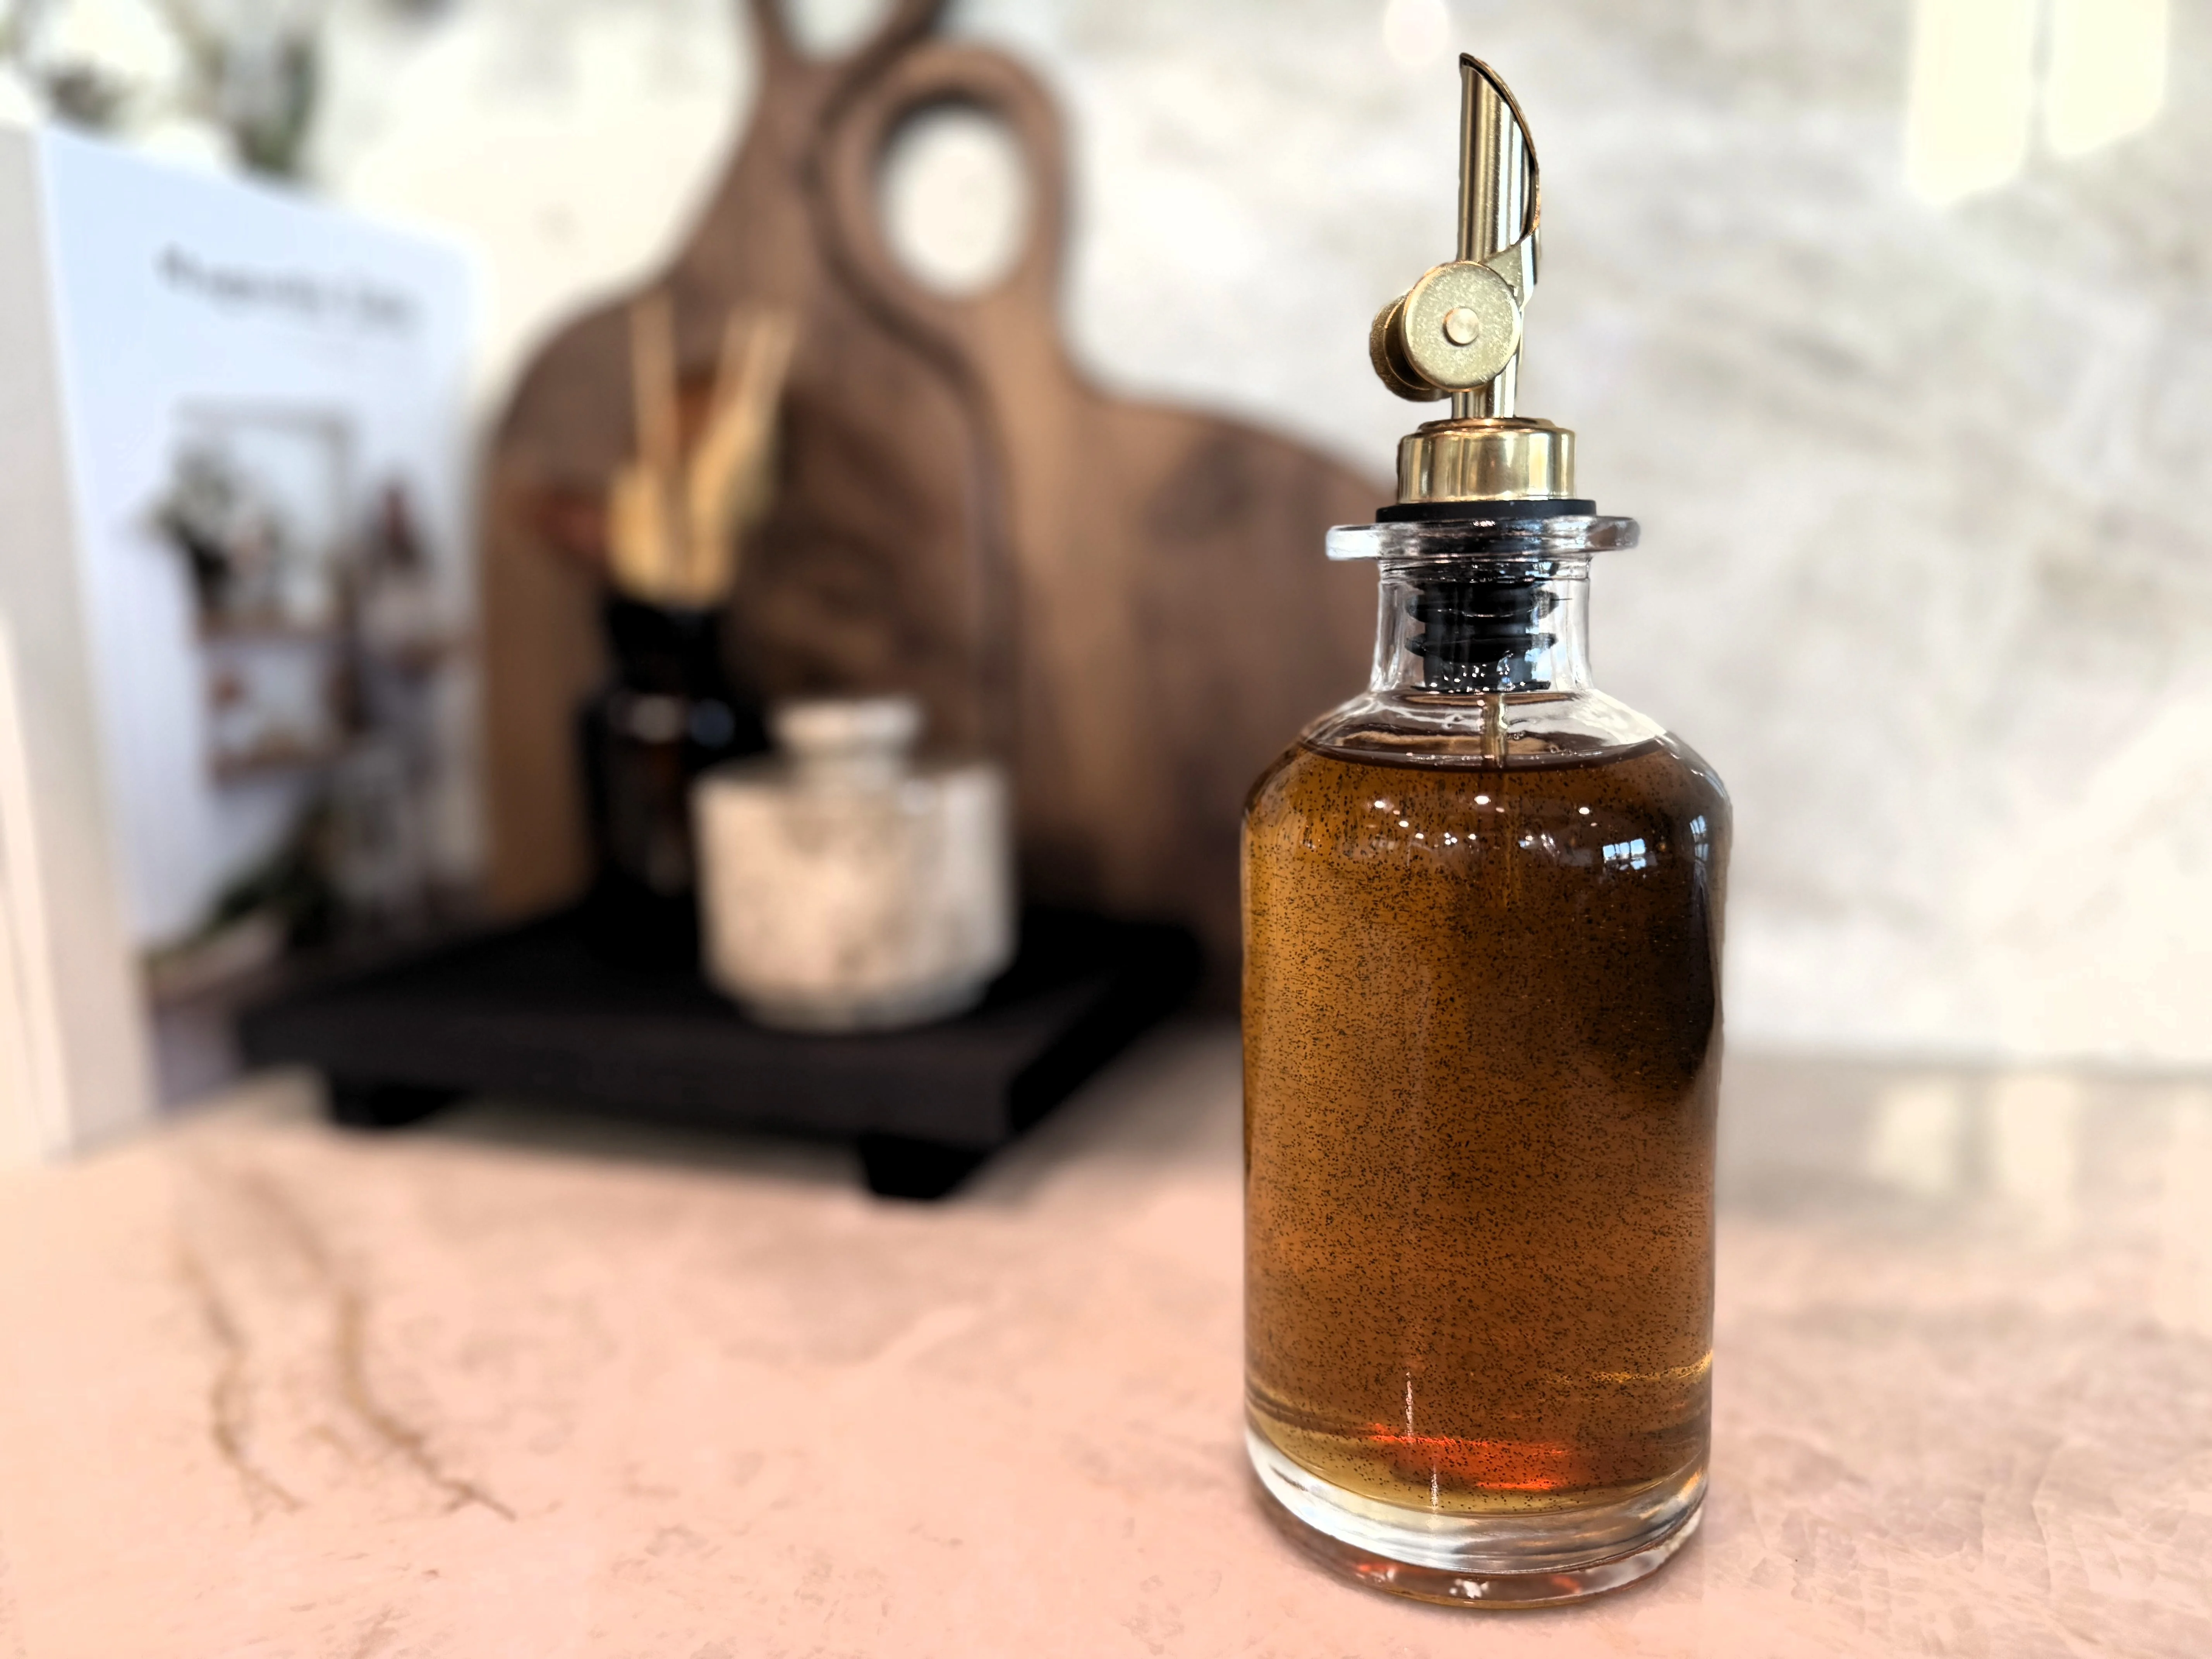

What vanilla syrup is
At its simplest, vanilla syrup is sugar dissolved in water, then flavored with vanilla. That is the basic idea. (Commercial versions may add things like stabilizers or preservatives, but you do not need any of that for a great homemade bottle.)
When you make it at home, you control two things that matter most: the sweetness level and the vanilla intensity. Store-bought options can be either too thin, too cloying, or oddly perfumey. Homemade tastes like actual vanilla and melts smoothly into hot and cold drinks without a grainy sugar crunch.
Ingredients that matter
- Sugar: Plain granulated sugar gives the cleanest flavor and the clearest syrup. Brown sugar works too, but you will get a deeper caramel note and a darker color.
- Water: Tap water is fine. If your water has a strong taste, use filtered water.
- Vanilla: You have choices. Vanilla extract is easiest. Vanilla bean gives the most rounded, bakery-style aroma. Vanilla paste lands in the middle with those pretty specks.
- Optional pinch of salt: It does not make the syrup salty. It just nudges the vanilla forward and keeps the sweetness from tasting flat.
Vanilla note: If you use vanilla extract, add it after the syrup comes off the heat. Heat drives off alcohol and other volatile aromatics, so adding it at the end keeps the flavor brighter. Vanilla bean and paste can handle a gentle simmer.
Best ratio
There are two common styles, and you can pick based on how you plan to use it.
- Standard syrup (easy pouring): 1 cup sugar + 1 cup water. Great for iced coffee, tea, and drizzling fruit.
- Rich syrup (stronger and thicker): 2 cups sugar + 1 cup water. Better for cocktails and for making drinks that do not get watery as the ice melts.
If you are new to homemade syrups, start with the standard 1:1. It is forgiving and blends beautifully.
How to make it
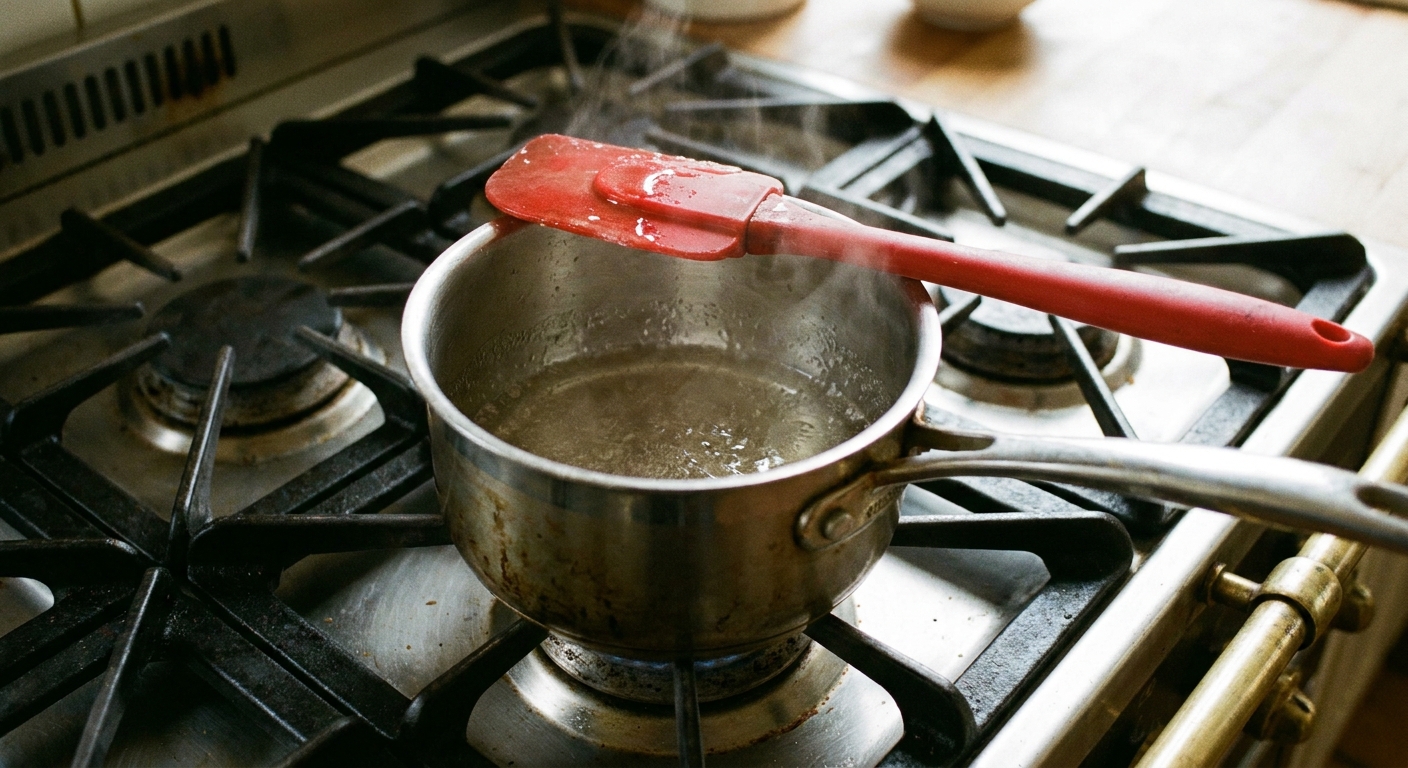
1) Dissolve the sugar
Add sugar and water to a small saucepan. Warm over medium heat, stirring just until the sugar fully dissolves and the liquid looks clear.
Tip from my bakery days: You do not need a rolling boil. Boiling evaporates water and can make the syrup thicker than you intended. Think gentle heat, not drama.
2) Add vanilla
- If using vanilla bean: Split the bean lengthwise, scrape the seeds, and add both seeds and pod to the pan. Simmer very gently for 2 to 3 minutes, then turn off heat and let steep 10 minutes.
- If using vanilla paste: Stir it in at the end, then steep off heat for about 5 minutes.
- If using vanilla extract: Remove the pan from heat first, then stir in extract.
3) Strain if you want to
If you used lavender or a cinnamon stick, strain the syrup through a fine-mesh sieve. For vanilla bean or paste, straining is optional. Some people love the specks, others prefer a perfectly smooth syrup.
4) Cool and bottle
Let the syrup cool to room temperature, then pour into a clean jar or bottle. If you used a vanilla bean, you can either remove the pod or leave it in for stronger flavor over time. (Leaving it in can also shorten shelf life, so keep an eye on freshness.)
Vanilla syrup recipe
Homemade Vanilla Syrup
Yield: About 1 1/2 cups standard syrup
Time: 10 minutes active, plus cooling
Ingredients
- 1 cup granulated sugar
- 1 cup water
- 1 1/2 teaspoons pure vanilla extract (or 1 tablespoon vanilla paste, or 1 whole vanilla bean)
- Pinch of fine salt (optional)
Instructions
- In a small saucepan, combine sugar and water. Warm over medium heat, stirring until the sugar dissolves and the syrup looks clear.
- Flavor the syrup:
- Extract: Turn off the heat, then stir in the vanilla extract.
- Paste: Turn off the heat, stir in the paste, and steep 5 minutes.
- Bean: Add the split bean and scraped seeds during heating, simmer very gently 2 to 3 minutes, then turn off heat and steep 10 minutes.
- Stir in the pinch of salt if using.
- Optional: Strain (especially for herbs or spices). Cool completely, then transfer to a clean bottle or jar. Refrigerate.
Notes
- Rich syrup option: Use 2 cups sugar and 1 cup water. Make the same way.
- Scaling: You can double or triple the recipe. It will take a little longer to heat through, but the method stays the same.
- Do not overboil: You are dissolving sugar, not making candy.
How to use it
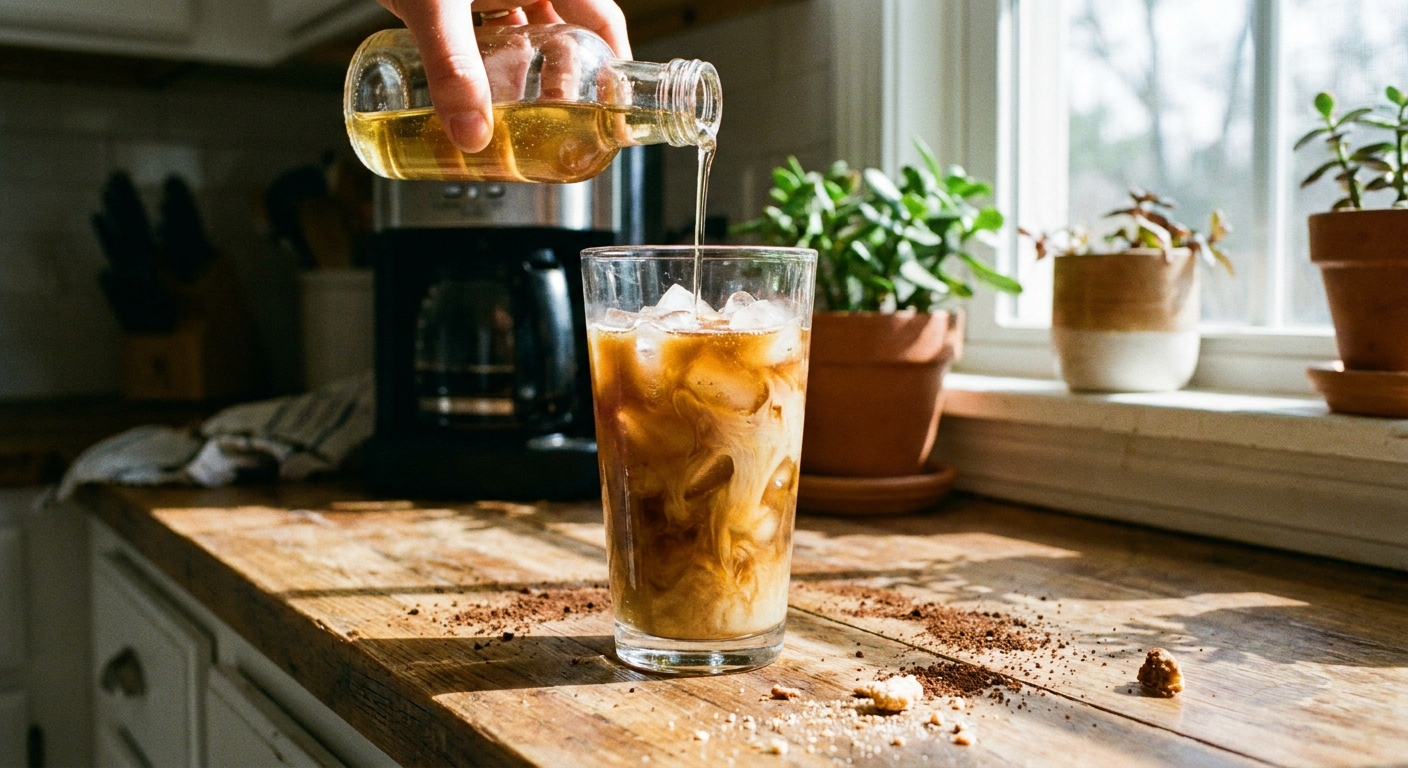
- Coffee drinks: Stir 1 to 2 tablespoons into iced coffee or cold brew. For a latte, start with 1 tablespoon per 8 ounces, then adjust.
- Tea and chai: Especially lovely in black tea, chai, and London Fog-style drinks.
- Milk and hot chocolate: A tablespoon in warm milk tastes like melted vanilla ice cream. Add to hot cocoa for a rounder, sweeter finish.
- Cocktails and mocktails: Use in espresso martinis, whiskey sours, or a vanilla lemonade spritz. Rich syrup is best if the drink is shaken with lots of ice.
- Breakfast: Mix into Greek yogurt, brush onto French toast, or stir into whipped cream for pancakes.
- Dessert shortcut: Drizzle over berries, poached pears, pound cake, or vanilla ice cream when you want a little extra vanilla without baking.
Storage and shelf life
Once cooled, store vanilla syrup in the refrigerator in a clean, tightly sealed bottle or jar.
- Standard 1:1 syrup: Typically keeps about 2 to 4 weeks.
- Rich 2:1 syrup: Often keeps longer, around 1 to 2 months, sometimes more, because the higher sugar concentration is more protective.
These ranges depend on cleanliness, your fridge temperature, and what you add to the syrup. Leaving a vanilla bean in the bottle, adding herbs, or frequent dipping can shorten shelf life.
How to tell it is time to toss it: cloudiness that was not there before, any fizzy bubbles, an off smell, or visible mold. When in doubt, make a fresh batch. It is fast and ingredients are inexpensive.
Small safety habit: Cool the syrup before sealing and refrigerating. Always use a clean spoon or pour straight from the bottle to avoid introducing crumbs or bacteria.
Easy variations
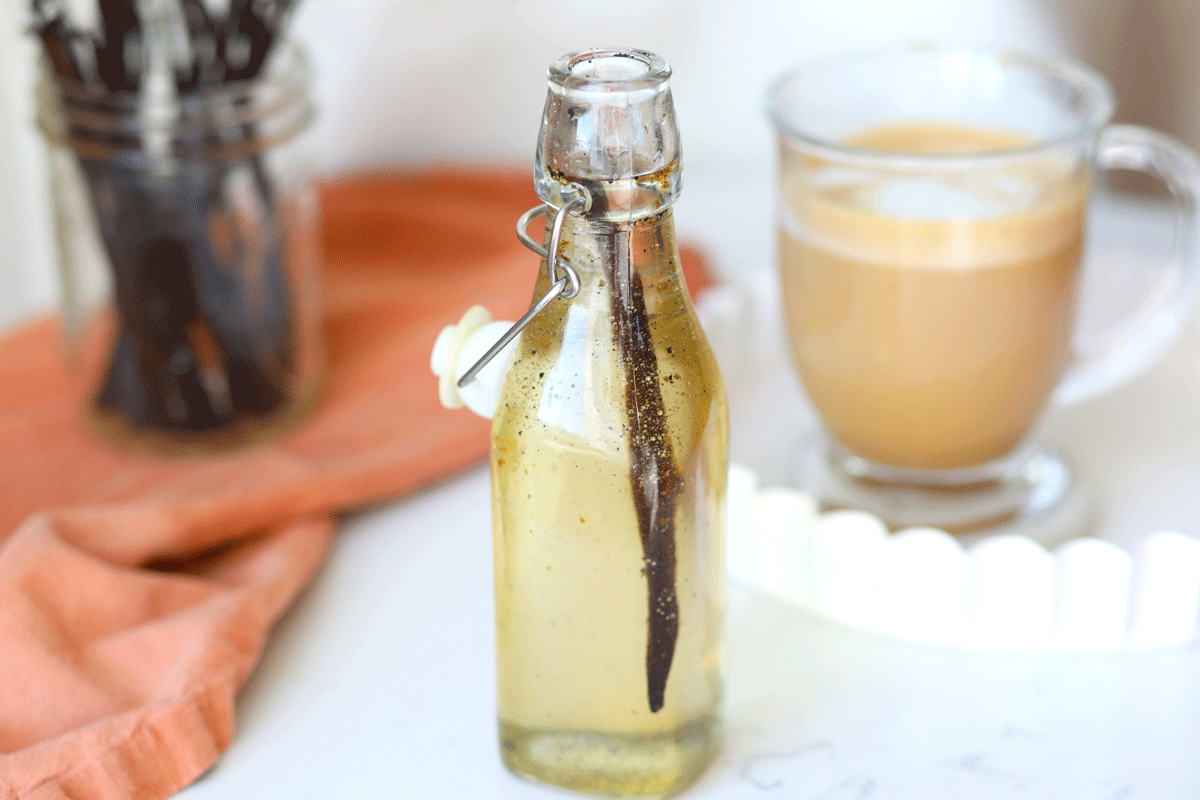
- Vanilla brown sugar syrup: Replace half or all of the sugar with light brown sugar. Cozy, caramel-like, perfect in iced lattes.
- Vanilla cinnamon syrup: Add 1 cinnamon stick while warming the syrup, then steep 10 minutes and remove. Great for fall coffees and oatmeal.
- Vanilla honey syrup: Replace up to half the sugar with honey. Warm gently and do not boil. This is lovely in tea.
- Vanilla lavender syrup: Add 1 to 2 teaspoons culinary lavender off heat, steep 5 minutes, then strain. Start small since lavender can turn soapy fast.
- Sugar-free note: Alternative sweeteners behave differently and can crystallize or separate. If you need sugar-free, use a recipe designed for your sweetener of choice for best texture and shelf life.
Troubleshooting
My syrup crystallized
This usually happens when the sugar was not fully dissolved, or sugar crystals clung to the sides of the pan. Rewarm gently with a splash of water, stir until clear, and cool again. Next time, keep the heat moderate and stir until the liquid is completely clear.
My syrup is too thin
It is probably just the standard 1:1 syrup doing its job. If you want thicker, make the rich 2:1 version rather than boiling longer. Boiling longer can concentrate it in a way that is hard to control.
My syrup tastes weak
For extract, bump up by 1/2 teaspoon at a time. For vanilla bean, let it steep longer, or leave the pod in the bottle in the fridge to keep infusing.
My syrup tastes bitter
If you used a vanilla bean and simmered too hard or too long, the pod can contribute bitterness. Keep it to a gentle simmer, then steep off heat.
FAQ
Can I use imitation vanilla?
You can, and it will still be sweet and pleasant, especially in coffee. If you are using syrup mainly for drinks, imitation vanilla is a budget-friendly option. For drizzling on fruit or desserts where vanilla is the star, pure extract or a bean tastes more natural.
Do I need to sterilize the bottle?
For a small, quick batch, a very clean bottle is usually enough. Run it through the dishwasher or wash with hot soapy water and rinse well. Let it dry fully before filling.
How much syrup should I add to coffee?
Start with 1 tablespoon for an 8 to 12 ounce iced coffee or latte, then adjust. If you are using rich syrup, you may prefer 2 teaspoons since it is sweeter.
Can I keep it at room temperature?
I do not recommend it. Homemade syrups do not have preservatives. Refrigeration keeps the flavor fresher and the syrup safer for longer.