
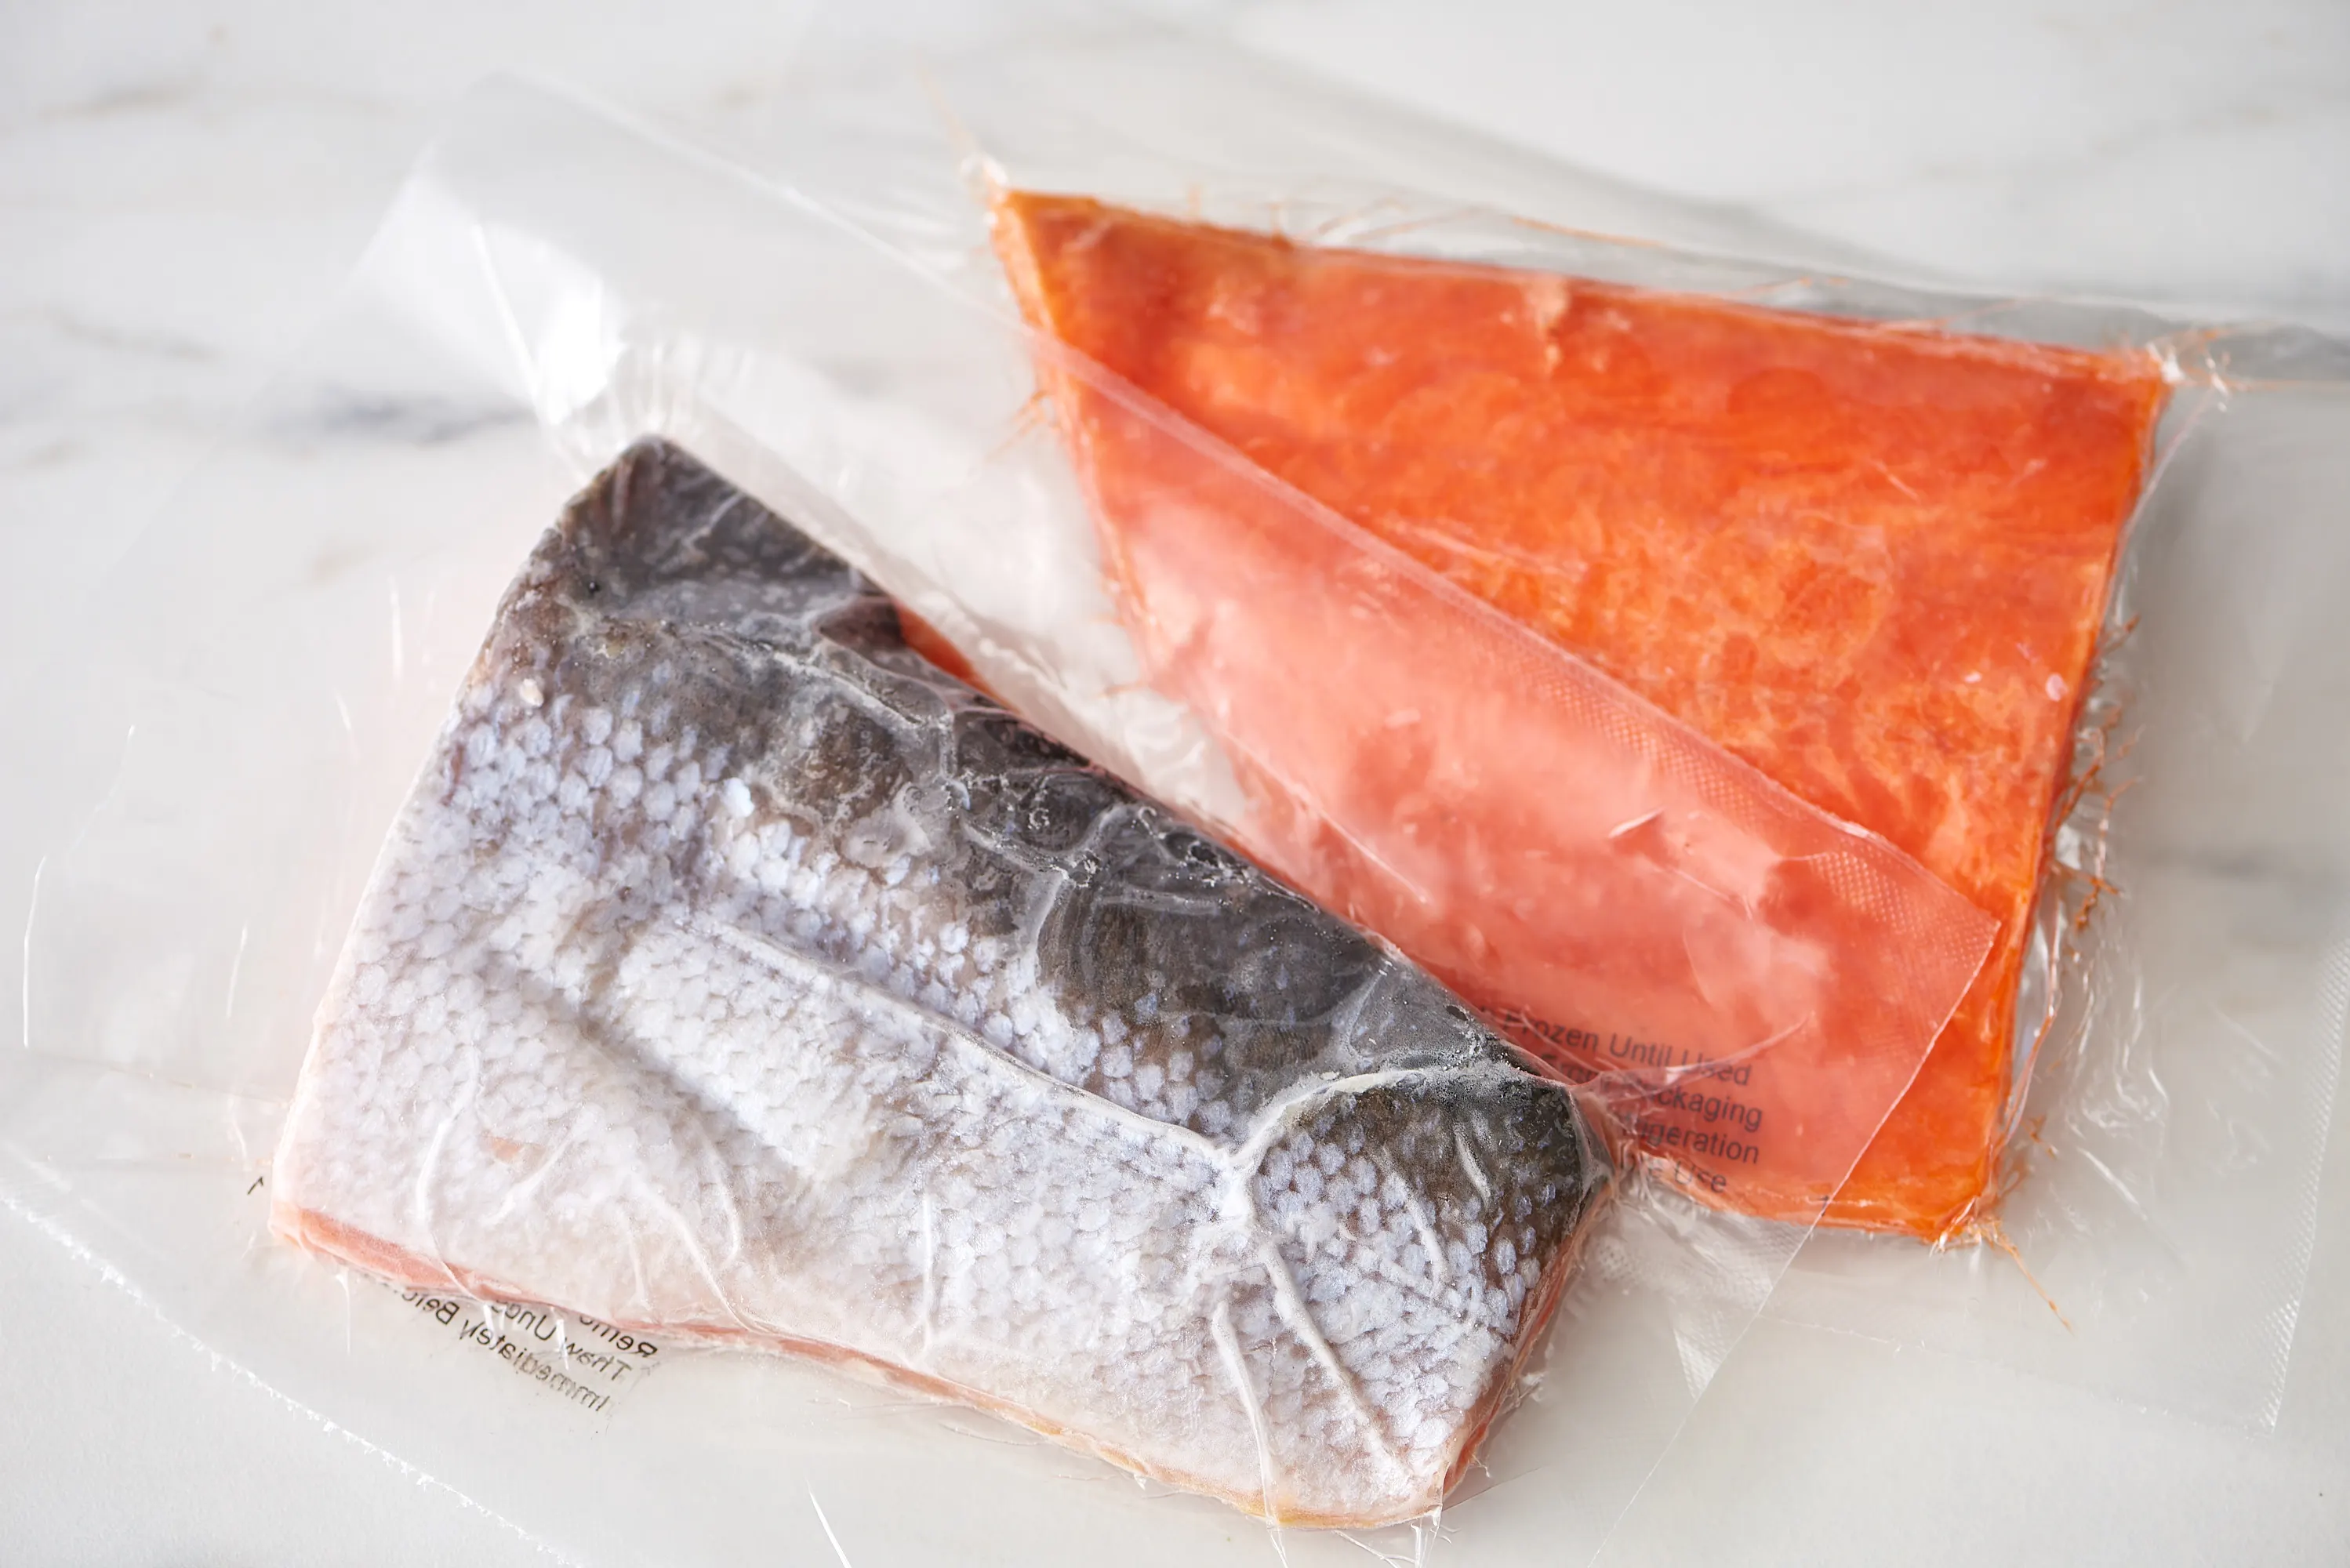
Frozen salmon is one of my favorite weeknight safety nets. I keep it around the way I keep a backup loaf in the freezer: not because I plan to be behind, but because real life happens. The trick is treating frozen salmon like its own ingredient. It releases more surface moisture, needs a slightly gentler start, and benefits from seasoning in layers.
Below are three methods I use all the time: oven (most hands-off), stovetop (best for crispy skin), and air fryer (fastest for a single fillet). For each, I will tell you the extra time to expect, how to deal with surface moisture, how to season when the fish is frozen, and the cues I use to know the center is done.

Before you start
Is it safe to cook salmon from frozen?
Yes, as long as you cook it straight through to a safe internal temperature. The USDA guidance for finfish is 145°F (63°C) at the thickest part. If you do not have a thermometer, use the visual cues I list for each method, but a thermometer is the easiest way to take the stress out of it.
What kind of frozen salmon works best?
- Individually vacuum-sealed fillets are the easiest and most consistent.
- Glazed fillets (a thin ice coating) are common and totally fine, but they drip more water as they cook.
- Skin-on is best for the stovetop method if you want crispiness.
Quick side note on thawing
You do not need to thaw for any method below. But if you ever want to, thaw salmon in the refrigerator overnight or in a sealed bag in cold water (changed every 30 minutes). Avoid thawing on the counter.
My two-step seasoning rule (the secret to flavor)
Seasoning does not stick well to a rock-solid fillet. So I season in two rounds:
- Round 1: a light sprinkle of salt and pepper (or a simple blend) right away.
- Round 2: once the surface has thawed and looks wet, I pat it dry and add oil, spices, and any sugar-based glazes.
This keeps flavor from sliding off with the steam.
One more tiny thing that helps: checking for pin bones is hard when the fish is fully frozen. If you want to remove them, do it right after that first warm-up phase, when the surface has softened enough to feel them.
Method 1: Oven (most foolproof)
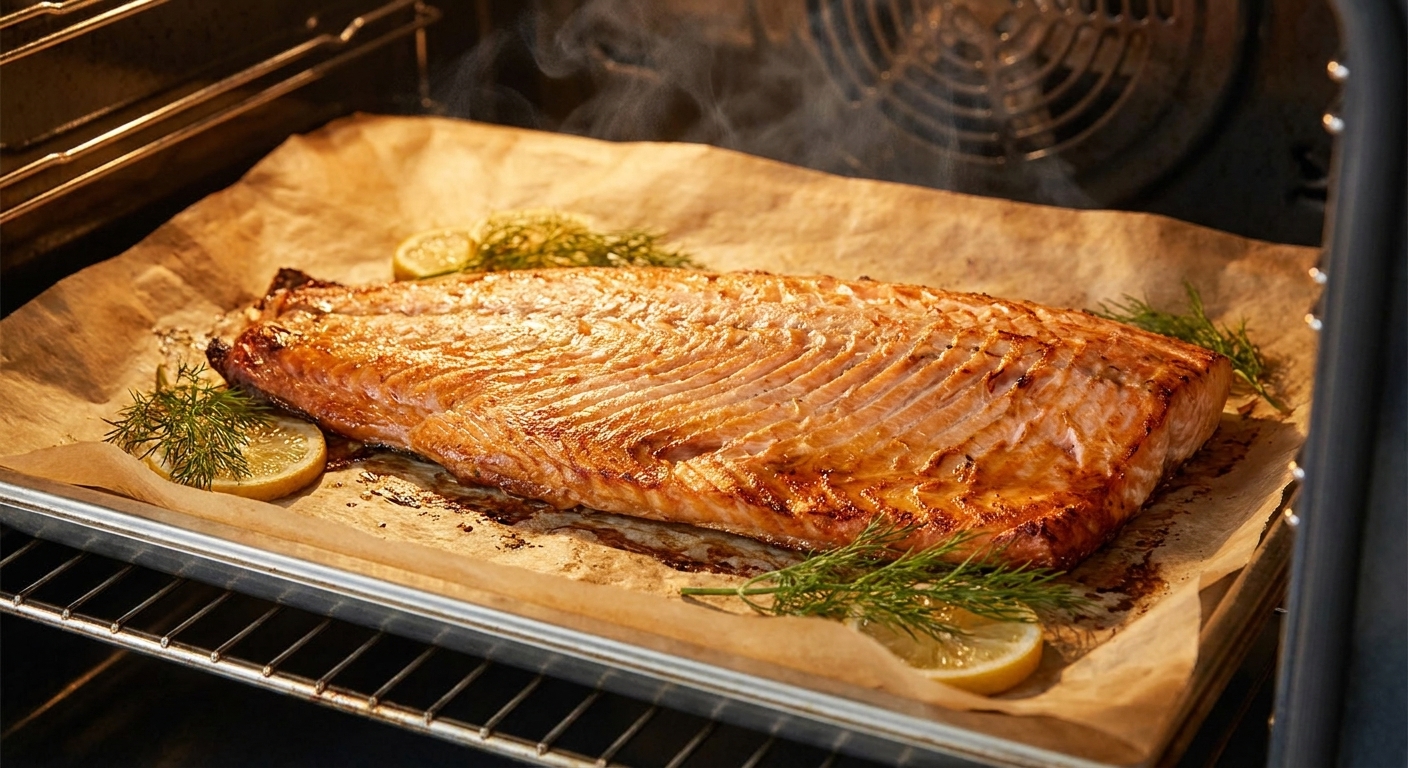
If you want the least babysitting, the oven is your friend. I like a two-temperature approach: start hot enough to drive off surface moisture, then finish at a gentler heat so the center cooks without drying out.
Time and temperature
- Preheat: 425°F
- Typical total cook time from frozen: 18 to 25 minutes for most fillets about 1 inch thick
- Add this much extra time vs thawed: about 6 to 10 minutes
How to handle surface moisture
Frozen salmon sweats as it warms. That moisture can steam the fish and dilute seasoning. Here is the move:
- Place frozen fillet on a parchment-lined sheet pan.
- Bake 8 minutes at 425°F.
- Pull the pan out. You will see liquid on the surface.
- Pat the top dry with paper towels.
- If there are pin bones you want to pull, this is the easiest moment to do it.
- Brush with oil or melted butter, then season more boldly.
- Reduce oven to 375°F and return salmon to finish cooking until done.
If you want even less steaming underneath, you can set the salmon on a small oven-safe rack over the sheet pan (or on a broiler rack) so hot air can circulate. Parchment is still great for easy cleanup, but a little airflow helps.
Seasoning that works from frozen
- Simple: olive oil, salt, pepper, garlic powder, smoked paprika
- Bright: olive oil, lemon zest, dill, a pinch of salt
- Spicy-sweet (add later): chili flakes plus a drizzle of honey in the last 3 minutes
Tip: If you are using a sugary glaze (teriyaki, maple, honey), apply it after the initial 8 minutes so it does not slide off and burn.
Finished-center cue
The salmon is done when the thickest part hits 145°F (63°C), or when:
- The flesh turns from translucent to opaque
- It flakes with gentle pressure from a fork
- The center is moist but not raw-looking
I also like to let it rest 2 minutes before serving. It finishes settling, and you are less likely to overcook it chasing a number.
Method 2: Stovetop (best for crispy skin)
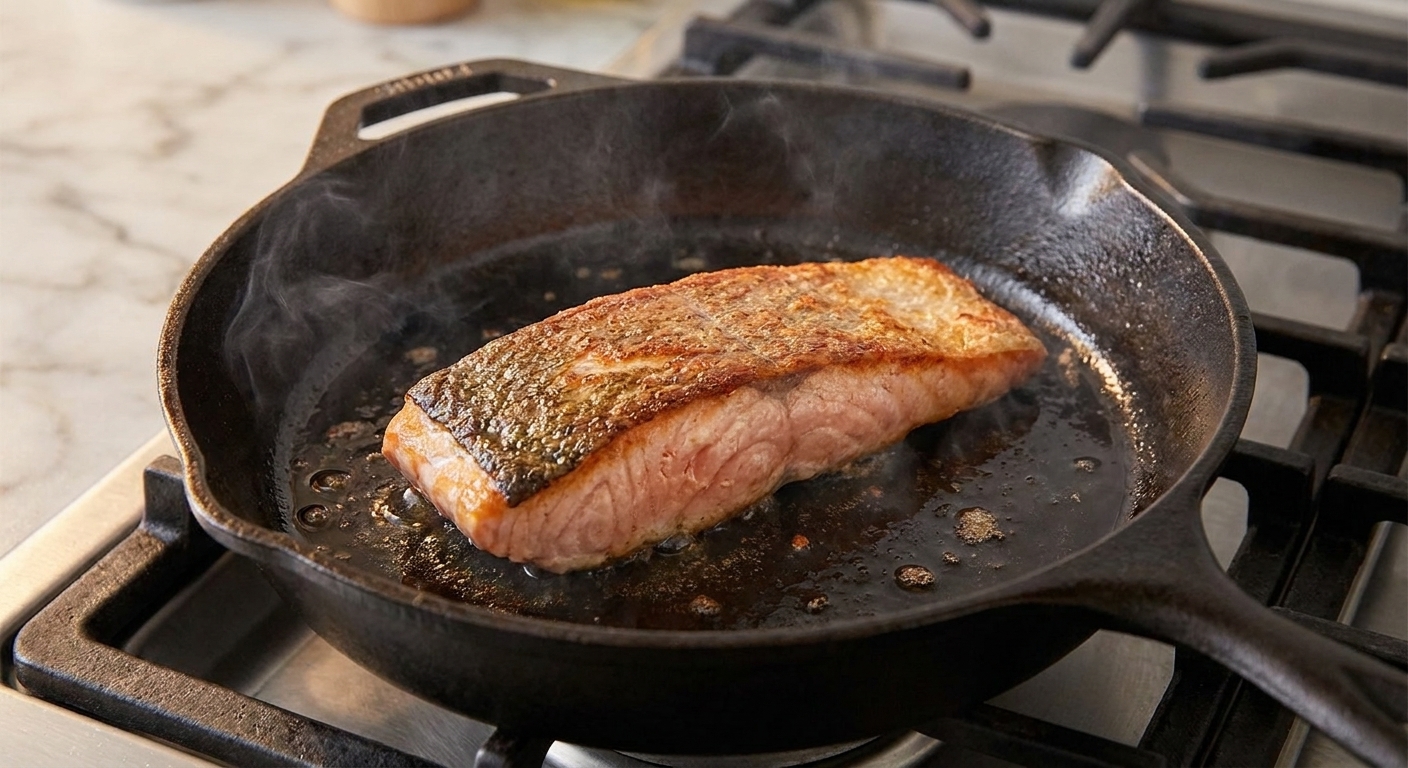
Stovetop frozen salmon can be fantastic, especially skin-on. The trick is: you cannot sear a frozen surface well at first, because it releases water. So we start with a covered, gentle thaw-steam, then finish with a real sear.
Time and heat
- Typical cook time from frozen: 12 to 18 minutes depending on thickness
- Add this much extra time vs thawed: about 4 to 7 minutes
- Pan: nonstick or well-seasoned cast iron is easiest
How to handle surface moisture
- Heat 1 to 2 teaspoons oil in a skillet over medium. Not ripping hot.
- Add frozen salmon skin-side down if it has skin.
- Add 1 tablespoon water to the pan (not on the fish) and cover for 3 to 5 minutes. This gently thaws the surface.
- Safety and sanity note: when you add water to hot oil, it can spatter. Keeping the heat at medium and adding just a tablespoon helps. If your lid traps too much steam, crack it slightly.
- Uncover. Move the fish to a plate and pour off any water.
- Pat the fish dry (especially the skin), re-oil the pan if needed, and return the salmon skin-side down.
That quick moisture reset is what helps you get browning instead of boiling.
When to flip
Most of the time, I cook it mostly skin-side down, then flip briefly at the end:
- After the covered phase and moisture reset, cook skin-side down 5 to 8 minutes (depending on thickness) until the sides look mostly opaque and the skin is crisping.
- Flip and cook 1 to 3 minutes to finish the top.
If your fillet is very thin, you can skip the flip and just cover for the last 1 to 2 minutes to finish gently.
Seasoning strategy
Season the top lightly at the start. After the covered phase, season again:
- Skin-on: salt the skin after patting dry. Salt plus hot fat is what gets you crisp.
- Skinless: add a little butter, garlic, or herbs in the last 2 minutes and spoon-baste.
Finished-center cue
I use a thermometer whenever I can. Aim for 145°F (63°C) in the thickest part. Without one:
- The sides will look opaque most of the way up.
- The center will flake, but still look a bit glossy and juicy, not chalky.
If the outside is browning too fast but the center is not there yet, lower the heat and cover for 1 to 2 minutes to finish gently. Then rest the fish for 2 minutes off the heat.
Method 3: Air fryer (fastest for one or two fillets)
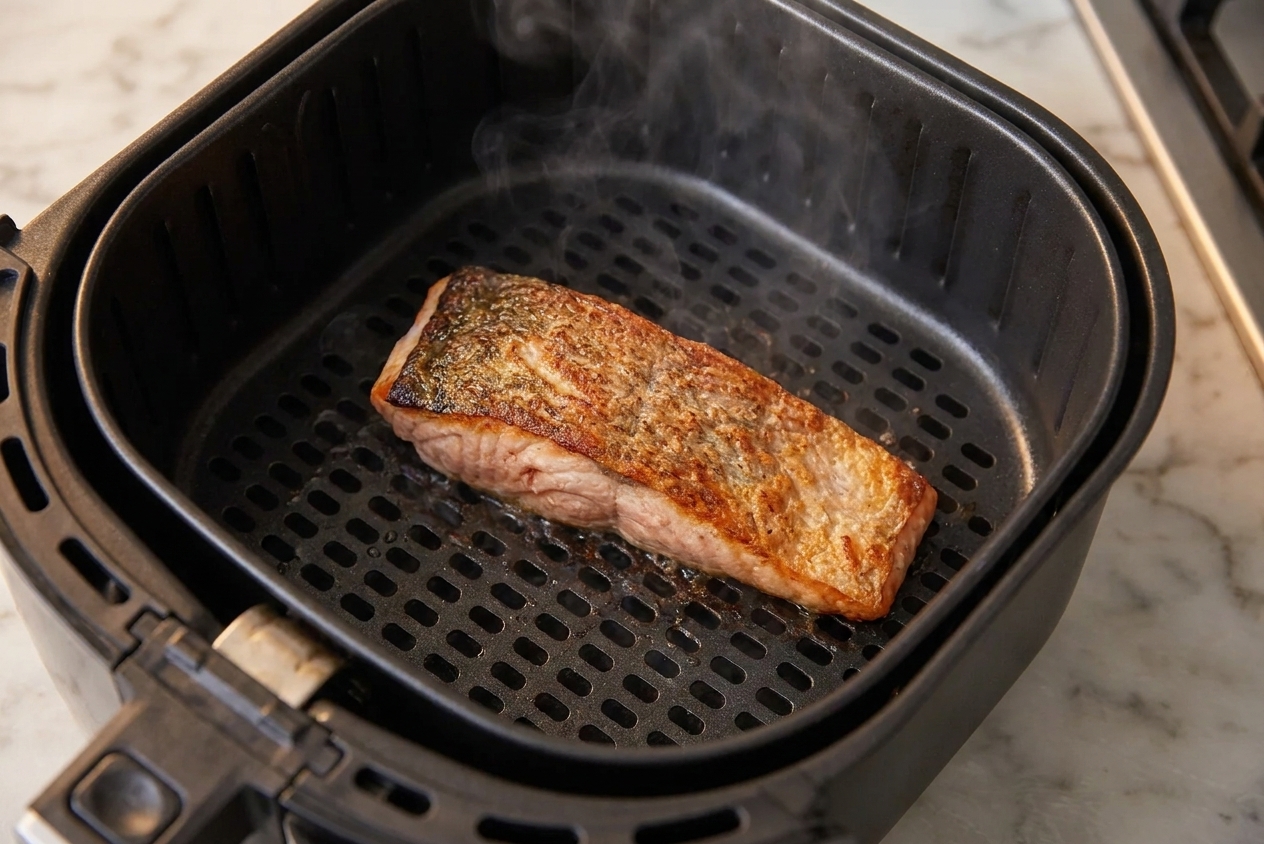
The air fryer is surprisingly good at frozen salmon because it evaporates surface moisture quickly. You get concentrated flavor and a nicely browned top with very little effort. It can also dry out the exterior if you push it too far, so I like to add oil after the surface softens.
Time and temperature
- Set to: 390°F to 400°F
- Typical cook time from frozen: 10 to 14 minutes
- Add this much extra time vs thawed: about 3 to 5 minutes
Air fryers vary a lot. If yours runs hot, start at 390°F and add time as needed.
How to handle surface moisture
- Place frozen salmon in the basket.
- Air fry 4 minutes.
- Open the basket. You will usually see moisture on top.
- Pat dry, brush with oil or melted butter, and season well.
- Return to the air fryer and cook until done.
Tip: If your salmon is very icy, that first 4-minute burst is doing the heavy lifting. Do not skip it.
Seasoning that shines in an air fryer
- Classic: oil, salt, pepper, lemon pepper seasoning
- Blackened-ish: paprika, garlic powder, onion powder, thyme, pepper, a pinch of sugar
- Miso: brush with a thin smear of miso mixed with a little mayo after the first 4 minutes, then finish cooking
Go easy on wet marinades from the start. They drip, steam, and can make the surface mushy.
Finished-center cue
Done at 145°F (63°C) in the thickest part. Visually, the top will look set and lightly browned, and the center will flake with gentle pressure.
Rest 2 minutes before serving. It sounds fussy, but it helps the texture.
Quick timing guide
Thickness matters more than weight. Use these as starting points, then confirm with a thermometer when you can.
- 3/4 inch fillet: oven 16 to 20 minutes, stovetop 12 to 15 minutes, air fryer 9 to 12 minutes
- 1 inch fillet: oven 18 to 25 minutes, stovetop 14 to 18 minutes, air fryer 10 to 14 minutes
- 1 1/2 inch fillet: oven 25 to 32 minutes, stovetop 18 to 24 minutes, air fryer 14 to 18 minutes (consider oven if very thick)
If your salmon is frozen in a single thick block (multiple fillets stuck together), it will cook unevenly. In that case, the oven is the most forgiving. Cook until the pieces can be separated, then pat dry, season, and finish.
Common problems
My salmon is watery
- Pat dry after the initial thaw-warm phase.
- Use a hotter start (oven 425°F, air fryer 400°F) to evaporate moisture, then finish gentler if needed.
- Avoid starting with heavy sauces. Add them at the end.
The outside is done but the middle is still raw
- Lower the heat and finish gently (cover on the stove, or drop oven temp to 375°F for a few minutes).
- For very thick fillets, choose the oven method.
My seasoning slid off
- Season lightly at first, then re-season after patting dry.
- Brush with oil or melted butter after the surface thaws so spices have something to cling to.
It tastes bland
- Salt matters. I prefer kosher salt and I season in two rounds.
- Add a finishing hit: lemon juice, flaky salt, chopped herbs, or a quick sauce.
Easy finishing ideas
This is where frozen salmon turns into dinner that feels intentional:
- Lemon herb: squeeze lemon, add chopped parsley or dill, drizzle olive oil.
- Pan sauce (stovetop): remove salmon, add a knob of butter and a splash of white wine or broth, scrape the pan, spoon over.
- Quick glaze: mix 1 tablespoon soy sauce + 1 tablespoon maple syrup + 1 teaspoon rice vinegar, brush on in the last 2 minutes.
FAQ
Do I need to rinse frozen salmon?
No. Rinsing does not improve safety and it adds more water. If there are ice crystals, just cook briefly, then pat dry and continue.
Should I remove the packaging first?
Yes. Remove all plastic and any absorbent pads. If the salmon is vacuum-sealed, take it out before cooking.
Can I cook frozen salmon with the skin on?
Absolutely. For crispy skin, the stovetop method is best. Pat the skin very dry after the initial covered phase and keep heat at medium so the fat renders and crisps.
What is the most reliable doneness check?
An instant-read thermometer. Pull at 145°F (63°C) in the thickest part for USDA guidance. If you prefer a slightly softer texture, many home cooks pull a bit earlier, but food safety guidance is 145°F (63°C). Resting for a couple minutes helps everything even out.