
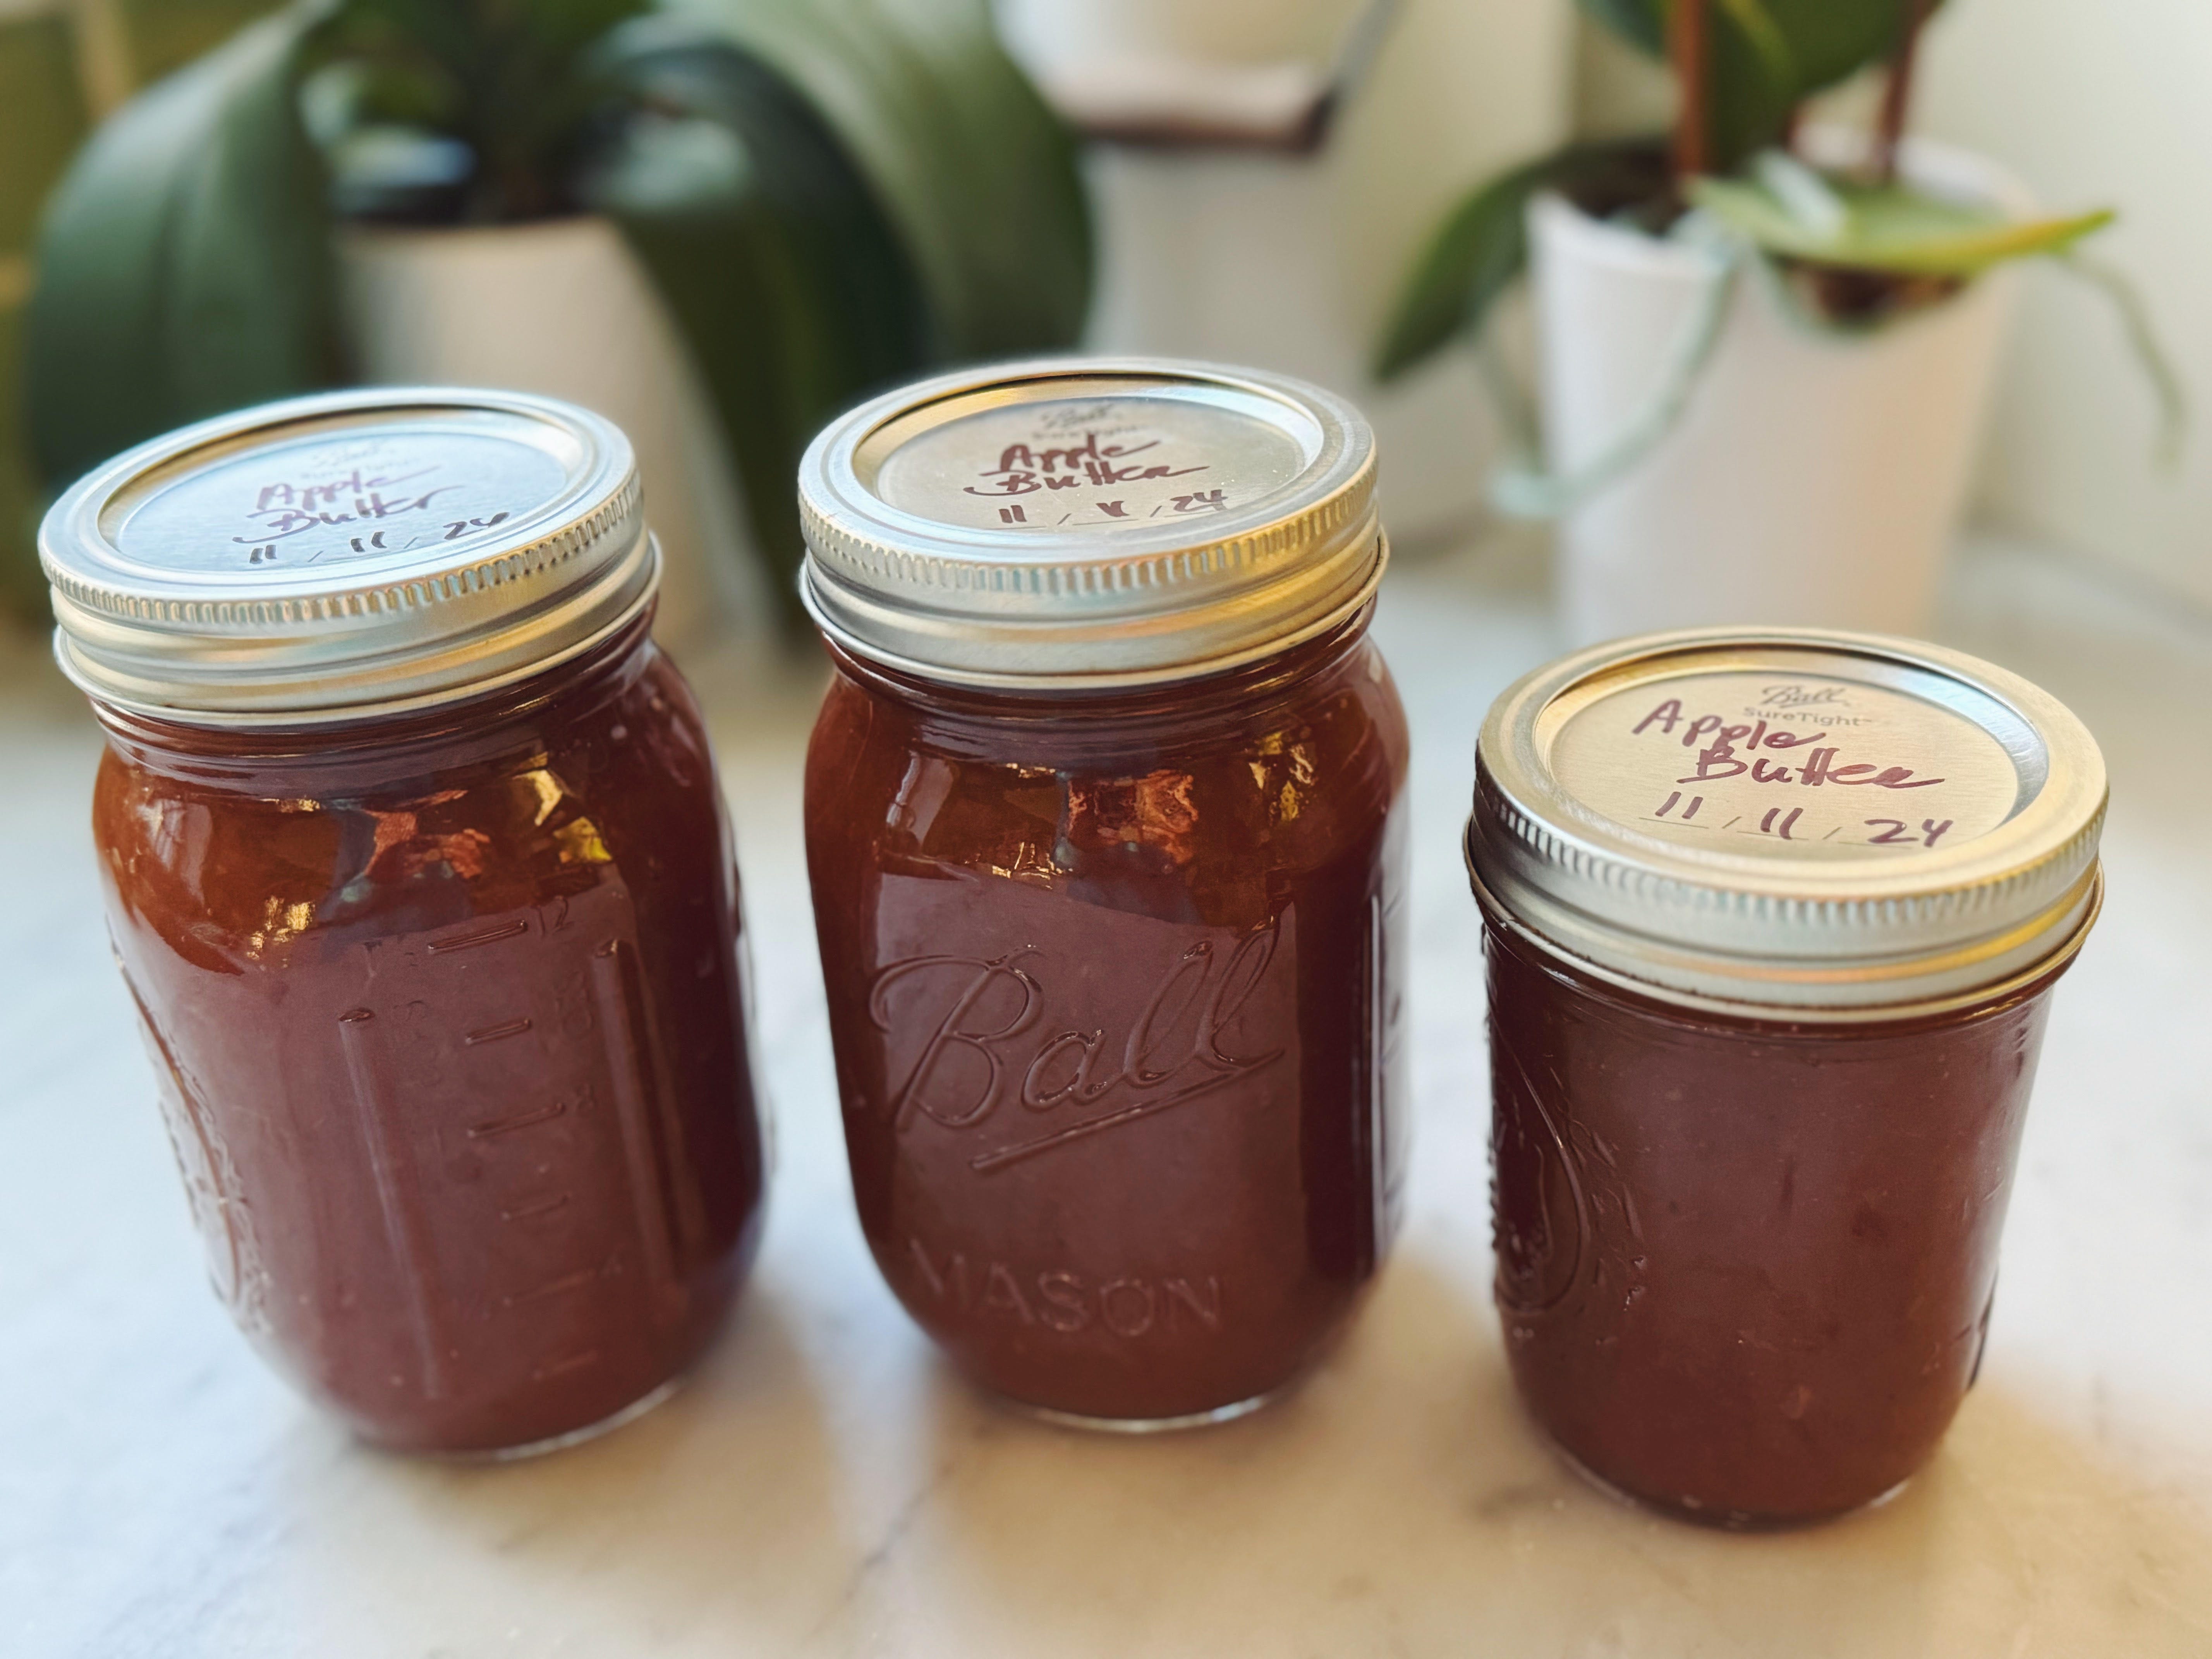
Apple butter is one of those kitchen projects that makes the whole house smell like you meant to be productive all day, even if you were just puttering around in socks and refilling coffee. You start with a pot full of apples that looks almost too ordinary to be exciting. A few hours later, it turns into something mahogany-colored, glossy, and spoon-coating with a deep caramel apple flavor that store-bought versions rarely nail.
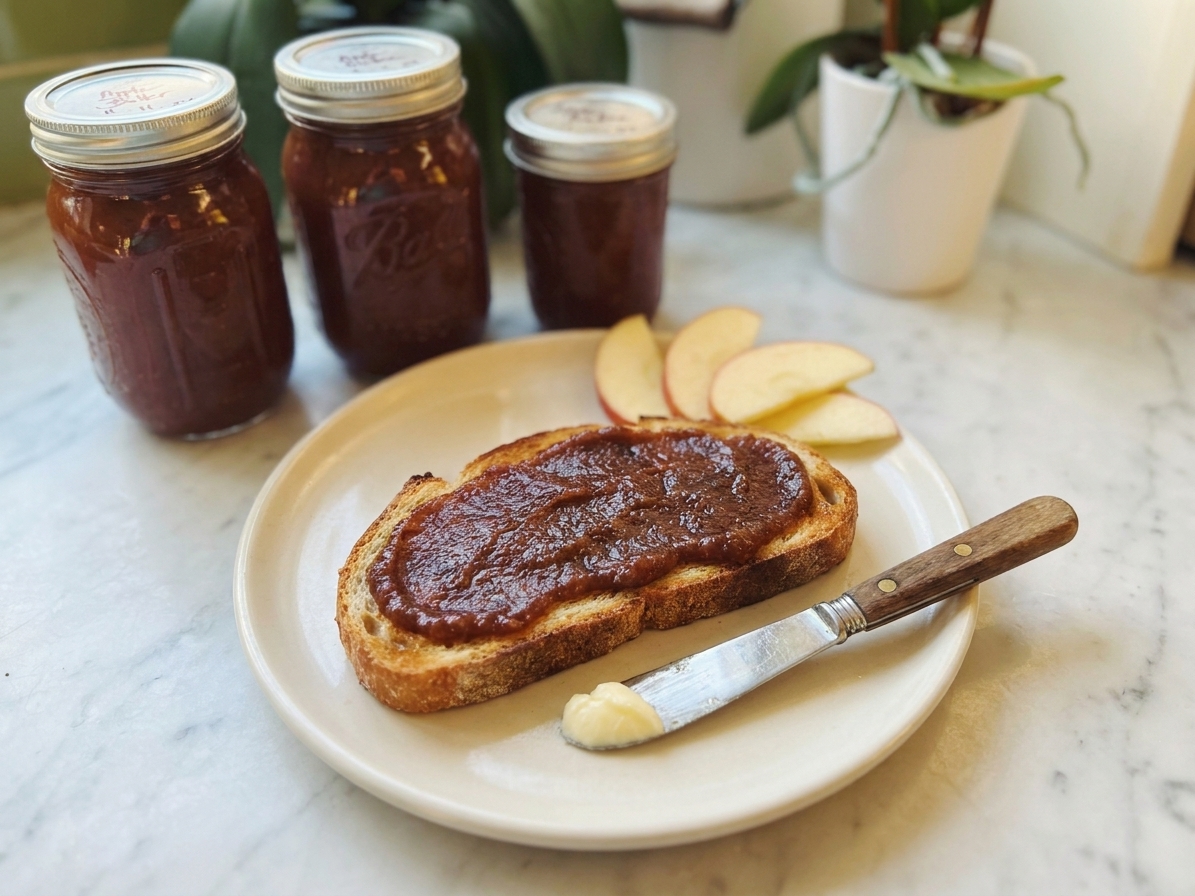
In my old bakery days, we used apple butter as a quiet secret weapon. We would swirl it into buttercream, tuck it into thumbprint cookies, or spread it under a layer of frangipane in a tart. At home, I love it most for the simplest stuff: warm toast, oatmeal, or a spoonful stirred into plain yogurt for a five-minute breakfast that tastes like you tried.

This recipe is intentionally low-stress and built for the stovetop in a big, heavy pot. The basic flow is simple: cook the apples down until they collapse, puree, then reduce the puree low and slow until it is dark and spreadable. It is a mostly hands-off situation at first, then you will want to hang closer toward the end because thick fruit butters can scorch if they are ignored.
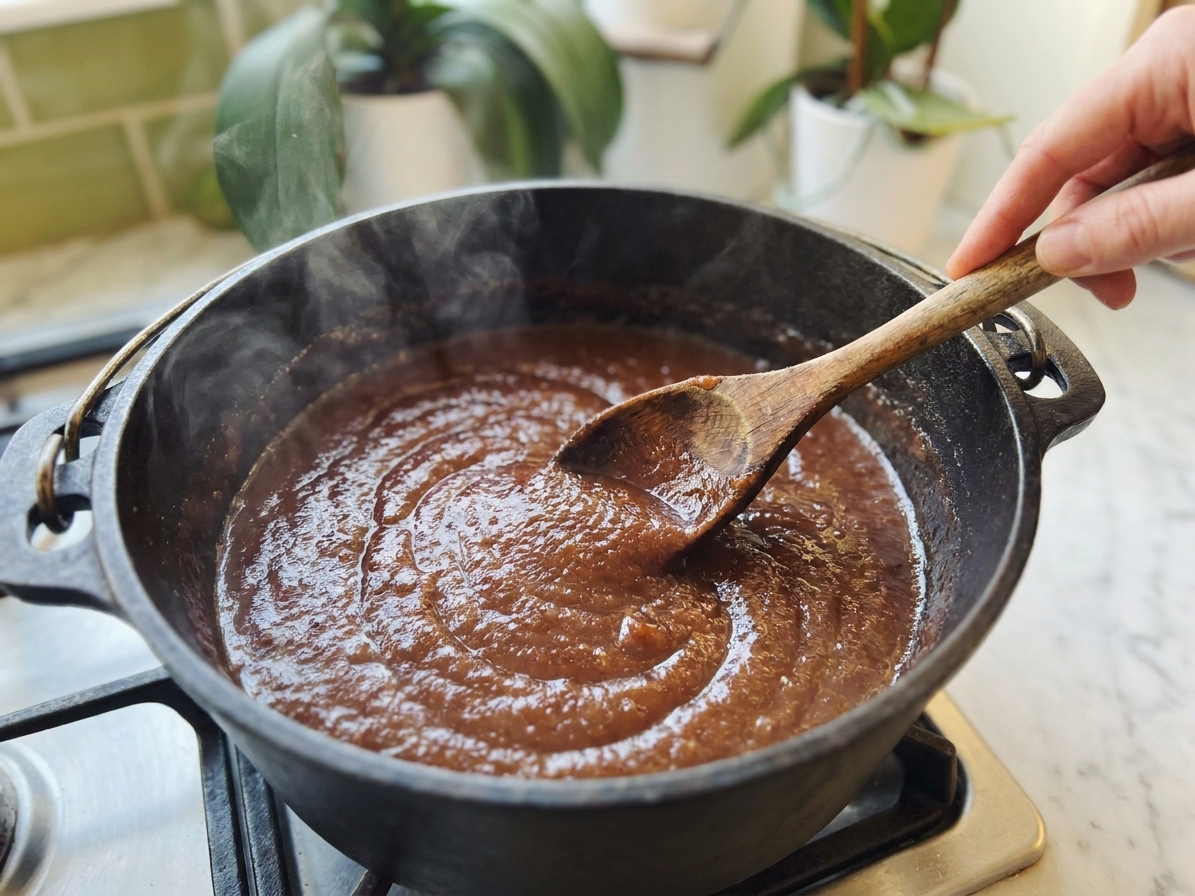
Along the way, I will show you my favorite doneness cue, the spoon-trail test. Drag a spoon through the apple butter and pause. If the line stays visible for a couple seconds and the mixture mounds slightly instead of flowing right back together, you are there.
When it is done, ladle it into clean jars, let it cool until it is no longer warm, then cap and refrigerate so it sets up thick and spoonable. This is written for refrigerator and freezer storage, and you can absolutely adjust the spices to match your family’s taste.
Why this recipe works
- Two-stage cooking builds flavor. First the apples soften into an applesauce base, then the puree reduces slowly. That second stage is where the color deepens and the flavor concentrates.
- A mix of apple varieties gives balance. Using at least one sweet apple and one tart apple creates a rounded, not flat, apple flavor without needing loads of sugar.
- The spoon-trail test prevents overthinking. Apple butter is done when it behaves like a thick spread, not when the clock says so. The trail test makes that easy to see.
- Low heat and smart stirring prevent scorching. Apple puree is thick and sugary, which means it can burn on the bottom if ignored. Gentle heat and more frequent stirring near the end keeps it clean tasting.
Ingredient notes
Apples
Apple butter is at its best with a blend. I like to combine a sweet, aromatic apple with a tart one. Great options include:
- Sweet: Fuji, Gala, Honeycrisp, Golden Delicious
- Tart: Granny Smith, Braeburn, Jonathan
Very soft apples like McIntosh break down quickly, which is helpful early on, but they can taste a little one-note if used alone. If you only have one variety, do not worry. You will still get delicious apple butter.
Sugar
Sugar is optional depending on your apples and your preference. Sweeter apples and longer reduction can make a no-sugar-added batch taste plenty sweet. If you add sugar, do it after pureeing so you can taste the base first.
Spices
Cinnamon is the classic. I also love a tiny pinch of cloves or allspice for depth, but go easy. They can take over quickly once the puree reduces.
Acid and salt
A little lemon juice keeps the flavor bright. A pinch of salt makes the apple taste more apple.
Equipment you will need
- Large heavy-bottomed pot or Dutch oven for even heat and less scorching
- Wooden spoon or heatproof spatula to scrape the bottom while stirring
- Blender, food processor, or immersion blender to puree the cooked apples
- Wide-mouth jar(s) with lids for cooling and storing
- Ladle and funnel optional, but helpful for tidy jarring
Pro tips
- Start with a wider pot if you have one. More surface area means faster reduction and less time hovering over the stove.
- Stir more often as it thickens. Early on, you can stir every 10 to 15 minutes. Near the end, stir every few minutes, scraping the bottom and corners.
- Control splatter. Thick apple butter blips as it bubbles. Keep the heat low and use a splatter screen or partially cover with a lid set slightly ajar.
- Use the spoon-trail test. Drag a spoon through the apple butter and pause. If the path stays visible for 2 to 3 seconds and the mixture mounds slightly instead of flowing back immediately, you are there.
- Let it cool in the jar. Apple butter thickens noticeably as it cools. If it seems just a touch loose when hot, it often sets up perfectly after cooling.
Substitutes that work
- No lemon juice? Use a small splash of apple cider vinegar. Add a little, taste, and stop when the flavor perks up.
- No blender? Use a potato masher for a rustic texture. It will not be as smooth, but it will still be spreadable and delicious.
- Want less sugar? Choose naturally sweet apples like Fuji or Gala and reduce a little longer for more perceived sweetness.
- Want no spices? Leave them out. A pure apple-only version is lovely and tastes more like concentrated applesauce.
Variations
Maple apple butter
Swap part of the sugar for maple syrup, or stir in a small amount at the end for a round, woodsy sweetness.
Vanilla bean apple butter
Add a little vanilla extract at the end, or simmer a scraped vanilla bean with the apples during the first stage, then remove it before blending.
Chai-spiced apple butter
Use cinnamon plus a small pinch each of ginger and cardamom. Keep cloves minimal.
Extra-dark apple butter
Cook longer at low heat and stir often. The flavor turns deeper and more caramel-like as it reduces and darkens.
Serving ideas
- Spread on buttered toast, English muffins, biscuits, or cornbread
- Swirl into oatmeal, overnight oats, or warm rice pudding
- Stir into plain yogurt with granola
- Use as a pancake or waffle topping instead of syrup
- Spread inside grilled cheese for a sweet-savory twist
- Spoon onto a cheese board with sharp cheddar or brie
- Use as a filling for thumbprint cookies or a layer in a simple tart
Storage and reheating
Cooling and jarring
After cooking, ladle the hot apple butter into clean jars, leaving a little headspace. Let the jars cool uncovered at room temperature until no longer warm, then cap and refrigerate. Cooling before capping helps prevent condensation from dripping back into the apple butter.
Refrigerator
Store tightly covered in the refrigerator. Use a clean spoon each time to keep it fresh.
Freezer
Apple butter freezes well. Leave extra headspace for expansion, and thaw overnight in the refrigerator.
This recipe is written for refrigerator or freezer storage. If you want shelf-stable canned apple butter, follow a trusted, tested canning guide and processing times for your jar size and altitude.
Common mistakes
- Cooking too hot. High heat makes the bottom scorch before the rest reduces. Keep it at a gentle simmer, especially after pureeing.
- Not stirring enough at the end. The last 30 to 60 minutes can go from perfect to burnt quickly. Stir frequently and scrape the bottom.
- Relying only on cook time. Apples vary in water content. Use the spoon-trail test and visual cues instead.
- Over-spicing. Spices concentrate as the puree reduces. Start light, then adjust near the end.
- Capping jars while very hot. Trapped steam can create watery condensation. Let the jars cool a bit before sealing.
FAQ
What is the difference between applesauce and apple butter?
Applesauce is cooked apples that are mashed or blended, usually with a looser, spoonable texture. Apple butter starts similarly, but then the puree is cooked longer until it reduces into a thicker, darker spread with a more caramelized flavor.
Do I have to peel the apples?
For the smoothest apple butter, yes. Peels can leave little bits even after blending. If you do not mind a more rustic texture, you can keep them on and blend thoroughly.
How long does apple butter take to cook?
It depends on your pot width, heat level, and the apples’ water content. Plan on several hours total, with the most hands-on stirring happening toward the end. Use doneness cues rather than the clock.
How do I know when it’s done?
Look for a deepened color, a glossy sheen, and a thick, spreadable texture. The easiest test is the spoon-trail test: drag a spoon through the apple butter and pause. If the trail holds for a couple seconds and the mixture mounds instead of running back quickly, it is done.
Why is my apple butter bitter or tastes burned?
That usually means it scorched on the bottom at some point. Use lower heat, a heavier pot, and stir more frequently as it thickens.
The recipe
Apple Butter
A slow-cooked apple butter that reduces until thick, dark, and spreadable, with warm spices and a simple spoon-trail test to know exactly when it’s done.
- Prep
- 20 minutes
- Cook
- 3 hours 30 minutes
- Total
- 3 hours 50 minutes
- Yield
- About 3 cups
Ingredients
- 5 lb apples (a mix of sweet and tart), peeled, cored, and chopped
- 1 cup apple cider or water
- 1/2 cup packed light brown sugar (optional, to taste)
- 1 tbsp lemon juice
- 1 1/2 tsp ground cinnamon
- 1/4 tsp ground cloves (optional)
- 1/4 tsp fine salt
Instructions
- Cook the apples until soft. Add the chopped apples and apple cider (or water) to a large heavy-bottomed pot or Dutch oven. Bring to a simmer over medium heat, then reduce to medium-low. Cover and cook, stirring occasionally, until the apples are very soft and collapsing, 25 to 35 minutes.
- Puree until smooth. Use an immersion blender to puree the apples directly in the pot, or transfer to a blender in batches and blend until smooth, then return to the pot.
- Season. Stir in the lemon juice, cinnamon, cloves (if using), and salt. If using brown sugar, add it now. Simmer for 2 minutes, then taste carefully. Add a little more sugar or cinnamon if you want, keeping in mind flavors intensify as it reduces.
- Reduce low and slow. Cook uncovered over low heat at a gentle simmer, stirring every 10 to 15 minutes at first and scraping the bottom well. As it thickens, stir more frequently (every 3 to 5 minutes) to prevent scorching. Reduce until thick, dark, and glossy, 2 1/2 to 3 hours.
- Use the spoon-trail test for doneness. Drag a spoon through the apple butter and pause. If the trail stays visible for 2 to 3 seconds and the apple butter mounds slightly instead of flowing back immediately, it is done. If it looks loose or the trail fills in quickly, keep cooking and test again every 10 minutes.
- Jar and cool. Ladle the hot apple butter into clean jars, leaving about 1/2 inch of headspace. Let cool at room temperature uncovered until no longer warm, then cap tightly.
- Chill to fully thicken. Refrigerate until completely cold. The apple butter will continue to thicken as it cools.
Notes
- Apple choice: A blend gives the best flavor. Try Fuji plus Granny Smith, or Gala plus Braeburn.
- Sweetness: The sugar is optional. If your apples are very sweet, you may not need it. If you skip it, taste after 1 hour of reducing and decide.
- Prevent splatter: Keep the heat low and use a splatter screen or a lid set slightly ajar.
- Storage: Keep refrigerated and use a clean spoon each time. Freeze for longer storage, leaving headspace.