
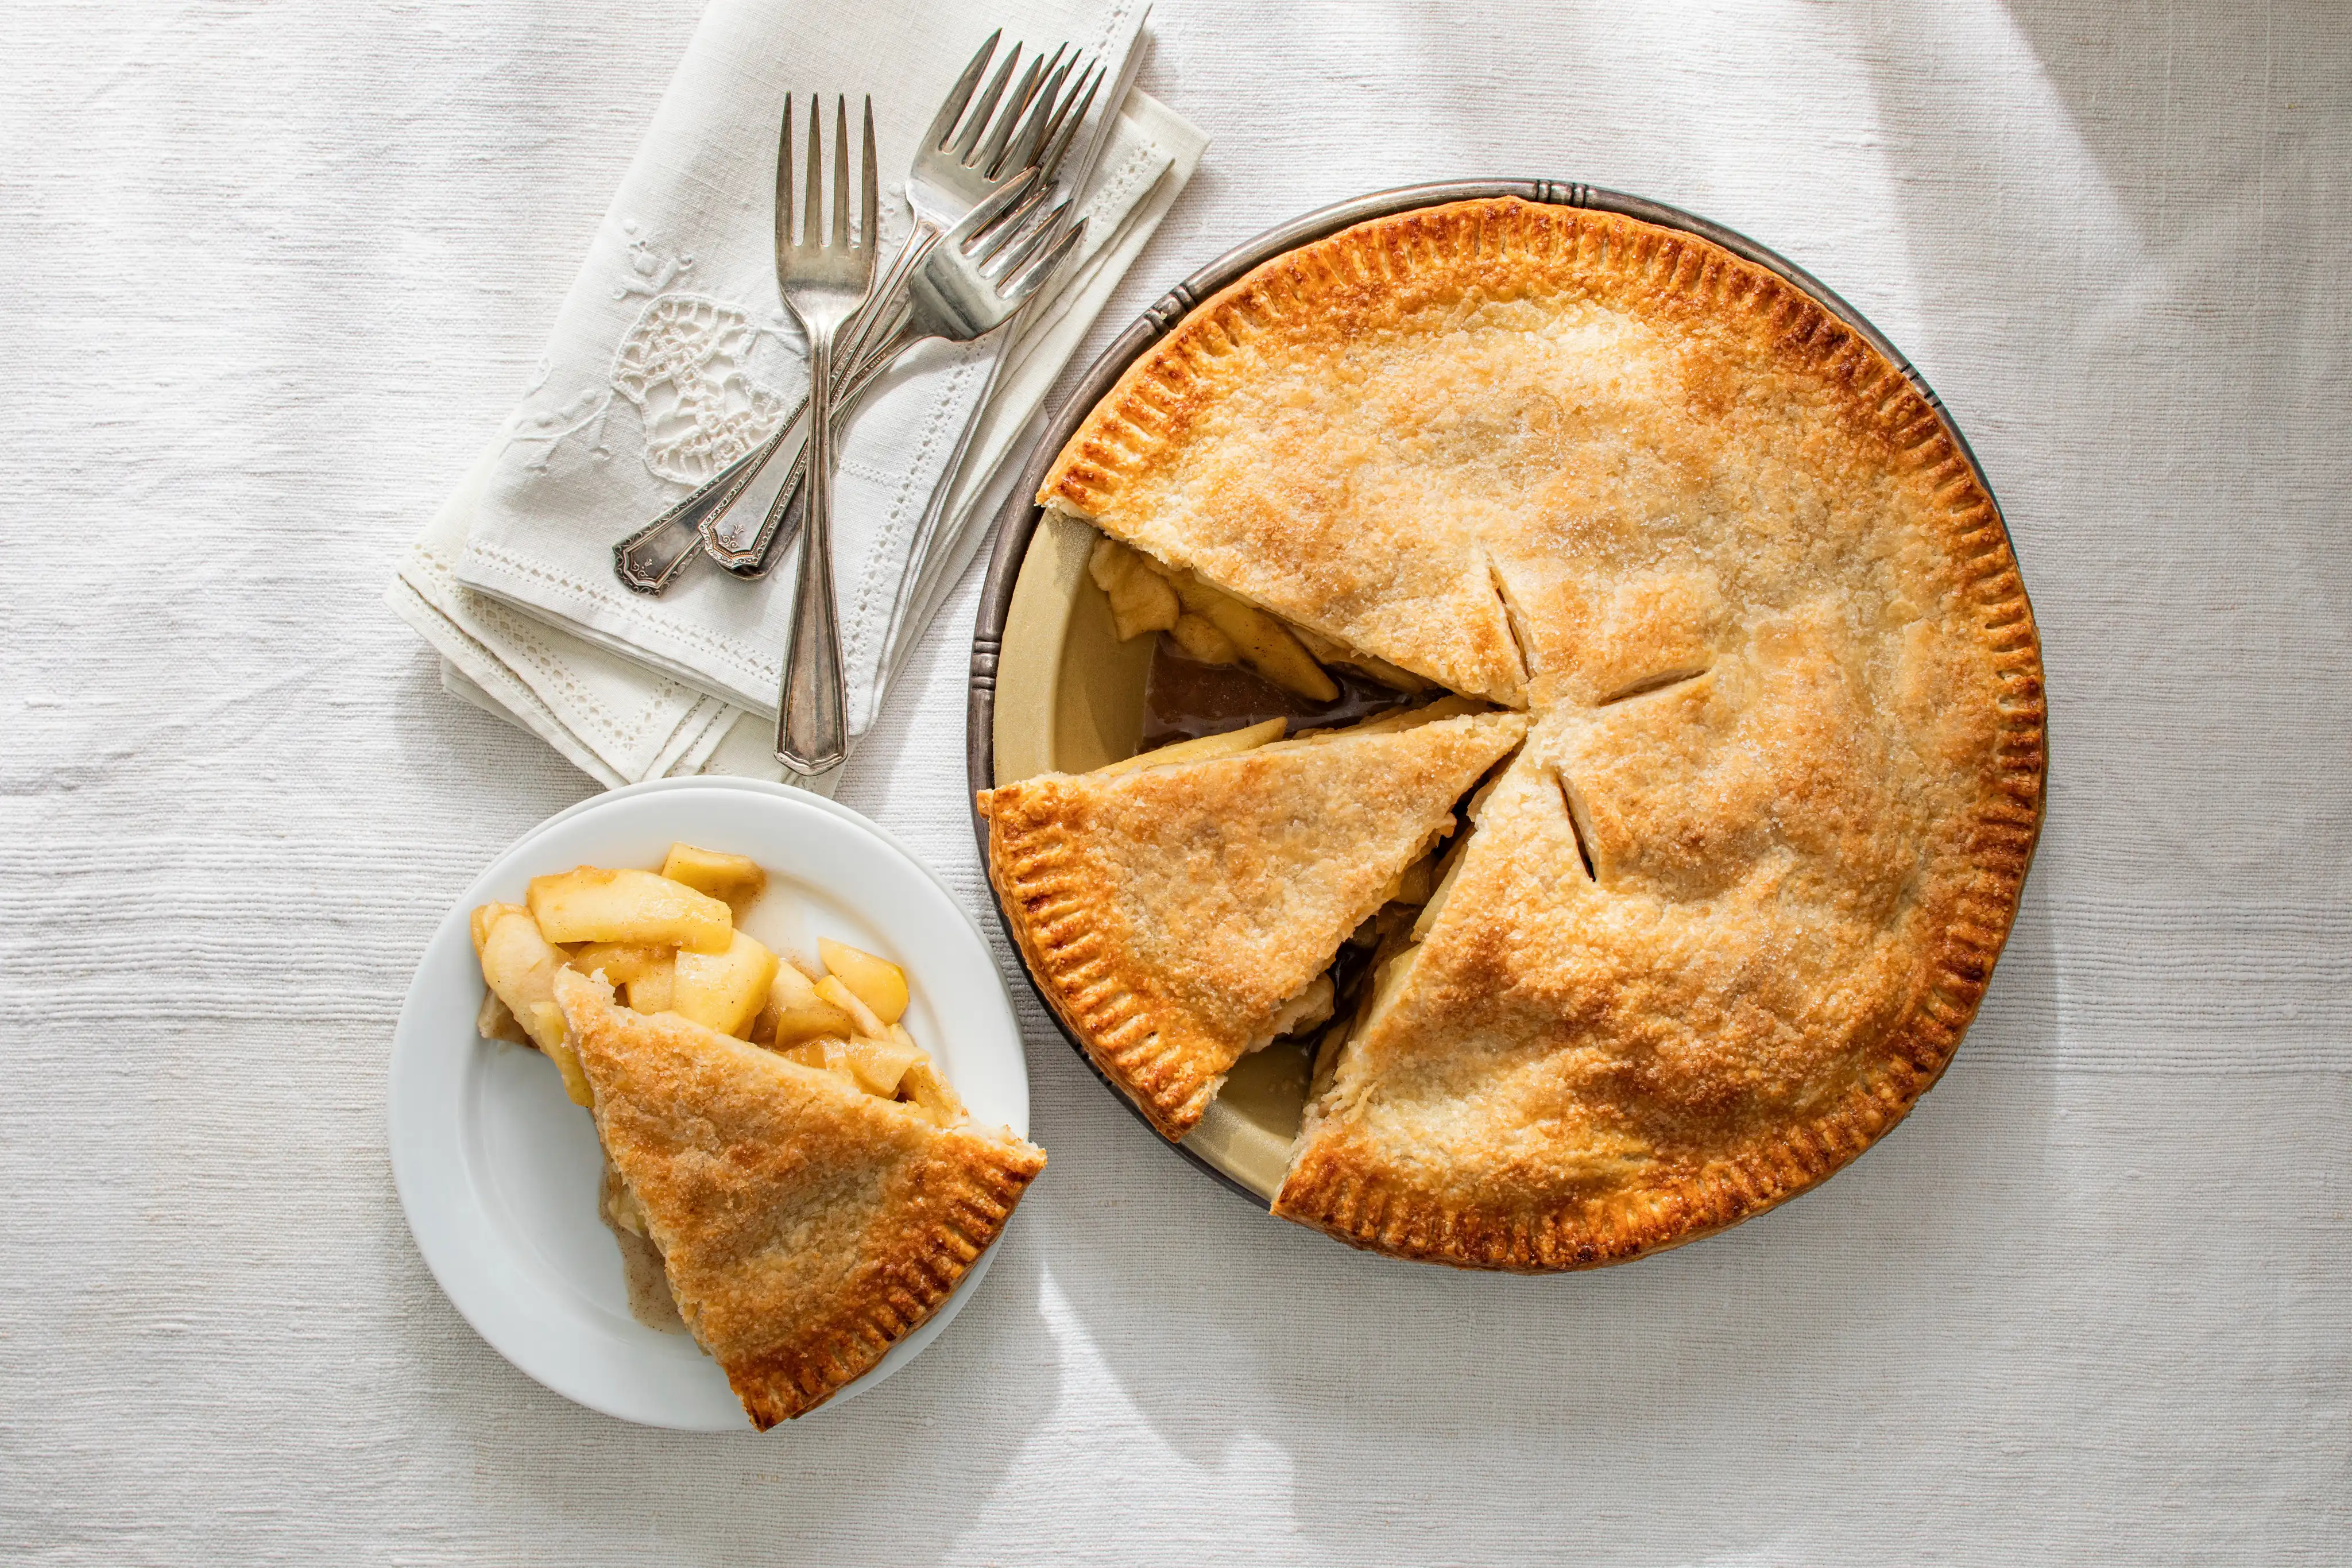
I grew up in a loud, multi-generational kitchen where “dessert” usually meant someone quietly sliding a pie box onto the counter like it was a magic trick. As I got older, I realized it wasn’t magic. It was timing, heat, and a few unglamorous choices like using the right apples and letting the pie cool when you’re dying to cut into it.
This classic apple pie is the one I reach for when I want a real double crust, not a shortcut topping. You get neat slices that hold their shape, apples that stay distinct, a cinnamon-forward filling that turns glossy as it sets, and that flaky edge you can pick at while it cools.

If you have ever had an apple pie with a pale, underbaked bottom or a filling that floods the plate, you are not alone. The fix is a combination of three things: choosing apples that can take the heat (think Granny Smith, Honeycrisp, or Braeburn), using a measured starch thickener like cornstarch to bind the juices, and baking until you see steady bubbling in the center vents, not just a couple of blips at the edges.
That bubbling is not just pretty. It is a strong sign the filling is hot enough for the thickener to activate, and then it sets up properly as the pie cools.
One more promise before we get into it: you do not need perfect lattice work to make a beautiful pie. A simple top crust with a good crimp and a few confident vents will get you there.
Why this recipe works
- Sliced baking apples hold their shape. Using a mix of firm, tart apples and sweeter apples gives you structure and flavor, so the filling tastes like apples instead of just cinnamon sugar.
- The thickener is measured for real apple juice output. Apples release a surprising amount of liquid. A starch thickener binds those juices into a glossy filling that slices clean once cooled.
- A hot start and a long bake cook the bottom crust. Beginning at a higher temperature helps set the pastry quickly, then a lower temperature finishes the bake so the center apples soften without scorching the edges.
- Venting lets steam escape so the top stays flaky. Steam has to go somewhere. Proper vents help prevent a soggy top crust and reduce blowouts at the edges.
- Cooling time is part of the recipe. The filling continues to thicken as it cools. Cutting too early is the number one reason pies seem runny.
Ingredient notes
Apples
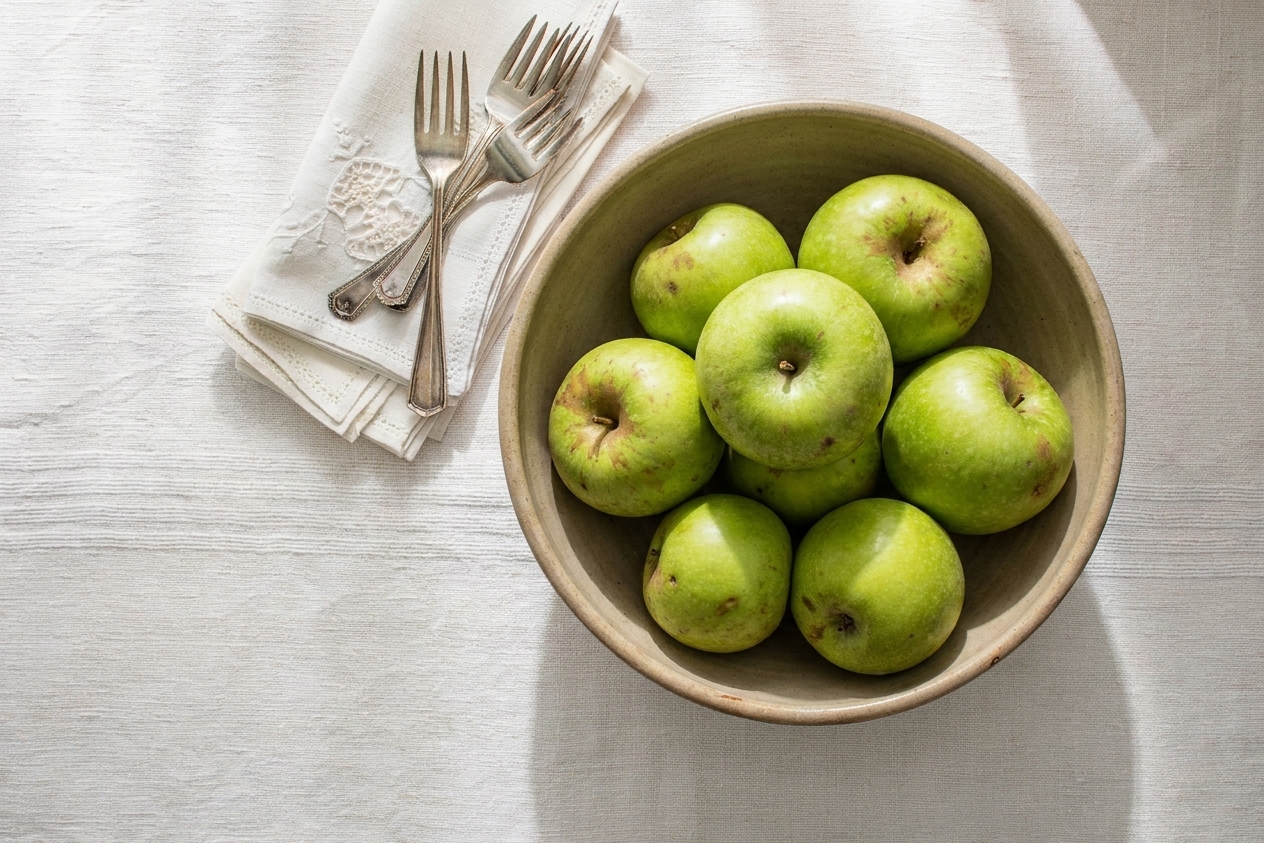
Look for apples labeled “baking” or “tart,” and aim for a mix if you can. Good options include Granny Smith (tart, sturdy), Honeycrisp (sweet-tart, holds shape), Braeburn (balanced), Pink Lady (firm), and Jonagold (juicy and flavorful). Avoid very soft apples that break down fast, unless you are intentionally chasing applesauce texture.
Sugar
Granulated sugar keeps the filling clean and bright. Brown sugar adds a deeper caramel note. Either works, and you can do a mix.
Spices
Cinnamon is the classic backbone. A little nutmeg and a pinch of cloves or allspice make it taste like holiday without turning it into potpourri. If your cinnamon is older and smells dusty, this is the moment to replace it.
Thickener
Cornstarch gives a glossy, clear-ish gel and sets firmly. Tapioca starch also works and stays stable. Flour can work in a pinch but tends to taste a little chalkier and sets less cleanly.
Acid
A splash of lemon juice brightens the apples and balances the sugar. It also helps keep the flavor from tasting flat after a long bake.
Butter
Small dots of butter in the filling add richness and help the juices turn silky. Think of it like finishing a sauce.
Equipment you will need
- 9-inch pie plate (glass, ceramic, or metal all work)
- Rolling pin
- Large mixing bowl for tossing apples
- Sharp knife or mandoline for consistent slices
- Sheet pan to catch drips
- Pastry brush for egg wash
- Instant-read thermometer (optional but helpful for doneness)
Pro tips
- Slice apples evenly. Aim for about 1/4-inch thick. Too thin and they collapse. Too thick and the center can stay crunchy.
- Toss apples well, then let them sit briefly. A 10 to 15 minute rest helps the sugar start pulling out juice so the thickener can coat everything more evenly.
- Pack the apples. Apples shrink as they bake. Mound the filling slightly higher than the rim so you do not end up with an air gap under the top crust.
- Seal the crust. Press the top and bottom crust together firmly at the edge before crimping. This reduces leaking.
- Use a sheet pan. Apple pie almost always bubbles over a little. Catch it on a pan instead of your oven floor.
- Bake until the center bubbles. You want thick, slow bubbles coming through the center vents, not just at the edge. If you use a thermometer, the center should be around 200°F (93°C).
- Let it cool fully for clean slices. Warm pie is delicious, but it will be looser. For neat wedges, cool 3 to 4 hours.
Substitutes that work
- Thickener: Swap cornstarch for tapioca starch 1:1. If using all-purpose flour, use about double the amount (texture will be a bit more matte and softer set).
- Sugar: Use all granulated, all brown, or a mix. If you like a tarter pie, reduce sugar slightly and lean on tart apples.
- Spices: Use apple pie spice if you have it, but keep it modest so the apples still taste like apples.
- Egg wash: If you are out of eggs, brush the crust with cream or milk. It will brown a bit less but still bake up crisp.
- Lemon juice: Apple cider vinegar works in a small amount, or leave it out if needed. The pie will just taste a touch sweeter.
Variations
- Caramel apple pie vibe: Replace part of the sugar with brown sugar and add a little extra salt. You can also drizzle caramel over slices after baking rather than baking caramel into the pie, which can make the filling harder to set.
- Crumb-free Dutch twist (still double crust): Keep the double crust, but sprinkle a thin layer of turbinado sugar on the top crust for extra crunch.
- Extra-bright: Add a little finely grated lemon zest to the filling.
- Deep spice: Add a small pinch of ground cardamom along with the cinnamon for a subtle floral warmth.
Serving ideas
- Serve slightly warm with vanilla ice cream and a pinch of flaky salt on top.
- For a classic diner moment, go with sharp cheddar on the side.
- Whipped cream with a tiny splash of maple syrup is simple and perfect.
- If you are serving a crowd, pre-slice once the pie is fully cooled, then gently rewarm slices on a sheet pan.
Storage and reheating
- Room temperature: Loosely cover and keep at cool room temperature for up to 2 days.
- Refrigerator: Cover and refrigerate up to 4 days. The crust will soften slightly in the fridge.
- Reheating slices: Warm in a 325°F (163°C) oven until heated through, about 10 to 15 minutes. This helps re-crisp the crust better than the microwave.
- Freezing: You can freeze fully baked pie, wrapped well, for up to 3 months. Thaw in the fridge overnight, then warm in a low oven to refresh the crust.
Common mistakes
- Underbaking. Pale crust and runny filling usually mean the pie did not bake long enough. Look for center bubbling, not just edge bubbling.
- Skipping the sheet pan. Boiled-over sugar and butter on the oven floor smokes fast and is miserable to clean.
- Too much flour on the dough. Excess flour can make the crust tough and dull. Use just enough to prevent sticking.
- Not sealing the edge. If the top and bottom crust are not pressed together, juices will escape and can prevent the edge from puffing and browning nicely.
- Cutting too soon. A hot pie will always look looser. Cooling is when the thickener finishes setting.
FAQ
What are the best apples for apple pie?
Use firm apples that hold their shape, like Granny Smith, Honeycrisp, Braeburn, Pink Lady, or Jonagold. I like mixing at least two types for better flavor and texture.
How do I keep the bottom crust from getting soggy?
Start the pie in a hotter oven to set the pastry, bake on a lower rack, and bake long enough for the filling to bubble properly. Baking the pie on a preheated sheet pan can also help deliver heat to the bottom crust.
How do I know when apple pie is done?
The top should be deep golden brown, and you should see thick bubbles coming through the center vents. If you use a thermometer, aim for about 200°F (93°C) in the center of the filling.
Why is my apple pie runny?
Most often it is either underbaked (the thickener never fully activated) or cut too soon (the filling had not cooled and set). Give it time and look for bubbling in the middle.
Do I need to cook the apples first?
Not for this recipe. Sliced apples soften beautifully during a long bake. The key is slicing evenly and baking until the center is fully bubbling.
The recipe
Classic Double-Crust Apple Pie
A true classic double-crust apple pie with sliced baking apples, warm cinnamon spice, a glossy thickened filling, and a long bake that cooks the bottom crust and sets the juices for clean slices.
- Prep
- 35 minutes
- Cook
- 70 to 85 minutes
- Total
- 4 hours 30 minutes (includes cooling)
- Yield
- 1 (9-inch) pie, about 8 slices
Ingredients
- 1 double pie crust recipe (2 disks), chilled
- 3 pounds baking apples (about 6 to 7 medium), peeled, cored, and sliced 1/4-inch thick
- 3/4 cup granulated sugar
- 1/4 cup packed light brown sugar
- 1/4 cup cornstarch
- 1 1/2 teaspoons ground cinnamon
- 1/4 teaspoon ground nutmeg
- 1/8 teaspoon ground cloves (optional)
- 3/4 teaspoon fine salt
- 1 tablespoon lemon juice
- 2 tablespoons unsalted butter, cut into small pieces
- 1 large egg
- 1 tablespoon milk or cream
- 1 tablespoon coarse sugar (optional, for topping)
Instructions
- Heat the oven and position the rack. Place a rack in the lower third of the oven and preheat to 425°F (218°C). Set a rimmed sheet pan on the rack to preheat as well.
- Roll out the bottom crust. On a lightly floured surface, roll out 1 chilled dough disk into a 12-inch round. Transfer to a 9-inch pie plate, easing it in without stretching. Leave any overhang in place. Refrigerate while you make the filling.
- Mix the filling. In a large bowl, combine sliced apples, granulated sugar, brown sugar, cornstarch, cinnamon, nutmeg, cloves (if using), salt, and lemon juice. Toss very well so the cornstarch coats the apples evenly. Let sit 10 to 15 minutes, then toss again.
- Fill the pie. Pile the apples into the chilled crust, packing them tightly and mounding slightly in the center. Drizzle any juices from the bowl over the apples. Dot the filling with the butter pieces.
- Add the top crust and seal. Roll the second dough disk into a 12-inch round and lay it over the filling. Trim excess dough to about 3/4-inch overhang. Fold the overhang under itself and press to seal, then crimp as desired.
- Vent the top. Cut 5 to 7 slits in the top crust (or one larger decorative vent) to allow steam to escape.
- Egg wash. Whisk the egg with the milk or cream. Brush over the top crust and edges. Sprinkle with coarse sugar if using.
- Bake, then reduce heat. Place the pie on the preheated sheet pan. Bake at 425°F (218°C) for 20 minutes, then reduce the oven temperature to 375°F (190°C) and continue baking 50 to 65 minutes more, until the crust is deep golden brown and thick juices are bubbling through the center vents.
- Protect the edges if needed. If the edges brown too quickly, loosely cover the rim with foil for the last 20 to 30 minutes of baking.
- Cool completely to set. Transfer the pie to a cooling rack and cool at least 3 to 4 hours before slicing for the cleanest pieces.
Notes
Apple choice: For the best texture, use at least one firm-tart variety (like Granny Smith) plus one sweeter variety (like Honeycrisp or Braeburn).
Doneness cue: Bubbling in the center vents is the key. If the crust is browned but the filling is not bubbling in the middle, the pie is not done yet. Tent the top loosely with foil and keep baking.
Make-ahead: You can mix the dry ingredients (sugars, cornstarch, spices, salt) ahead of time and store in an airtight container, then toss with apples and lemon juice when ready to bake.