
All-butter pie crust is one of those baking skills that feels like it should be mysterious. It is not. It is mostly temperature management, a little restraint, and knowing what you are aiming for: cold butter pieces tucked into flour, plus just enough water to bring it together. The oven does the rest, turning those butter pockets into steam and flaky layers.
If you have ever had a crust that shrank, cracked, or baked up hard, I promise you are not alone. Let’s make one that tastes like butter, shatters gently at the fork, and still feels doable on a weeknight.

Why all-butter crust is worth it
Short version: butter brings flavor. Longer version: butter brings flavor and flake.
- Big, clean flavor: All-butter crust tastes rich and real without being greasy.
- Flake from steam: In the oven, the water in butter turns to steam and pushes apart thin sheets of dough. That is where the flakes come from.
- Crisp edges, tender bite: Mixing matters, but so does baking: a well-made crust gets crisp where it’s exposed, and stays tender where it meets filling.
The tradeoff is that butter melts faster than shortening. That just means we lean into cold ingredients and short mixing, then give the dough time to chill.
Ingredients (and what each one does)
- All-purpose flour: The backbone. We want enough protein for structure, but not so much mixing that we build toughness.
- Salt: Makes the crust taste like something, not just “flour shell.” Even sweet pies need salt.
- Sugar (optional but helpful): A teaspoon or two helps browning and slightly tenderizes the dough. I use it for most sweet pies.
- Unsalted butter: The star. Use cold butter straight from the fridge. If your kitchen runs warm, cube it and chill it again.
- Ice water: Keeps butter cold and helps hydrate the flour without melting the fat.
- Optional acid (1 teaspoon vinegar or lemon juice): Not required, but it can slightly limit gluten formation, which makes rolling less stressful. The effect is modest, but I like it.
Butter note: European-style butter has a higher fat percentage and can make the crust even more tender, but standard supermarket butter works beautifully.
Equipment you actually need
- Mixing bowl
- Pastry cutter, fork, or your fingertips
- Measuring cups and spoons
- Plastic wrap or a reusable wrap
- Rolling pin
A food processor is convenient, but not mandatory. The best crust I have ever made was mixed with a fork in a rental kitchen with one wobbly cutting board.
All-Butter Pie Crust Recipe
Ingredients (for one standard 9-inch pie crust)
- 1 1/4 cups (150 g) all-purpose flour, plus more for rolling
- 1/2 teaspoon fine salt
- 1 to 2 teaspoons sugar (optional, for sweet pies)
- 1/2 cup (113 g) unsalted butter, cold and cubed
- 3 to 5 tablespoons ice water
- 1 teaspoon apple cider vinegar or lemon juice (optional)
Deep-dish note: A deep-dish 9-inch plate often needs about 1.5x dough for a single crust. For a deep-dish bottom crust, scale the recipe up by half.
Instructions
- Chill your tools (optional but helpful). If your kitchen is warm, pop the mixing bowl in the fridge for 10 minutes. Keep the butter cold.
- Mix dry ingredients. In a large bowl, whisk together flour, salt, and sugar if using.
- Cut in the butter. Add cold butter cubes. Use a pastry cutter (or fork) to cut butter into the flour until you have a mix of pea-size pieces and some flatter almond-size pieces. Those bigger pieces are future flakes.
- Add liquid slowly. Drizzle in 3 tablespoons ice water (and vinegar if using). Toss with a fork. Add 1 tablespoon more water at a time until the dough holds together when you squeeze a handful. It should look shaggy, not wet.
- Bring it together gently. Dump onto the counter and press into a rough disk. If there are dry patches, sprinkle with a few drops of water and press again. Do not knead like bread.
- Chill. Wrap tightly and refrigerate at least 1 hour, ideally 2 hours. You can chill up to 2 days.
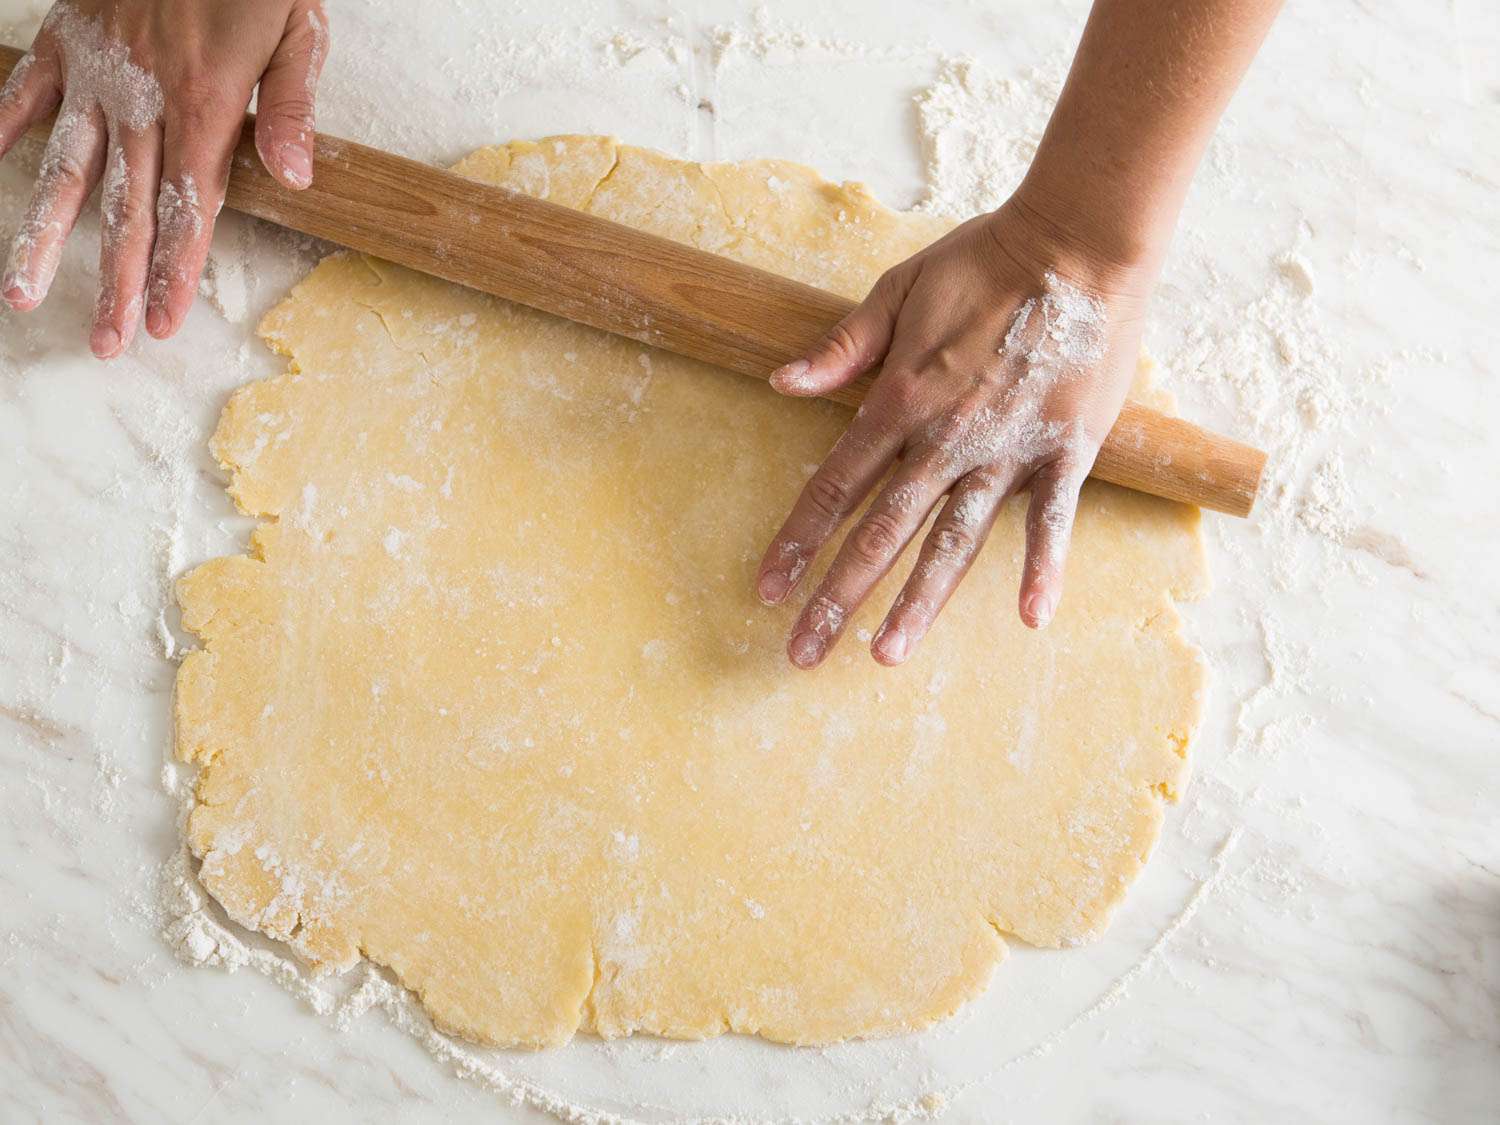
- Roll and fit. On a lightly floured surface, roll from the center outward, turning the dough a quarter turn every few rolls. Roll to about 12 inches for a 9-inch pie plate.
- Transfer. Roll the dough around the pin and unroll into the pie plate. Lift and settle it into the corners without stretching.
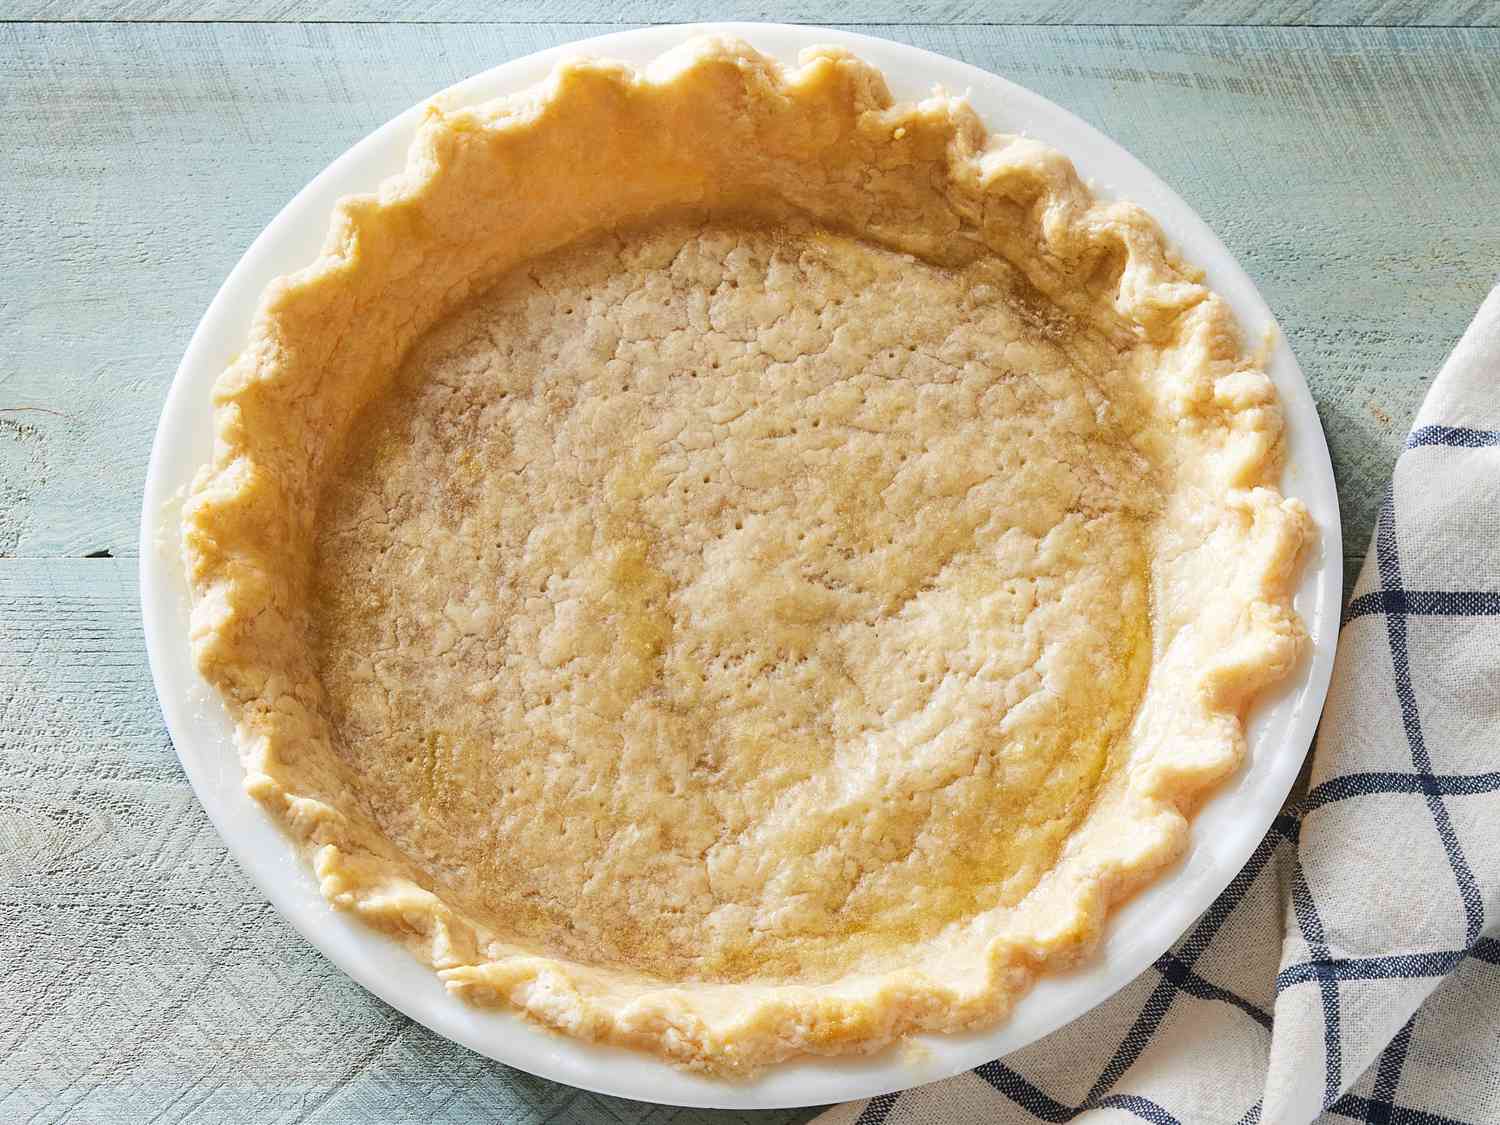
- Trim and crimp. Leave a 1/2-inch overhang, tuck under, and crimp. Chill the shaped crust 20 to 30 minutes before baking.
How to bake it
If your pie bakes a long time: For fruit pies and many baked fillings, follow your pie recipe and bake with the filling. This crust can usually go right in after that final chill.
If your filling bakes briefly or not at all: For custards, cream pies, and no-bake fillings, blind bake the crust first. See the Blind baking section below.
Yield
One standard 9-inch single crust (great for custard pies, blind-baked shells, or top crust for pot pie if doubled).
What “perfectly mixed” dough looks like
The goal is dough that holds together with visible butter pieces still intact.
- Too dry: It will crumble when you try to roll it, and the edges will crack aggressively. Fix: sprinkle with a teaspoon of ice water and press the dough together again.
- Too wet: It will feel sticky and smear on the counter, which usually means the butter is warming. Fix: chill before rolling. Add a spoonful of flour only if you truly have to.
- Just right: When you squeeze a handful, it clumps. When you break it, you see butter flecks.
Rolling without tears
Rolling is where most pie crust confidence is won. Here are the habits that make it calm:
- Let it soften slightly. If the dough was chilled for hours, give it 5 to 10 minutes at room temperature so it rolls without cracking.
- Flour lightly, not heavily. Too much flour can dry the dough. Use just enough to prevent sticking, and brush excess off with your hand.
- Turn as you roll. A quarter turn every few passes keeps the circle round and stops sticking early.
- Do not stretch to fit. Stretching is a major cause of shrinkage. Instead, lift the edge and let the dough settle into the corners.
Chilling matters
Chilling is not busywork. It does two important things:
- Relaxes gluten: Less spring-back while rolling and less shrinkage in the oven.
- Re-solidifies butter: Cold butter hits hot oven and turns into flaky layers, instead of melting into the flour and baking up hard.
If you are short on time, 20 to 30 minutes in the freezer can help, but do not let the dough freeze solid unless you are storing it.
Blind baking
If your filling does not bake long enough to crisp the crust, blind bake the shell first.
How to blind bake
- Chill the shaped crust in the pie plate for 30 minutes.
- Heat oven to 425°F (220°C). Place a sheet pan in the oven while it preheats, if you can.
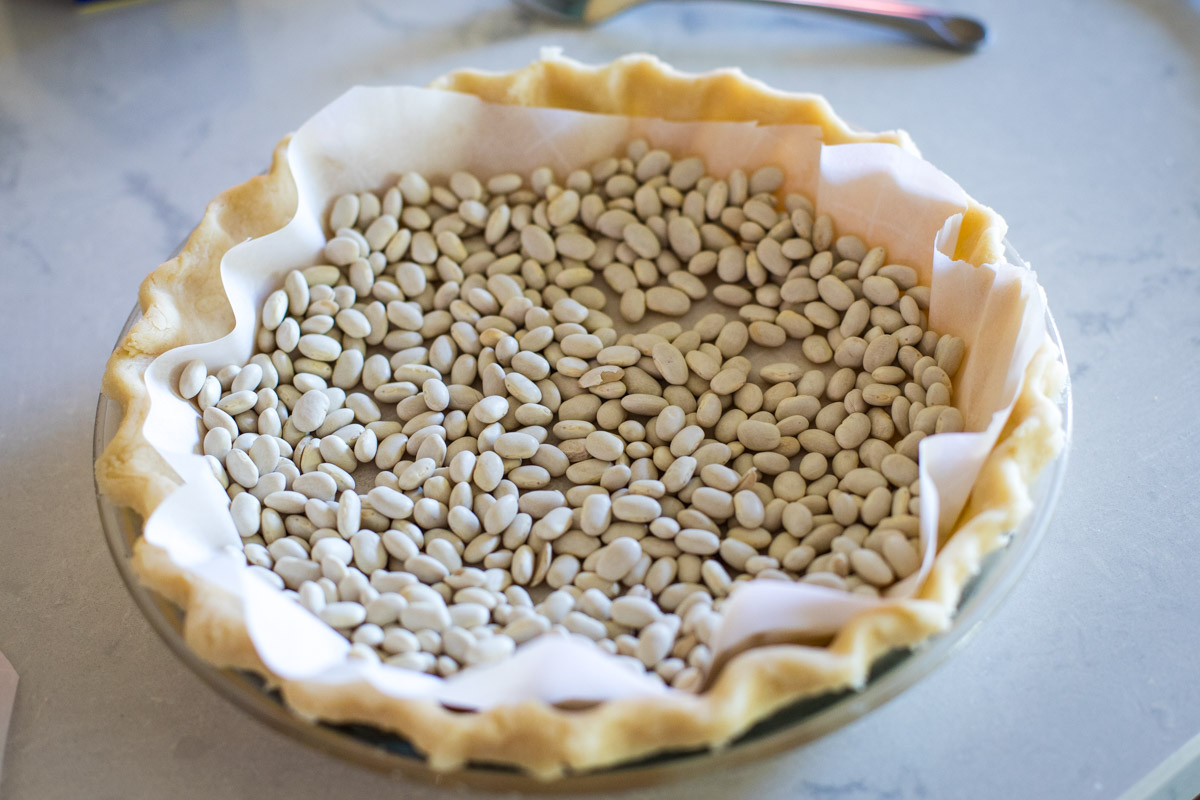
- Line crust with parchment paper (crumple it first, it fits better), then fill with pie weights or dried beans.
- Bake 15 to 18 minutes, until the edges look set and are just starting to color. If your pie plate is glass or ceramic, you may need a bit longer. Start checking early.
- Remove parchment and weights. Dock the bottom lightly with a fork.
- Bake 5 to 10 minutes more for a partially baked crust, or 10 to 15 minutes more for a fully baked crust, until the bottom looks dry and lightly golden, not shiny.
Pro tip: If your edges brown too quickly, shield them with foil or a pie shield after the first 10 minutes.
Make-ahead and freezing
This crust is very friendly to busy schedules.
- Refrigerate dough disk: Up to 2 days, tightly wrapped.
- Freeze dough disk: Up to 3 months. Thaw overnight in the fridge.
- Freeze shaped crust: Freeze in the pie plate until firm, then wrap well. Bake from frozen, and plan on adding extra time. For blind baking a frozen shell, it is often 5 to 10 minutes longer with weights, plus a few more minutes uncovered. Use the visual cues (set edges, dry and lightly golden bottom) as your guide.
I often make two batches at once and keep a dough disk in the freezer. It is the baking equivalent of finding twenty dollars in a coat pocket.
Troubleshooting
My crust shrank
- You stretched the dough when fitting it into the pan.
- The dough did not rest long enough before baking.
- The butter softened too much during rolling.
Fix for next time: Chill the shaped crust at least 20 to 30 minutes before baking and avoid pulling on the dough to make it reach.
It is tough, not tender
- Too much water.
- Too much mixing or kneading.
- Too much flour worked in during rolling.
Fix for next time: Stop adding water as soon as the dough clumps when squeezed. Press, do not knead.
The bottom is soggy
- The oven was not hot enough at the start.
- The pie was baked on a rack too high.
- The filling was very wet.
Fix for next time: Bake on a preheated sheet pan or baking steel on a lower rack. For extra insurance, brush the chilled crust with egg white and bake 3 minutes before filling.
Cracks while rolling
- Dough is too cold.
- Not enough water.
Fix: Let it sit 5 minutes, then try again. If it still cracks, lightly mist with water and press the edge cracks together.
Easy variations
- For savory pies: Skip sugar. Add 1/2 teaspoon black pepper, dried thyme, or grated Parmesan (1 to 2 tablespoons).
- For extra flake: After the dough comes together, do one or two simple folds: pat into a rectangle, fold into thirds like a letter, rotate, and fold once more. Chill before rolling.
- For a sweeter edge: Sprinkle the crimped edge lightly with coarse sugar before baking.
FAQ
Can I use salted butter?
Yes. Reduce the added salt to 1/4 teaspoon and trust your instincts. Salt levels vary by brand.
Do I need a food processor?
No. A pastry cutter or fork works great. If you do use a processor, pulse in short bursts and stop while you still see butter pieces.
Why add vinegar or lemon juice?
A small amount of acid can help keep gluten a bit more relaxed, which can make the dough easier to roll. It does not make the crust taste sour.
How thin should I roll pie dough?
Aim for about 1/8 inch thick, and large enough that you have an overhang in the pie plate. Too thick can bake up heavy, and too thin can tear easily.
Can I double this for a top and bottom crust?
Absolutely. Double everything and split into two disks before chilling. If your fridge space is tight, stack them with parchment in between.