
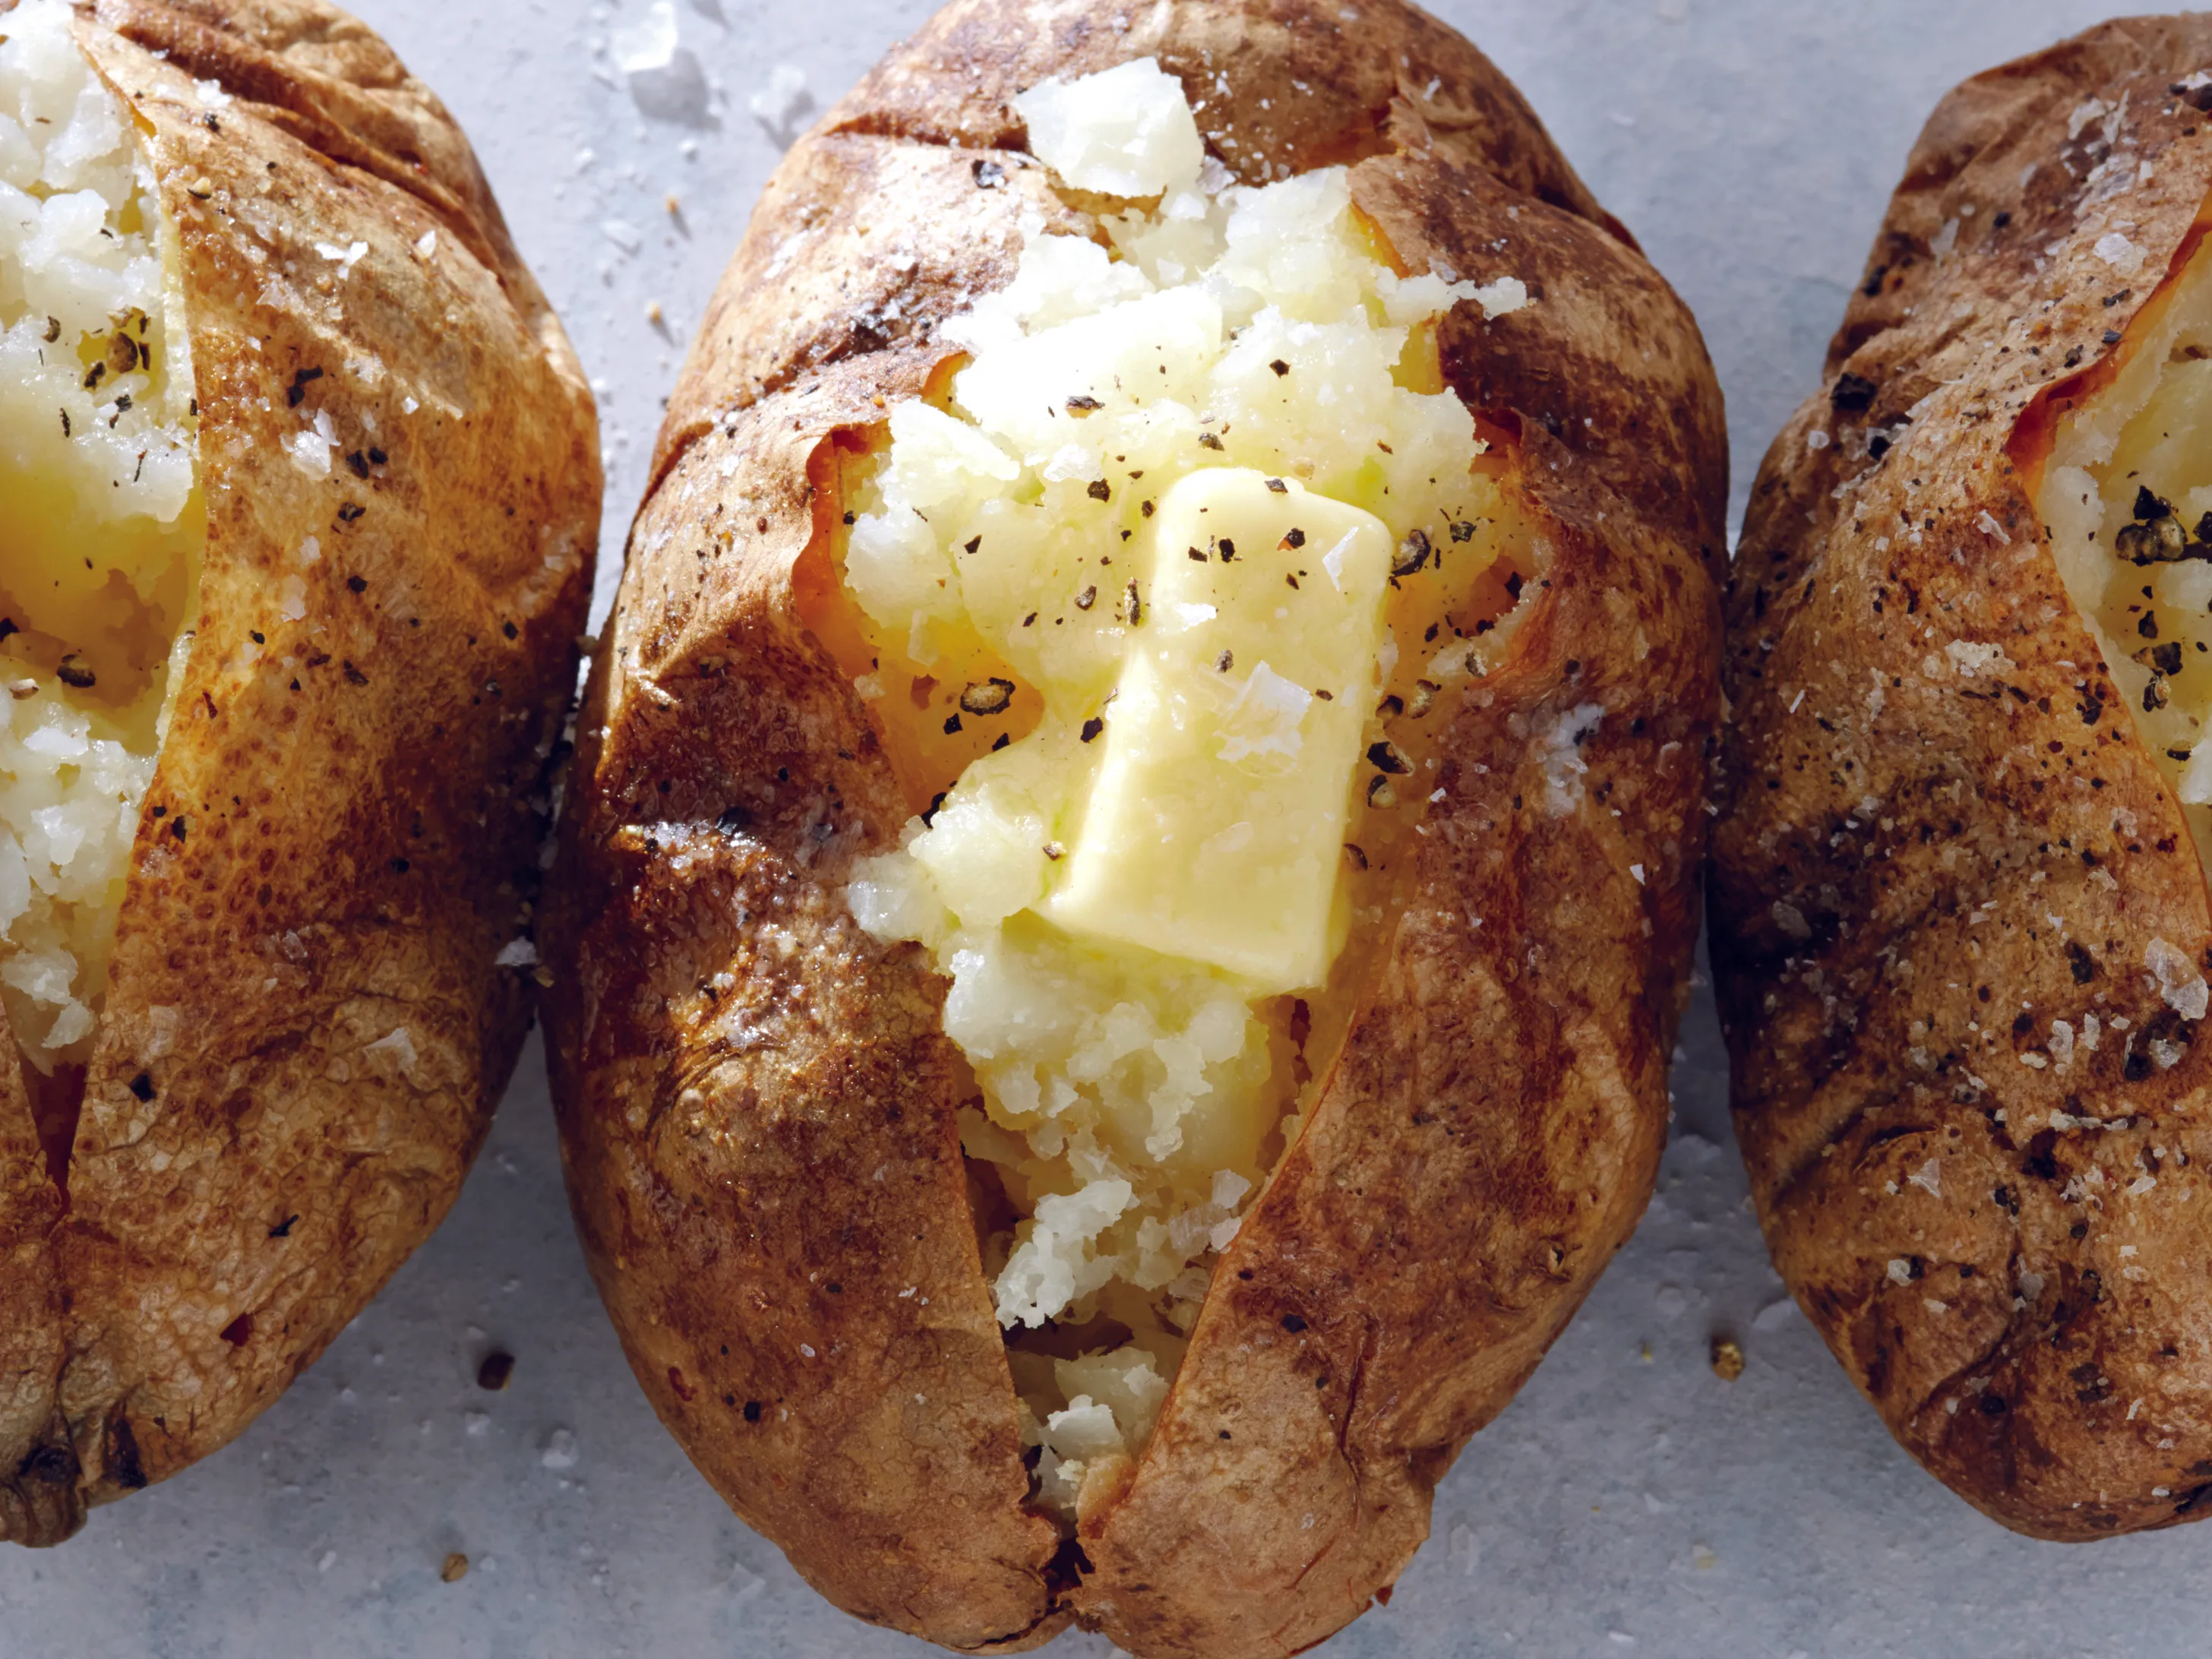
A truly perfect baked potato is one of the most satisfying little kitchen “wins.” It looks humble on the plate, but when you nail it, you get that crisp, seasoned skin you actually want to eat and an interior that fluffs up like mashed potatoes without any extra effort.
I used to bake potatoes by feel during dinner service, then came home and somehow overthought them for weeknights. Here’s the version that works every time, with the why behind each step so you can adapt it to your kitchen, your schedule, and whatever toppings you have lurking in the fridge.

What “perfect” means
We are aiming for two things that can feel like they fight each other:
- Crisp, flavorful skin that shatters a little when you squeeze the potato.
- Fluffy interior that separates into steamy flakes instead of turning waxy or wet.
The secret is simple: bake hot enough to drive off excess moisture, salt the skin so it seasons and encourages drying, and do not wrap in foil if you want crispness.
Choose the potato
Best pick: russet
Russets are high-starch, which is exactly what you want for that airy, fluffy interior. Their thicker skin also crisps up beautifully.
Yukon Golds and reds?
Yes, but the texture will be creamier and denser, not fluffy. I love baked Yukon Golds when I want a buttery interior without adding much butter.
Size matters
Try to pick potatoes that are similar in size so they finish at the same time. A classic “baked potato size” russet is usually 8 to 12 ounces.
Quick prep check
If you plan to eat the skin (and you should), scrub especially well. Trim off any green spots and remove long sprouts.
Oven method
This is the method I reach for when I want the full steakhouse effect. It is mostly hands-off, and it makes the best skin.
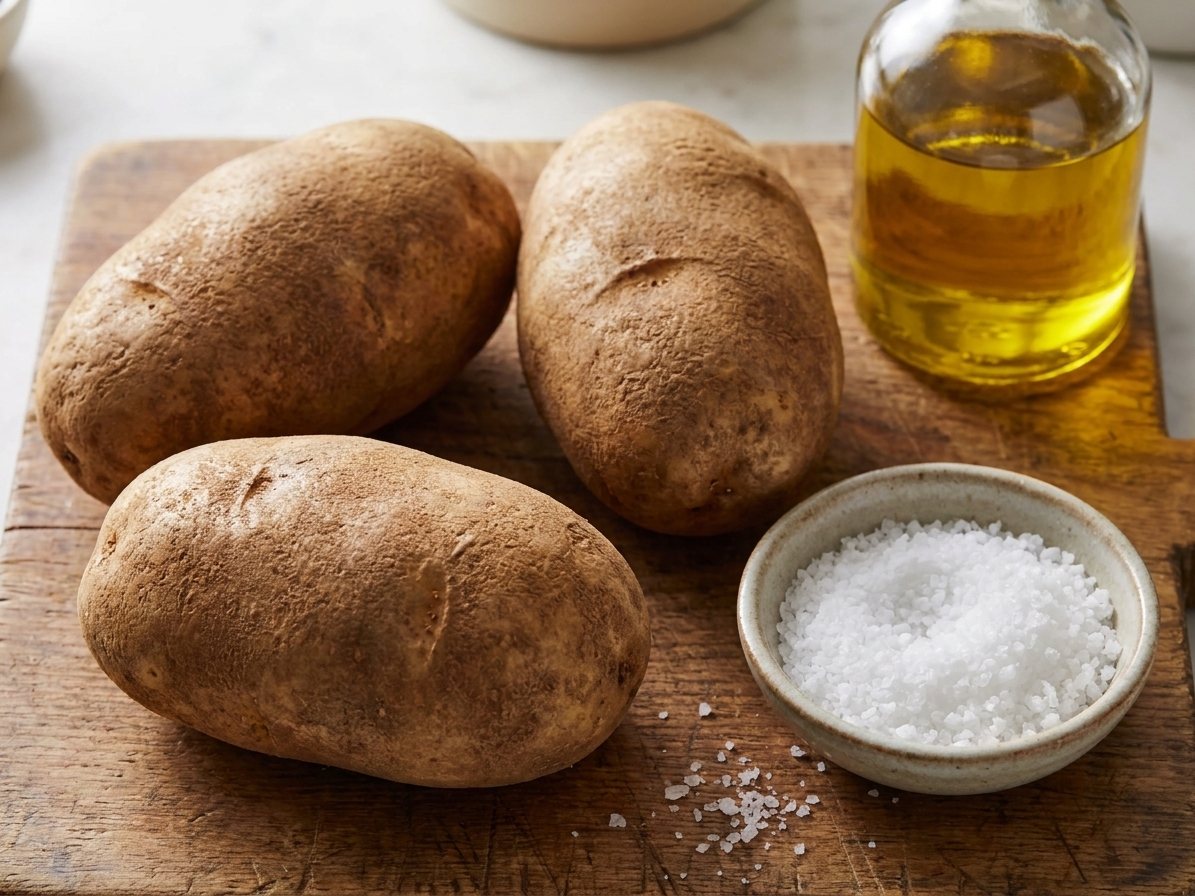
What you need
- Russet potatoes
- Kosher salt
- Oil: olive oil, avocado oil, or neutral vegetable oil
- Optional: freshly ground black pepper
Step by step
- Heat the oven to 425°F. This temperature is the sweet spot for crisp skin without drying out the inside. If you are using convection, start checking 10 to 15 minutes early.
- Scrub and dry well. Any water clinging to the skin turns into steam and softens it. I pat them dry like I mean it.
- Pierce 6 to 10 times with a fork. You are giving steam a path out. (Potatoes do not explode often, but they can split dramatically, and this helps prevent it.)
- Oil + salt the skin. Rub each potato with about 1/2 teaspoon oil, then sprinkle with kosher salt. Think “a generous pinch” per potato, enough that you can see it. The salt pulls a little moisture to the surface at first, then that moisture evaporates in the oven, which helps the skin bake up drier and crisper.
- Bake directly on the rack for 45 to 70 minutes. Put a sheet pan on the rack below to catch any drips. (If your oven tends to smoke, lining the pan with foil or parchment makes cleanup easier.) Time depends on size and your oven.
- Check doneness by feel, then confirm if you want. A skewer should slide in with almost no resistance. If you use a thermometer, look for about 205°F or higher in the center for a very fluffy interior.
- Split and fluff immediately. Slice lengthwise, then pinch the ends and push inward to open it up. Use a fork to fluff the interior before adding toppings.
Timing guide (at 425°F):
- Small (6 to 8 oz): 45 to 55 minutes
- Medium (8 to 12 oz): 55 to 70 minutes
- Large (12 to 16 oz): 70 to 85 minutes
If you want crisp skin, skip the foil. Foil traps steam, and steam is the sworn enemy of crunch.
Air fryer method
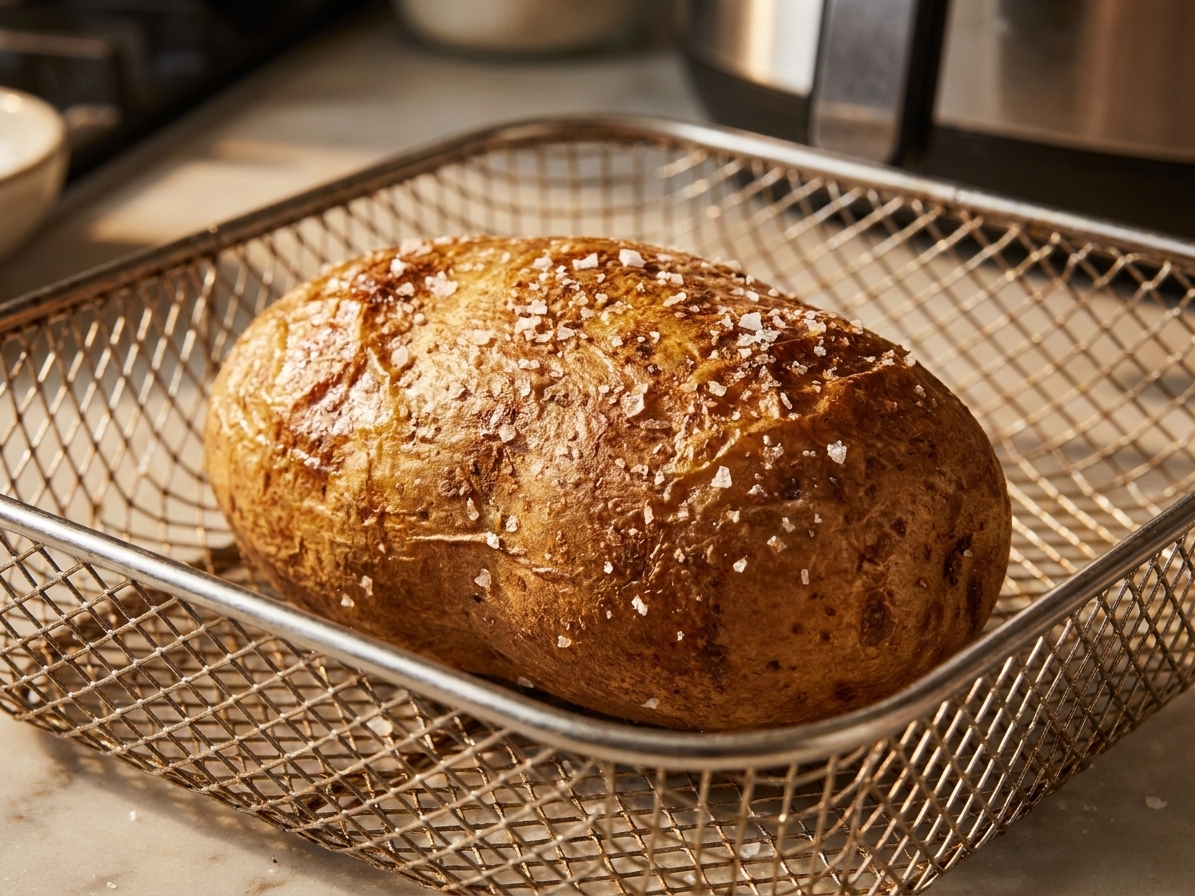
If your oven is already occupied or you only need one or two potatoes, the air fryer is a weeknight hero. It circulates hot air aggressively, so the skin gets beautifully blistered.
How to do it
- Preheat to 400°F for 3 to 5 minutes if your model preheats.
- Scrub, dry, pierce.
- Oil and salt. Same as the oven method.
- Air fry 35 to 50 minutes depending on size, flipping halfway.
- Rest 5 minutes (this helps the interior finish steaming), then split and fluff.
Microwave method
The microwave is the fastest way to get a tender potato, but the skin will be soft. You can fix that by finishing it in a hot oven or air fryer for a few minutes.
Microwave only
- Scrub and pierce.
- Microwave on a plate for 5 minutes, then flip and microwave 3 to 5 minutes more. (Add 1 to 2 minutes for very large potatoes.)
- Rest 2 minutes before cutting.
Microwave plus crisp finish
After microwaving until tender, rub with a little oil, sprinkle with salt, then:
- Air fryer: 400°F for 6 to 10 minutes
- Oven: 450°F for 8 to 12 minutes
You will not get the exact same deep crunch as a full oven bake, but it gets pleasantly crisp and very satisfying.
Flavor upgrades
Salt: go kosher or flaky
Fine table salt dissolves quickly and can make the skin taste sharply salty in patches. Kosher or flaky salt gives you that even, pleasant seasoning.
Oil: keep it light
You are not frying the potato. Too much oil can make the skin feel heavy. A thin rub is all you need for browning.
Want extra crisp?
- Dry the potato thoroughly before oiling.
- Bake directly on the rack for maximum airflow.
- Let it sit in the turned-off oven with the door cracked for 5 minutes after baking. That little venting moment helps dry the skin.
Topping ideas
This is where baked potatoes go from “side dish” to “this is dinner.” A few ideas, from traditional to fridge-cleanout:
Classic
- Butter + sour cream
- Chives or green onion
- Sharp cheddar
- Crumbled bacon
- Lots of black pepper
Southwest
- Black beans (warm them with a pinch of cumin)
- Salsa or pico de gallo
- Avocado or guacamole
- Cotija or shredded Monterey Jack
- Hot sauce
Broccoli cheddar
- Steamed or roasted broccoli
- Cheddar
- A spoonful of Greek yogurt or sour cream
Leftovers
- Chicken or turkey, shredded
- Chili, stew, or curry ladled over the top
- Roasted vegetables
- Any cooked greens with garlic and lemon

Troubleshooting
Hard in the middle
It simply needs more time. Pop it back in the oven for 10 to 15 minutes, or microwave in 60-second bursts until tender, then fluff.
Tough skin
Tough skin usually comes from too low a temperature or underbaking. Bake hotter (425°F) and longer. Also, do not skip the oil.
Gummy or waxy inside
This is often a potato choice issue (waxy varieties do this), or the potato was not baked long enough to fully soften and dry out. Use russets and bake until truly tender.
Soggy skin
Most common causes are foil wrapping, crowding on a pan, or not drying the potato first. Bake directly on the rack, no foil.
Make-ahead and storage
Bake ahead?
Yes. Bake as usual, cool completely, then refrigerate. For the best texture, reheat in the oven or air fryer to revive the skin.
How to store
- Refrigerator: 3 to 4 days in an airtight container.
- Freezer: You can, but the texture can turn a bit grainy. If you plan to freeze, scoop out the flesh, mash with butter or sour cream, then freeze as a filling for twice-baked potatoes.
How to reheat
- Oven: 400°F for 15 to 25 minutes (best for crisp skin).
- Air fryer: 375°F for 8 to 12 minutes.
- Microwave: 2 to 4 minutes, then crisp in air fryer or oven if you want.
Food safety note: Refrigerate cooked potatoes within 2 hours of cooking (within 1 hour if it is very hot out). If you held them warm in foil, do not leave them sitting out for long.
Quick FAQ
Do I need to poke holes?
I recommend it. The holes let steam escape so the potato bakes more evenly and is less likely to split.
Salt before or after baking?
Before. Salting the skin pre-bake seasons it and helps the exterior bake up drier and crisper.
Should I use foil?
Only if you want soft skin. Foil traps steam, which is great for keeping potatoes warm, but it sacrifices crispness.
What internal temperature is done?
If you like numbers, aim for about 205°F or higher in the center, along with the skewer test for “very tender.”
One-minute checklist
- Russet potatoes for the fluffiest interior.
- 425°F oven for crisp skin.
- Scrub, dry, pierce.
- Light oil + kosher salt.
- Bake on the rack until a skewer slides in easily (about 205°F+ if you check).
- Split and fluff right away.
Once you have this down, a baked potato becomes less of a “recipe” and more of a reliable dinner tool. Add a simple salad, warm up some leftover chili, or do the full loaded situation and call it a very good night.