
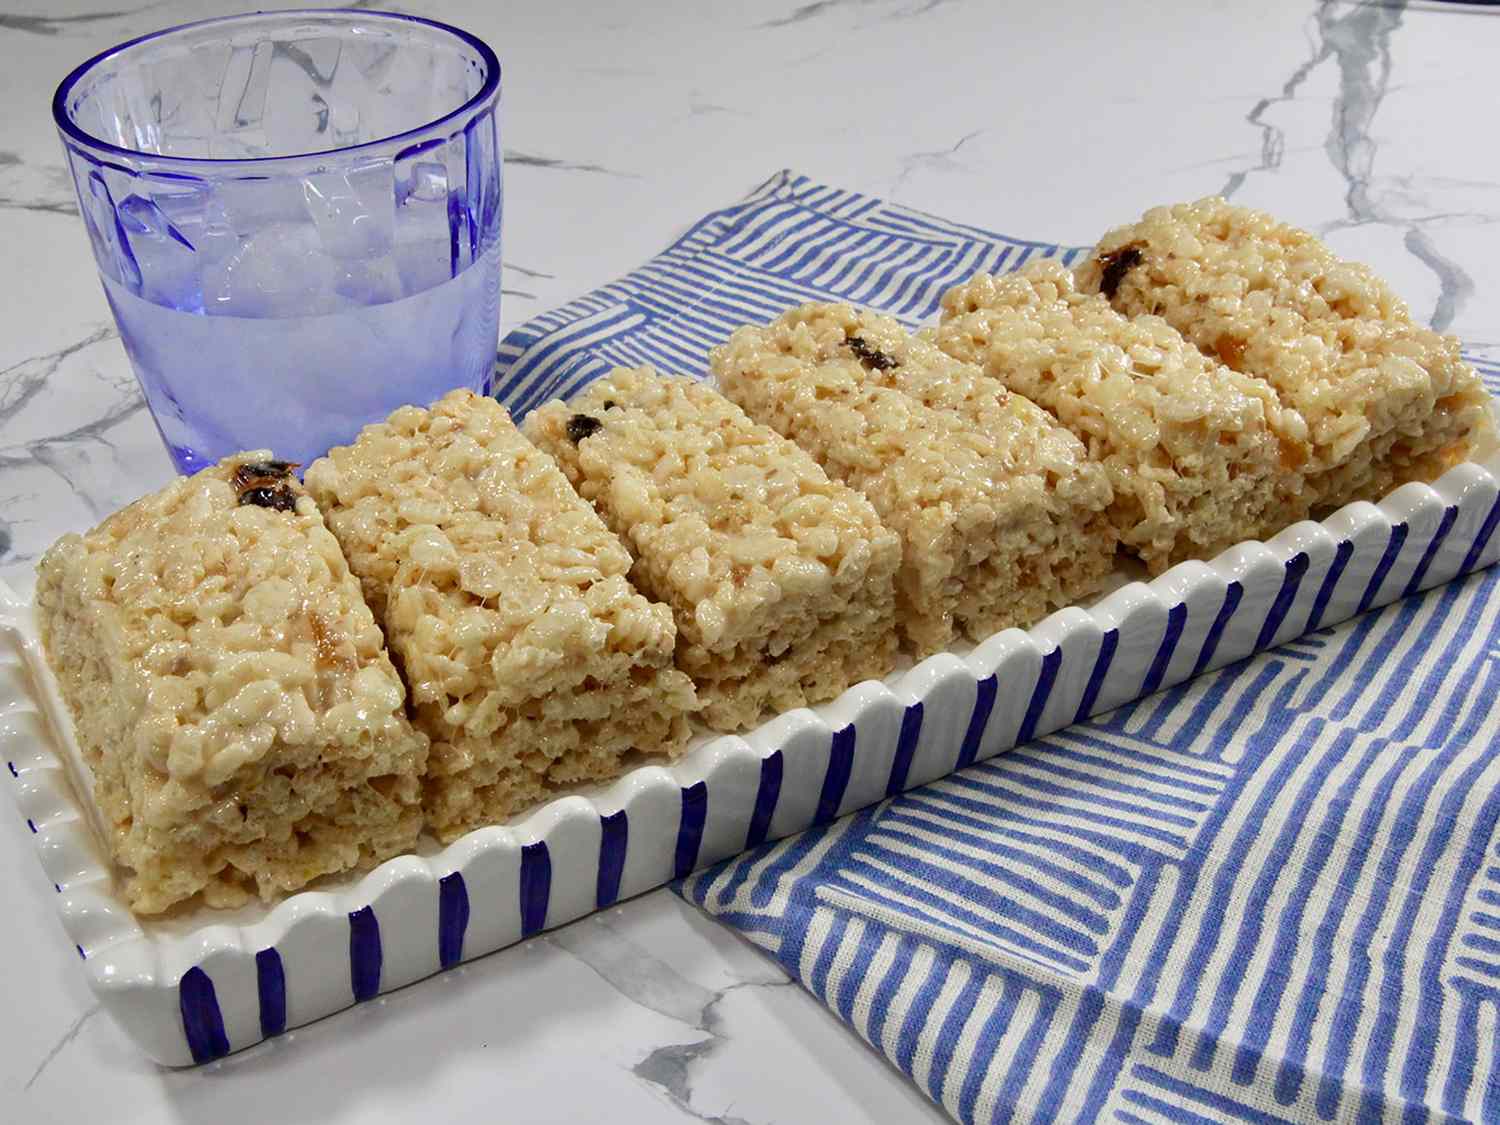
There are two kinds of Rice Krispie treats: the ones that shatter into dry crumbs, and the ones that bend just a little before giving way to a warm, buttery, marshmallowy chew. We are firmly in camp number two.
This is the classic version you remember, only better because we are going to protect the marshmallows from too much heat, use enough butter to carry flavor, and press the mixture into the pan with a gentle hand so it stays soft. If you have ten minutes of active time and a big spoon, you have everything you need.

What makes them gooey
Gooey is not just about adding more marshmallows, although that definitely helps. Texture is the whole game here, and these three choices are often the difference between soft and stale.
- Low heat for the melt: Marshmallows cooked too hot can turn stiff as they cool. Gentle heat helps you avoid overcooking, which often means a more tender bite later.
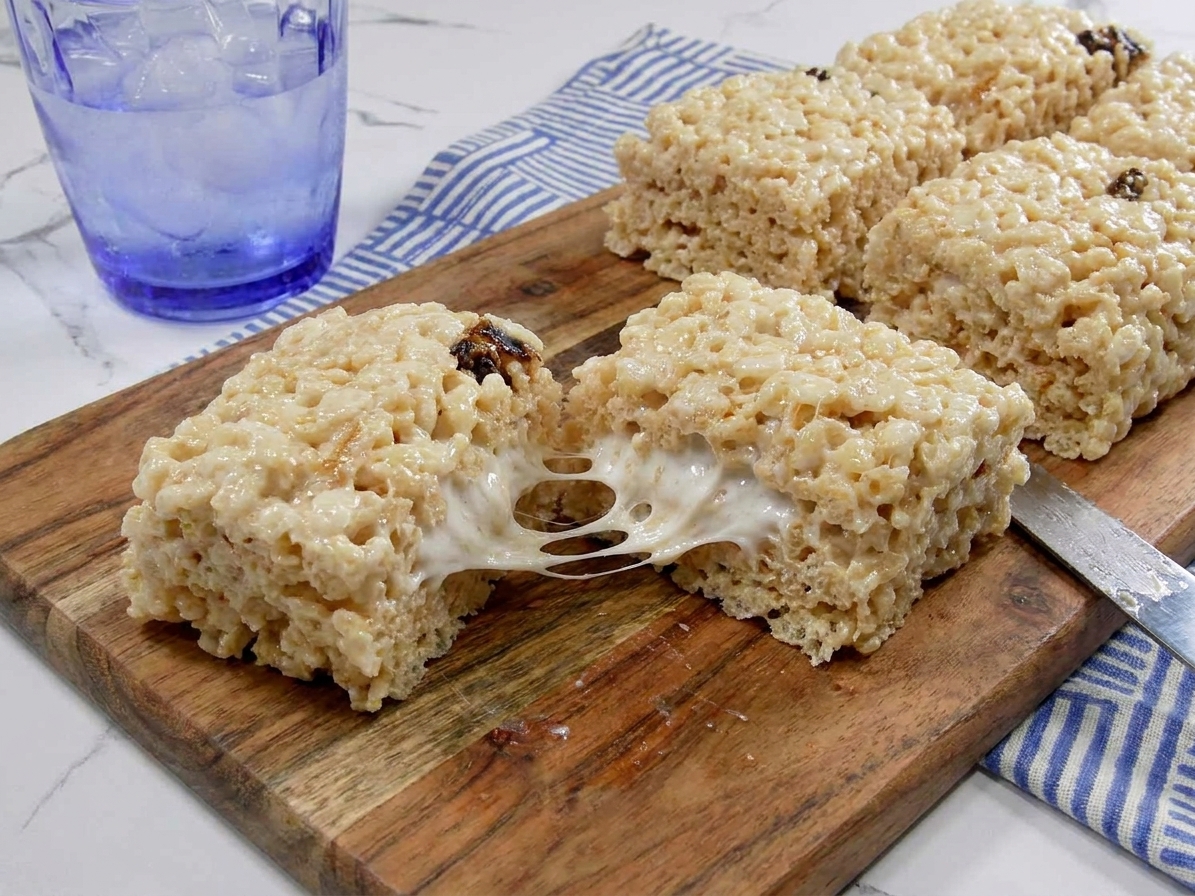
- Hold back some marshmallows: Stirring in a portion off heat leaves pockets of semi-melted marshmallow throughout the treats. That is the pull everyone wants.
- Do not pack the pan: Pressing hard crushes the cereal and compacts the treats. A light, even press gives you that plush center.
Ingredients
This is a short list recipe, so each ingredient matters. Use what you have, but here is how each one behaves.
- Unsalted butter: Classic flavor and a softer chew. If you only have salted butter, use it and skip any added salt.
- Mini marshmallows: They melt quickly and evenly. Large marshmallows work too, just give them a little extra time.
- Vanilla extract: Optional, but it makes the treats taste bakery-style instead of just sweet.
- Kosher salt: A pinch keeps the sweetness from tasting flat.
- Rice Krispies cereal: Fresh cereal gives the best snap. If your box has been open for a while, the cereal can soften and the treats can lose that crisp bite.
Classic Gooey Rice Krispie Treats recipe
Yield and timing
- Makes: 12 to 16 squares (depending on how you cut them)
- Active time: about 10 minutes
- Set time: 30 to 60 minutes
- Total: about 45 minutes
Ingredients
- 6 tablespoons unsalted butter, plus a little extra for the pan
- 1 (10-ounce) bag mini marshmallows, divided (about 6 cups)
- 1 teaspoon vanilla extract (optional)
- 1/2 teaspoon kosher salt (or 1/4 teaspoon fine salt)
- 6 cups Rice Krispies cereal
Instructions
- Prep the pan. Lightly butter a 9x13-inch pan and line with parchment, leaving overhang on two sides for easy lifting. Butter the parchment too, or spray it lightly with nonstick spray. Either option helps the treats release cleanly without tearing.
- Melt the butter gently. In a large pot over low heat, melt the butter until just melted. If you want a toasted note, keep going until it smells nutty and turns golden, then take the pot off the heat and let it cool for 30 to 60 seconds so the residual heat does not scorch the marshmallows.
- Melt most of the marshmallows. Add about 4 1/2 cups of the mini marshmallows (save about 1 1/2 cups for later). Stir until smooth and glossy. If things start to tighten up or stick, lower the heat or pull the pot off the burner and keep stirring.
- Season and flavor. Remove from the heat. Stir in the vanilla and salt.
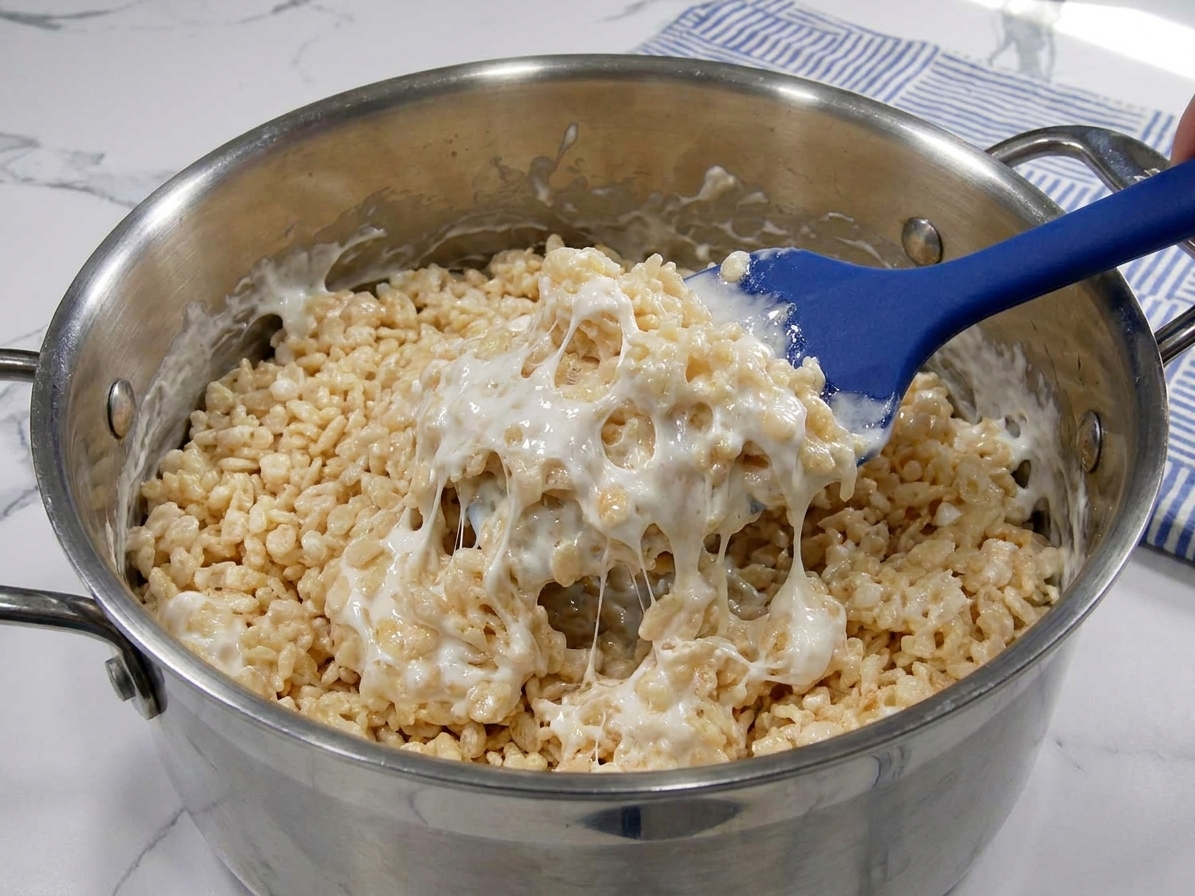
- Add cereal. Pour in the Rice Krispies and fold quickly but gently until the cereal is coated. Once the cereal goes in, work a little faster so the mixture does not start setting in the pot.
- Add the reserved marshmallows. Sprinkle in the remaining mini marshmallows and fold just until they are evenly distributed. They should start to soften but not fully disappear.
- Press into the pan. Scrape the mixture into the prepared pan. With buttered hands or a buttered spatula, press it down lightly and evenly. Think: smoothing, not packing.
- Cool and cut. Let set at room temperature for 30 to 60 minutes. Lift out using the parchment, then cut into squares with a buttered knife or a lightly buttered bench scraper for the cleanest edges.
Tips for soft treats
If you have ever ended up with a pan that could double as building material, this section is for you.
- Keep the heat low. If your marshmallow mixture looks stiff or starts to stick to the pot, the heat is probably too high. Pull it off the burner, stir, and let it relax.
- Use a bigger pot than you think. Folding cereal into marshmallow is awkward in a small pot and leads to overmixing. A roomy pot is faster and gentler.
- Butter your tools. Buttered spatula, buttered hands, buttered parchment. It is the difference between calm and chaos.
- Do not refrigerate to set faster. The fridge can make them firm and less gooey. Room temp is best.
Easy variations
Once you have the method down, you can tweak without losing that classic vibe.
- Extra gooey: Increase the total marshmallows to 12 ounces (about 7 cups). Keep the cereal at 6 cups.
- Chocolate drizzle: Melt 1/2 cup chocolate chips with 1 teaspoon neutral oil and drizzle over cooled bars.
- Brown butter: Brown the butter first for a deeper, bakery-like flavor. It makes the whole kitchen smell like toffee. After browning, let the pot cool briefly before adding marshmallows.
- Peanut butter swirl: Stir 1/3 cup creamy peanut butter into the melted marshmallow off heat, then proceed. Add an extra pinch of salt.
How to store them
The goal is to keep them from drying out. Air is the enemy.
- Room temperature: Store in an airtight container for up to 3 days, but they are best within 1 to 2 days. Place parchment between layers.
- Keep them softer: Adding a slice of sandwich bread to the container can help keep the treats from drying out, especially if your container seal is not perfect.
- Freezing: Wrap individual squares tightly in plastic wrap, then place in a freezer bag. Freeze up to 6 weeks. Thaw at room temperature, still wrapped, for about 1 to 2 hours.
Troubleshooting
Why are my treats hard?
Usually one of two things: the marshmallows were cooked on too high heat, or the mixture was pressed too firmly into the pan. Next time, melt on low and press lightly.
Why are they falling apart?
Not enough marshmallow binder, or the cereal-to-marshmallow ratio got a little too high. Measure the cereal loosely, not packed into the cup.
Why do mine taste stale?
Old cereal and exposure to air. Use fresher cereal and store tightly sealed once cut.
Can I make these in an 8x8 pan?
Yes. Cut the recipe roughly in half for a thick 8x8, or use the full recipe for extra thick bars and a longer setting time.
Pressing reminder
If you remember one thing: you are not compacting concrete, you are tucking a blanket into a pan. Light, even, and done.