
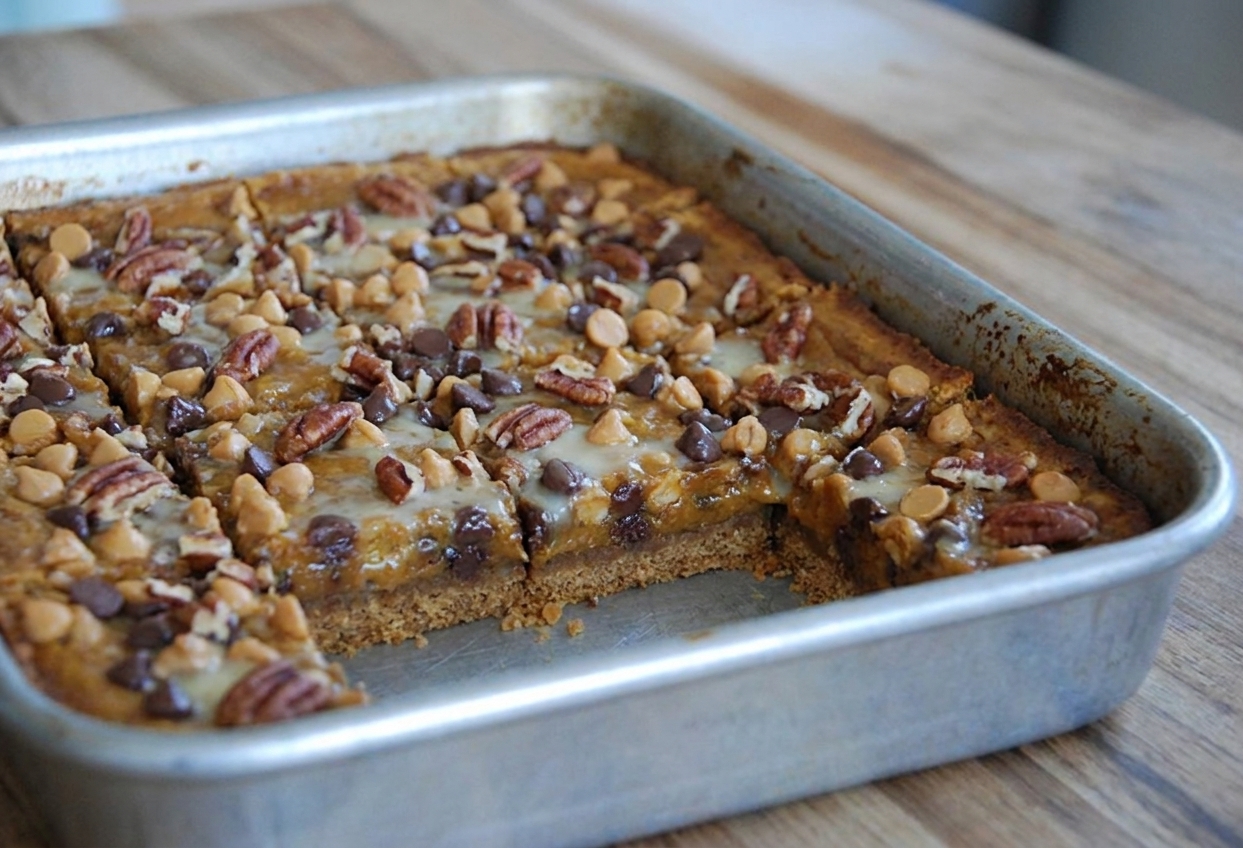
Magic bars have always felt like bakery-case magic to me. You do not whip. You do not fuss. You just layer, pour, and let the oven do the heavy lifting. In plenty of bakery cases, bars like these are the first thing to disappear at the end of the day because they hit every craving at once: buttery, gooey, toasty, and sweet.
This pumpkin version tastes like classic seven-layer bars took a weekend trip to the pumpkin patch. The pumpkin brings moisture and a gentle earthiness, the spices make your kitchen smell like you are doing something impressive, and the condensed milk ties everything together into that signature chewy, caramel-kissed top.
A few quick guardrails before you start: use plain pumpkin puree (not pumpkin pie filling), expect thicker bars in an 8x8-inch pan and thinner ones in a 9x9-inch, so bake time may shift by a few minutes, and plan to cool completely before slicing. If your pumpkin seems extra watery, blot it briefly with paper towels so the middle sets up nicely. And if you want clean, bakery-style squares, line the pan with parchment so you can lift the whole slab out, then chill briefly for the sharpest cuts.

Layer order matters
If you have ever made magic bars and ended up with dry corners or a bottom crust that crumbles, the fix is usually the same: press the crust firmly and pour the condensed milk slowly and evenly. In this recipe, the pumpkin layer sits above the crust, which can help keep the base from getting too soft, especially if your puree is not overly wet, while still letting the bars bake up tender and cohesive.
- Bottom: buttery crumb crust, pressed firmly
- Next: pumpkin layer, smoothed to the edges
- Then: chocolate chips or butterscotch chips
- Then: nuts, for crunch and toastiness
- Top: sweetened condensed milk, poured evenly over everything
What to expect
These bars bake up with a crisp, buttery base and a soft pumpkin middle, and the top becomes glossy and set with little pockets of melted chips. They slice cleanly only after they cool completely, so plan for that. When I am making them for a Sunday dinner, I bake them earlier in the day and forget about them until dessert.
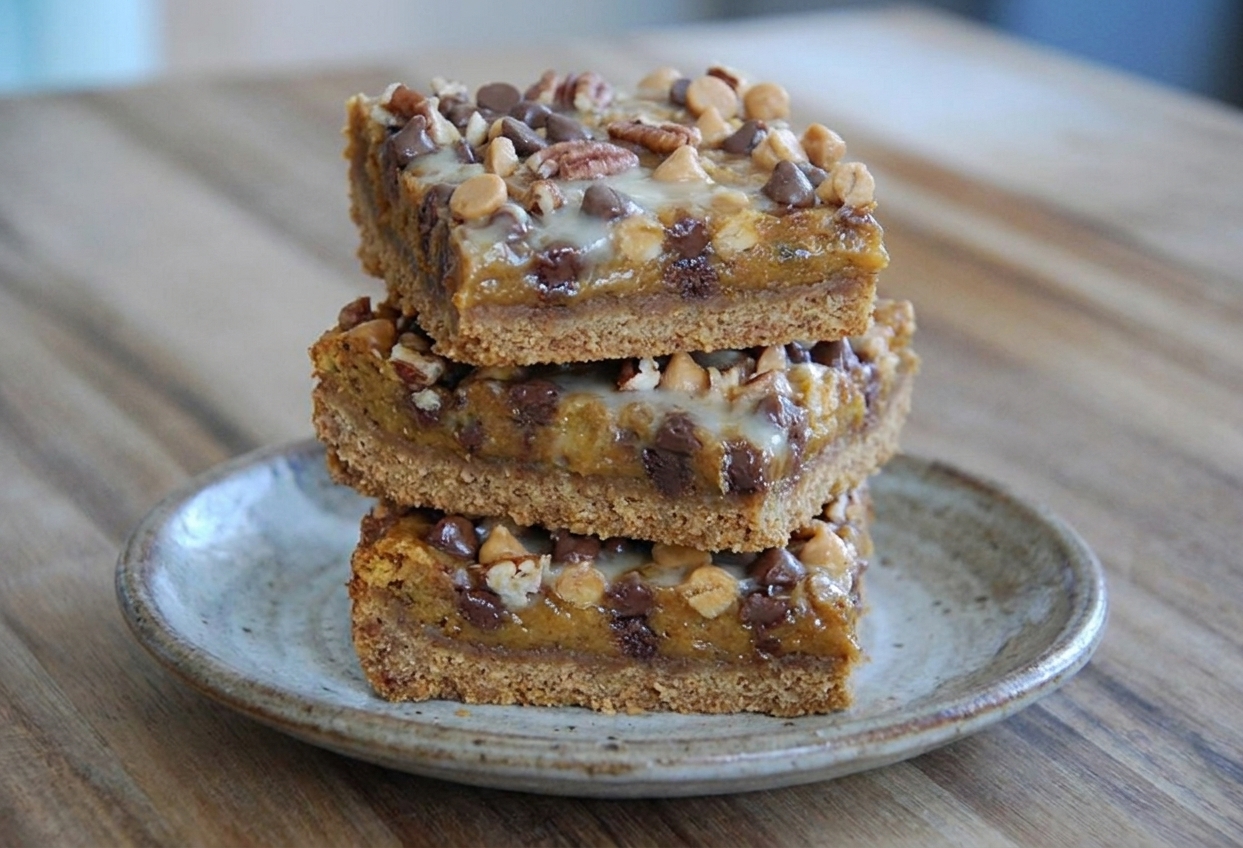
Why this recipe works
- Pressed crumb crust creates structure. Firm pressure helps the butter bind the crumbs so the base holds together when you slice.
- Pumpkin adds moisture without turning cakey. A simple spiced pumpkin layer keeps the bars gooey and rich, not bready.
- Condensed milk is the glue. It seeps into the chips and nuts as it bakes, then sets into that classic chewy, sliceable top once fully cooled.
- Layering helps protect texture. Pumpkin over the crust can reduce the chance of a soggy base, while chips and nuts stay toasty near the surface.
Ingredient notes
Pumpkin puree
Use plain canned pumpkin, not pumpkin pie filling. Pumpkin pie filling is already sweetened and spiced, which can throw off the set and sweetness.
Sweetened condensed milk
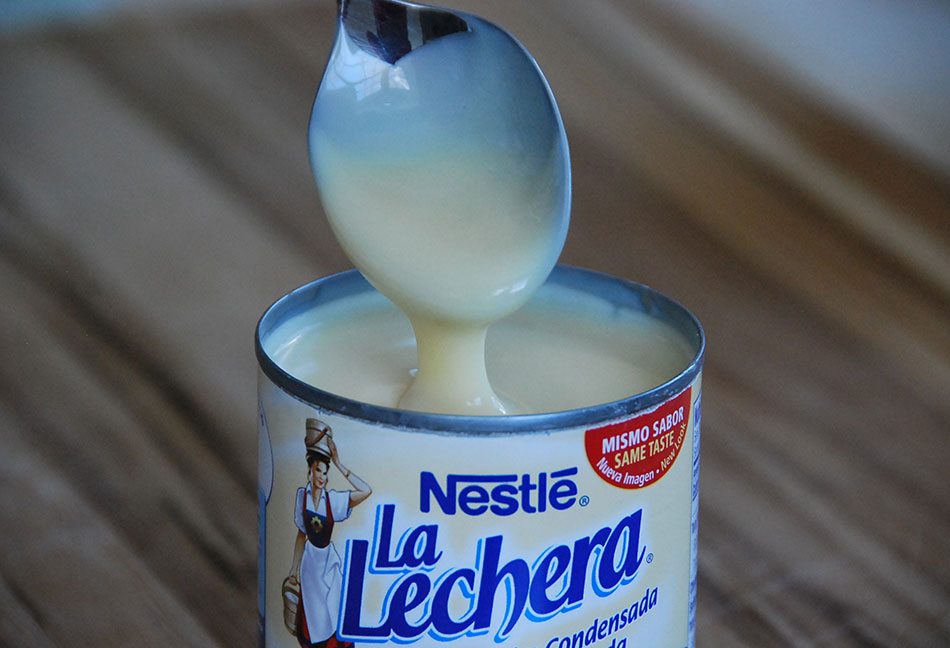
This is not evaporated milk. Condensed milk is thick and sweet, and it is what gives magic bars their signature chew and sheen.
Crumb crust
Graham cracker crumbs are classic, but gingersnaps are incredible here. If you use gingersnaps, the bars taste like a pumpkin spice latte in the best way.
Chips
Butterscotch chips lean extra cozy and caramel-like. Semi-sweet chocolate chips balance the sweetness and taste a bit more grown-up. You can also do a half-and-half mix.
Nuts
Pecans are my go-to for fall flavor. Walnuts work too. Chop them so they distribute evenly and you do not get one giant nutty bite that makes slicing tricky.
Equipment you will need
- 8x8-inch or 9x9-inch baking pan
- Parchment paper (strongly recommended for clean removal)
- Mixing bowls
- Rubber spatula
- Measuring cups and spoons
- Wire rack for cooling
Pro tips
- Line the pan with parchment and leave overhang. It turns the whole batch into a lift-out slab, which makes slicing so much easier.
- Press the crust like you mean it. Use the bottom of a measuring cup to compact it evenly, especially in the corners.
- Pour condensed milk slowly. Move in thin ribbons across the surface so every area gets some. This is where “magic” happens.
- Bake until the top looks set. You want light golden edges and a surface that no longer looks wet. It will still be soft in the center.
- Cool fully before slicing. Give it at least 2 hours at room temperature, or chill for 45 to 60 minutes after it reaches room temp if your kitchen is warm.
- For bakery-clean slices, chill first. A cold bar plus a warm knife (run under hot water, wipe dry) is the cleanest combo.
Substitutes that work
- Crust crumbs: Swap graham cracker crumbs with gingersnap crumbs or crushed vanilla wafers in an equal amount.
- Butter: Use salted butter and reduce added salt, or use unsalted and add a pinch of salt to keep the sweetness in check.
- Nuts: Use pecans, walnuts, or sliced almonds. For nut-free, use toasted pepitas for crunch.
- Chips: Use chocolate chips, butterscotch chips, or a mix. White chocolate chips also work, but they make the bars noticeably sweeter.
- Spices: Pumpkin pie spice is convenient. If you do not have it, use cinnamon plus a small pinch of nutmeg and ginger.
Variations
Extra-cozy pumpkin cheesecake vibe
Add 2 tablespoons softened cream cheese to the pumpkin layer and stir until smooth before spreading.
Chocolate pumpkin magic bars
Use an all chocolate chip topping and add 1 tablespoon cocoa powder to the crust crumbs for a brownie-like base.
Pecan pie pumpkin bars
Use only pecans and butterscotch chips, plus a tiny splash of vanilla in the pumpkin layer for a pie-like aroma.
Serving ideas
- Serve slightly chilled for the cleanest bite, or at room temperature for the gooiest texture.
- Cut into small squares and add to a cookie tray with apples, pears, and salty pretzels.
- Top with a dollop of lightly sweetened whipped cream and a pinch of cinnamon.
- Pair with coffee, chai, or hot chocolate for an easy fall dessert moment.
Storage and reheating
- Room temperature: Store in an airtight container for up to 2 days if your kitchen is cool.
- Refrigerator: For the neatest texture, refrigerate up to 5 days. Let sit 10 minutes before serving if you prefer them softer.
- Freezer: Freeze sliced bars in a single layer, then transfer to a freezer bag for up to 2 months. Thaw overnight in the fridge.
Common mistakes
- Using pumpkin pie filling instead of pumpkin puree. It can make the bars overly sweet and affect the set.
- Swapping evaporated milk for condensed milk. Evaporated milk will not set or bind the layers.
- Not pressing the crust firmly enough. A loose crust crumbles when you lift and slice.
- Overbaking. The center should be set-looking but still soft. Overbaking turns the bars dry and tough around the edges.
- Slicing too soon. Warm condensed milk is still fluid. Full cooling time is what makes these sliceable.
FAQ
Do pumpkin magic bars need to be refrigerated?
They do not strictly have to be, but I like refrigerating them because they slice cleaner and keep their texture longer. If you are serving the same day, room temperature is fine.
How do I know when they are done baking?
The edges should be lightly golden and the top should look set, not wet. The center will still feel soft, and it will firm up as it cools.
Can I make these in a 9x13-inch pan?
Yes, but you will want to scale the recipe up so the layers are not too thin. If you bake them thinner, start checking early since they will finish faster.
Why are my bars gooey in the middle?
Two common reasons: underbaking or slicing before they fully cool. Bake until the top looks set, then cool completely so the condensed milk can firm up.
The recipe
Pumpkin Magic Bars
Layered pumpkin magic bars with a buttery crumb crust, spiced pumpkin, chips, nuts, and sweetened condensed milk baked into rich, sliceable squares once fully cooled.
- Prep
- 15 minutes
- Cook
- 30 to 35 minutes
- Total
- 2 hours 50 minutes
- Yield
- 16 bars
Ingredients
- 1 1/2 cups graham cracker crumbs (or gingersnap crumbs)
- 6 tablespoons unsalted butter, melted
- 2 tablespoons packed brown sugar
- 1/4 teaspoon fine salt
- 3/4 cup canned pumpkin puree (not pumpkin pie filling)
- 1 large egg
- 1 1/2 teaspoons pumpkin pie spice
- 1 teaspoon vanilla extract
- 1 cup chocolate chips or butterscotch chips
- 3/4 cup chopped pecans or walnuts
- 1 (14-ounce) can sweetened condensed milk
Instructions
- Heat the oven to 350°F. Line an 8x8-inch or 9x9-inch baking pan with parchment paper, leaving overhang on two sides for easy lifting.
- Make the crust: In a bowl, mix the graham cracker crumbs, melted butter, brown sugar, and salt until the texture looks like wet sand. Pour into the prepared pan and press firmly into an even layer, especially in the corners.
- Par-bake the crust for 8 minutes, then remove the pan from the oven.
- Make the pumpkin layer: In the same bowl (wipe it out if you want, but you do not have to), whisk together the pumpkin puree, egg, pumpkin pie spice, and vanilla until smooth.
- Spread the pumpkin mixture evenly over the warm crust, smoothing all the way to the edges.
- Sprinkle the chocolate chips or butterscotch chips evenly over the pumpkin layer.
- Sprinkle the chopped nuts evenly over the chips.
- Slowly pour the sweetened condensed milk over the top in thin ribbons, moving back and forth so it coats the surface as evenly as possible. Take your time so it does not pool in one spot.
- Bake for 22 to 27 minutes, until the edges are lightly golden and the top looks set (it should not look wet or shiny in the center). If the nuts are browning too quickly, loosely tent the pan with foil for the last few minutes.
- Cool completely in the pan on a wire rack, at least 2 hours, so the condensed milk sets. For the cleanest slices, refrigerate for 45 to 60 minutes after the bars reach room temperature.
- Lift the slab out using the parchment overhang. Slice into squares and serve.
Notes
Layer order: crust, pumpkin, chips, nuts, condensed milk.
Pan size: An 8x8-inch pan makes thicker, gooier bars. A 9x9-inch pan makes slightly thinner bars that bake a touch faster, so start checking at the low end of the bake time.
Cooling is not optional: These bars finish setting as they cool. If you cut them warm, the center will look underbaked even if they were baked correctly.