
When I managed a bakery, my hands smelled like butter and vanilla most days. But on my days off, I wanted the opposite: something loud and savory, something that made the whole kitchen smell like dinner was about to be a big deal. Buttermilk fried chicken was that meal. It’s not a quick recipe, but it is a deeply doable one, especially if you know what actually matters.
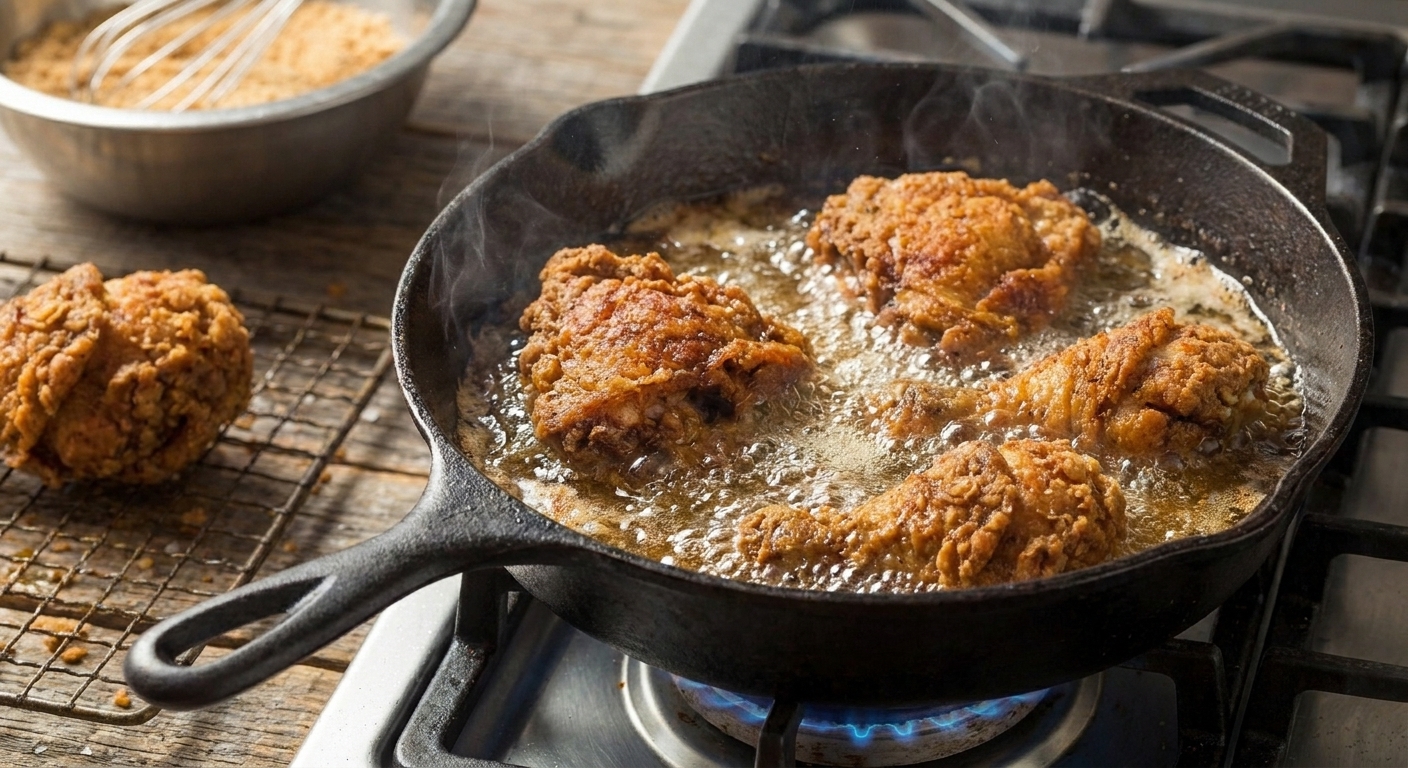
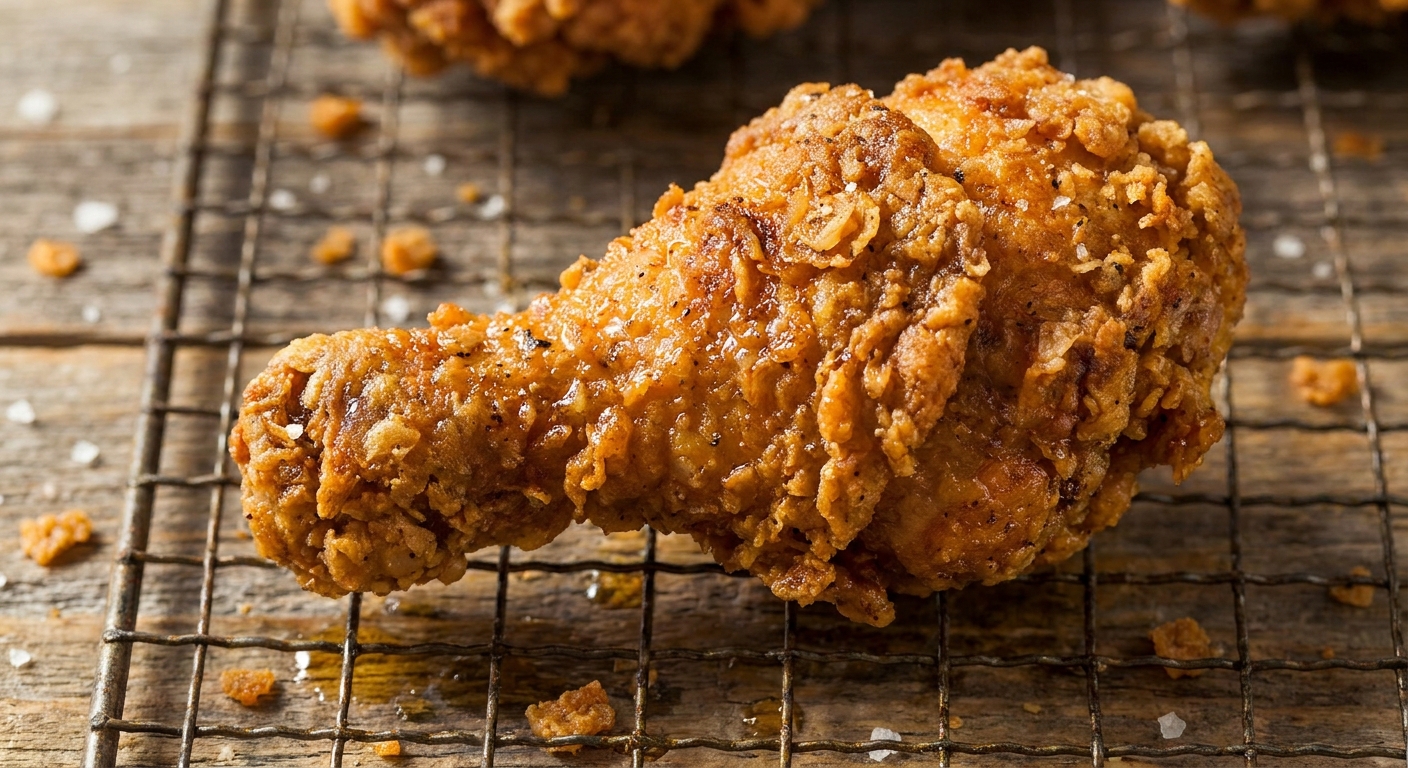
My version is built around a seasoned buttermilk soak that seasons the surface and a little way into the meat, and helps the coating cling. It also helps the chicken stay tender and juicy. From there, we do a simple flour dredge, then fry in steady, not screaming hot oil, about 325°F to 350°F. The goal is a golden, craggy crust that stays crisp while the meat cooks all the way to the bone.

If fried chicken has ever felt intimidating, I want you to know this: most problems come from two places. Oil temperature drifting too low or too high, and coating that never really bonded to the chicken. I will walk you through soak time, dredging, a short rest before frying, batch size, and draining so you end up with chicken you are genuinely proud to put on the table.
What to expect
- Soak time: 4 to 12 hours in the fridge is the sweet spot for bone-in pieces. It seasons the chicken and helps it stay juicy without turning the texture soft.
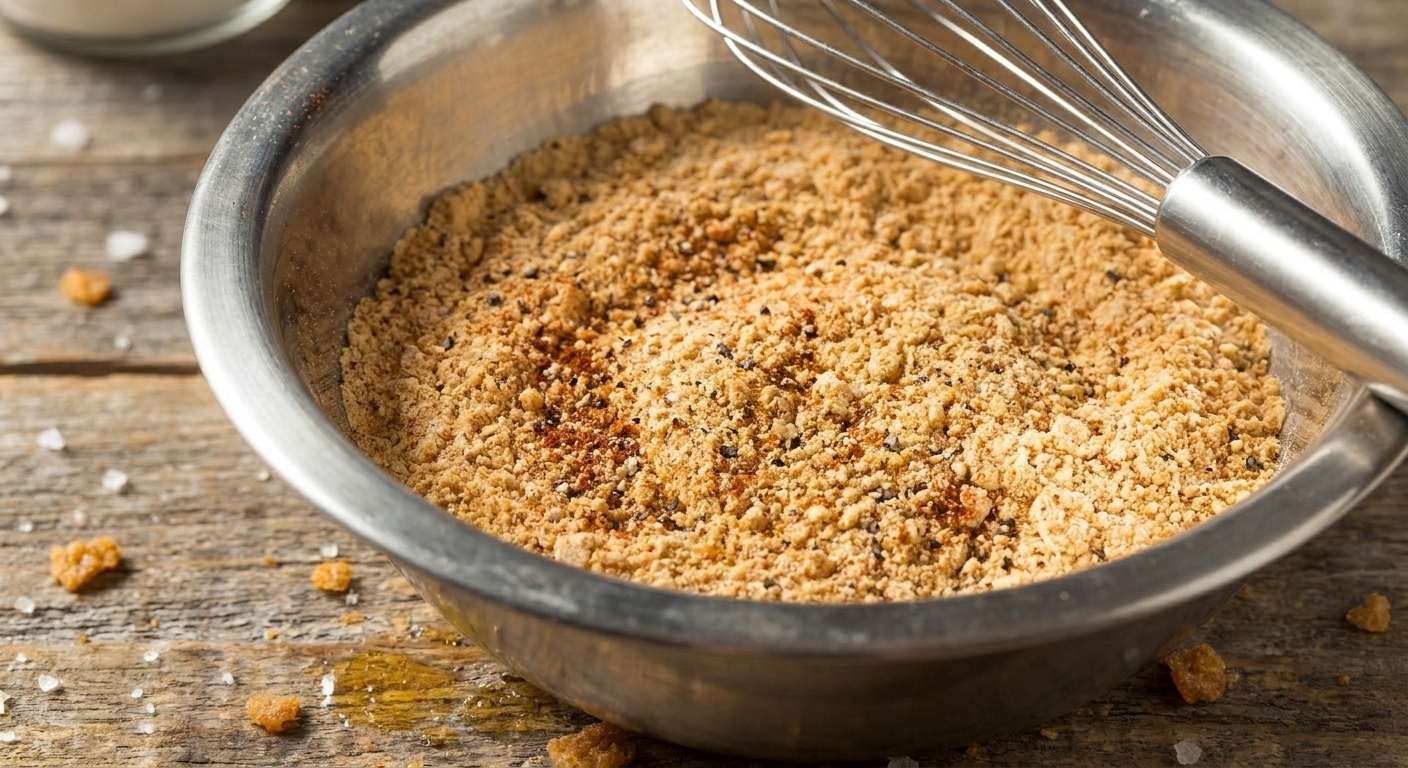
- Dredge: Flour plus seasoning, with a little of the buttermilk worked in for extra crags.
- Rest: A short 10 to 15 minute rest after dredging helps the coating hydrate and stick before it hits the oil.
- Fry method: Shallow or medium-deep frying in a heavy pot, Dutch oven, or deep cast iron skillet, in batches, with a thermometer.
- Doneness: Safe at 165°F in the thickest part. For the best texture, dark meat (thighs and drumsticks) tends to eat best around 175°F to 190°F.
- Draining: On a wire rack so the crust stays crisp. Expect splatter, so crack a window, run the hood, and keep a lid nearby just in case.
Why this recipe works
- Buttermilk does double duty. Its acidity gently helps the chicken stay tender while the milk proteins help the flour coating cling, which means fewer bare spots and less breading left behind in the oil.
- Seasoning in layers builds real flavor. Salt and spices go into the buttermilk and the flour, so the chicken tastes seasoned all the way through, not just on the surface.
- A rested dredge makes a sturdier crust. Letting the coated chicken sit for a short time gives the flour a chance to hydrate and bond, which reduces blowouts and helps the crust stay attached.
- Steady oil temperature prevents greasy chicken. When the oil stays in the right range, the crust sets quickly and the chicken cooks through without soaking up excess oil.
- Draining on a rack protects crispness. Paper towels trap steam under the chicken. A rack lets air circulate, keeping the crust crunchy.
Ingredient notes
You do not need anything fancy here, but a few choices make a noticeable difference.
- Bone-in chicken pieces: Thighs and drumsticks are the most forgiving. If you include breasts, consider splitting them or using smaller pieces so everything finishes around the same time.
- Buttermilk: Real cultured buttermilk is best for flavor and cling. If yours is very thick, whisk in a splash of water so it coats the chicken smoothly.
- Salt: This is the backbone of the brine. If you cut it too much, the chicken will taste flat even if the crust is seasoned.
- Flour: All-purpose flour gives a classic crust. A little cornstarch can make it lighter and crispier, but it is optional.
- Spices: Paprika brings color, garlic and onion powders bring savory depth, cayenne brings gentle heat. Adjust the cayenne to your comfort level.
- Oil: Choose a neutral oil with a high smoke point, like peanut, canola, vegetable, or sunflower oil.
Equipment you will need
- Heavy-bottomed pot or Dutch oven (or deep cast iron skillet) for stable heat
- Deep-fry or instant-read thermometer to monitor oil temperature and chicken doneness
- Wire rack set over a sheet pan for draining and resting
- Tongs for turning and moving chicken safely
- Mixing bowls for buttermilk and flour
- Paper towels for quick wipe-downs and safety, not for draining
Pro tips
- Give yourself a calm window. Frying goes smoothly when everything is staged: rack ready, thermometer clipped, tongs out, timer set.
- Brine 4 to 12 hours for the sweet spot. You get seasoned, juicy chicken without a cured texture. If you only have 2 hours, it still helps.
- Make crags on purpose. After you pour the chicken out of the buttermilk, drizzle 2 to 4 tablespoons of that marinade into the flour and rub it in with your fingers until you get little clumps. Those clumps become crunchy ridges.
- Do not rush the set. Once the chicken hits the oil, leave it alone for the first few minutes so the crust can set before you flip.
- Fry in batches. Overcrowding drops the oil temp fast, which leads to greasy chicken and coating that sloughs off.
- Hold the finished chicken warm and crisp. Keep pieces on a rack in a 200°F oven while you fry the next batch.
Substitutes that work
- No buttermilk: Use plain kefir, or mix 2 cups milk with 2 tablespoons lemon juice or white vinegar and let it stand 5 minutes. True buttermilk clings better, but this works.
- Gluten-free: A cup-for-cup gluten-free flour blend can work, but the crust is usually a bit more delicate. Add 2 tablespoons cornstarch for crispness if your blend is heavy.
- Less spicy: Skip cayenne and use sweet paprika. Add a little extra black pepper for warmth without heat.
- Oil choice: Peanut oil is classic, but canola or vegetable oil is totally fine. Avoid olive oil here.
Variations
- Extra-crispy: Replace 1/4 of the flour with cornstarch and add 1/2 teaspoon baking powder to the dredge for a slightly lighter, craggier crust.
- Herby: Add a teaspoon of dried thyme or oregano to the flour mixture.
- Smoky: Use smoked paprika in place of sweet paprika for deeper color and a gentle smokiness.
- Pickle-brined twist: Add a few tablespoons of dill pickle juice to the buttermilk brine for tang. Do not overdo it or it can overpower the chicken.
Serving ideas
- Classic plate: Fried chicken with creamy slaw, pickles, and hot sauce on the table.
- Sunday dinner: Add mashed potatoes, gravy, and something green like green beans or a simple salad.
- Picnic style: Serve at room temp with biscuits and fruit.
- Leftover magic: Slice cold fried chicken onto a salad, tuck into a sandwich with mayo and pickles, or reheat and serve over waffles.
Storage and reheating
- Refrigerate: Cool completely, then store in an airtight container lined with paper towels (to catch condensation) for up to 3 days.
- Best reheating for crispness: Set chicken on a wire rack over a sheet pan and reheat in a 400°F oven until hot and re-crisped, about 12 to 18 minutes depending on piece size. Avoid microwaving if you want the crust crisp.
- Freeze: You can freeze fried chicken, but the crust softens a bit. Freeze pieces on a sheet pan until firm, then transfer to a freezer bag for up to 2 months. Reheat from thawed for best texture.
Common mistakes
- Skipping the thermometer: Guessing oil temperature is the fastest way to end up with burnt coating or undercooked chicken. Use one.
- Overcrowding the pot: Too many pieces at once drops the oil temp and the chicken steams instead of fries.
- Not letting excess buttermilk drip off: Thick globs can make the coating slide. Let it drip for a few seconds before dredging.
- Not pressing the flour onto the chicken: You want contact. Press and pat so the flour adheres.
- Draining on paper towels: It seems logical, but it traps steam and softens the crust. Use a wire rack.
- Cooking by color alone: Dark meat near the bone can lag behind. Confirm doneness with an instant-read thermometer.
FAQ
How long should I soak chicken in buttermilk?
For bone-in pieces, I like 4 to 12 hours. You can go as short as 2 hours if needed. Much longer than 24 hours can make the texture a little too soft.
What oil temperature is best for frying chicken?
Aim for 325°F to 350°F. I usually add chicken at about 350°F, then adjust the heat to keep the oil hovering around 335°F to 345°F during frying.
How do I know the chicken is cooked all the way to the bone?
Use an instant-read thermometer in the thickest part without touching bone. 165°F is safe for all chicken. Dark meat (thighs and drumsticks) is often even better at 175°F to 190°F for a more tender bite.
Why is my breading falling off?
Common culprits are oil that is not hot enough, moving the chicken too early before the crust sets, or not letting the dredged chicken rest briefly before frying. Press the flour on firmly, then let pieces sit on a rack 10 to 15 minutes before they go into the oil.
Can I fry different pieces together?
You can, but it is easier to manage doneness if you fry similar sizes together. Thighs and drumsticks are a friendly pair. If you include breasts, fry them in their own batch.
The recipe
Buttermilk Fried Chicken
A foolproof, classic buttermilk fried chicken with a seasoned soak, craggy flour coating, and steady oil temperature for juicy meat and a crisp, golden crust.
- Prep
- 25 minutes (plus 4 to 12 hours brine time)
- Cook
- 30 to 40 minutes
- Total
- About 5 to 13 hours
- Yield
- 4 to 6 servings
Ingredients
- 3 to 4 pounds bone-in chicken pieces (thighs, drumsticks, and or halved breasts)
- 2 cups buttermilk
- 1 tablespoon kosher salt (plus more to taste)
- 1 teaspoon black pepper
- 1 teaspoon garlic powder
- 1 teaspoon onion powder
- 1 teaspoon sweet paprika
- 1/4 to 1/2 teaspoon cayenne pepper (optional)
- 2 1/2 cups all-purpose flour
- 2 tablespoons cornstarch (optional, for extra crispness)
- 1 1/2 teaspoons baking powder (optional, for a lighter crust)
- Neutral frying oil (peanut, canola, vegetable, or sunflower), enough for 1 1/2 to 2 inches depth in your pot
Instructions
- Make the seasoned buttermilk brine: In a large bowl, whisk together the buttermilk, kosher salt, black pepper, garlic powder, onion powder, paprika, and cayenne (if using).
- Brine the chicken: Add the chicken pieces and turn to coat. Cover and refrigerate for 4 to 12 hours.
- Set up for frying: Set a wire rack over a sheet pan for draining. Let the chicken sit at room temperature for 20 to 30 minutes while you heat the oil so the chill is not ice cold going into the pot.
- Mix the dredge: In a wide bowl, combine the flour and cornstarch (if using) and baking powder (if using). Season with a pinch of salt and pepper.
- Create craggy bits (optional but recommended): Scoop 2 to 4 tablespoons of the buttermilk brine into the flour mixture. Rub it in with your fingertips until you have small clumps throughout. These become crunchy ridges.
- Dredge: Lift a piece of chicken from the brine and let the excess drip off for a few seconds. Press it into the flour mixture, turning and firmly patting so every surface is coated. Shake off loose flour and place on a rack. Repeat with remaining chicken.
- Rest the dredged chicken: Let the coated pieces sit on the rack for 10 to 15 minutes. This helps the coating hydrate and stick.
- Heat the oil: In a heavy pot or Dutch oven, add enough oil to come 1 1/2 to 2 inches up the side. Heat to 350°F, using a thermometer to monitor.
- Fry in batches: Carefully add 2 to 4 pieces (depending on pot size) so the chicken is not crowded. Maintain the oil between 325°F and 350°F by adjusting the burner as needed.
- Turn and cook until done: Fry, turning every few minutes, until deeply golden and the chicken is cooked through. Check internal temperature in the thickest part: 165°F is safe for all chicken, but aim for 175°F to 190°F for thighs and drumsticks if you want the most tender dark meat. Total frying time is usually 12 to 18 minutes per batch, depending on piece size and oil temperature.
- Drain: Transfer fried chicken to the clean wire rack. Do not drain on paper towels. Lightly season with a pinch of salt while hot.
- Repeat and serve: Bring the oil back to 350°F between batches and continue frying. Serve hot, with your favorite sides.
Notes
- Batch size: If the oil temperature drops fast after adding chicken, fry fewer pieces at a time.
- Keeping it crisp: Hold finished pieces on a rack in a 200°F oven while you fry the remaining batches.
- Safety: Never fill a pot more than halfway with oil, and keep a lid nearby to smother flames if needed. Water and hot oil do not mix.