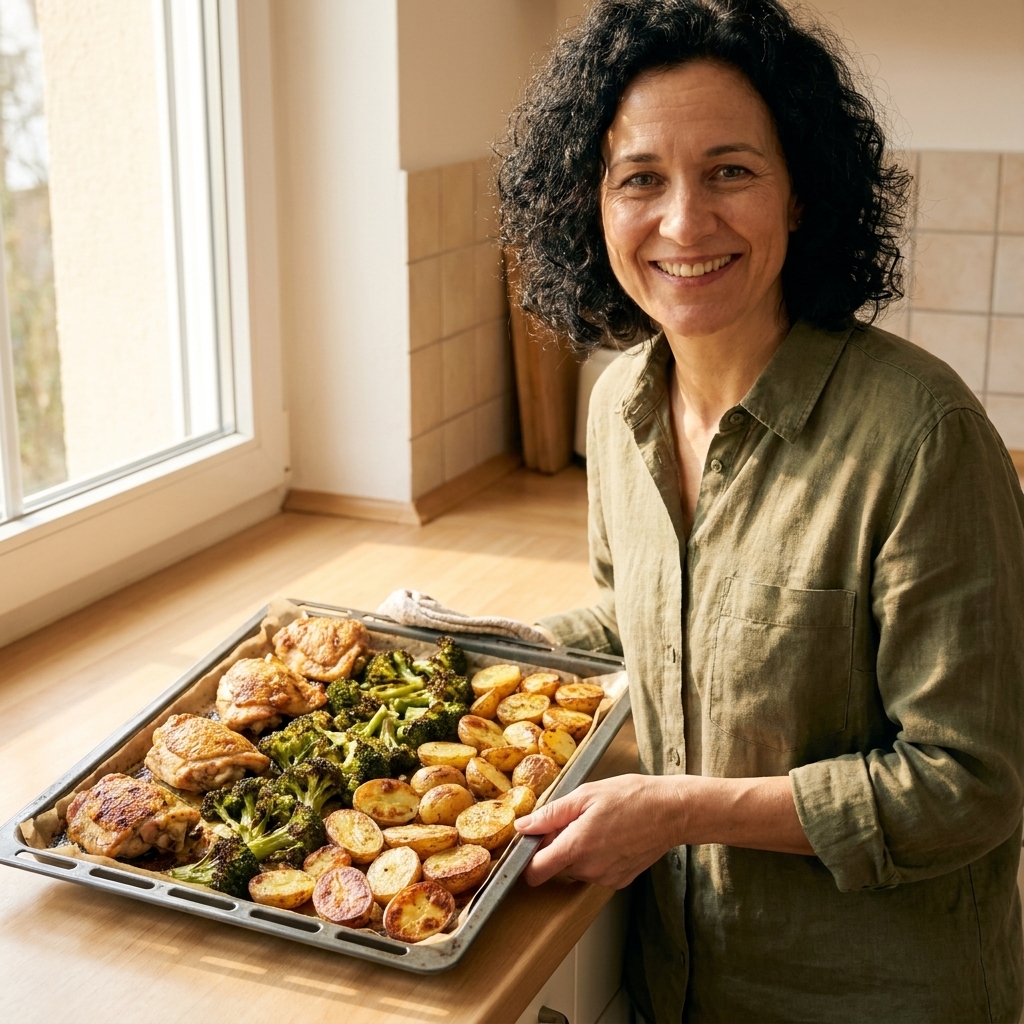
A foolproof, weeknight-friendly guide to sheet pan dinners: best combos, roasting timelines, liner methods, and practical safety tips for truly low-mess meals.
recipes
Roast a Whole Chicken

Elena Martinez
Elena Martinez is a former bakery manager turned full-time food writer and recipe developer. With over a decade of experience translating professional culinary techniques into approachable home cooking, she believes that a great meal doesn't require a culinary degree or expensive ingredients.
Created September 21, 2026
Last updated September 21, 2026
Roasting a whole chicken is one of those kitchen skills that looks fancy, smells like home, and quietly solves dinner for days. The good news is you do not need a chef’s touch. You need a few smart steps that stack the odds in your favor: dry the skin, season generously, roast at the right heat, and let it rest.
Think of this as your training wheels version of the classic roast chicken. We are going for crackly, golden skin and juicy meat with the least possible fuss.
What you need (and what’s optional)
Tools
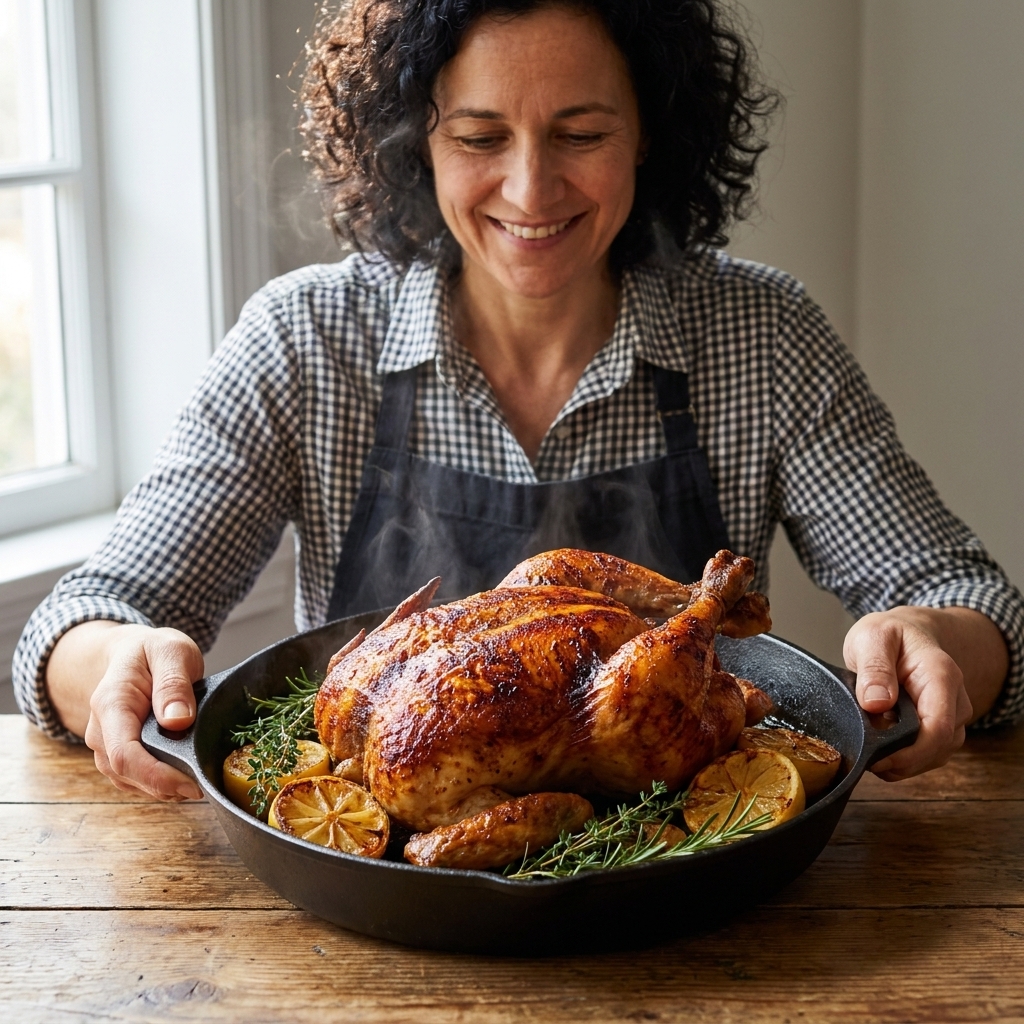
- Rimmed baking sheet with a rack, or a roasting pan, or a cast iron skillet
- Instant-read thermometer (this is the confidence booster)
- Kitchen twine (optional, but helpful for trussing)
- Paper towels
- Tongs and a sharp knife for carving
Ingredients
- 1 whole chicken (3 1/2 to 5 pounds)
- Kosher salt and black pepper
- 1 to 2 tablespoons olive oil or melted butter
- Optional aromatics: 1 lemon, 4 to 6 garlic cloves, fresh herbs (thyme, rosemary, parsley)
- Optional veggies: potatoes, carrots, onion (to roast underneath)
If you only have salt, pepper, and a chicken, you can still make a beautiful roast. Everything else is a bonus.
Step 1: Dry the chicken
Crispy skin is mostly about removing moisture. Moisture creates steam. Steam is the enemy of crunch.
Two beginner-friendly options
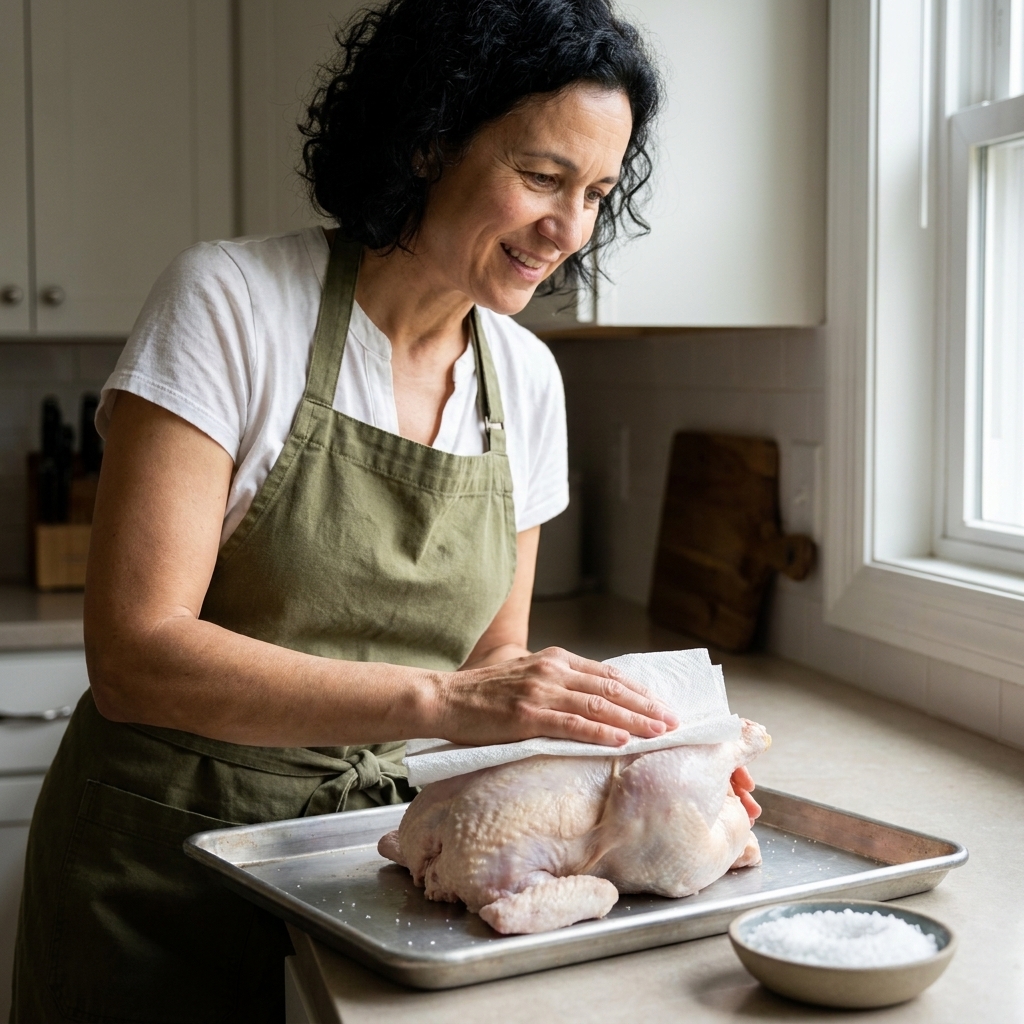
- Quick dry: Pat the chicken very dry with paper towels, including inside the cavity. Season and roast right away.
- Better dry (if you have time): Pat dry, salt the chicken, then place it on a rack over a sheet pan and refrigerate uncovered for 8 to 24 hours. This air-dries the skin so it roasts up extra crisp.
Do not stress if you cannot do the overnight step. Just pat it dry like you mean it.
Step 2: Season boldly
A whole chicken needs more seasoning than you think because the meat is thick and the skin covers a lot of surface area.
How much salt?
For beginners, a reliable rule is about 1 teaspoon kosher salt per pound of chicken. For a 4-pound bird, that is roughly 4 teaspoons.
Quick note on kosher salt: This estimate assumes a lighter, flakier kosher salt (like Diamond Crystal). If you are using a denser kosher salt (like Morton), use a bit less, roughly 3/4 teaspoon per pound, and adjust next time to taste.
Where to put it
- All over the skin: breasts, legs, back, sides
- Inside the cavity: a good pinch, plus pepper
- Optional but great: gently loosen the skin over the breast with your fingers and rub a little salt and butter or oil underneath
Finish with black pepper. If you want extra flavor without extra thinking, tuck a halved lemon and a few smashed garlic cloves in the cavity, plus a couple sprigs of thyme.
Step 3: Trussing
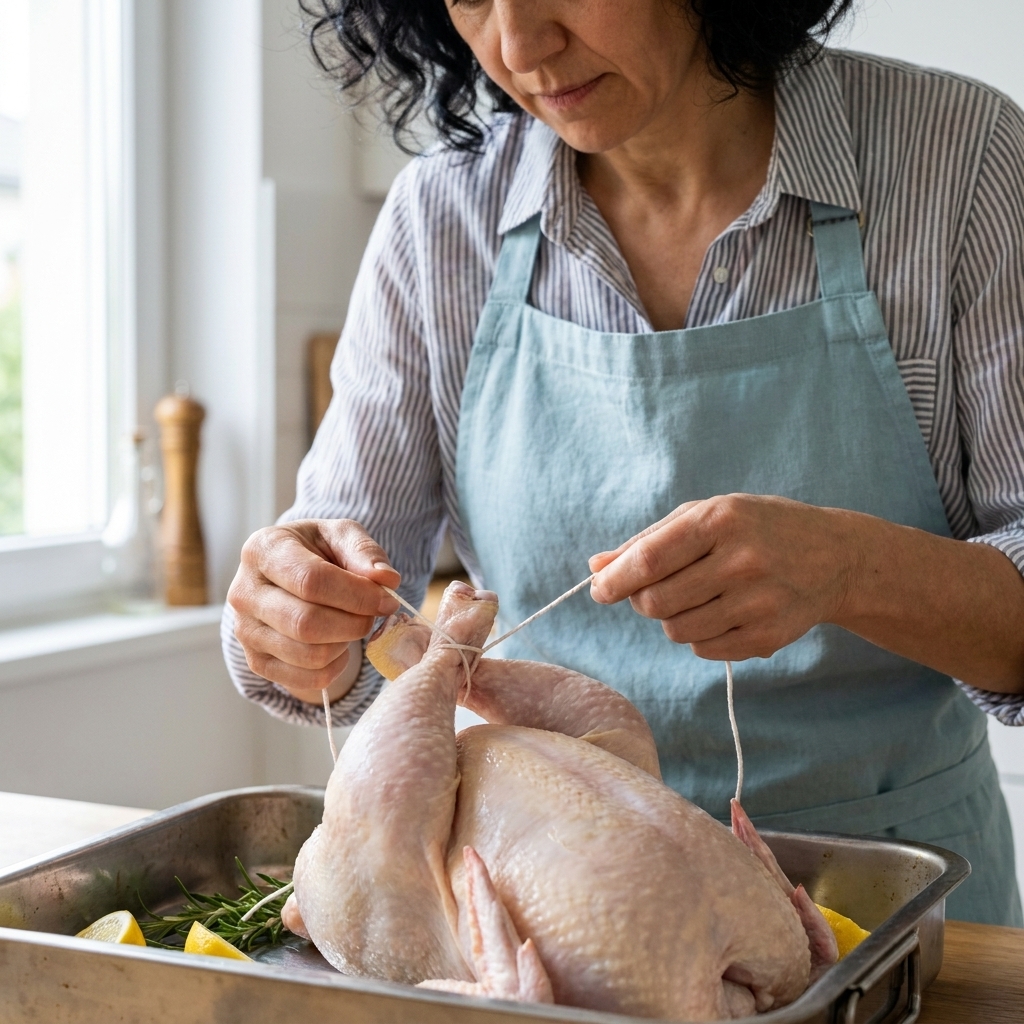
Trussing just means tying the chicken so it cooks more evenly. When the legs splay out, they cook faster and the breast can lag behind. Trussing pulls everything into a compact shape so the heat hits more evenly.
Beginner truss (30 seconds)
Pat the chicken dry again if it looks damp.
Tuck the wing tips behind the shoulders (so they do not burn).
Cross the legs at the ankles.
Use kitchen twine to tie the ankles together snugly.
No twine? You can still roast a great chicken. Just tuck the wing tips and accept slightly less tidy results.
Step 4: Roast setup
There are a few ways to roast a whole chicken. This is the most forgiving for beginners: start hot to brown the skin, then lower the heat to gently finish the inside.
Place the chicken breast-side up in your pan.
My default temperature plan
- Roast at 425°F for 20 minutes (skin starts crisping and browning).
- Reduce to 375°F and continue roasting until done.
If your oven runs hot or you want a little flexibility, this also works as a range: 425 to 450°F to start, then 350 to 375°F to finish. Use your oven’s behavior as your guide.
Pan setup options
- On a rack: Best airflow, most even browning.
- In a skillet: Great browning, easy pan drippings for sauce.
- Over vegetables: Cozy and practical. Veggies soak up drippings, but the bottom of the chicken will be slightly less crisp.
If you are roasting over vegetables, cut them into hearty chunks and toss with oil and salt first. Keep them in a single layer so they roast instead of steam.
Step 5: Roast to temp
Time is a rough guide. Temperature is the truth.
How long will it take?
For a 3 1/2 to 5-pound chicken, you are usually looking at about 50 to 80 minutes total, depending on size, pan, and your oven. Larger birds, cold pans, and crowded vegetables can push you past that. Your thermometer gets the final vote.
Where to temp it
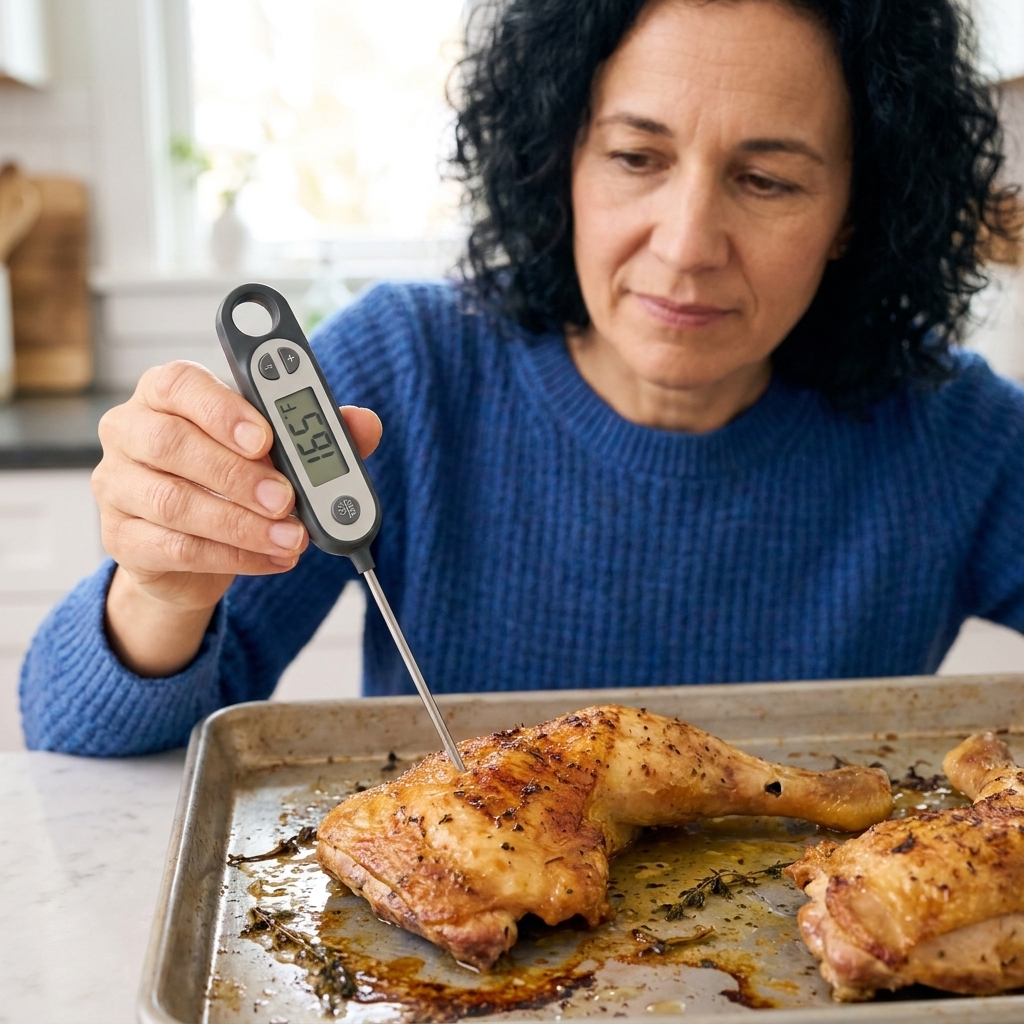
- Thigh (best): Insert the thermometer into the thickest part of the thigh, not touching bone.
- Breast (also helpful): Thickest part of the breast.
What temperatures to aim for
- For safety: Poultry is safe when it reaches 165°F at the thickest part.
- For juicy breast: Many cooks pull the chicken when the breast hits 160 to 165°F, then rest. If you pull closer to 160°F, confirm after resting that the breast reaches 165°F (carryover often gets you there).
- For tender thighs: Thighs are safe at 165°F too, but they are usually best at 175 to 185°F for a more tender bite.
If your breast is where you want it but the thigh is lagging, keep roasting until the thigh is in the tender zone, and keep a close eye on the breast temp. The skin helps buffer the breast a bit, and resting helps retain juices, but it cannot undo overcooking.
Quick safety habits: Avoid touching bone when temping, wipe or wash the thermometer between checks, and do not reuse raw-chicken plates or tongs without washing first.
If the skin is browning too fast: Loosely tent just the browned parts with foil for the remaining roast time.
Step 6: Rest
This part feels like torture because your kitchen smells incredible, but resting is how you keep the juices in the meat instead of on the cutting board.
Transfer the chicken to a cutting board and let it rest 15 to 20 minutes. During this time, the temperature keeps rising a few degrees, and the juices redistribute.
Pro tip: If you want to keep the skin crisp, tent very loosely with foil or skip the foil entirely. Tight foil traps steam.
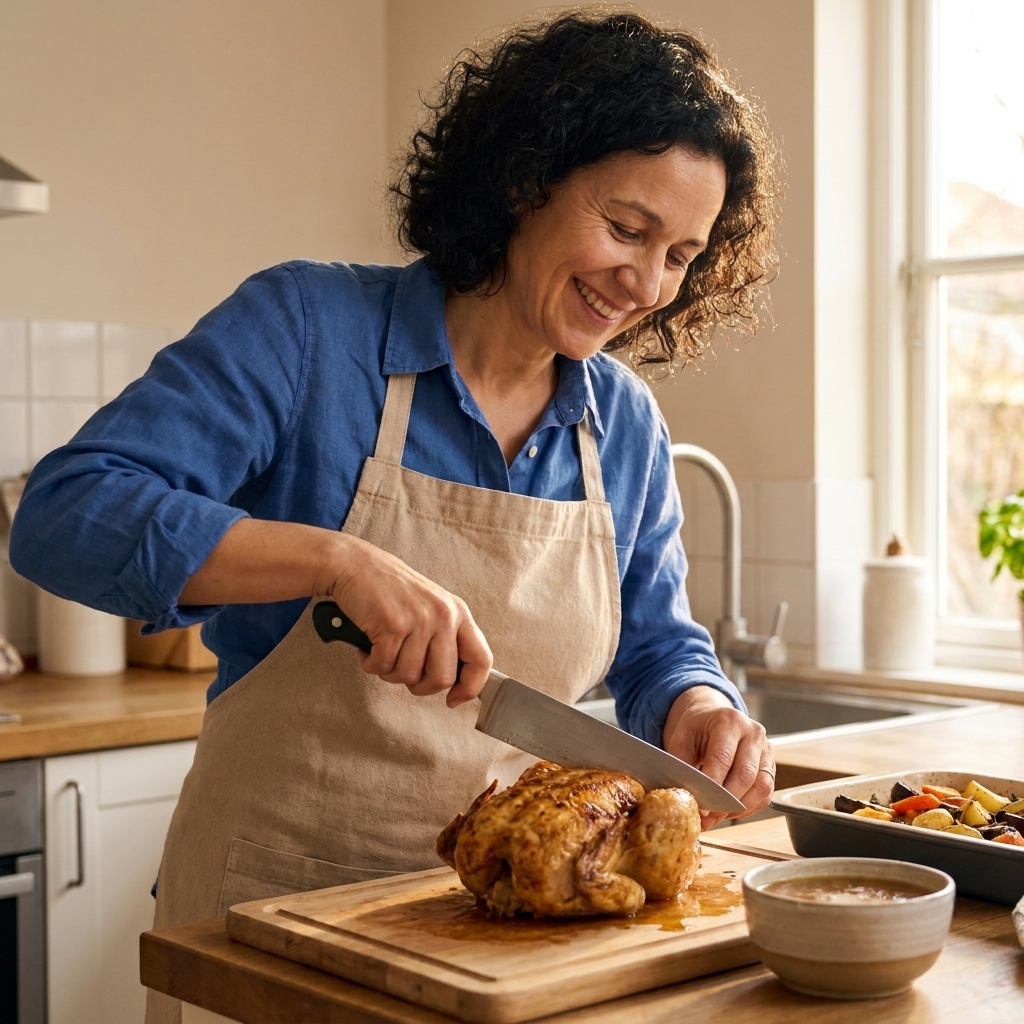
Carving
Carving is easier than it looks. Go slowly and follow the joints.
Remove the legs: Pull a leg away from the body and slice through the skin between leg and breast. Bend until you feel the joint, then cut through it.
Separate drumstick and thigh: Find the joint line and slice.
Remove the wings: Pull and cut through the joint.
Slice the breast: Make a long cut down one side of the breastbone to remove a whole breast, then slice crosswise.
If you are serving guests, arrange everything on a platter and spoon a little pan juice over the top. It covers a multitude of sins and tastes like you planned ahead.
Pan juices
Those browned bits in the pan are pure flavor. You can turn them into a quick spoonable sauce in under 5 minutes.
Pour off excess fat, leaving about 1 tablespoon in the pan.
Set the pan over medium heat (or transfer drippings to a small saucepan).
Add 1/2 cup chicken broth or water and scrape up the browned bits.
Simmer 2 to 3 minutes. Finish with a squeeze of lemon, a pat of butter, or a pinch of salt if needed.
No broth? Water works. The browned bits do the heavy lifting.
Troubleshooting
My skin is not crispy
- Next time, dry the chicken more thoroughly or air-dry overnight.
- Make sure your oven is fully preheated.
- Do not baste. Basting adds moisture to the skin.
The skin is browning too fast
- Loosely tent the top with foil for the remaining roast time.
- Double-check oven temp if you suspect it runs hot.
The breast is dry
- Pull the chicken when the breast hits 160 to 165°F, then rest.
- Consider salting in advance (dry brine) for better moisture retention.
The legs are pink near the bone
- Color is not the same as doneness. Trust the thermometer.
- Thigh meat is best when it reaches 175 to 185°F for tenderness.
The bottom is soggy
- Use a rack if possible.
- If roasting over vegetables, spread them out and use high heat at the start.
Roast chicken blueprint
- Pat chicken dry.
- Salt generously (about 1 tsp kosher salt per pound) and pepper.
- Breast-side up. Tuck wing tips. Tie legs if you can.
- Roast 20 minutes at 425°F, then 375°F until breast is 160 to 165°F and thigh is 175 to 185°F (165°F is the safety target).
- Rest 15 to 20 minutes, then confirm the breast is at 165°F if you pulled on the lower end.
- Carve. Spoon pan juices over top.
If this is your first whole chicken, I want you to know something: the first one does not need to be perfect. It just needs to be cooked through, juicy enough, and served with confidence. You will get better every time, and you will also get really good at turning leftovers into tomorrow’s lunch.
FAQ
Do I need to wash the chicken first?
No. Washing can spread bacteria around your sink and counters. Pat it dry and cook it properly instead.
Should I use butter or oil?
Both work. Butter brings flavor and browning, oil is simple and handles heat well. If you cannot choose, do a mix: oil for coverage, a little butter under the breast skin for flavor.
Can I roast from frozen?
For best results and food safety, thaw in the refrigerator first. Plan on about 24 hours for a 4 to 5 pound chicken (sometimes longer). In a rush, you can thaw sealed chicken in cold water, changing the water every 30 minutes, then cook immediately after it is thawed.
What’s the best size chicken for beginners?
Look for 3 1/2 to 4 1/2 pounds. Very large birds take longer and make it harder to hit juicy breast and tender thighs at the same time.
How long do leftovers keep?
Refrigerate within 2 hours and use within 3 to 4 days. Strip leftover meat for salads, tacos, soup, or quick fried rice.