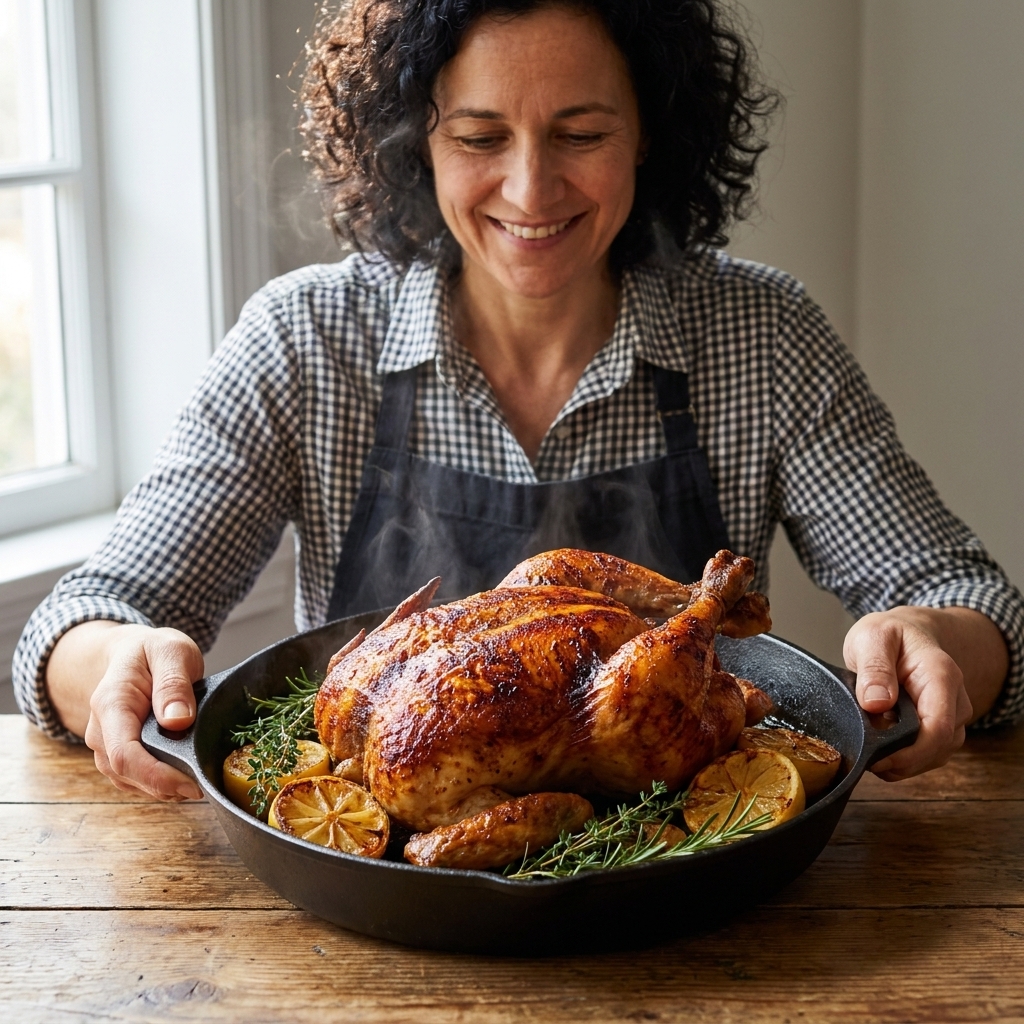
Golden skin, juicy meat, and zero stress. A step-by-step beginner guide to seasoning, roasting, safe temps, and carving a whole chicken.
recipes
Reverse Sear Steak

Elena Martinez
Elena Martinez is a former bakery manager turned full-time food writer and recipe developer. With over a decade of experience translating professional culinary techniques into approachable home cooking, she believes that a great meal doesn't require a culinary degree or expensive ingredients.
Created September 21, 2026
Last updated September 21, 2026
When you order a steak at a great restaurant, what you are really paying for is control: an evenly cooked interior (no gray band) and a deep, crackly crust that tastes like it came from a steakhouse-hot broiler. The reverse sear method gives you that same control at home, even on a regular weeknight, and it is especially magical for thick-cut steaks.
We are going to cook the steak gently in a low oven until it is almost done, then finish with a fast, hot sear that builds the crust without overcooking the center. If you have ever felt stressed trying to hit medium-rare in a smoking hot pan, this is your calmer, more reliable path.
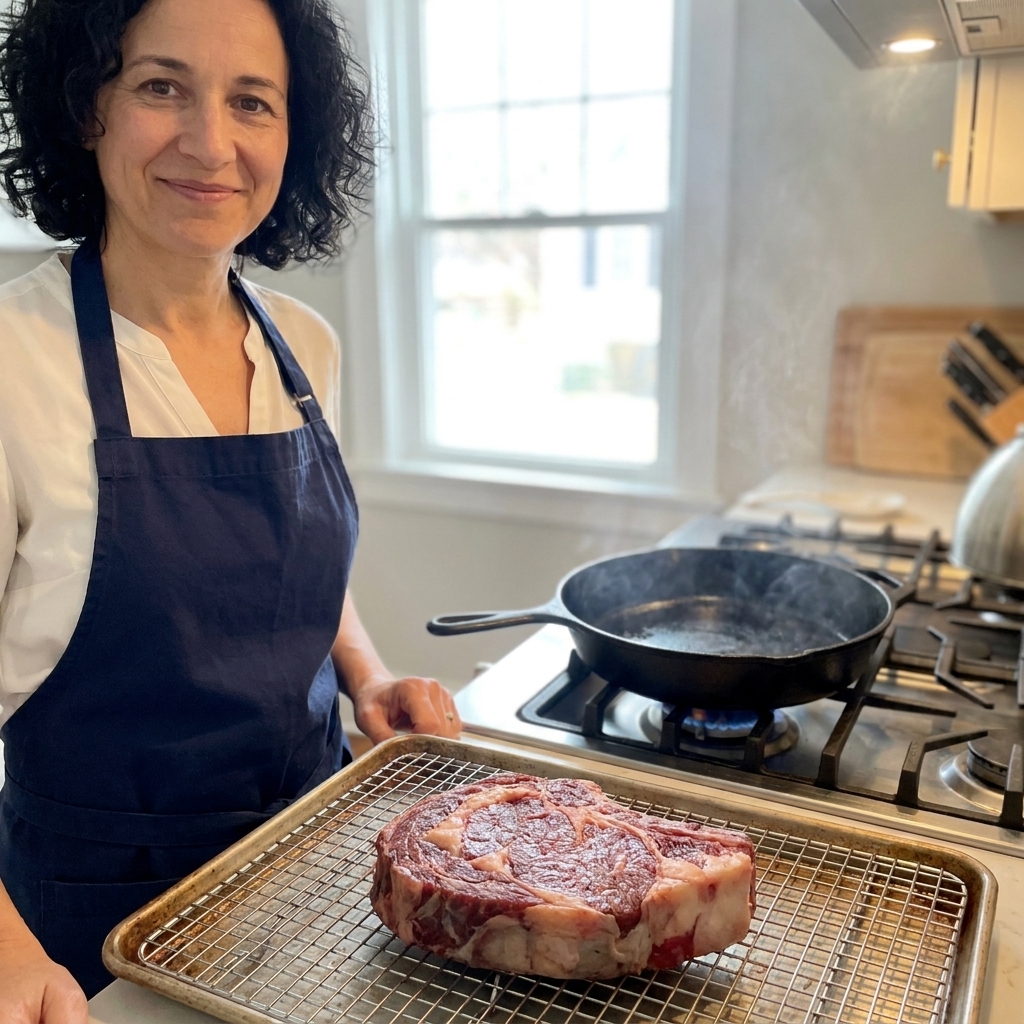
What reverse searing does better
- More even doneness: The low-and-slow oven gently warms the steak from edge to center, so you get a wider rosy interior.
- Better crust: By the time you sear, the surface is drier and the interior is nearly done, so you can sear hard and fast.
- Less timing panic: You are not racing the clock in the pan. Most of the cook happens in the oven, where the temperature is steady.
- More forgiving: A few minutes in either direction usually does not ruin dinner, especially compared to straight pan-searing.
Best steaks for reverse sear
Reverse sear shines with thick cuts, ideally 1.5 to 2 inches thick. Thinner steaks cook through so quickly that the oven step is not as helpful.
Quick guide: Under 1 to 1.25 inches, you will usually be happier with a traditional hot pan sear. Over 2 inches (even 2.5+), reverse sear is fantastic, just plan for a longer oven step.
Great options
- Ribeye
- New York strip
- Porterhouse or T-bone
- Top sirloin (choose a thick, well-marbled one)
- Filet mignon (works beautifully, just sear gently since it is lean)
What to avoid
- Very thin steaks (under 1 inch)
- Steaks with a wet marinade (it inhibits browning, but you can still do it if you dry the surface very well)
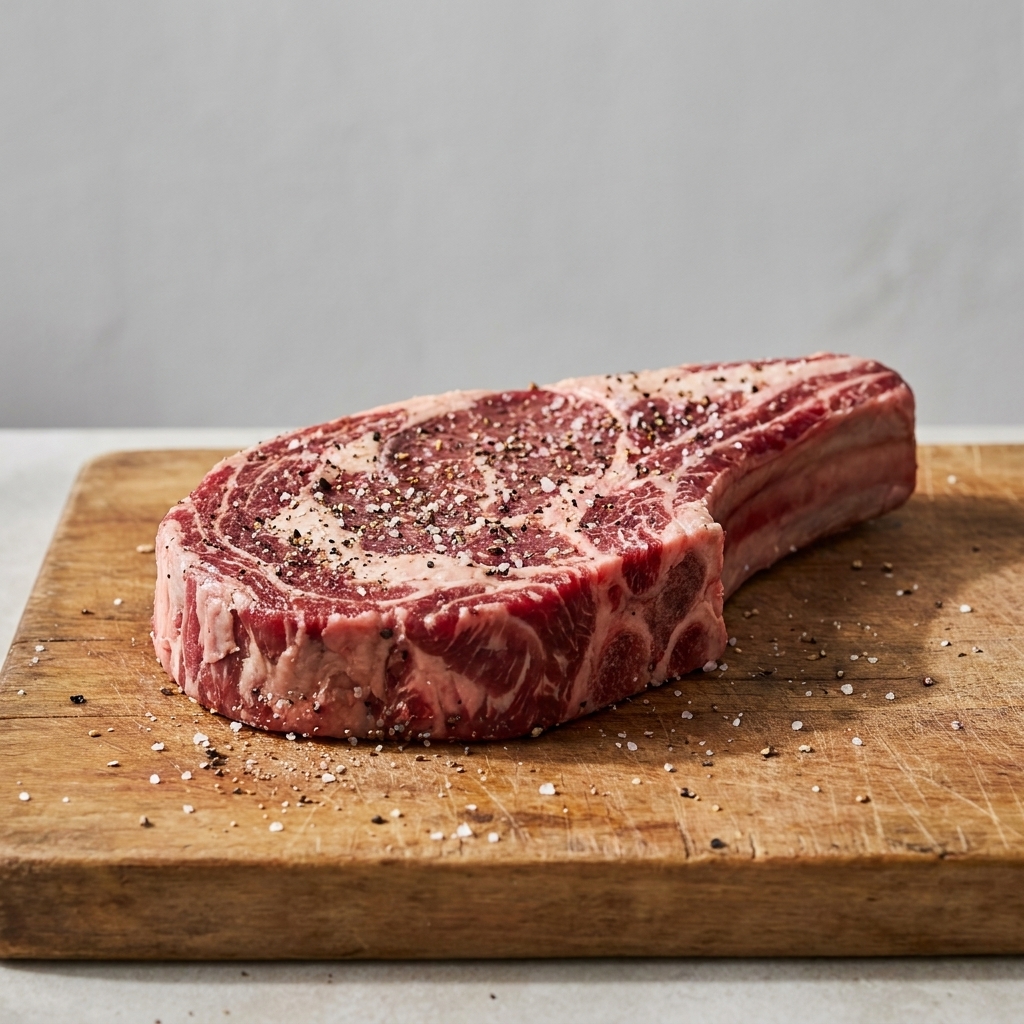
Tools you will want
- Instant-read thermometer: This is the one tool that makes reverse sear feel truly reliable.
- Wire rack + sheet pan: The rack lets hot air circulate so the steak heats evenly and the surface dries.
- Cast iron skillet (or heavy stainless steel): For the best crust.
- Tongs: Makes searing edges easy.
If you do not have a wire rack, you can place the steak directly on the sheet pan. It still works, you just lose a little airflow underneath. Flip the steak once during the oven step to help.
Note: Skip nonstick for the sear. The heat you want for a great crust is not nonstick-friendly.
Reverse sear steak: step-by-step
Serves: 1 thick-cut steak (scale up easily)
Time: 35 to 70 minutes depending on thickness and desired doneness
Ingredients
- 1 thick-cut steak (1.5 to 2 inches), ideally well-marbled
- Kosher salt
- Freshly ground black pepper
- 1 to 2 teaspoons high smoke point oil (avocado, grapeseed, canola)
- 1 to 2 tablespoons butter (optional but lovely)
- 1 to 2 smashed garlic cloves and a sprig of thyme or rosemary (optional)
1) Salt early if you can
Season the steak generously on all sides with kosher salt. If you have time, do this at least 45 minutes ahead, or up to overnight in the fridge uncovered. That dry surface is a crust booster.
No time? Salt right before cooking. You will still get a great steak. We are here for progress, not perfection.
2) Preheat the oven to 250°F (120°C)
Place a wire rack on a sheet pan. Set the steak on the rack. Add pepper now or after the oven step. (Pepper can get a little bitter at very high heat, so if you are sensitive to that, wait until after the oven.)
3) Slow-cook until it is almost done
If you have an oven-safe probe thermometer, insert it horizontally into the thickest part of the steak, avoiding bone and big pockets of fat. If you are using an instant-read thermometer (most people are), start checking early and often.
Instant-read check-in: For a 1.5-inch steak, start checking around the 20-minute mark. For a 2-inch steak, start checking around 25 to 30 minutes.
Pull the steak from the oven when it reaches the temperature below for your target doneness. You will finish it in the pan.
- Rare: pull at 115°F (46°C), finish to about 125°F (or to taste)
- Medium-rare: pull at 120°F (49°C), finish to 130 to 135°F
- Medium: pull at 130°F (54°C), finish to 140 to 145°F
- Medium-well: pull at 140°F (60°C), finish to 150 to 155°F
Timing estimate: A 1.5-inch steak often takes 25 to 45 minutes at 250°F. A 2-inch steak can take 35 to 60 minutes. Thickness, starting temperature, and your oven all matter, so trust the thermometer over the clock.
4) Rest briefly while you heat the pan
Take the steak out and let it sit on the rack for about 10 minutes. At this low oven temperature, carryover cooking is gentle, but this pause is still a smart move. It gives you time to get your skillet truly hot and helps prevent overshooting your final doneness during the sear.
5) Sear hard and fast
Heat a cast iron skillet over high heat until it is very hot. A good cue is shimmering oil and the first light wisps of smoke. Add oil, then immediately add the steak. Sear 45 to 90 seconds per side until deeply browned. Use tongs to sear the fat cap and edges too.
Optional but delicious: Lower heat to medium, add butter, garlic, and herbs. Tilt the pan and baste the steak for 30 to 60 seconds. For lean cuts like filet, keep the sear quick and be gentle with extended basting.
6) Serve, or rest if you need the time
One perk of reverse sear is that a long final rest is not strictly necessary, since the steak is already evenly heated and you gave it that 10-minute pause before searing. That said, for real-life cooking, resting 5 minutes (up to 10) makes slicing calmer and gives you time to get plates and sides together. Slice against the grain. Finish with a pinch of flaky salt right before serving.
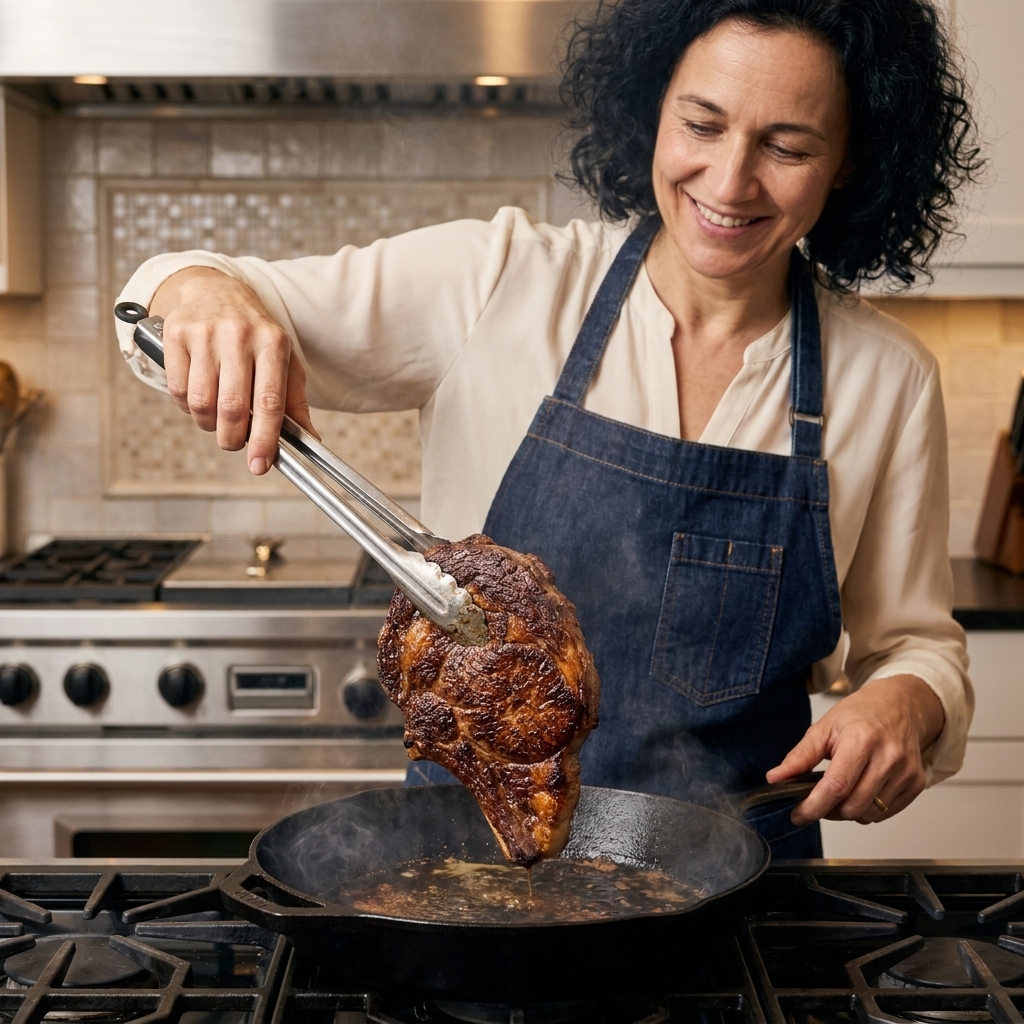
Temperature cheat sheet
Two numbers matter: the oven pull temp and the final finished temp. In reverse sear, you pull early because the pan sear adds heat quickly.
- Rare: pull 115°F, finish about 125°F (to taste)
- Medium-rare: pull 120°F, finish 130 to 135°F
- Medium: pull 130°F, finish 140 to 145°F
- Medium-well: pull 140°F, finish 150 to 155°F
Note: If you prefer your steak on the higher end of a range, just sear a little longer, or let it sit in the hot pan off heat for a minute. Tiny adjustments go a long way.
How to get a better crust
- Dry the surface: Pat the steak very dry with paper towels before the oven step and again right before searing.
- Use a rack: Airflow dries the exterior and promotes even heating.
- Do not crowd the pan: Sear one or two steaks at a time, depending on skillet size.
- Preheat longer than you think: Cast iron needs time. If the steak hits the pan and does not sizzle loudly, keep heating.
- Use the right oil: Choose a high smoke point oil. Butter is great, but add it after the initial crust forms.
Common problems
My steak is brown inside, not pink
Most likely it went too far in the oven. Next time, pull 5 to 10°F earlier. Also make sure your thermometer is in the center, not touching fat or bone.
My steak has a weak crust
It was probably too wet or the pan was not hot enough. Pat dry, use a rack, and let the skillet preheat fully. Also, do not add the steak before the oil is shimmering.
My kitchen got smoky
High heat does that. Use avocado or grapeseed oil, turn on the vent fan, and consider searing near an open window. If smoke is a big issue, sear a little longer at medium-high rather than blasting on high.
The outside burned before the crust looked right
This can happen if there is sugar on the surface (from a rub or marinade) or if the pan has old residue. Keep rubs simple, and start with a clean skillet.
Make it a full dinner
Reverse sear steak is rich and satisfying, so I like to keep the sides simple and cozy:
- Roasted potatoes (they can cook in the oven while the steak slow-roasts)
- Garlicky green beans or sautéed spinach
- Simple salad with a bright vinaigrette to cut the richness
- Pan sauce shortcut: After searing, deglaze the skillet with a splash of beef broth or red wine, scrape up the browned bits, and swirl in a pat of butter.
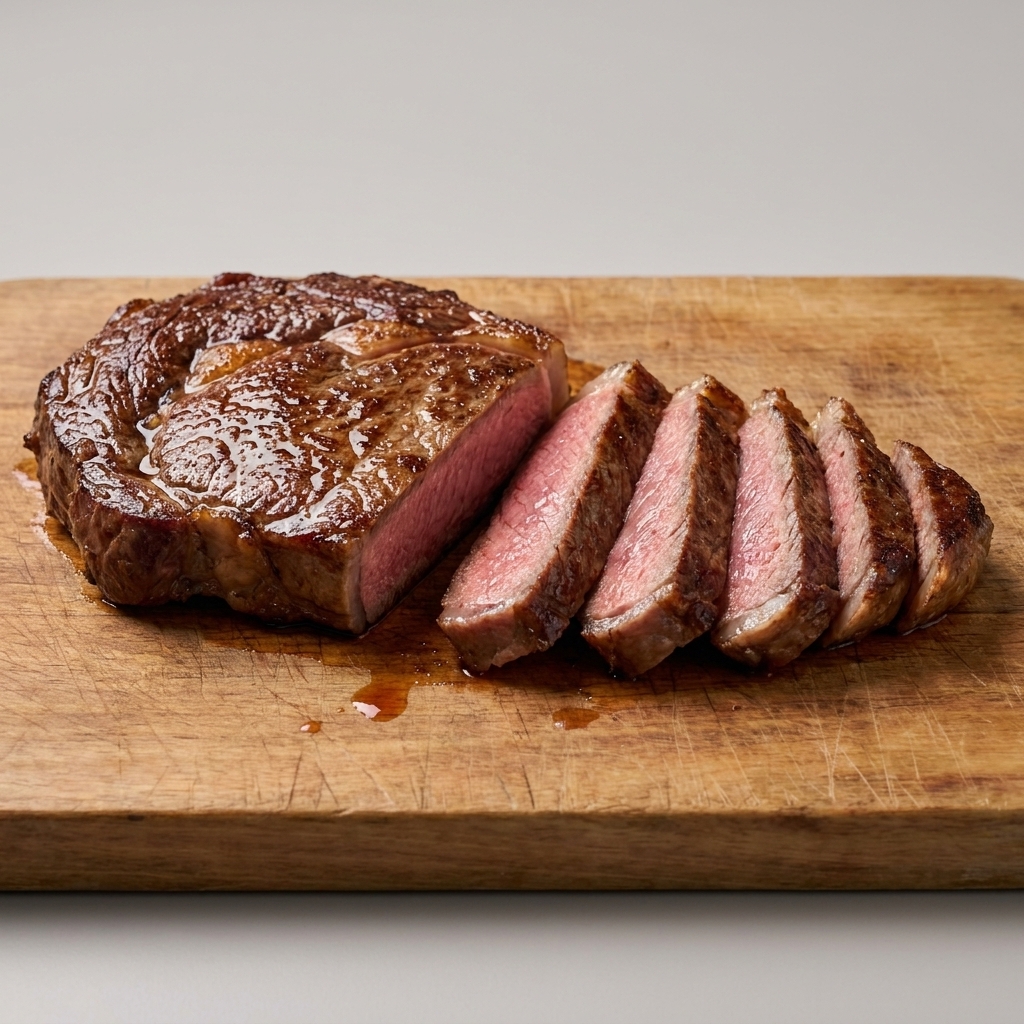
FAQ
Do I need to bring the steak to room temperature first?
No. It is not necessary, and reverse sear is already designed to gently warm the steak evenly. You can cook straight from the fridge. Just expect the oven step to take a bit longer.
Can I reverse sear on a grill?
Absolutely. Use indirect heat for the low-and-slow portion (aim for 225 to 275°F), then finish over direct high heat for the sear. Same temperature targets apply.
Should I pepper before or after?
Either works. If you love pepper flavor and do not mind a slightly toasted note, pepper before the oven. If you are sensitive to bitter pepper, add it after the oven step or even after slicing.
What about a dry brine?
If you can plan ahead, it is my favorite. Salt the steak and leave it uncovered in the fridge overnight. The surface dries, the seasoning penetrates, and the crust gets almost obnoxiously good in the best way.
Any food safety notes?
For whole-muscle steaks, the biggest safety wins are good handling: keep the meat cold until cooking, avoid cross-contamination, and use a thermometer if you want to be precise. If you are cooking mechanically tenderized steak, follow package guidance and consider cooking to at least 145°F.