An in-depth, cook-along comparison of slow cooker vs. Instant Pot pot roast, with two complete recipes, gravy methods, and flavor tips for both.
recipes
Instant Pot vs. Slow Cooker Chili

Elena Martinez
Elena Martinez is a former bakery manager turned full-time food writer and recipe developer. With over a decade of experience translating professional culinary techniques into approachable home cooking, she believes that a great meal doesn't require a culinary degree or expensive ingredients.
Created September 22, 2026
Last updated September 22, 2026
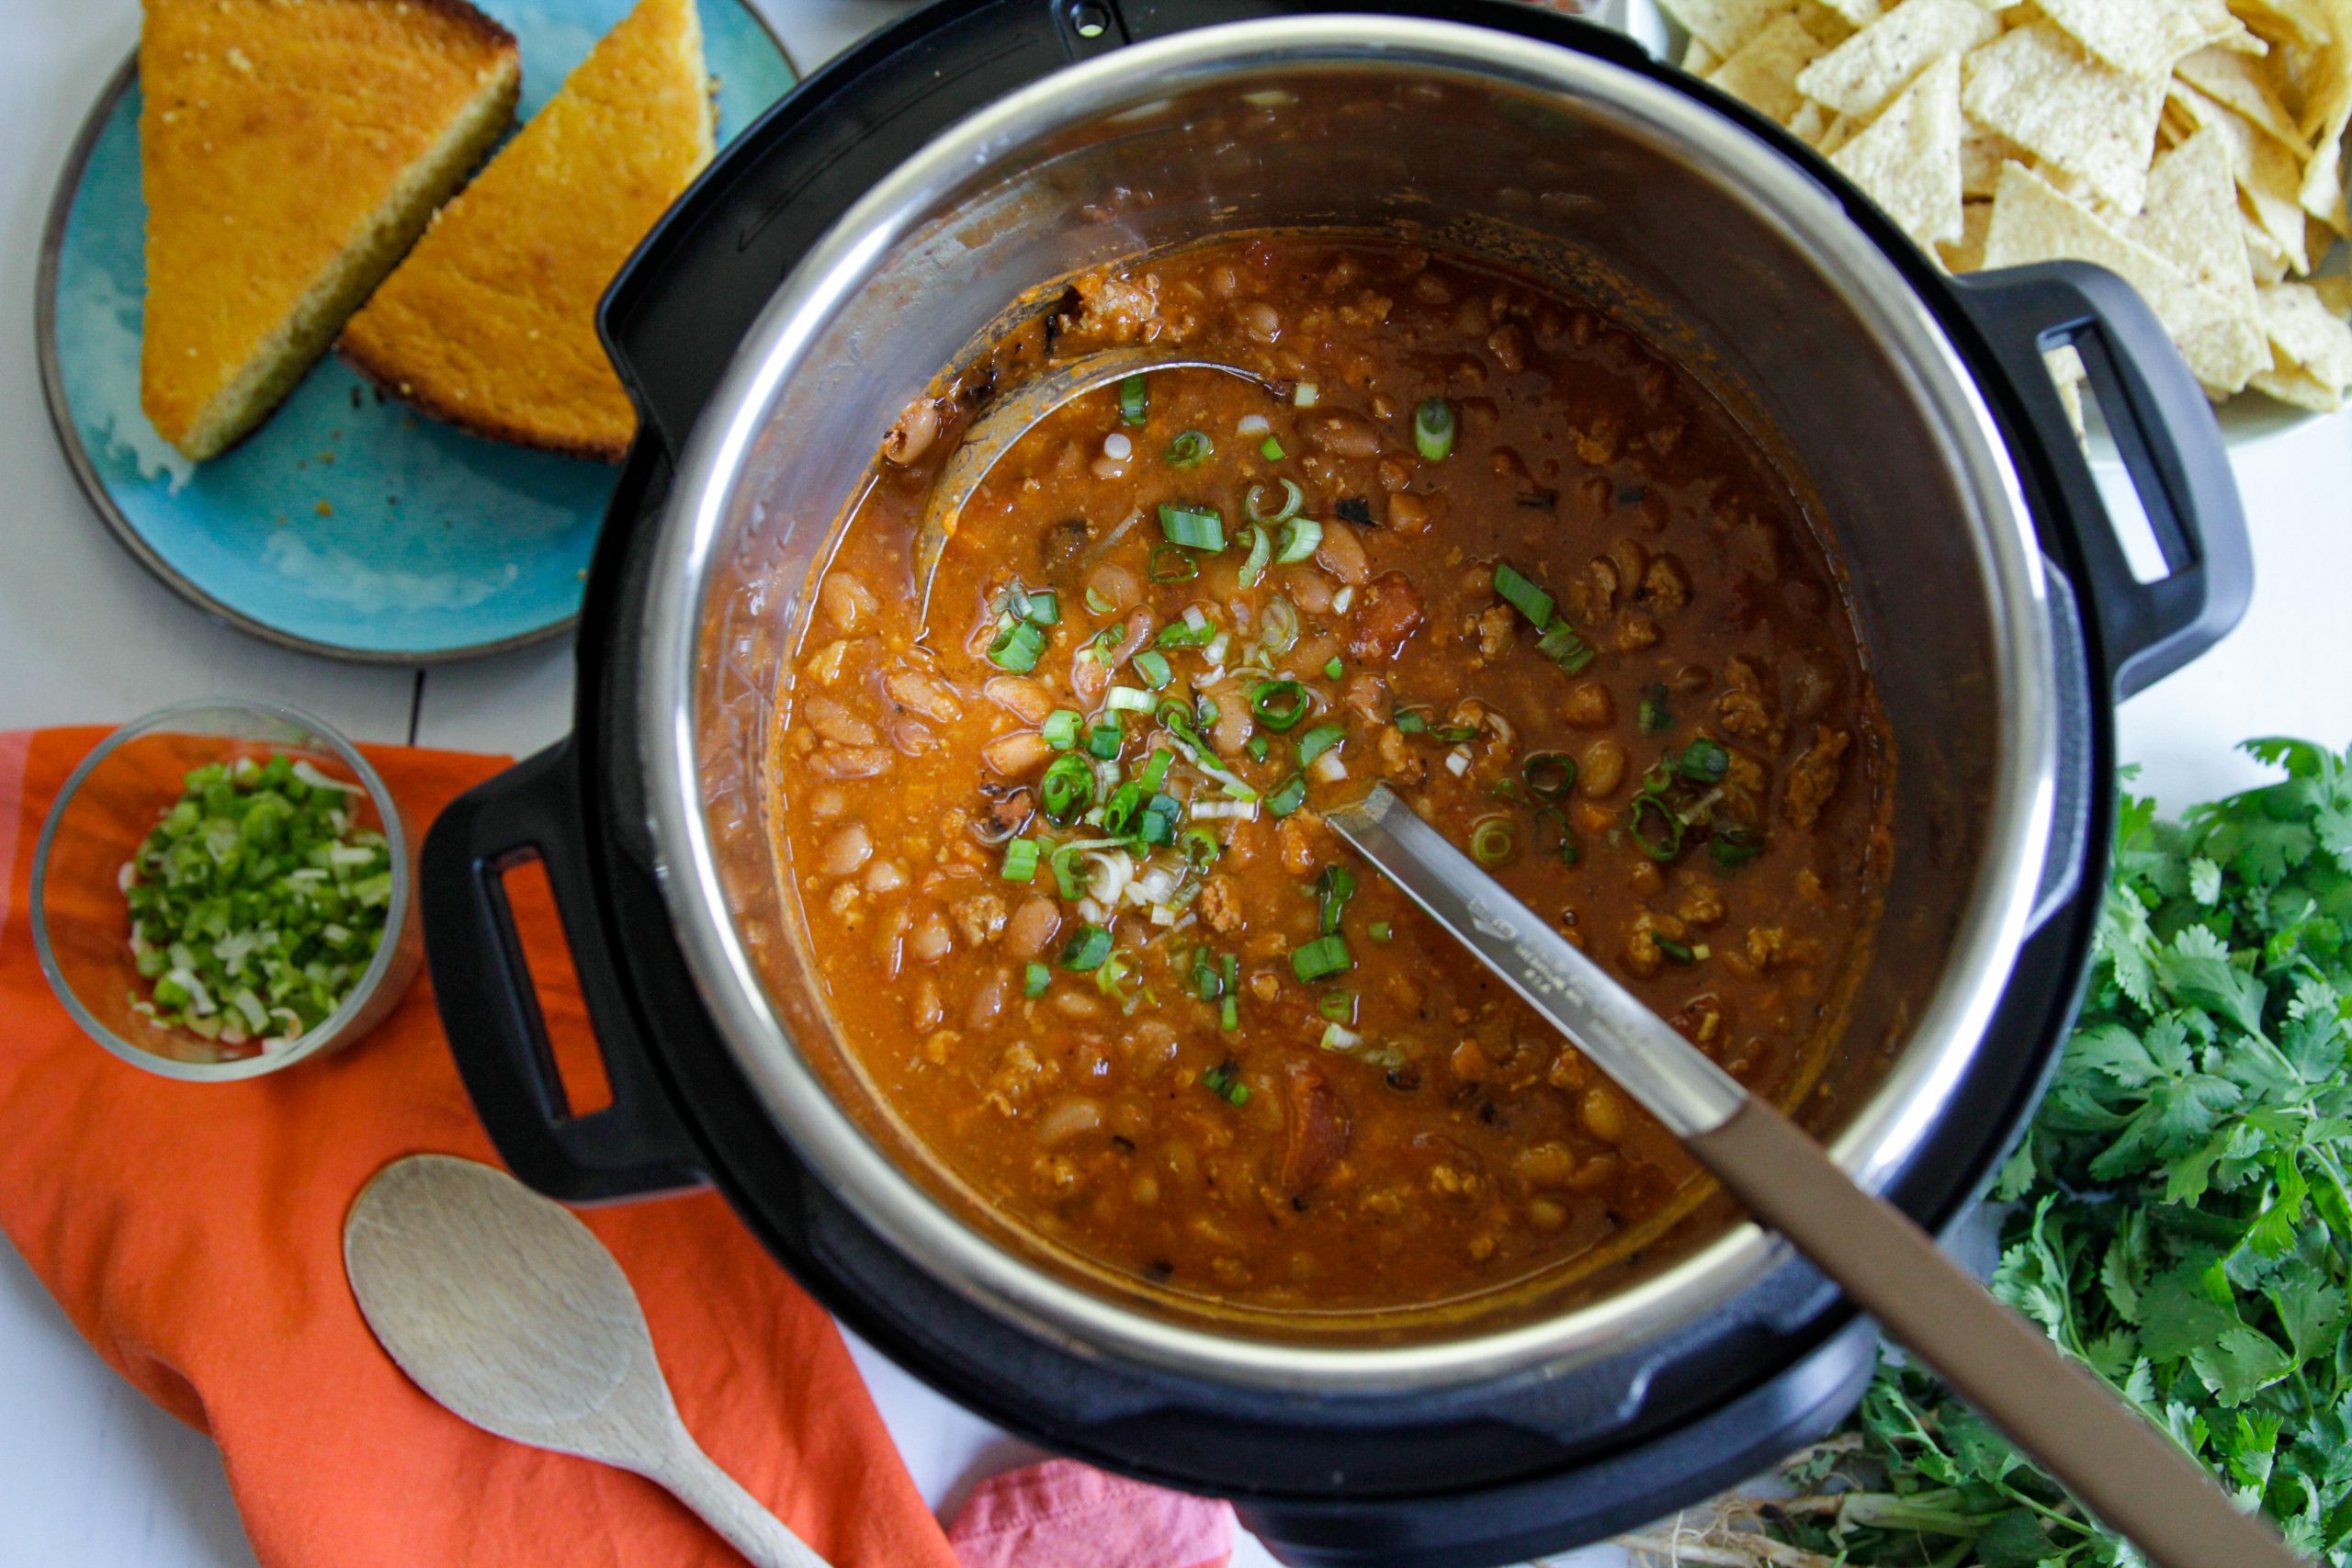
Chili is one of those dinners that feels like it should take all day, but real life does not always cooperate. The good news is that both the Instant Pot and the slow cooker can get you to a cozy, spoon-coating pot of chili with very little hands-on work. The tricky part is that they get there in different ways, and that changes the flavor, the texture, and how forgiving the method is with your ingredients.
Below, I will walk you through what actually changes between the two methods, and then I will give you two simple recipe frameworks you can use tonight, even if your pantry situation is more “a can of beans and a prayer” than perfectly planned.
The quick verdict
- Best deep, simmered flavor: Slow cooker, especially if you can brown the meat and toast spices first.
- Best weeknight speed: Instant Pot, no contest.
- Best thick, cohesive texture: Instant Pot with a quick reduction step, or slow cooker if you plan a thickener finish (like mashed beans or a little cornmeal).
- Best for dried beans without soaking: Instant Pot.
- Most forgiving if you will be gone all day: Slow cooker.
Flavor: who wins?
Slow cooker flavor
Slow cookers excel at the “all-day chili” vibe because they give flavors time to mingle. You get a rounder, sweeter tomato note, softer allium bite, and a gentle heat that feels integrated instead of sharp.
The tradeoff is that a slow cooker is a moist environment. It does not reduce aggressively, and it will not create new browning flavors on its own. If you want maximum flavor, you want to add browned meat, softened onions, and bloomed spices before everything goes into the crock.
Instant Pot flavor
The Instant Pot builds flavor differently. Many people find it tastes bolder and more “freshly cooked” because pressure cooking is fast and keeps a lot of aroma in the pot. It can taste a little less “simmered” and a little more “direct,” especially with tomatoes and chili powders.
Where the Instant Pot shines is using the Sauté function to create browning first, then pressure cooking to finish quickly. If you sauté onions and toast spices for even 2 to 4 minutes, the final chili tastes dramatically more complex.
My take
If you do no pre-browning at all, the Instant Pot often tastes better because the pressure cook is so efficient at extracting flavor quickly. If you are willing to brown and bloom either way, the slow cooker typically edges ahead on that slow-simmer depth.
Texture: who wins?
Slow cooker texture
Long, gentle heat is great for tough cuts (stew meat becomes tender and shreddy) and it also gives ground meat time to soften and settle into a cohesive, hearty bite. Beans (especially canned) hold their shape nicely, and vegetables soften into the sauce in a way that feels hearty, not chunky.
Because slow cookers do not reduce much, slow cooker chili can sometimes end up a bit looser than you pictured. That is easy to fix, and I will show you how.
Instant Pot texture
Pressure cookers are amazing at softening ingredients fast, but that speed can be a double-edged sword:
- Vegetables can go from “tender” to “very soft” quickly.
- Ground meat can clump if you do not break it up well during sautéing.
- Chili can be thinner right after cooking because there is no evaporation under pressure.
The fix is simple: finish with a brief reduction on Sauté and, if needed, a thickener trick like mashed beans.
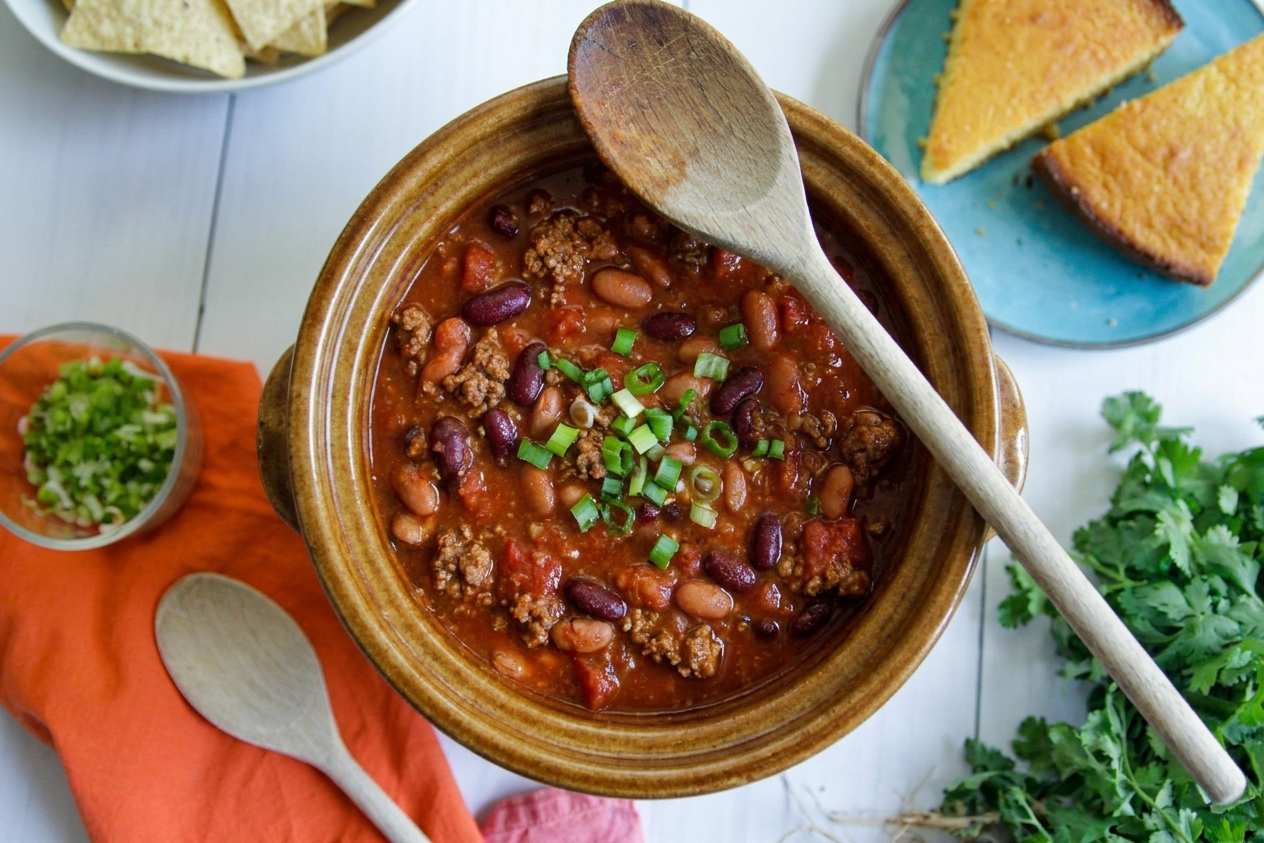
Time and effort: what it really looks like
Instant Pot (fast, active upfront)
- Hands-on time: 10 to 20 minutes (sautéing, stirring, deglazing)
- Pressure cook time: 10 to 20 minutes for ground meat chili, longer for tougher cuts
- Total: often 45 to 75 minutes including pressure build and release (varies by model, starting temp, and fill level)
Slow cooker (set it and forget it)
- Hands-on time: 10 minutes if you dump and go, 20 to 30 minutes if you brown first
- Cook time: 6 to 8 hours on Low or 3 to 5 hours on High
- Total: mostly unattended
If you want chili on a Tuesday and you are starting at 5:30 pm, Instant Pot. If you want to come home to dinner that smells like someone has been lovingly simmering it for you all day, slow cooker.
Ingredient handling: what changes between methods
Dried beans
Instant Pot wins. Dried beans can cook from dry to tender without soaking, but you need enough liquid and enough time. For chili, many cooks prefer cooking the beans first, then adding them to a separate chili base so you can control thickness and salt.
Two important notes: Acid (tomatoes, vinegar, lime) can slow bean softening, so if you are cooking dried beans under pressure, consider cooking them in plain water or broth first and adding tomato products after. Also, never fill the Instant Pot above the max fill line, and be cautious with beans since they can foam.
Slow cooker caution (kidney beans): Do not cook dried kidney beans from dry in a slow cooker. They need a hard boil to neutralize their natural toxin (phytohaemagglutinin). Use canned kidney beans, pressure-cook them, or soak and boil vigorously for at least 10 minutes before adding them to slow cooker chili.
Canned beans
Both methods work. In the Instant Pot, canned beans can get a little softer if pressure cooked for long periods, so I often stir them in after pressure cooking and let them warm through on Sauté. In the slow cooker, they can go in at the beginning, but for firmer beans, add them in the last 60 to 90 minutes.
Tomatoes and acidity
In the Instant Pot, tomato products can trigger a “burn” warning if they sit on the bottom. The workaround is easy: add tomatoes on top and do not stir before pressure cooking. In a slow cooker, you can stir whenever you like.
Lean versus fatty meat
With either method, chili tastes best with a little fat. If you use very lean turkey or chicken, consider adding one of these for richness:
- 1 tablespoon olive oil during sauté
- 1 to 2 teaspoons cocoa powder for depth
- A spoonful of chipotle in adobo for smoky richness
Spice control (and why “chili powder” varies)
“Chili powder” can mean a mild blend or something surprisingly hot depending on the brand. If you are heat-sensitive, start with 2 tablespoons, then add heat at the end with cayenne, chipotle, or hot sauce. If you love heat, use a spicier chili powder and add 1/4 to 1/2 teaspoon cayenne.
Instant Pot chili framework (flexible, weeknight-friendly)
This is the “I need dinner, and I have 60 minutes” version. It makes about 6 servings.
Ingredients
- 1 tablespoon oil
- 1 onion, diced
- 3 to 5 cloves garlic, minced
- 1 to 1 1/2 pounds ground beef, turkey, or plant-based crumbles
- 2 to 3 tablespoons chili powder
- 1 teaspoon ground cumin
- 1/2 to 1 teaspoon smoked paprika (optional but great)
- 1 (6-ounce) can tomato paste
- 1 (14.5-ounce) can diced tomatoes
- 2 cups broth or water
- 1 (4-ounce) can diced green chiles (optional)
- 2 (15-ounce) cans beans, drained and rinsed (kidney, black, pinto, or a mix)
- Salt and black pepper
- Optional finishers: 1 to 2 teaspoons vinegar or lime juice, hot sauce, chopped cilantro
Method
- Sauté aromatics: Set Instant Pot to Sauté. Add oil, then onion with a pinch of salt. Cook 3 to 5 minutes until softened. Add garlic and cook 30 seconds.
- Brown: Add ground meat and cook until no longer pink, breaking it up well. If there is excess grease, spoon some off.
- Bloom spices: Stir in chili powder, cumin, and paprika. Cook 30 to 60 seconds until fragrant.
- Deglaze: Add a splash of broth and scrape up any browned bits. This step helps prevent burn warnings and adds flavor.
- Build the base: Stir in tomato paste, then add the remaining broth.
- Layer tomatoes: Pour diced tomatoes (and green chiles if using) on top. After the tomatoes go in, do not stir. You want them sitting on top to help avoid the burn warning.
- Pressure cook: Cook on High Pressure for 12 minutes. Let pressure release naturally for 10 minutes, then quick release.
- Add beans and thicken: Stir in beans. Simmer on Sauté 8 to 12 minutes to reduce to your ideal thickness.
- Balance: Taste and add salt, pepper, and a little vinegar or lime juice to brighten. Chili loves that tiny pop at the end.
Easy swaps
- No tomato paste: Use 1/2 cup tomato sauce, or just skip it and reduce a little longer.
- Want smoky flavor: Add chipotle in adobo, smoked paprika, or a few dashes of liquid smoke.
- Want thicker chili fast: Mash 1/2 cup beans with a fork and stir them in.
Slow cooker chili framework (cozy, all-day style)
This is the “future me will be so grateful” version. It makes about 6 to 8 servings.
Ingredients
- 1 to 1 1/2 pounds ground beef, turkey, or stew meat
- 1 onion, diced
- 3 to 5 cloves garlic, minced
- 2 to 3 tablespoons chili powder
- 1 teaspoon ground cumin
- 1 teaspoon oregano
- 1 (28-ounce) can crushed tomatoes or tomato sauce
- 1 to 1 1/2 cups broth
- 2 (15-ounce) cans beans, drained and rinsed
- 1 bell pepper, diced (optional)
- Salt and black pepper
- Optional finishers: vinegar or lime juice, hot sauce, shredded cheese, scallions
Method
- Optional but worth it, brown first: In a skillet, brown the meat with the onion and a pinch of salt. Stir in garlic and spices for 30 seconds. This single step makes slow cooker chili taste like you babysat it all day.
- Add to slow cooker: Transfer to the slow cooker. Add tomatoes, broth, beans, and bell pepper if using.
- Cook: Low for 6 to 8 hours or High for 3 to 5 hours, until the flavors taste blended and the chili is as tender as you like.
- Thicken if needed: Crack the lid for the last 30 to 60 minutes to let steam escape, or stir in a mashed-bean thickener (see below).
- Finish: Taste and adjust salt, heat, and acidity. Add a small splash of vinegar or lime right before serving.
How to thicken slow cooker chili
- Crack the lid: Let it reduce uncovered for 30 to 60 minutes on High.
- Mash beans: Mash 1/2 to 1 cup of the beans and stir back in.
- Cornmeal trick: Stir in 1 to 2 tablespoons fine cornmeal and cook 15 minutes. It adds body and a subtle sweet corn note.
Which method suits you?
- Choose the Instant Pot if: you cook after work, you forgot to thaw anything, you want dried beans without planning ahead, or you like a thicker chili you can quickly reduce on Sauté.
- Choose the slow cooker if: you want dinner waiting at home, you are feeding a crowd over a long afternoon, you love soft, melded flavors, or you want the most hands-off cooking day.
If you are torn, here is my honest kitchen answer: make slow cooker chili on a weekend when you can brown the meat first, and make Instant Pot chili on weeknights when you want the same comfort in a fraction of the time.
Common questions
Why is my Instant Pot chili watery?
There is no evaporation under pressure, so it is normal. Reduce on Sauté for 8 to 15 minutes. You can also mash some beans or stir in a tablespoon of cornmeal.
How do I avoid the Instant Pot burn warning?
Deglaze well after sautéing and scrape the bottom clean. Then add tomato products on top and do not stir before pressure cooking.
Can I cook chili all day in a slow cooker?
You can, but texture changes. Beans get softer and meat can become a bit more shreddy. If you need a long hold, Low is gentler than High, and adding beans later helps them keep their shape.
Should I add the beans at the beginning?
Instant Pot: I prefer adding canned beans after pressure cooking. Slow cooker: add at the start for convenience, or in the last 60 to 90 minutes for firmer beans.
How do I make either chili taste less flat?
Salt, acid, and a touch of sweetness are your best tools. Try one at a time: a pinch more salt, 1 to 2 teaspoons vinegar or lime, or 1 teaspoon brown sugar. It is amazing how quickly chili “wakes up.”
Leftovers
Chili is one of those meals that gets even better after a night in the fridge.
- Fridge: Store in an airtight container for 3 to 4 days.
- Freezer: Freeze for 2 to 3 months. Thaw overnight in the fridge for best texture.
- Reheat: Warm gently on the stove or in the microwave, adding a splash of broth or water if it has thickened up.
My favorite serving ideas
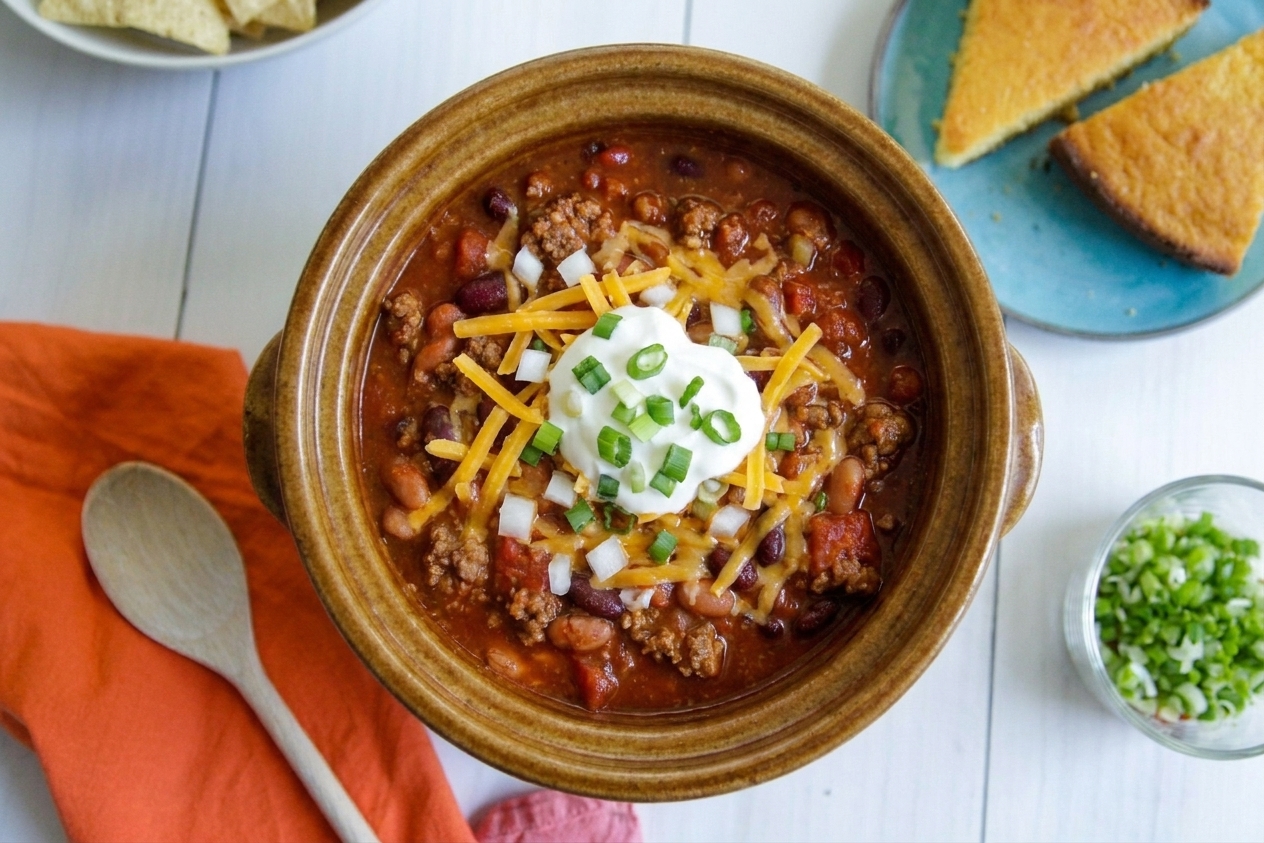
- Classic: shredded cheese, diced onion, sour cream or Greek yogurt
- Crunch: crushed tortilla chips, corn chips, or toasted pepitas
- Fresh: cilantro, scallions, sliced jalapeños
- Stretch it: spoon over baked potatoes, rice, or mac and cheese
- Leftover magic: turn thick chili into nachos or a quick chili grilled cheese
However you cook it, the best chili is the one that fits your day. Pick the method that matches your schedule, then give it that last little finishing taste test at the end. That is where “fine” turns into “can I have seconds?”