
Dry beans are one of the cheapest, most comforting staples you can keep in the pantry, but they come with a reputation: sometimes they cook up creamy and perfect, and sometimes they stubbornly stay firm no matter how long they simmer. The good news is that “mystery beans” are usually just a handful of fixable issues, like old beans, hard water, aggressive boiling, or seasoning that needs a smarter approach for your specific pot of beans.
Below is the exact approach I use when I want beans that are tender all the way through, with intact skins and flavorful broth. I will walk you through sorting, soaking options, seasoning, and two dependable cooking methods, plus the visual cues that tell you when beans are truly done.

Start with a quick sort and rinse
Even great brands can have the occasional tiny stone or clump of dirt. Sorting takes two minutes and saves your teeth.
- Sort: Pour beans onto a sheet pan or clean towel. Pick out stones, shriveled beans, and anything that looks cracked or dusty.
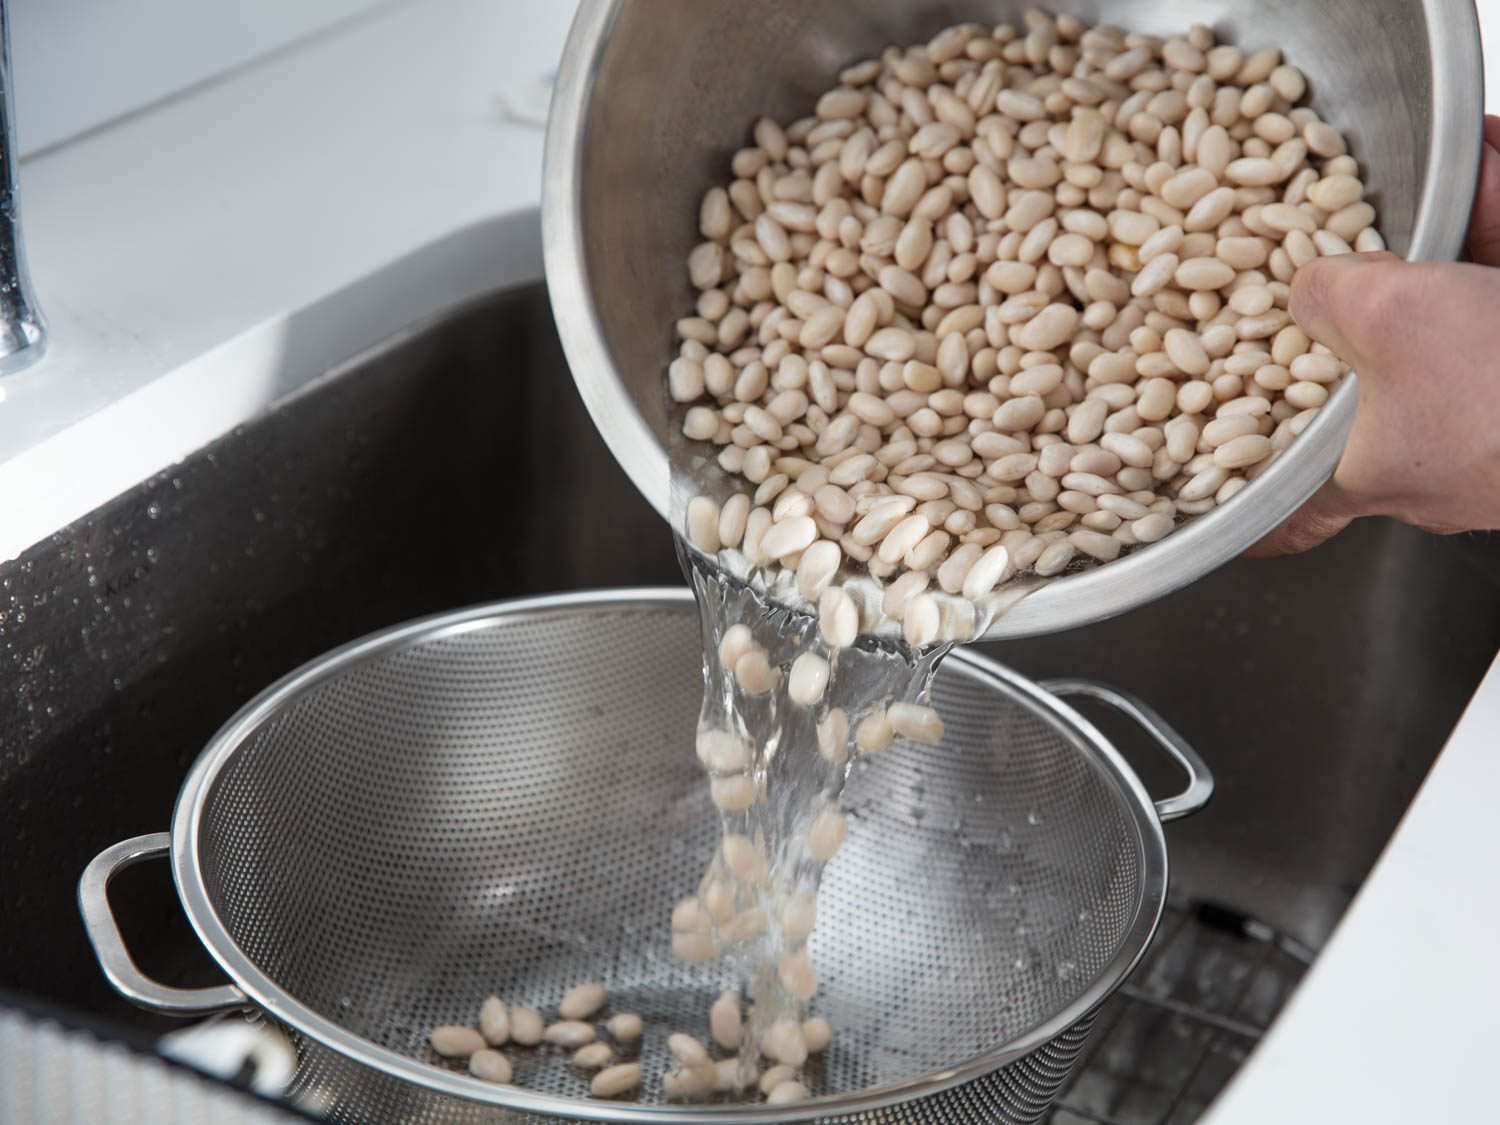
- Rinse: Rinse under cool water until the water runs mostly clear. This removes field dust that can cloud your cooking liquid.
Bean age matters: If your beans have been sitting in the pantry for years, they may never get fully creamy. Older beans also tend to split more. If you suspect they are old and they refuse to soften after a normal cooking window, it is not you.
Soaking options
Soaking is not required for every bean or every schedule, but it can help beans cook more evenly and reduce split skins for some varieties. Choose the method that fits your day.
Overnight soak
- Cover beans with at least 3 inches of cool water.
- Soak 8 to 12 hours at room temperature (or refrigerate if your kitchen is warm).
- Drain and rinse before cooking.
Quick soak
- Put beans in a pot and cover with 3 inches of water.
- Bring to a boil for 2 minutes, then turn off the heat.
- Cover and let stand 1 hour.
- Drain and rinse before cooking.
No soak
If you did not plan ahead, you can still make excellent beans. Expect a longer cook time and slightly less even texture, especially with larger beans. I most often skip soaking for black beans, chickpeas when using a pressure cooker, and smaller white beans when I am not in a hurry.
If you want fewer split skins, soak. If you want beans tonight, skip it and cook gently.
Seasoning
Beans taste like what you cook them with. A few aromatics turn “fine” beans into beans you want to eat straight from the pot.
What to add to the pot
- Aromatics: onion, garlic, scallion, leek, celery, carrot
- Herbs and spices: bay leaf, thyme, oregano, cumin, coriander, smoked paprika
- Umami boosters: kombu (a small piece), dried mushroom, Parmesan rind
- Fat (optional but lovely): olive oil, a spoon of neutral oil, or a little rendered bacon fat
Salt
You will hear conflicting advice about salting beans. In my kitchen, I treat salt like something you can add in stages, with one goal: well-seasoned beans and broth that is not accidentally too salty.
- Good news: Salting early is generally fine and can help beans taste seasoned throughout.
- My practical habit (stovetop): If I expect a lot of evaporation, I start with light salt, then adjust once the beans are partway tender. This keeps me from oversalting if the liquid reduces more than expected.
- Pressure cooker: Add a moderate amount of salt up front because there is very little evaporation. Think lightly salted pasta water, not aggressively seasoned soup.
Acid waits: Tomatoes, vinegar, wine, and citrus can slow softening in some pots of beans, especially when combined with older beans or hard water. If I want the most predictable tenderness, I add acidic ingredients after the beans are tender, or at least during the last 10 to 15 minutes.
Stovetop method
This is my default method when I want creamy beans and I am home to keep an eye on the pot. The key is a gentle simmer, not a hard boil.
Step by step
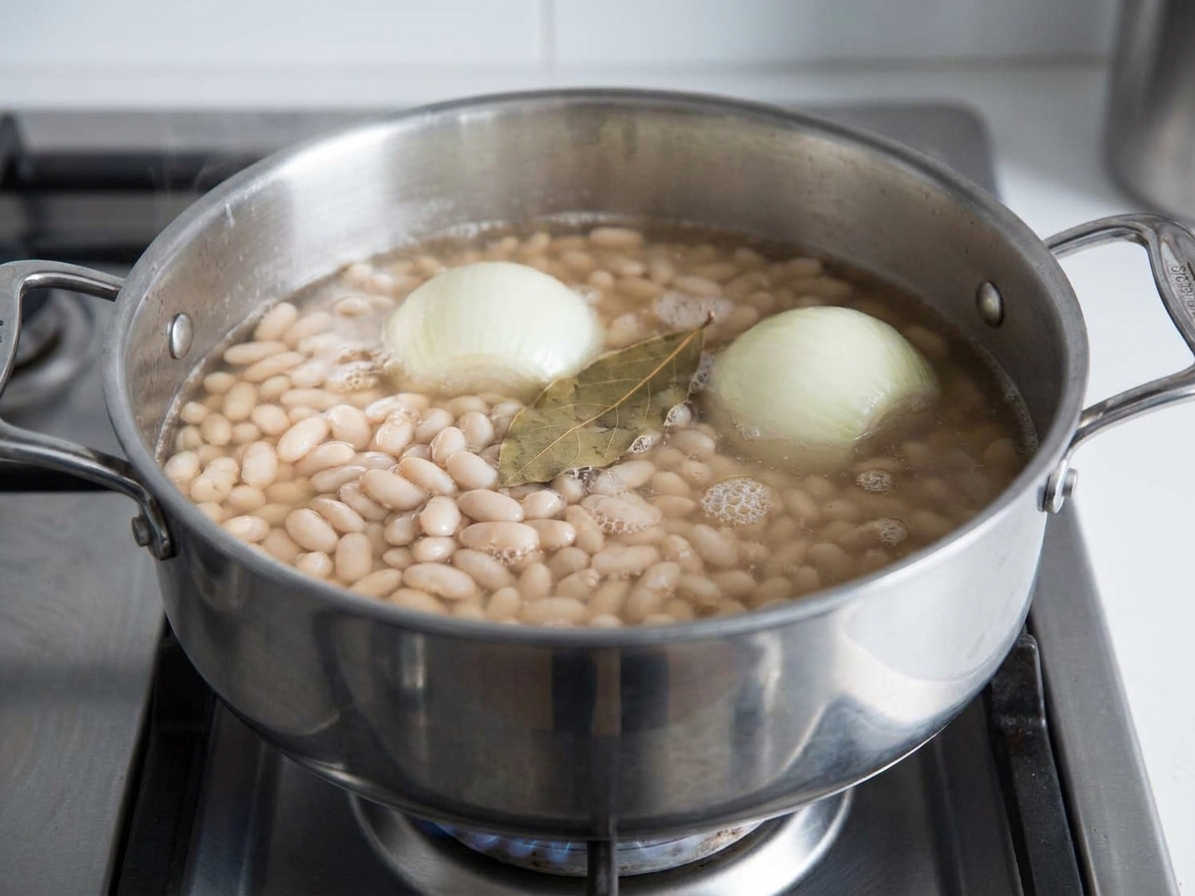
- Cover with water: Put sorted beans in a heavy pot and add fresh water to cover by 2 inches. For 1 pound of beans, start with about 10 to 12 cups water, then add more as needed to keep them submerged.
- Add aromatics: Onion halves, garlic cloves, bay leaf, herbs, and a splash of olive oil are all welcome.
- Bring up slowly: Bring to a boil, then immediately reduce to a very gentle simmer. You want a few lazy bubbles, not rolling turbulence.
- Skim if needed: If you see foam in the first 10 minutes, skim it off. It is not dangerous, it just can muddy the broth.
- Simmer partially covered: Keep the pot partially covered to reduce evaporation and help prevent boilovers while you maintain a steady simmer.
- Salt in stages: Salt whenever you like, but do it gradually and taste as you go. If you are unsure, start light and adjust once the beans are starting to soften.
- Check and top up: Keep beans submerged. Add hot water as needed so they do not bob up and split.
- Start checking early: Use the timing ranges below, but begin tasting a little before the low end so you do not blow past perfectly tender into mush.
Timing guide
Beans are individuals, so think of these as a starting point. Soaked beans cook faster and more evenly. Hard water, high altitude, and very old beans can push these longer.
- Black beans: 60 to 90 minutes (45 to 70 minutes soaked)
- Pinto beans: 75 to 110 minutes (60 to 90 minutes soaked)
- Navy or great northern beans: 60 to 90 minutes (45 to 75 minutes soaked)
- Cannellini beans: 75 to 120 minutes (60 to 100 minutes soaked)
- Chickpeas: 90 to 150 minutes (75 to 120 minutes soaked)
- Kidney beans: 90 to 140 minutes (75 to 120 minutes soaked)
Safety note (kidney beans): Raw or undercooked kidney beans contain a natural toxin (phytohaemagglutinin). For stovetop cooking, keep them at a rapid boil for at least 10 minutes before you reduce to a simmer.
Pressure cooker method
Pressure cookers are great for beans because they cook evenly and do not require babysitting. The two big rules are: do not overfill, and use enough water.
Step by step
- Rinse and add to the pot: Place beans in the pressure cooker insert.
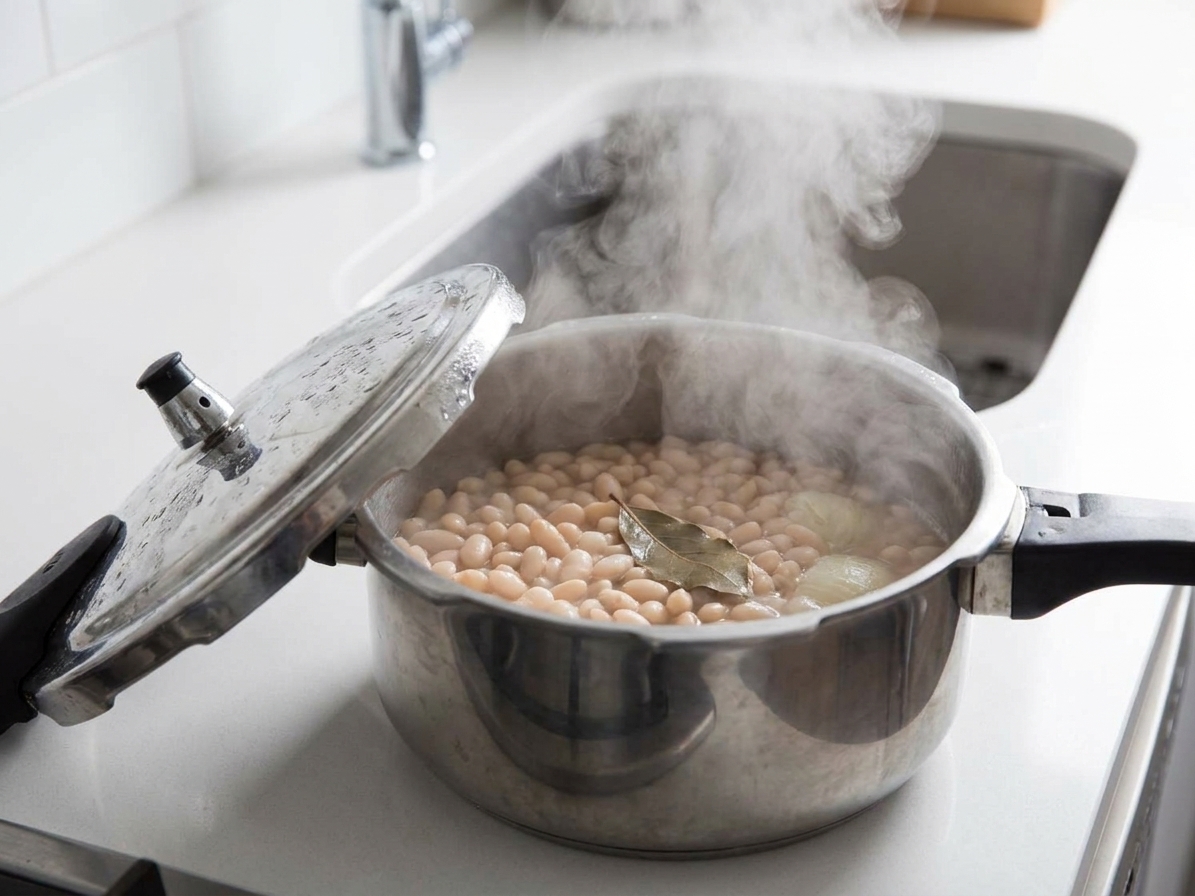
- Add water and aromatics: Cover beans with about 1 to 1 1/2 inches of water. Add onion, garlic, bay leaf, and a tablespoon of oil if you like (oil can help reduce foaming).
- Salt moderately: Add salt now, but keep it reasonable since the liquid will not reduce much.
- Cook at high pressure: When time is up, let pressure release naturally for at least 15 minutes for most beans, then quick release any remaining pressure.
- Simmer to finish if needed: If beans are tender but broth is thin, simmer uncovered for 5 to 15 minutes.
Timing guide
- Black beans: 22 to 28 minutes unsoaked, 12 to 16 minutes soaked
- Pinto beans: 25 to 32 minutes unsoaked, 14 to 18 minutes soaked
- Navy or great northern beans: 18 to 24 minutes unsoaked, 10 to 14 minutes soaked
- Cannellini beans: 22 to 30 minutes unsoaked, 12 to 16 minutes soaked
- Chickpeas: 35 to 45 minutes unsoaked, 18 to 25 minutes soaked
- Kidney beans: 30 to 38 minutes unsoaked, 16 to 22 minutes soaked
Kidney beans in a pressure cooker: Cook at full high pressure and follow your manufacturer’s safety guidance. Avoid low-temperature methods for kidney beans.
Waterline tip: Beans expand a lot. Keep the total contents below the cooker’s max fill line, and for foamy beans (like chickpeas) stay closer to half full.
How to tell when beans are done
This is the part that makes or breaks bean confidence. A bean can look cooked and still be chalky inside.
- Texture: Bite into a few beans. They should be creamy all the way through, no hard white core.
- Skins: Skins should be intact and not sliding off in sheets. A few split beans are normal, but a pot full of blowouts usually means the simmer was too aggressive or the beans cooked too dry.
- Broth: The cooking liquid should start to look slightly thickened and starchy, not watery like plain tea.
- Consistency: Test at least 5 beans from different spots in the pot. Beans cook unevenly if the heat is too high or if they were not fully submerged.
How to prevent split skins
Split skins are not a tragedy, but if you want beautiful beans for salads, burrito bowls, or a composed plate, here is what helps the most.
- Soak when you can: It hydrates the skins gradually and reduces bursting.
- Simmer gently: A rolling boil knocks beans around like a washing machine.
- Keep beans submerged: Beans exposed above the waterline hydrate unevenly and split.
- Avoid big temperature swings: Adding cold water mid-cook can shock skins. Add hot water instead.
- Stir carefully: Stir once in a while, but do it gently and mostly from the bottom to prevent sticking.
- Save acid for later: Tomatoes and vinegar are easiest to add once the beans are tender.
Troubleshooting
Beans will not soften
- They are old: This is the most common culprit. Extra time helps sometimes, but truly old beans can stay stubborn.
- Your water is hard: Water high in calcium or magnesium can noticeably extend cook times. If this happens often, try filtered water.
- Acid was added early: If you started with tomatoes, wine, vinegar, or citrus, the beans may take longer. Keep simmering, or cook beans separately until tender, then combine.
- Optional trick (use sparingly): A tiny pinch of baking soda can help soften beans in hard water, but it can make beans mushy and slightly dull the flavor. If you try it, start very small.
Beans split
- Heat was too high.
- Beans were not fully submerged.
- The pot cooked too dry.
- Beans were very old.
Beans taste bland
- Salt more than you think, but do it gradually and taste the broth.
- Add aromatics and let beans rest in their broth for 15 to 30 minutes after cooking.