
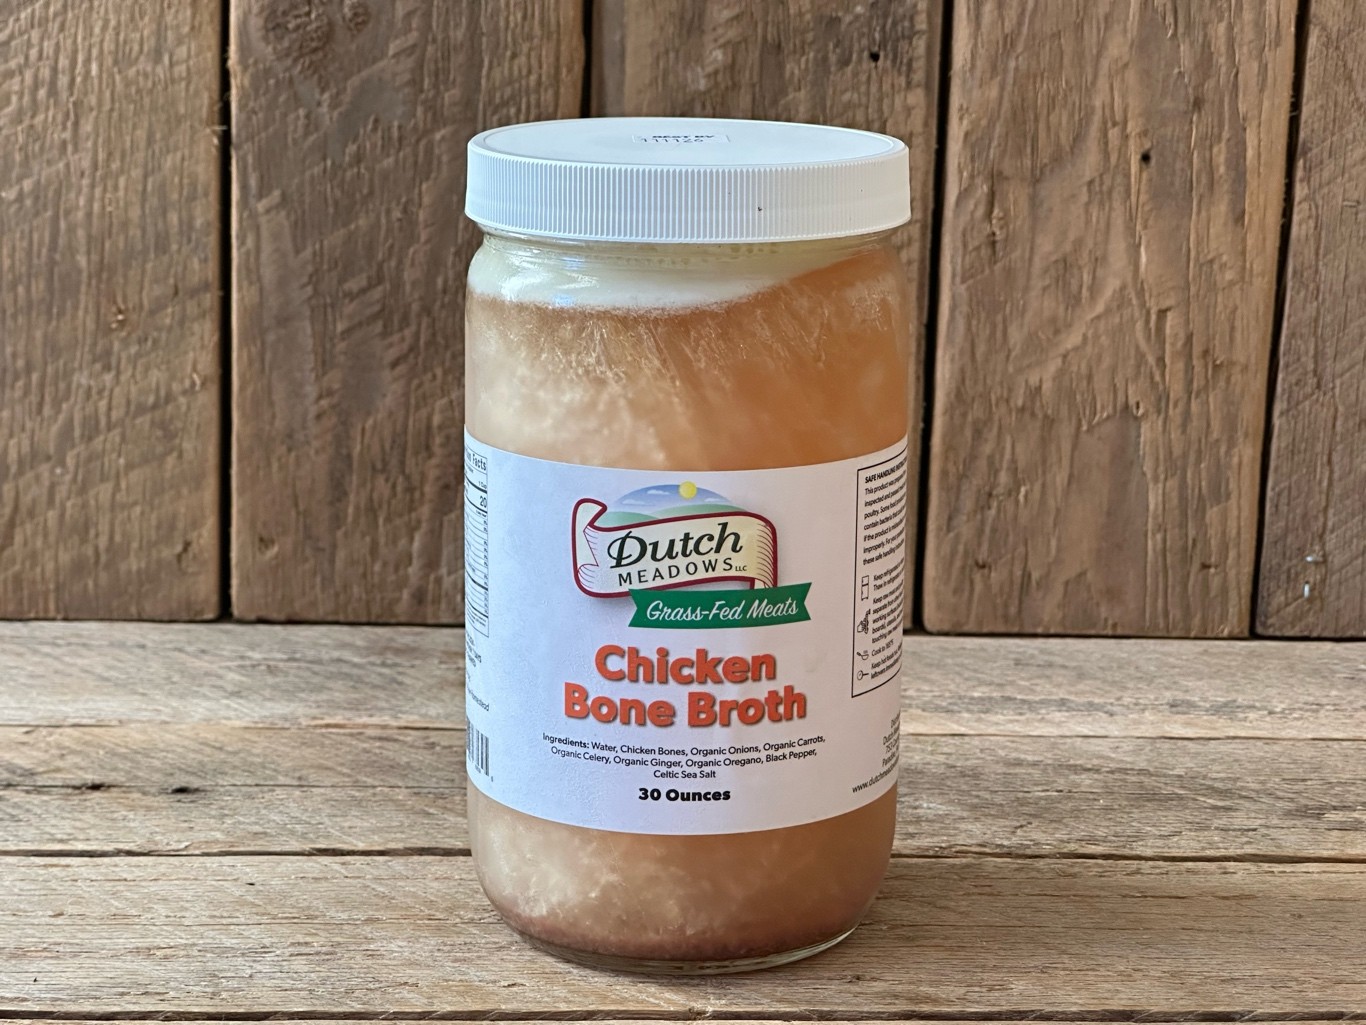
Chicken bone broth is one of those kitchen habits that quietly makes everything easier. It turns a leftover roast chicken into tomorrow’s noodle soup, upgrades rice from fine to fragrant, and gives you a freezer stash that feels like a tiny act of self-care.
I started making it back when I was managing a bakery and needed quick lunches that tasted like real food. A jar of broth in the fridge meant I could turn odds and ends into something comforting in 15 minutes.

Broth vs. stock vs. bone broth
These words get used interchangeably, but here is the simple way I think about them at home.
- Broth is usually made with meat and simmers for a shorter time. It is lighter and more sippable.
- Stock is made mostly from bones, often roasted first, and simmered long enough to pull out lots of flavor and body.
- Bone broth is basically stock’s patient older sibling. It simmers longer and is often made with a splash of vinegar, which may help a bit (and is a classic move for mineral extraction), but time and collagen-rich parts do most of the heavy lifting.
In practice, if you simmer chicken bones for a long time and end up with a broth that gels when chilled, you made the good stuff. Call it stock or bone broth, your soup will not care.
What makes a great chicken bone broth
Collagen-rich bones
For that silky, lightly sticky mouthfeel, include parts with connective tissue. Think backs, necks, wings, and especially feet if you can find them. A rotisserie chicken carcass is also perfect.
Time at a gentle simmer
Boiling hard makes the broth cloudy and can emulsify fat into the liquid, which can taste a little greasy. Clarity is mostly cosmetic, but gentle heat usually gives you a cleaner tasting pot. You want the barest simmer, just a few lazy bubbles.
Just enough aromatics
Onion, carrot, celery, garlic, and herbs are classic. Keep it restrained. You can always season later depending on whether it becomes ramen, risotto, or gravy.
No salt, or only a little
I usually leave it unsalted so I can reduce it later without accidentally creating a salt bomb. If you like sipping it as is, add a pinch at the end to taste (a good starting point is about 1/4 teaspoon per cup, then adjust).
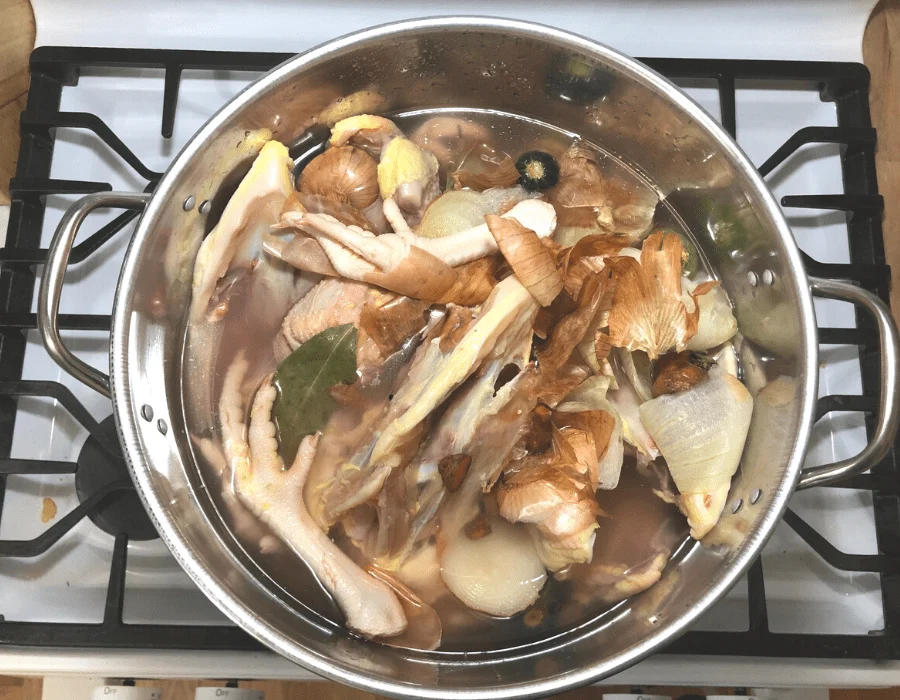
Ingredients you need
This is a flexible recipe. Use what you have and do not stress the exact amounts.
- Chicken bones: 1 to 2 carcasses, or about 2 to 4 pounds mixed bones
- Aromatics: 1 onion, 2 carrots, 2 celery stalks (roughly chopped)
- Garlic: 3 to 6 cloves, smashed
- Bay leaf: 1 to 2
- Peppercorns: 1 teaspoon (optional)
- Apple cider vinegar: 1 to 2 tablespoons (optional, but nice)
- Water: enough to cover by 1 to 2 inches
Easy swaps: Add parsley stems, thyme, or a small piece of ginger for an ultra-clean, sippable broth. If you are out of celery, a fennel stalk is lovely. If you only have onion, use onion. You will still get a great result.
How to make chicken bone broth (stovetop)
Stovetop is my favorite for maximum control. The method is simple, and you can keep an eye on the simmer while you do other things around the house.
Pot size note: An 8 to 12 quart stockpot is ideal for 1 to 2 carcasses. You want the bones mostly submerged, with water just covering them.
1) Optional: roast the bones
If your bones are raw, roast them at 425°F for about 30 to 40 minutes until deeply golden. This adds a richer, roasted flavor and darker color. If you are using a cooked carcass, you can skip this.
2) Add everything to the pot
Place bones in a large stockpot. Add vegetables, garlic, bay, peppercorns, and vinegar. Cover with cold water by 1 to 2 inches.
3) Slowly bring to a bare simmer
Bring the pot up gently. As it approaches a simmer, you will see foam rise. Skim it off for a cleaner taste, especially with raw bones.
4) Simmer low and slow
Keep it at the faintest simmer, uncovered or partially covered.
- Cooked carcass: 4–8 hours
- Raw bones with lots of connective tissue: 8–12 hours
Add a splash of water if bones start poking above the surface.
5) Strain
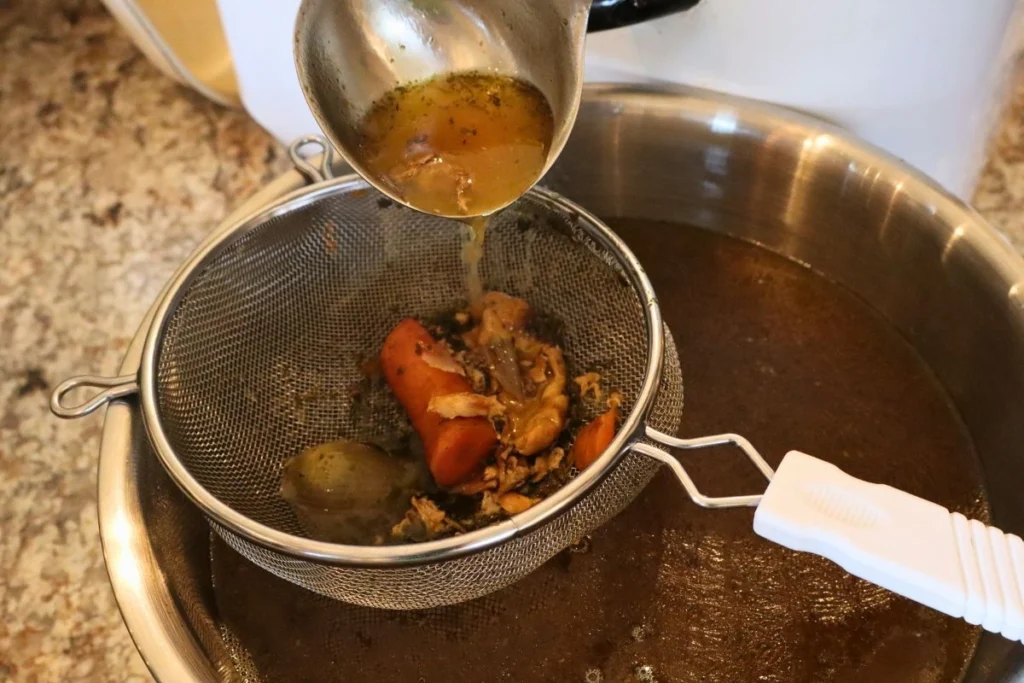
Strain through a fine mesh sieve into a large bowl. For extra clarity, strain again through cheesecloth.
About the solids: The vegetables will be pretty spent. If there is any usable chicken left on the bones, you can pick it before you start simmering (best), or pick out a few clean bits after straining if you want. When in doubt, compost the lot and let the broth be the star.
6) Chill fast, then store
Cool quickly for food safety. Aim to get it cooled and into the refrigerator within about 2 hours (faster is better for a big pot). My practical move: set the bowl in a sink of ice water and stir until lukewarm, then refrigerate. You can also portion it into smaller containers to speed things up.
Slow cooker method
This is the most hands off option, perfect if you want to run errands without babysitting a pot.
- Add bones, aromatics, vinegar, and water to the slow cooker.
- Cook on low for 10–18 hours.
- Strain and chill as described above.
Tip: If your slow cooker runs hot, crack the lid with a wooden spoon for the last couple hours to avoid vigorous bubbling.
Instant Pot method
Instant Pot bone broth is a weeknight miracle . It is not identical to a 12 hour stovetop simmer, but it is very good and extremely doable.
- Add bones and aromatics to the pot, do not fill past the max line.
- Add vinegar and enough water to cover bones.
- Pressure cook on high for 120 minutes. Let it naturally release fully, at least 30 minutes.
- Strain and chill.
Tip: If you are using lots of feet, backs, and necks and want extra body, you can add 10 to 20 minutes. For even more mileage, run a second cycle with fresh water using the same bones and blend the two batches.
How to get that gel
If your broth does not gel in the fridge, it is still delicious. It just means the collagen concentration is lower. Here is how to nudge it in the right direction next time:
- Use more connective tissue: wings, backs, necks, and feet are the MVPs.
- Use less water: cover bones, do not drown them.
- Simmer longer: especially on the stovetop.
- Do not boil hard: keep it gentle.
- Reduce it: simmer strained broth uncovered until it concentrates. This is also how you make a freezer friendly broth base.
If it jiggles like savory Jell-O when cold, you did it right. If it does not, you still made a lovely homemade stock. Either way, dinner is going to taste better.
Food safety and storage
Cooling
Broth is a big pot of warm liquid, so it holds heat for a long time. Cool it as quickly as you can before refrigerating. Portion into smaller containers and use an ice bath if you can. As a general rule, try to get it cooled and into the fridge within about 2 hours.
In the fridge
Store in airtight containers for up to 4 days. A solid fat cap on top is normal and protective. You can lift it off and save it as cooking fat.
In the freezer
Freeze for up to 6 months for best flavor. I like freezing in:
- 2 cup containers for soups
- 1 cup portions for grains and sauces
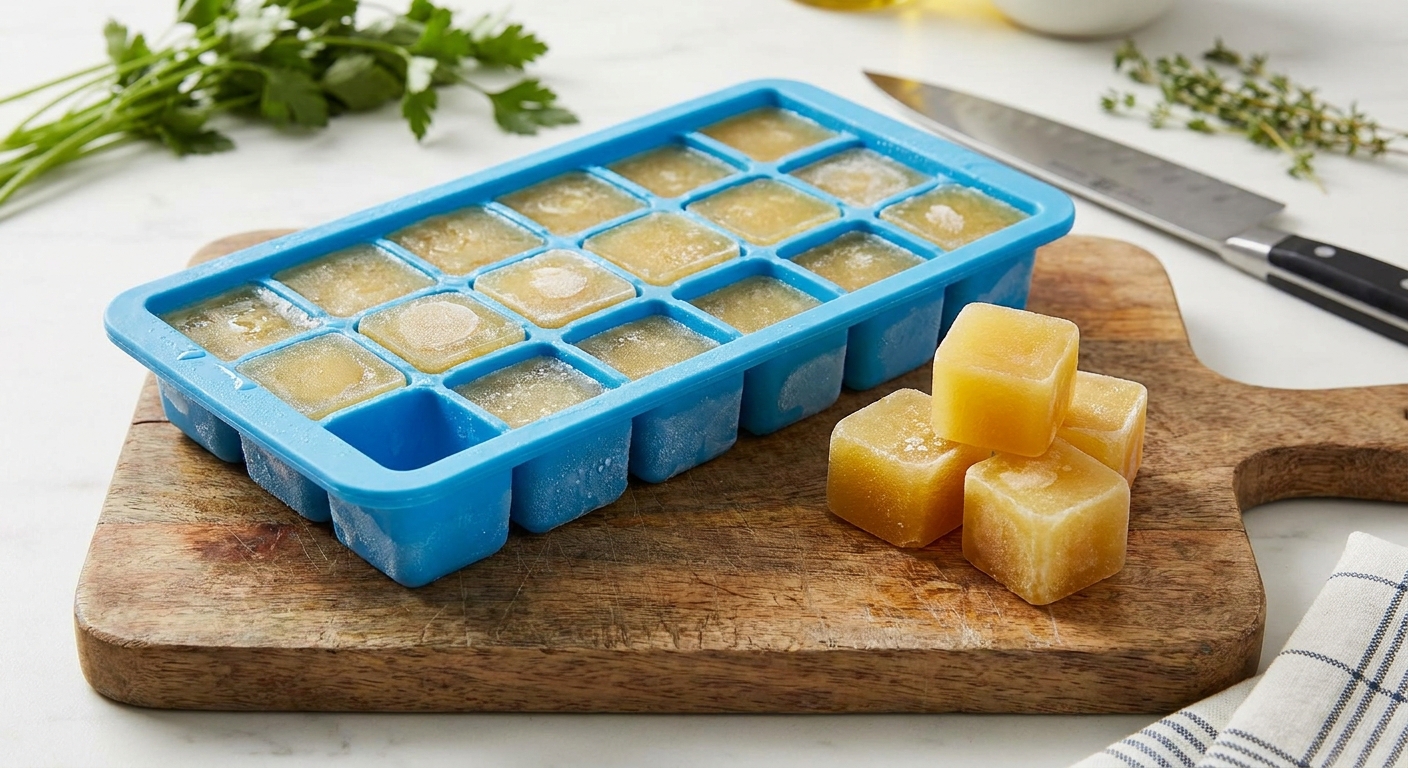
- Ice cube trays for pan sauces and quick deglazing
Note: Leave headspace. Broth expands as it freezes.
How to use chicken bone broth
This is where the payoff happens. Use it anywhere you would use water for extra flavor.
- Soup: chicken noodle, tortilla soup, matzo ball, pho-style broths
- Grains: rice, quinoa, farro, couscous
- Sauces: gravy, pan sauce for pork chops, reduced glaze for roasted vegetables
- Braising: greens, beans, shredded chicken
- Sipping: warm a mug, add a pinch of salt, lemon, or a bit of miso
Common problems and easy fixes
My broth is cloudy
Usually from boiling too hard. It is still safe and tasty. If you want it clearer next time, keep the simmer gentler and skim foam early.
It tastes flat
Add salt. Seriously. Also try a squeeze of lemon, a splash of soy sauce, or a tiny bit of vinegar right before serving.
It tastes bitter
This can happen if you used lots of cruciferous vegetables (like broccoli stems) or simmered herbs for too long. Stick with onions, carrots, celery, and hardy herbs.
There is a lot of fat on top
Totally normal, especially with rotisserie chicken. Chill, then lift off the fat cap. Save it for roasting potatoes or sautéing onions.
It is too gelatinous when cold
Congratulations. Warm it and it will melt back into liquid. If you reduced it heavily, just dilute with water to your preferred strength.
Chicken bone broth recipe
Homemade Chicken Bone Broth
Yield: about 8 to 12 cups (varies by pot size and simmer time)
Hands-on time: 15 minutes
Cook time: 4–12 hours (stovetop) or see other methods
Ingredients
- 2 to 4 pounds chicken bones (or 1 to 2 carcasses), with some connective tissue if possible
- 1 large onion, quartered
- 2 carrots, chopped
- 2 celery stalks, chopped
- 3 to 6 garlic cloves, smashed
- 1 to 2 bay leaves
- 1 teaspoon whole black peppercorns (optional)
- 1 to 2 tablespoons apple cider vinegar (optional)
- Cold water, enough to cover by 1 to 2 inches
- Salt, to taste (I prefer adding at the end)
Instructions (Stovetop)
- Optional roast: If using raw bones, roast at 425°F for 30 to 40 minutes until golden.
- Fill the pot: Add bones, vegetables, garlic, bay, peppercorns, vinegar, and water to a large stockpot (8 to 12 quarts is great for 1 to 2 carcasses).
- Simmer gently: Bring to a bare simmer. Skim foam if needed.
- Cook: Maintain a very gentle simmer for 4–8 hours for a cooked carcass, or 8–12 hours for raw bones and extra body.
- Strain: Strain through a fine mesh sieve into a bowl.
- Cool and store: Cool quickly (ideally into the fridge within about 2 hours), then refrigerate up to 4 days or freeze up to 6 months.
- Season: Add salt to taste when using.
Slow Cooker
Cook on low 10–18 hours, then strain and chill.
Instant Pot
Pressure cook on high 120 minutes with full natural release (at least 30 minutes), then strain and chill.
FAQ
Can I use a rotisserie chicken carcass?
Yes, and it is one of my favorite shortcuts. Pull off the meat for salads or tacos, then simmer the carcass with fresh aromatics.
Do I need vinegar?
You do not strictly need it, but a small amount is often used and may help a bit. You will not taste it in the finished broth if you keep it to 1 to 2 tablespoons per pot.
Should I add salt at the start?
If you know you will use it as a sipping broth, add a little at the end. If you will cook with it, keep it unsalted so you can reduce it without oversalting.
Can I reuse the bones?
You can, but the second batch will be lighter. I like doing a shorter second simmer and mixing it with the first, or saving the second batch for cooking grains.