
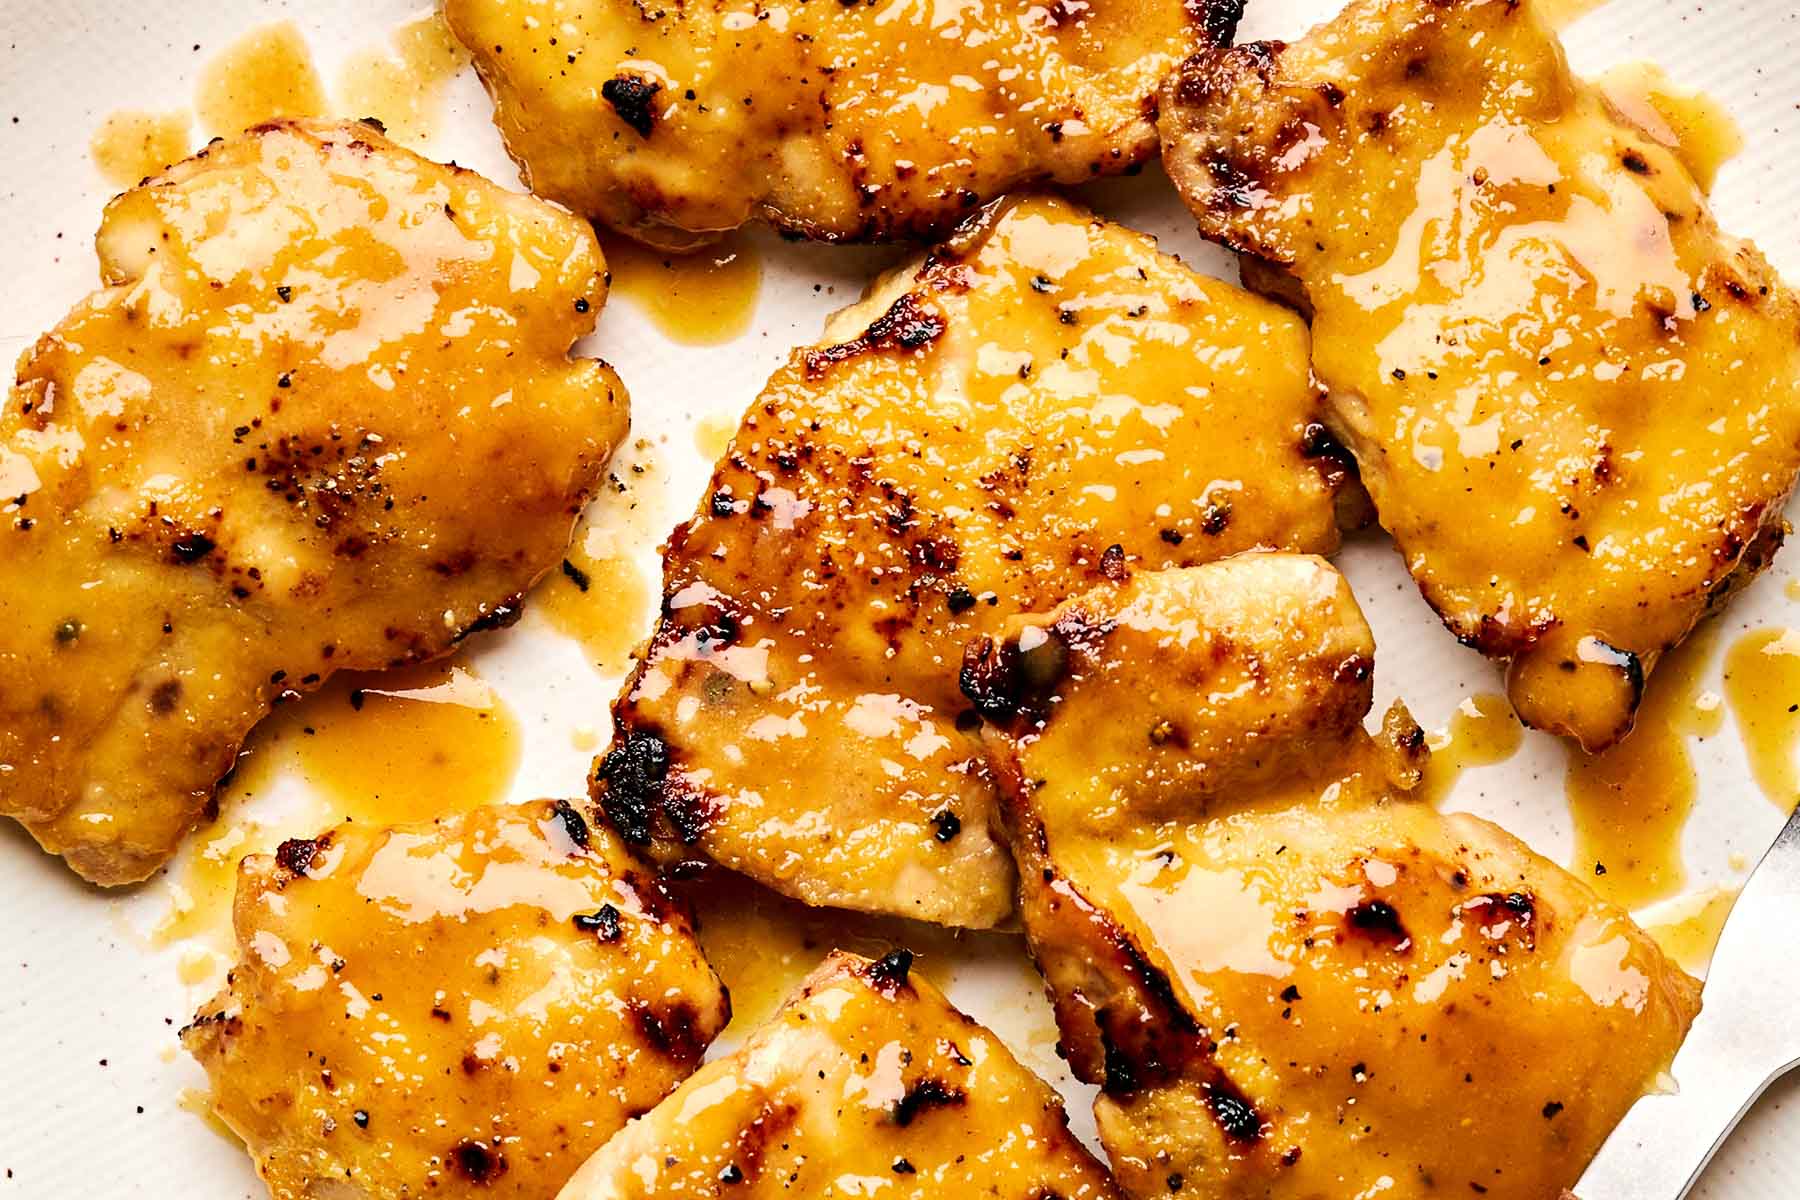
Honey mustard chicken is my definition of "high reward, low stress" cooking. You whisk a few everyday ingredients into a sauce that hits all the right notes: sweet honey, mustardy tang, a little savory depth, and just enough fat to turn it silky. Then you let heat do the real work, reducing the sauce into a shiny glaze that clings to the chicken instead of sliding right off.
Below is my go-to ratio, plus two reliable ways to cook it (oven-baked or skillet). I am also including the small technique choices that make a big difference, like when to add the sauce, how to keep chicken from drying out, and what to do if your glaze breaks or darkens too fast.

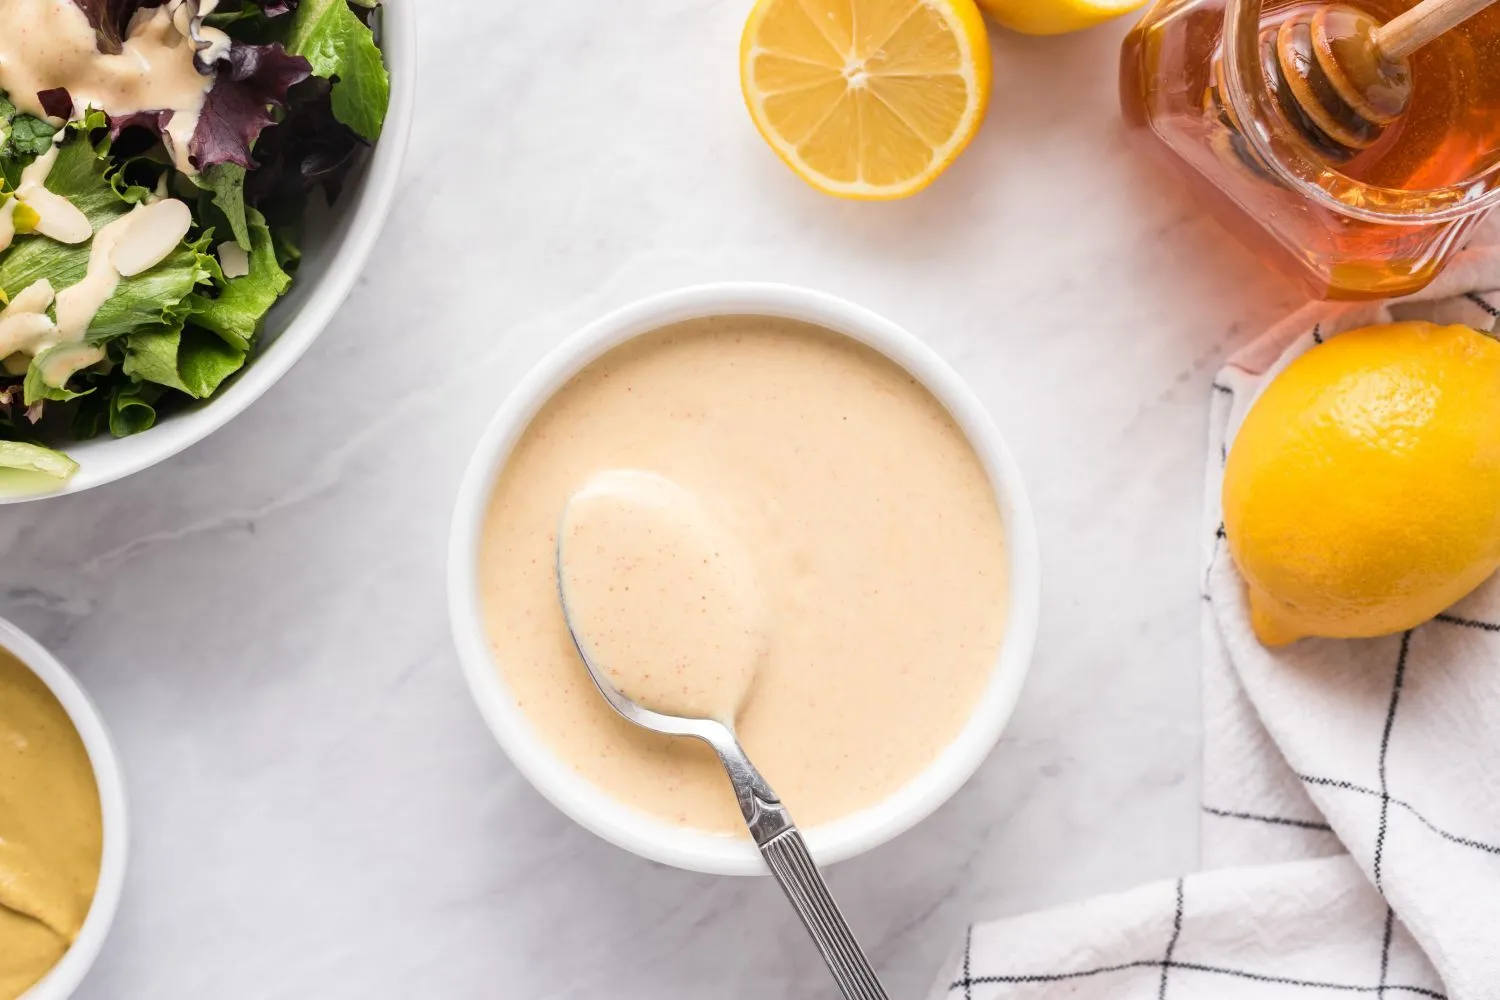
What makes a great honey mustard sauce
Honey mustard can swing too sweet, too sharp, or oddly flat. The best versions have balance and structure, meaning the sauce emulsifies (stays together) and then reduces into a glaze.
- Sweet: Honey provides sweetness and helps browning, especially in the oven.
- Tang: Mustard brings bite and that signature sharpness. Dijon gives smooth heat; whole grain adds texture; yellow mustard is brighter and more nostalgic.
- Body: A little oil or butter helps the sauce cling to the chicken and feel rich instead of watery.
- Salt and umami: Soy sauce (or a pinch more salt) keeps the sauce from tasting one-note. Garlic is optional but highly encouraged.
- Brightness: Vinegar or lemon juice brings reliable acidity and keeps the glaze from tasting heavy.
If you have ever made honey mustard that tasted like straight honey, the fix is simple: increase the mustard slightly and add a small salty ingredient. It does not take much.
Best chicken cuts to use
You can make honey mustard chicken with almost any cut, but the method matters.
Boneless, skinless thighs
My weeknight favorite. Thighs stay juicy even if dinner runs a few minutes late. They also handle a sticky glaze without drying out.
Chicken breasts
Totally doable, just use a thermometer and focus on the final temperature. If breasts are very thick, pound to an even thickness so they cook evenly and do not dry at the edges.
Bone-in, skin-on thighs
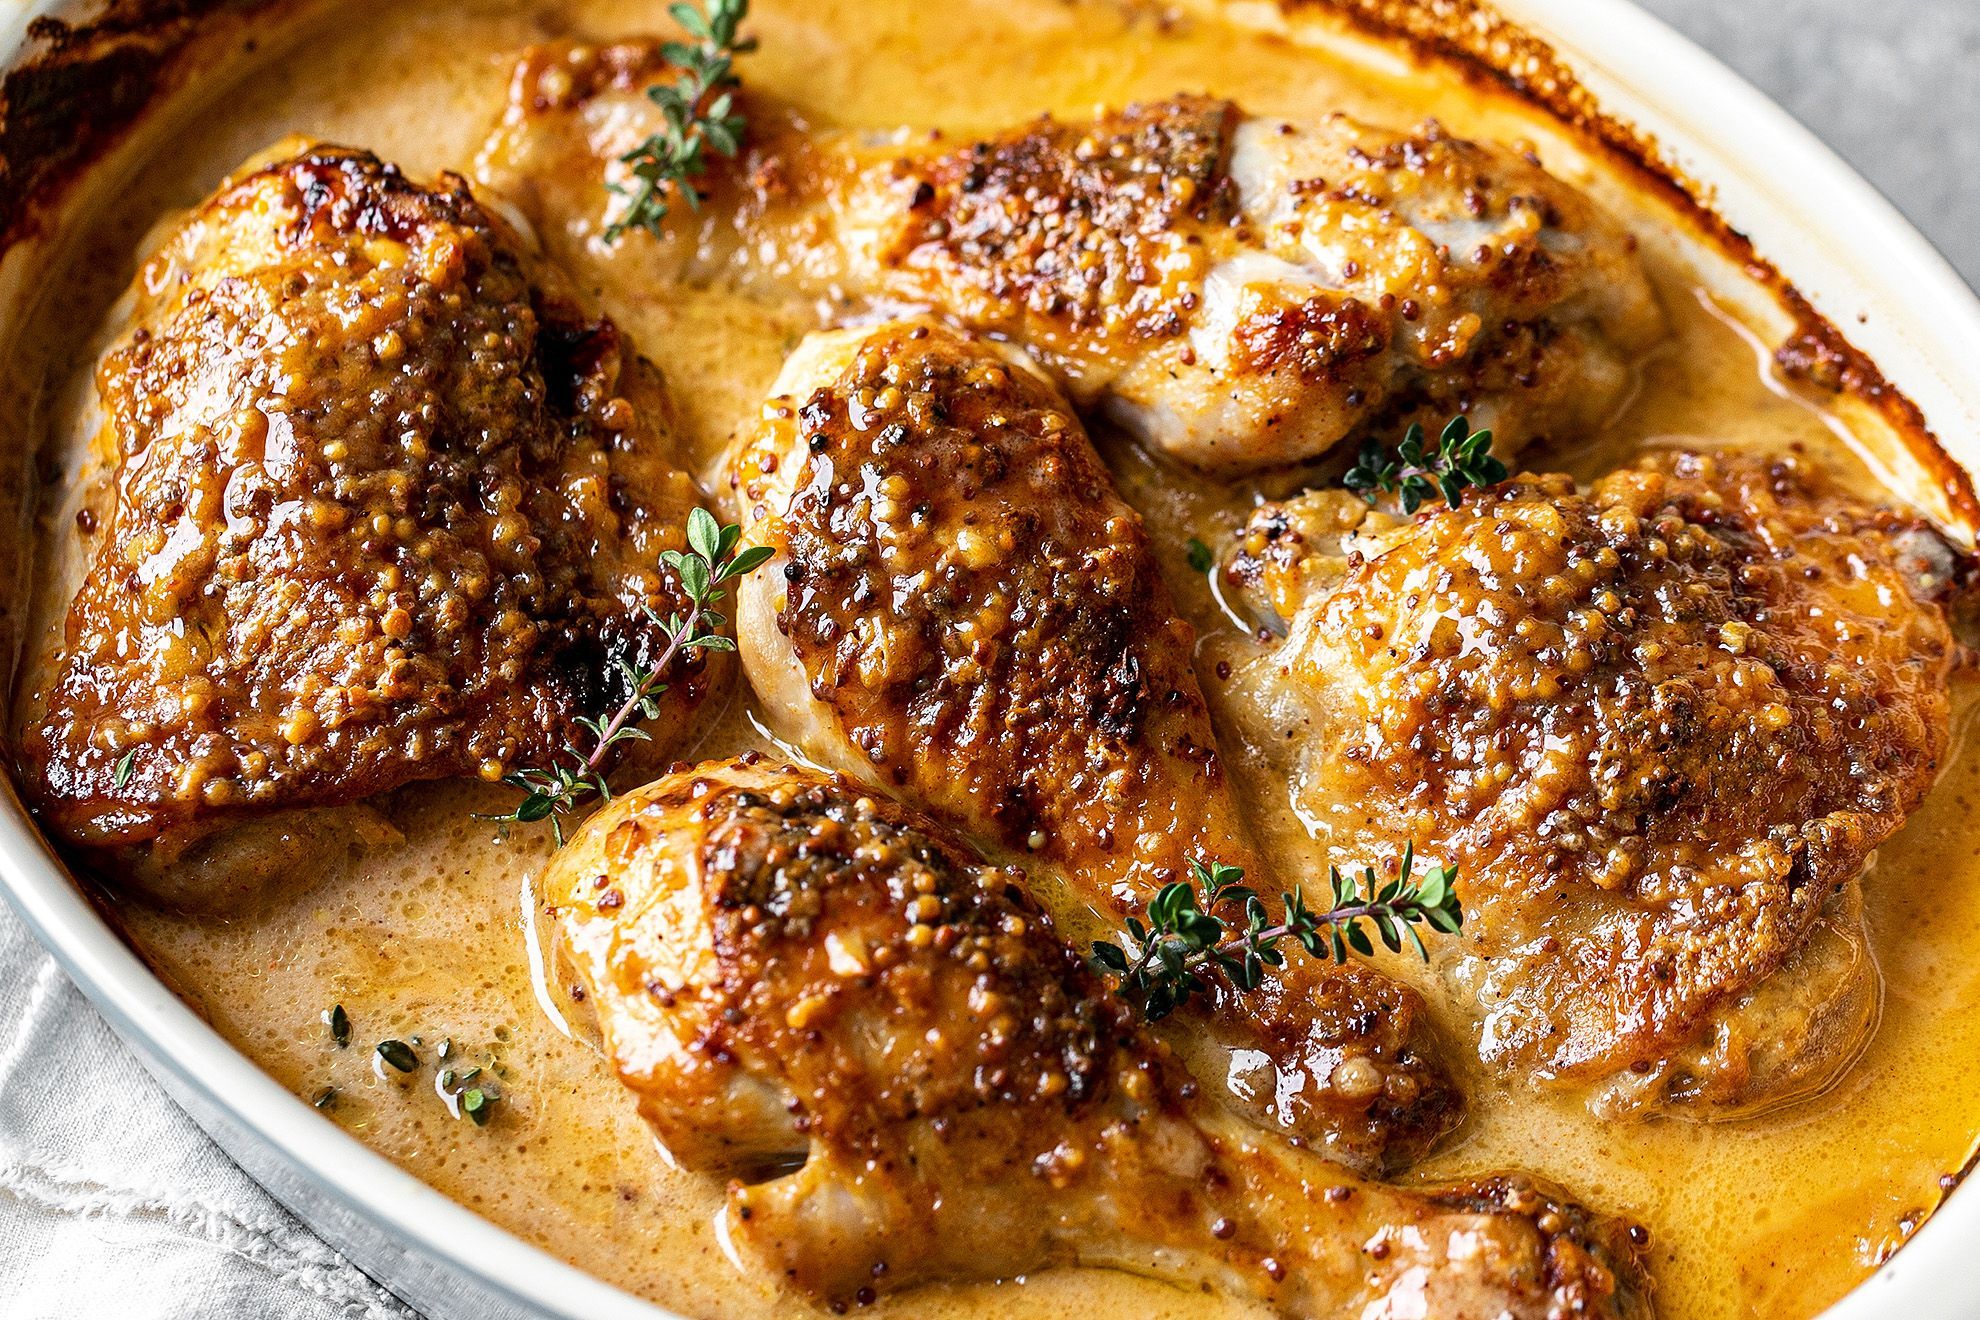
Best for extra flavor and crispy edges. For crispier skin in the oven, roast skin-side up and broil at the end. (In a skillet, you would usually start skin-side down to render and crisp, then flip.) Keep an eye on it because honey can burn fast.
Honey Mustard Chicken (Oven or Skillet)
Ingredients (serves 4)
- 1 1/2 to 2 pounds chicken thighs (boneless skinless) or breasts
- 1 teaspoon kosher salt, plus more to taste
- 1/2 teaspoon black pepper
- 1 tablespoon olive oil (or melted butter)
- 1/3 cup Dijon mustard
- 3 tablespoons honey
- 1 tablespoon soy sauce (or 1/2 teaspoon extra salt)
- 2 teaspoons apple cider vinegar or lemon juice
- 2 cloves garlic, grated or finely minced (optional but great)
- 1 teaspoon cornstarch + 1 tablespoon water (optional, for thicker glaze)
- Fresh thyme or parsley, for serving (optional)
Quick sauce ratio
If you want an easy remember-it-by-heart version: 2 parts mustard : 1 part honey, plus a small splash of soy sauce and acid.
Sauce vs glaze: In the bowl it is a sauce. After it simmers and thickens, it becomes the glaze.
Method 1: Oven-baked
Total time: about 30 to 45 minutes (10 minutes active)
Best for: any cut, especially bone-in pieces
- Heat oven to 425°F. Pat chicken dry and season with salt and pepper.
- In a bowl, whisk Dijon, honey, olive oil, soy sauce, vinegar (or lemon), and garlic.
- Arrange chicken in a lightly oiled baking dish, leaving a little space between pieces so they roast instead of steam. Spoon about half the sauce over the chicken and toss or brush to coat.
- Bake until the chicken is cooked through, starting to check early and using a thermometer for the final call: begin checking at 15 minutes for breasts, 18 minutes for boneless thighs, and 30 minutes for bone-in pieces. Cook until the thickest part reaches 165°F.
- Brush with remaining sauce during the last 5 minutes. If you want extra caramelization, broil for 1 to 3 minutes, watching closely.
- Rest 5 minutes, then spoon pan glaze over the top and finish with herbs.
Method 2: Skillet
Total time: about 20 to 30 minutes (15 minutes active)
Best for: boneless thighs or breasts
- Pat chicken dry and season with salt and pepper.
- Heat a large skillet over medium-high heat. Add olive oil.
- Sear chicken until browned: 4 to 6 minutes per side for thighs, 5 to 7 minutes per side for breasts (adjust for thickness). If the pan is crowded, work in batches so you get browning instead of pooled juices.
- Reduce heat to medium-low. Pour in the sauce and simmer gently, turning the chicken as the sauce thickens, 2 to 5 minutes, or until the chicken reaches 165°F in the thickest part.
- If you want a stickier glaze, stir in the optional cornstarch slurry and simmer 30 to 60 seconds.
- Rest a couple of minutes, then spoon glaze over the chicken to serve.
Temperature note
Chicken is safely cooked at 165°F. For breasts, you can pull them at 160°F only if they are thick enough to carry over to 165°F after resting. If you are unsure, keep cooking and verify with a thermometer.
Tips to make it foolproof
Pat the chicken dry
Moisture on the surface steams the chicken and dilutes the glaze. A quick paper towel pat helps browning and helps the sauce cling.
Do not drown it too early
For oven-baked chicken, I like adding half the sauce at the start and the rest near the end. You get flavor throughout without turning the whole pan into sweet steam.
Watch the heat with honey
Honey browns quickly. If your glaze is getting too dark before the chicken is done, lower the oven to 400°F or tent loosely with foil. In a skillet, reduce to medium-low and keep the sauce gently bubbling, not aggressively boiling.
Fix a broken glaze
If the glaze looks oily or separated, take the pan off the heat and whisk in 1 to 2 teaspoons warm water. Then return it to low heat and let it come back together at a gentle simmer.
Easy substitutions
- No Dijon: Use spicy brown or whole grain mustard. If using yellow mustard, add an extra teaspoon of honey and a tiny splash more vinegar to round it out.
- No honey: Maple syrup works beautifully. Brown sugar plus a tablespoon of water also works in a pinch.
- No soy sauce: Use tamari, coconut aminos, or just add an extra pinch of salt. A teaspoon of Worcestershire is also nice.
- Dairy-free: Use olive oil instead of butter.
- Want it creamy: Stir in 2 to 3 tablespoons heavy cream at the end (skillet method), keeping heat low so it does not split.
- Want heat: Add a pinch of cayenne, a spoon of hot sauce, or a little chili crisp right before serving.
- Adjust the balance: For sweeter, add 1 to 2 teaspoons more honey. For sharper, add 1 teaspoon more mustard or an extra small squeeze of lemon.
What to serve with it
This is a glaze that begs for something to soak it up. Here are my weeknight go-tos:
- Roasted potatoes or sweet potatoes
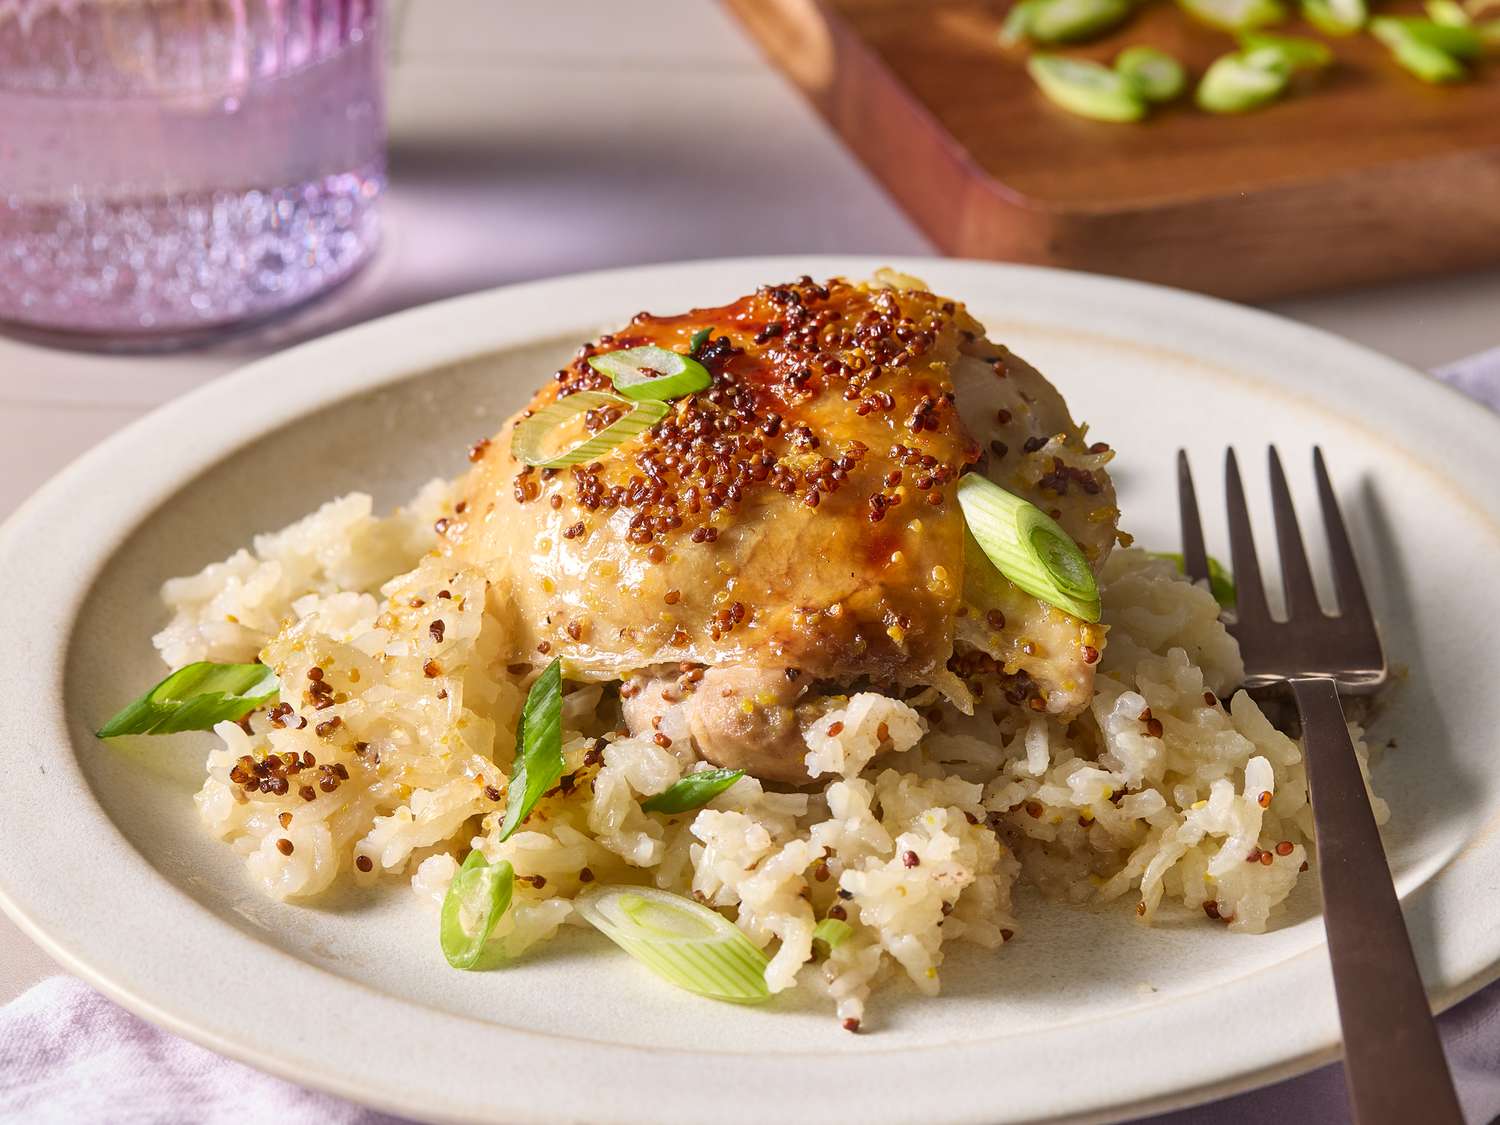
- Rice, especially jasmine or brown rice
- Egg noodles tossed with a little butter and parsley
- Green beans or broccoli roasted on the same sheet pan
- Simple salad with lemony vinaigrette to balance the sweetness
Make-ahead and leftovers
Make-ahead
You can whisk the sauce up to 5 days ahead and keep it in the fridge. If it thickens, let it sit at room temperature for 10 minutes and whisk again.
Storage
Store cooked chicken and glaze in an airtight container for up to 4 days.
Reheating
Reheat gently. My preference is a covered skillet over low heat with a splash of water to loosen the glaze. Microwaving works too, just use medium power so the honey sauce does not scorch.
Leftover ideas
- Honey mustard chicken wrap: Slice chicken, add lettuce, pickles, and extra mustard.
- Grain bowl: Rice or farro, leftover roasted vegetables, chicken, and a squeeze of lemon.
- Salad topper: Cold sliced chicken over greens with apples or pears and toasted nuts.
FAQ
Can I marinate the chicken in honey mustard?
Yes, but keep it to 30 minutes to 8 hours. Because the sauce has mustard and acid, very long marinating can make the outside a little soft, especially with chicken breasts.
Why is my sauce watery?
Usually it is one of two things: the chicken released a lot of moisture (common if it went into the pan wet or the pan was crowded), or the heat was not high enough to reduce. Turn up the heat slightly at the end and simmer until glossy, or use the quick cornstarch slurry.
Can I use this on salmon or pork?
Absolutely. It is excellent on salmon (brush near the end so it does not burn) and on pork tenderloin or chops. Same idea: glaze toward the end for shine.