
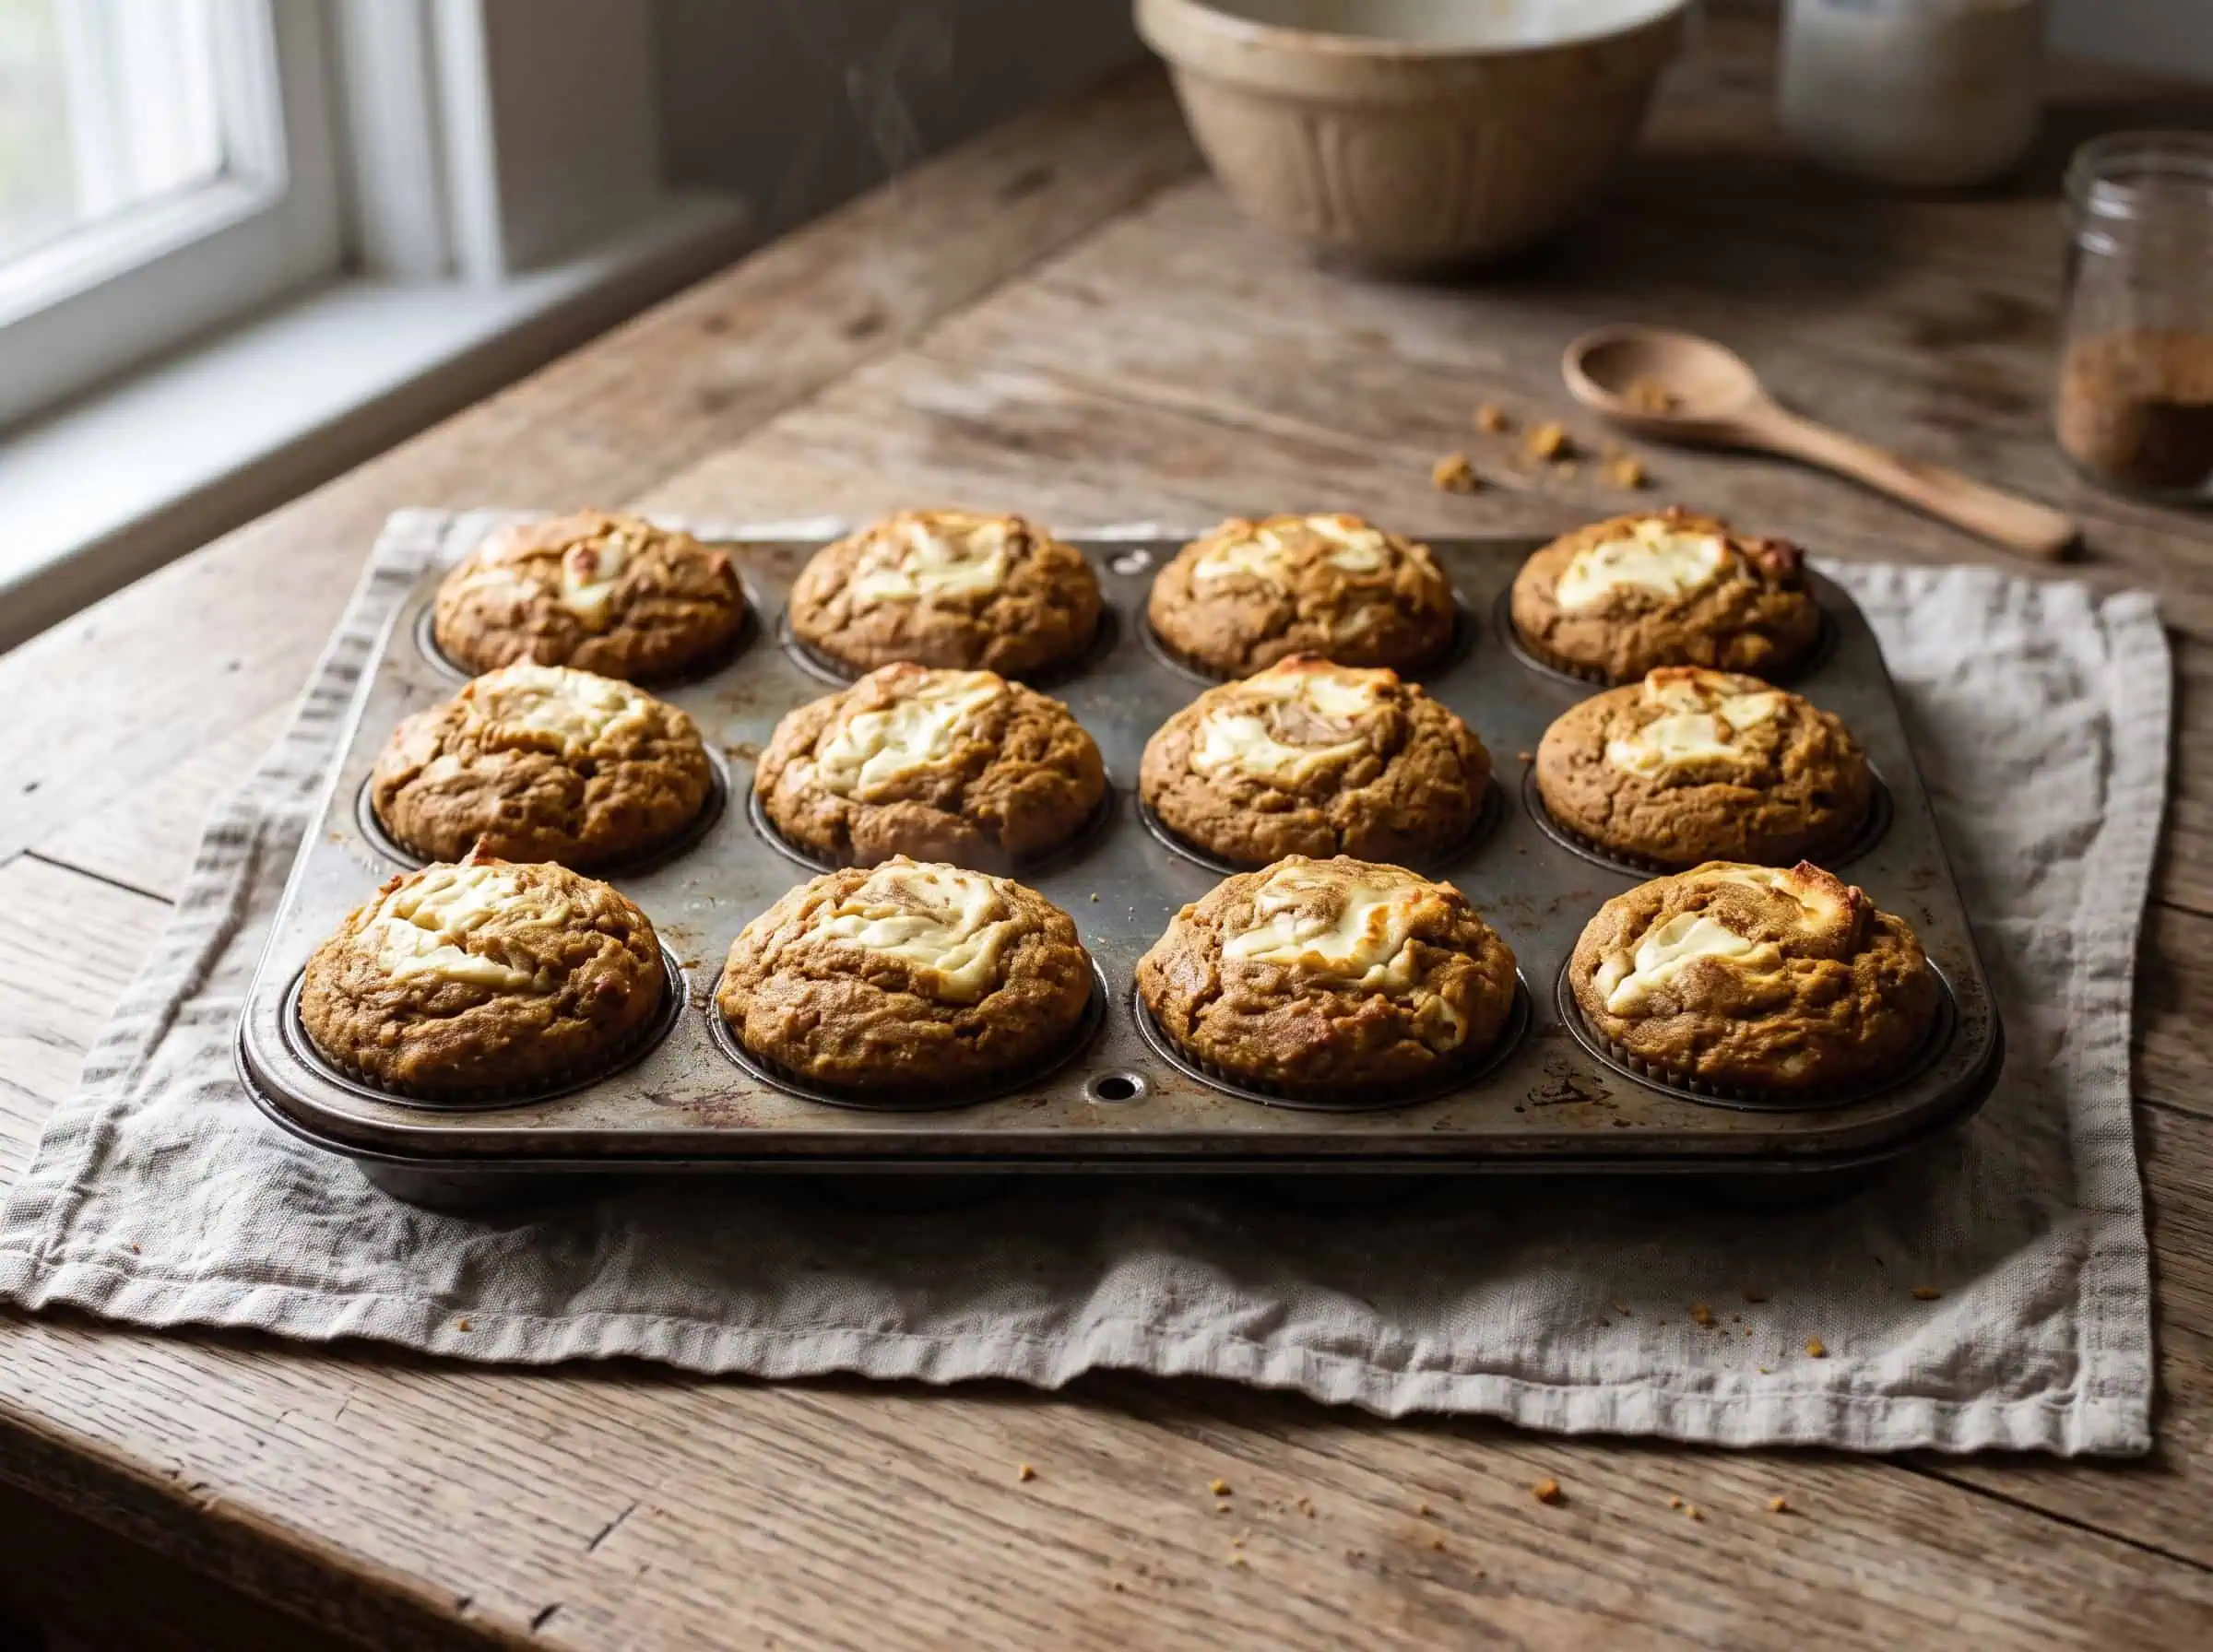
I used to manage a bakery where fall meant one thing: the muffin rack emptied faster than we could refill it. Pumpkin was the quiet workhorse, less fussy than pastries and quicker than loaves. Just warm spice, a tender crumb, and that tall dome that makes you feel like you bought them from somewhere fancy.
At home, I want the same vibe, but without a bakery mixer or a perfectly climate-controlled kitchen. So this recipe leans into what actually creates bakery-style results in a home muffin tin: a thick batter, a generous scoop, and a hot start in the oven before you drop the temperature to finish baking. That early blast of heat helps the tops rise fast while the structure is still flexible, which is how you get that high, rounded dome instead of a flat top.

I also keep the details practical. I call out the liners that tend to release best with a moist pumpkin batter, how full to fill each cup so you get lift without overflow, and an optional cinnamon-sugar top for a crisp, sparkly finish. And when it comes to doneness, I focus on the center muffins, not the faster-baking edge ones.
What to expect
- Texture: moist and tender with a plush crumb, not stodgy
- Flavor: pumpkin-forward with cinnamon, ginger, and a little caramel warmth from brown sugar
- Shape: high, rounded domes (not flat cupcake-style tops)
- Time: about 45 minutes start to finish, including a short cool
Why this recipe works
- Hot-start baking builds the dome. Starting at a higher temperature gives the batter a quick burst of lift before the structure sets, which helps create that rounded bakery top.
- Oil plus pumpkin keeps muffins moist. Pumpkin puree brings moisture and tenderness, while neutral oil helps the crumb stay soft the next day.
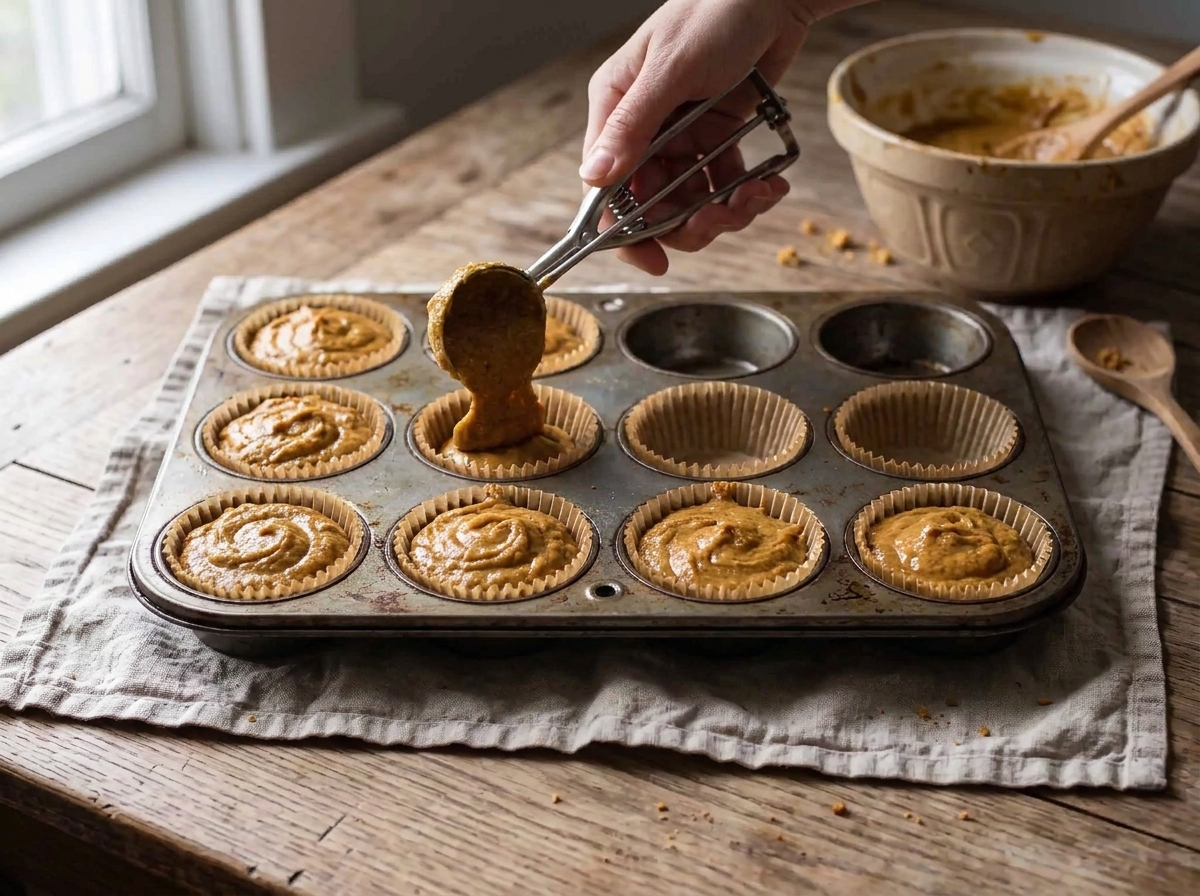
- Thick batter plus the right fill level matters. A generously filled cup encourages upward rise. Underfilling tends to bake flatter and can overbrown the edges before the center is ready.
- Gentle mixing protects the crumb. Once flour is in, a light hand keeps muffins tender. Overmixing makes them tighter and can create tunnels.
Ingredient notes
Pumpkin puree: Use plain canned pumpkin puree, not pumpkin pie filling. If your puree looks very watery, blot it lightly with paper towels so the batter stays thick enough to dome well.
Spices: Cinnamon does most of the heavy lifting, but a little ginger and nutmeg add that bakery warmth. If you love a stronger spice profile, a small pinch of cloves is great.
Brown sugar: Adds moisture and a deeper flavor than all white sugar. You can use light or dark brown sugar.
Oil: A neutral oil like canola, avocado, or vegetable oil keeps the crumb soft. Melted butter works too, but the muffins will firm up a bit more as they cool.
Eggs: Bring structure and help the muffins rise. For best volume, use room temperature eggs.
Baking powder and baking soda: This combo gives reliable lift and browning. Make sure they are fresh, especially if your muffins have been coming out dense lately.
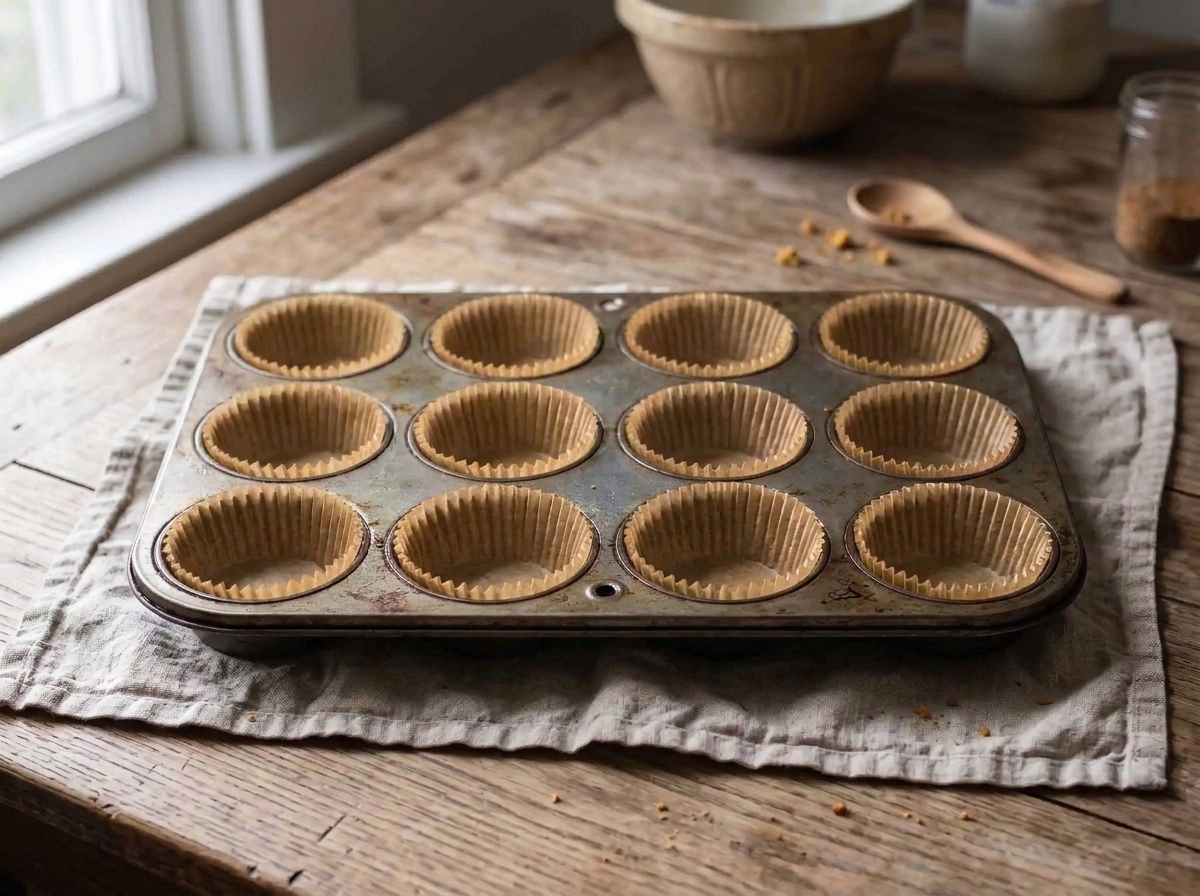
Linings: Choose standard paper liners for the cleanest release. Foil liners brown more aggressively and can encourage darker edges before the centers are done.
Equipment you will need
- Standard 12-cup muffin tin
- Paper liners (standard or parchment-style)
- Mixing bowls (1 large, 1 medium)
- Whisk and rubber spatula
- Spring-loaded ice cream scoop or 1/4 cup measure for portioning
- Wire rack for cooling
- Toothpick or thin skewer for doneness testing
Pro tips
- Use parchment-style paper liners for the easiest peel. They release especially well from moist pumpkin muffins, even the next day.
- Scoop high for bakery tops. Fill each liner about three-quarters full to nearly full. If you are nervous, aim for 3/4 full on the first batch, then push closer to full next time once you see how your tin behaves.
- Do not overmix once flour goes in. Stir just until you stop seeing dry flour. A few small lumps are fine.
- Cinnamon-sugar topping tip: Sprinkle right before baking so it melts and sets into the surface. If you add it too early, it can dissolve into the batter.
- Center doneness test you can trust: Insert a toothpick into the center of a middle muffin. You want a few moist crumbs, not wet batter. If the toothpick comes out clean, the muffins may be heading toward dry.
- Rest 5 minutes, then move to a rack. Leaving muffins in the hot tin too long can steam the bottoms and make the liners stick.
Substitutes that work
- Oil substitute: Melted butter in an equal amount, or use half oil and half melted butter for a buttery flavor with good moisture.
- Spice substitute: Pumpkin pie spice can replace the individual spices. Use it to taste for your brand, typically around 2 to 2 1/2 teaspoons total.
- Brown sugar substitute: Use white sugar if that is what you have, but expect slightly less moisture and depth.
- Dairy-free: This recipe is naturally dairy-free if you use oil and skip any dairy add-ins.
- Gluten-free: A 1:1 gluten-free baking blend can work well. Let the batter sit for 10 minutes before scooping so the flours hydrate, then bake as directed.
Variations
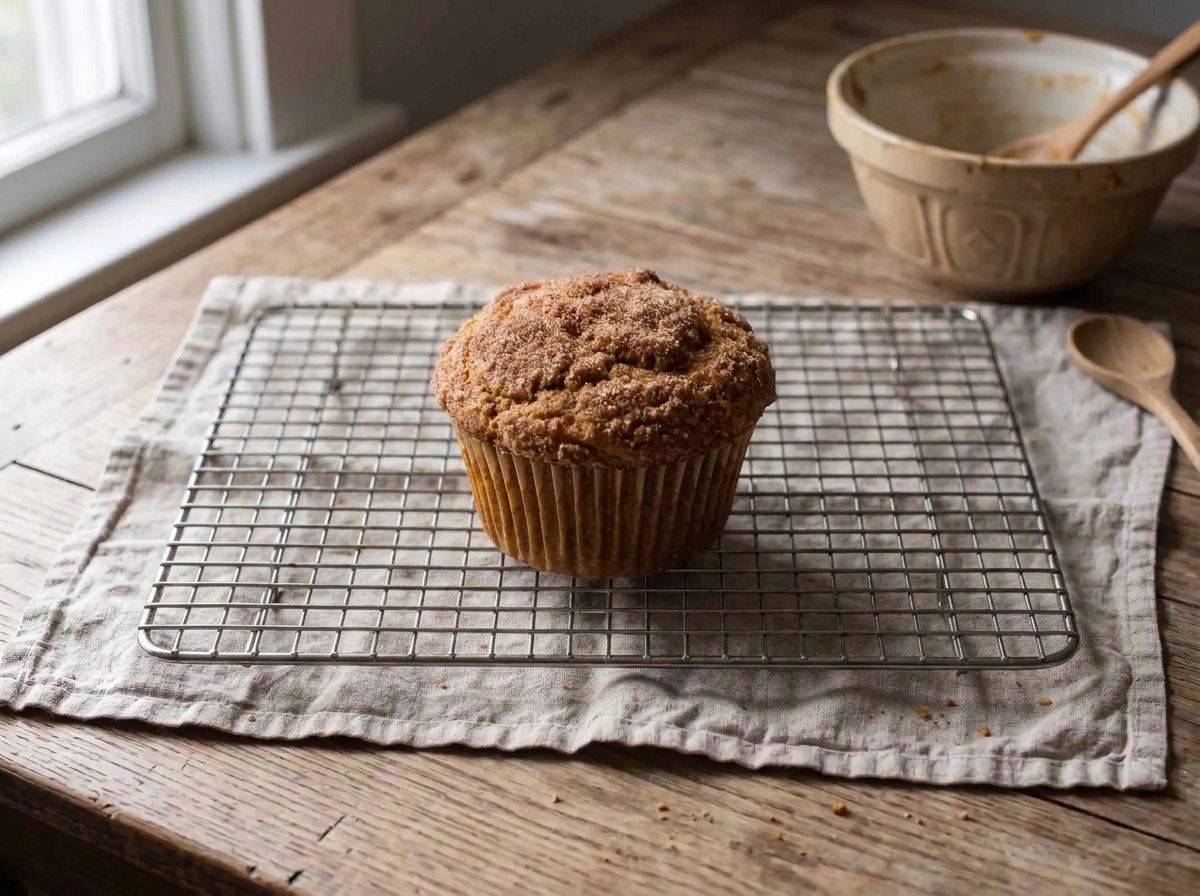
- Cinnamon-sugar tops: Sprinkle cinnamon-sugar over each filled cup before baking for a crisp, sparkly bakery finish. This is my favorite option when serving them plain.
- Chocolate chip pumpkin muffins: Fold in chocolate chips for a kid-friendly twist. Toss chips with a little flour first to help prevent sinking.
- Pecan crunch: Add chopped toasted pecans, either folded in or sprinkled on top with cinnamon-sugar.
- Cream cheese center: Add a small dollop of sweetened cream cheese in the center of each portioned muffin, then cover with a spoonful of batter. Check doneness carefully since fillings slow baking slightly.
Serving ideas
- Serve warm with butter or salted maple butter.
- Pair with Greek yogurt and fruit for an easy breakfast.
- Make them snack-sized with a mug of coffee or chai.
- Turn leftovers into a dessert: split and toast lightly, then top with vanilla ice cream.
Storage and reheating
Room temperature: Store fully cooled muffins in an airtight container for up to 3 days. If your kitchen is warm, add a paper towel under and over the muffins to absorb excess moisture.
Refrigerator: Not my first choice because it can dry muffins out, but it is fine for up to 5 days. Warm briefly before serving.
Freezer: Freeze muffins (cooled) in a freezer bag for up to 2 months. Thaw at room temperature, or microwave in short bursts until just warm.
Reheating: For that just-baked feel, warm in a 300°F oven for 5 to 8 minutes, or microwave 10 to 20 seconds.
Common mistakes
- Using pumpkin pie filling: It is pre-sweetened and spiced, which throws off both texture and flavor balance.
- Overmixing the batter: Leads to a tougher crumb and sometimes long tunnels inside the muffins.
- Underfilling the cups: You will get flatter tops and less of that bakery look.
- Baking at one low temperature the whole time: You miss the initial burst of lift that creates a dome.
- Testing a corner muffin only: Edge muffins bake faster. Always check a center muffin for the most accurate doneness.
FAQ
What liners are best for pumpkin muffins?
Standard paper liners work great, and parchment-style paper liners are the easiest to peel off cleanly. Pumpkin muffins are moist, so cheap thin liners can sometimes stick more, especially the next day.
How full should I fill the muffin cups for domed tops?
Fill each lined cup about three-quarters full to nearly full. For most standard tins, that is roughly a generous 1/4 cup of batter per muffin, but go by the visual fill line in your pan.
How do I know when pumpkin muffins are done in the center?
Insert a toothpick into the center of a middle muffin. You want a few moist crumbs clinging to the toothpick. If you see wet batter, bake a few minutes longer and test again.
Why did my muffins come out flat?
The most common culprits are underfilling, overmixing, old leaveners, or an oven that runs cool. The hot-start baking method also matters for a tall dome.
Can I make these ahead for a brunch?
Yes. Bake the day before, cool completely, and store airtight. Warm briefly in a low oven right before serving to refresh the tops and bring back that bakery aroma.
The recipe
Bakery-Style Pumpkin Muffins
Bakery-style pumpkin muffins with tall domed tops, a moist and tender crumb, and an optional cinnamon-sugar topping. Includes a hot-start baking method and a reliable center doneness test.
- Prep
- 15 minutes
- Cook
- 18 to 22 minutes
- Total
- 40 minutes
- Yield
- 12 muffins
Ingredients
- 1 3/4 cups (210 g) all-purpose flour
- 1 teaspoon baking powder
- 1/2 teaspoon baking soda
- 1 teaspoon fine salt
- 2 teaspoons ground cinnamon
- 1/2 teaspoon ground ginger
- 1/4 teaspoon ground nutmeg
- 1 cup (200 g) packed brown sugar
- 1/2 cup (100 g) granulated sugar
- 2 large eggs, room temperature
- 1 cup (240 g) pumpkin puree (plain canned pumpkin, not pie filling)
- 1/2 cup (120 ml) neutral oil (canola, vegetable, or avocado)
- 1/4 cup (60 ml) milk (any kind) or water
- 2 teaspoons vanilla extract
- Optional cinnamon-sugar topping: 2 tablespoons granulated sugar mixed with 1 teaspoon ground cinnamon
Instructions
- Prep the pan and oven. Heat oven to 425°F. Line a standard 12-cup muffin tin with paper liners.
- Mix dry ingredients. In a medium bowl, whisk together the flour, baking powder, baking soda, salt, cinnamon, ginger, and nutmeg.
- Mix wet ingredients. In a large bowl, whisk together the brown sugar, granulated sugar, eggs, pumpkin puree, oil, milk (or water), and vanilla until smooth.
- Combine gently. Add the dry ingredients to the wet ingredients. Fold with a spatula just until no dry flour remains. The batter will be thick. Do not overmix.
- Portion for high domes. Divide batter evenly among the liners, filling each cup three-quarters full to nearly full. A spring-loaded scoop makes this fast and consistent.
- Add topping (optional). If using cinnamon-sugar, sprinkle it evenly over the tops of the batter right before baking.
- Bake with a hot start. Bake at 425°F for 5 minutes, then without opening the oven, reduce temperature to 350°F. Continue baking for 13 to 17 minutes, until the tops look set and spring back lightly when tapped.
- Center doneness test. Insert a toothpick into the center of a middle muffin. It should come out with a few moist crumbs, not wet batter. If you see wet batter, bake 2 to 3 minutes more and test again.
- Cool properly. Let muffins cool in the tin for 5 minutes, then transfer to a wire rack to cool at least 10 minutes before eating. They finish setting as they cool.
Notes
Liners: Parchment-style paper liners peel off the cleanest, especially once the muffins are fully cooled.
Pumpkin puree consistency: If your puree seems very watery, blot it briefly with paper towels to keep the batter thick and help encourage taller domes.
Do not overbake: Pumpkin muffins go from perfect to dry quickly. Start checking as soon as the tops are set and the toothpick shows moist crumbs.