
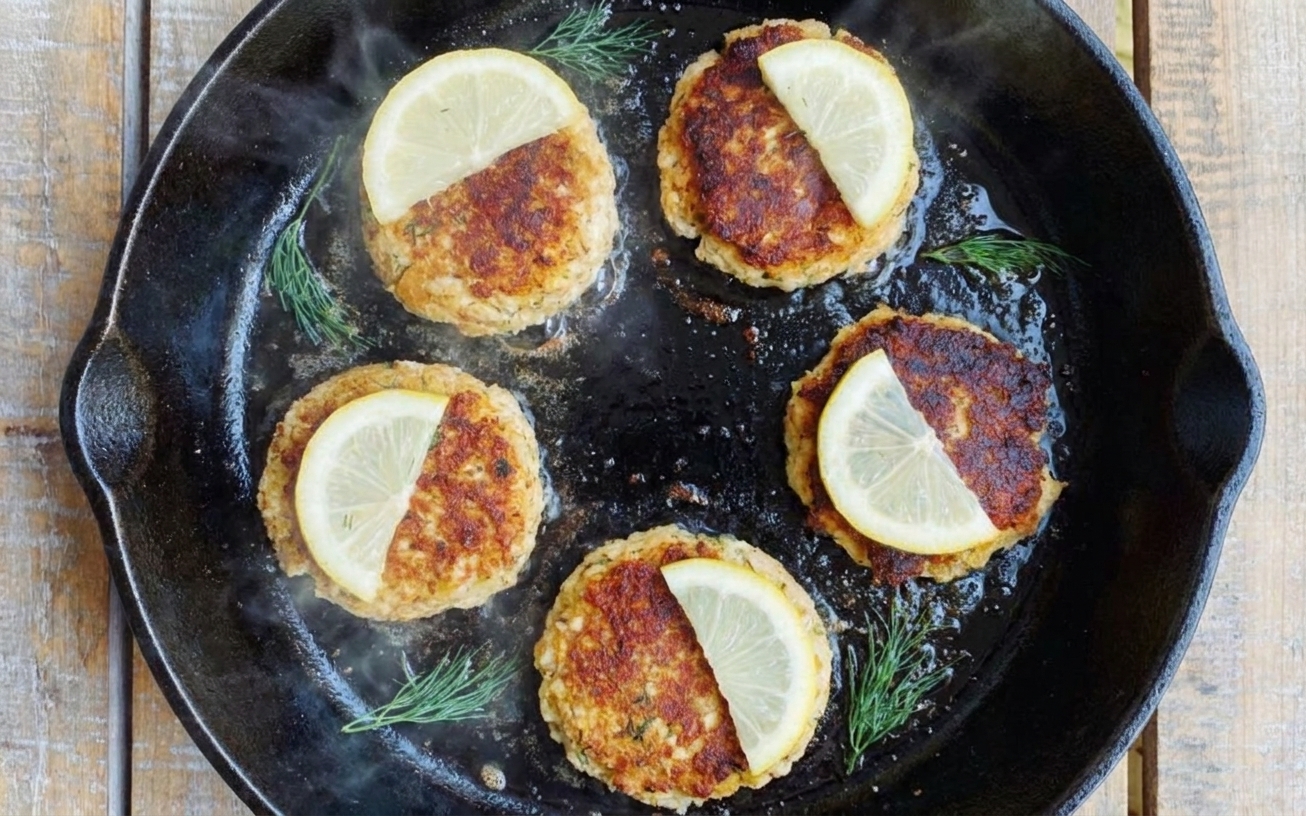
When I managed a bakery, I got used to thinking in ratios: too dry and it crumbles, too wet and it spreads. Tuna cakes are the same kind of puzzle, just in a skillet instead of a mixer bowl. Canned tuna is lean and a little thirsty, especially water-packed tuna, so the trick is to build moisture and structure without making the cakes feel like stuffed bread.
This version is my go-to when the fridge looks sparse but I still want something that feels like dinner. You get a crunchy, golden crust from a quick pan-fry, and a center that stays savory and tender thanks to a small but mighty moisture add-in: mayonnaise (or yogurt if you want it tangier). They are also endlessly flexible, which is my favorite kind of recipe when you are cooking on a weeknight.

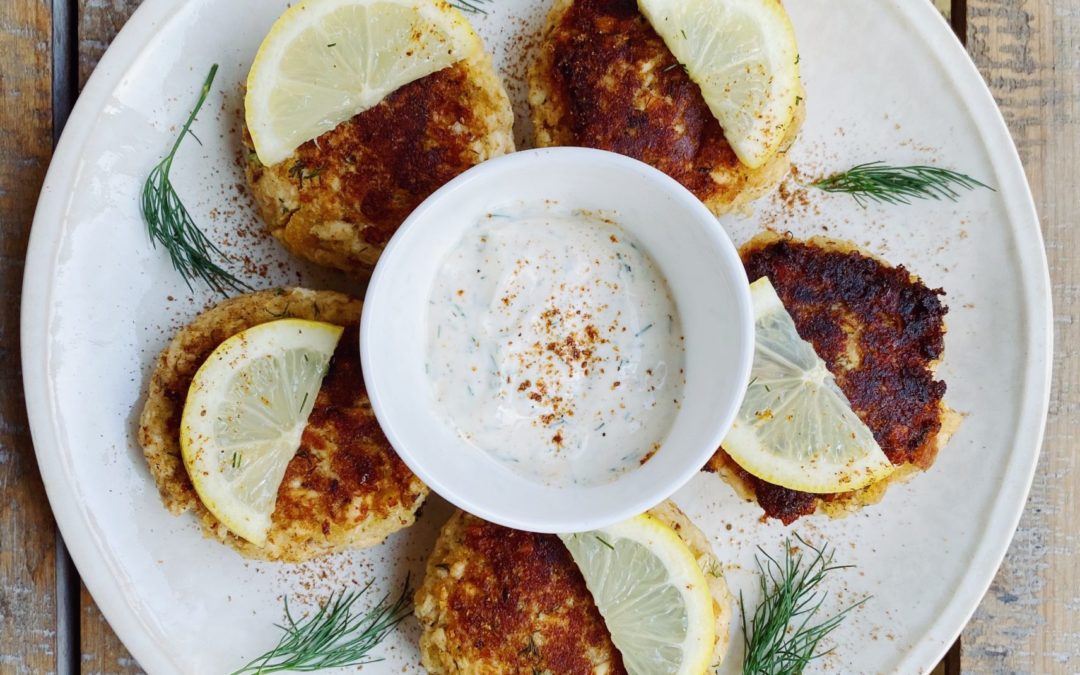
I like to serve these with something bright and tangy, because tuna can handle it: lemon wedges, a quick yogurt sauce, or even a spoonful of pickle relish. If you’ve ever had tuna patties fall apart in the pan or come out dry, the tips below will keep them tender, intact, and crisp. Once you get the tuna-to-binder balance right and learn how to fry gently, you will feel like you can make them from memory.
What to expect
- Texture: crisp edges, moist middle, and recognizable flakes of tuna
- Flavor: classic deli-tuna vibes with Dijon, lemon, and herbs, plus a little gentle heat if you want it
- Skill level: beginner-friendly, with a few small technique details that make a big difference
Key tips
Get the binder ratio right
For two standard 5-ounce cans of tuna, one large egg is usually the sweet spot. Enough to bind, not so much that the cakes turn springy. Breadcrumbs are there to hold and lighten, but too much is where that dry, bready vibe sneaks in. Start modest, then add only if the mixture will not hold a patty shape.
Add moisture on purpose
My go-to is a few tablespoons of mayonnaise. It makes the center tender, helps browning, and smooths out the difference between water-packed tuna (drier) and oil-packed tuna (softer). If you use oil-packed tuna, you may need slightly less mayo. If you use water-packed tuna, drain it aggressively and keep the mayo as written.
Chill, then flip once
A short chill firms everything up so the cakes are easier to move. When you fry, resist the urge to babysit them. Let the first side cook until you have a real crust, then flip gently and cook the other side. The more you poke and press, the more likely they are to crack.
Fry at steady medium to medium-high heat
You want a sizzle, not a smoke show. If the oil is too cool, the cakes absorb it and turn greasy. If it is too hot, the crust browns before the inside warms through. Keep the heat steady, fry in batches, and give them space so the edges can crisp.
Why this recipe works
Canned tuna needs both a binder and a moisture helper
Tuna is often drier than salmon or crab, so using only egg and crumbs can lead to cakes that either crumble (not enough binding) or turn dense and dry (too much dry filler). Here, a modest amount of egg plus mayonnaise gives you structure and tenderness at the same time.
Chilling firms the mixture so it stays together
A short rest in the fridge gives the breadcrumbs time to hydrate and the mixture time to set. That means less sticking, less flipping stress, and more intact cakes.
Moderate heat builds a crisp crust without overcooking the center
Medium to medium-high heat is the sweet spot. Hot enough to brown, not so hot that the outside burns before the inside warms through. A thin, steady layer of oil helps the crust form evenly.
Ingredient notes
Canned tuna
Use tuna packed in water or oil. Either works, but the moisture level changes slightly. If you use oil-packed tuna, drain it well and consider reducing the mayonnaise by a tablespoon. If you use water-packed tuna, drain and squeeze it more thoroughly, then keep the mayo amount as written.
Mayonnaise
This is the moisture add-in that keeps the cakes tender. It also helps with browning. If you do not love mayo, you can swap in plain Greek yogurt, but the flavor will be tangier.
Egg
The egg is the main binder. If you go egg-heavy, the cakes get rubbery. If you go egg-light, they tend to crack. One large egg is typically right for two standard cans of tuna.
Breadcrumbs
Panko gives the lightest texture and a crisp exterior. Regular breadcrumbs make a tighter cake. If your tuna is very dry, start with a smaller amount and add more only if the mixture will not hold a patty shape.
Aromatics and seasoning
Finely minced onion or scallion, a little Dijon, lemon zest, and herbs make canned tuna taste fresh. Old Bay is also great here if you want that classic seafood-cake flavor.
Equipment you will need
- Medium mixing bowl
- Fork for flaking and mixing
- Measuring spoons and cups
- Large skillet, ideally cast iron or stainless steel
- Thin spatula for flipping
- Sheet pan or plate for chilling the patties
- Wire rack optional for keeping them crisp after frying
Pro tips
Drain the tuna like you mean it
Put the tuna in a fine-mesh strainer and press firmly, or squeeze it gently in clean paper towels. Excess liquid is a big reason cakes fall apart.
Mix gently, then stop
Overmixing turns the tuna into paste and makes the cakes dense. Fold just until everything holds together.
Do a one-minute test patty
If you are unsure about seasoning or texture, fry a small nugget of mixture first. If it crumbles, add a tablespoon more breadcrumbs or a teaspoon more mayo, then test again.
Flatten slightly for even cooking
About 3/4-inch thick is my sweet spot. Too thick and you get a dark crust with a cold middle. Too thin and they dry out.
Let them sit after frying
Two minutes on a rack helps the crust set and stay crisp. If they sit directly on a plate, steam can soften the bottom.
Substitutes that work
Mayonnaise
- Plain Greek yogurt for a tangier profile
- Sour cream for richness
Breadcrumbs
- Crushed saltines or buttery crackers
- Gluten-free panko or gluten-free breadcrumbs
- Oat flour in small amounts, added gradually
Onion
- Scallions, chives, or very finely minced shallot
Dijon mustard
- Yellow mustard for a softer bite
- A spoonful of pickle brine plus a pinch of extra salt
Variations
Old Bay tuna cakes
Add 1 to 2 teaspoons Old Bay and swap parsley for a little celery leaf if you have it.
Lemon herb tuna cakes
Increase lemon zest and add dill or tarragon. Serve with a yogurt dill sauce.
Spicy tuna cakes
Stir in a teaspoon of sriracha or a minced chipotle in adobo. Keep the cakes on the smaller side so they cook evenly.
Veggie boosted
Add 1/3 cup finely chopped celery or grated zucchini that has been squeezed very dry. Extra moisture is great, but only if you wring it out first.
Serving ideas
- Classic: with lemon wedges and tartar sauce or a quick mayo-Dijon sauce
- Light dinner: over a big salad with cucumbers and a sharp vinaigrette
- Sandwich: on a toasted bun with lettuce, tomato, and pickles
- Snacky plate: with sliced tomatoes, olives, and crackers
- Kid-friendly: make smaller patties and serve with ketchup or ranch and a side of fruit
Storage and reheating
Refrigerate
Store cooked tuna cakes in an airtight container in the fridge for up to 3 days.
Reheat for crispness
Warm them in a skillet over medium heat with a small splash of oil, 2 to 3 minutes per side, or in a 400°F oven for about 8 to 10 minutes. The microwave works, but the crust softens.
Freeze
You can freeze the shaped, uncooked patties on a sheet pan until firm, then transfer to a freezer bag. Cook from frozen over slightly lower heat so the center warms through without scorching the outside.
Common mistakes
They fall apart when I flip
Usually this is either under-drained tuna or not enough resting time. Drain well, chill the patties, and make sure the oil is hot enough that a crust forms before you move them.
They are dry and bready
Too many breadcrumbs is the most common culprit. Start with less, then add only what you need for the mixture to hold shape. Also, avoid overcooking. Once both sides are browned, you are done.
They are greasy
The oil was not hot enough, or the cakes were crowded in the pan. Fry in batches and keep the heat steady at medium to medium-high.
The outside browns too fast
Your pan is too hot. Lower the heat slightly and add a touch more oil if the pan looks dry.
FAQ
Do I have to chill the mixture?
You can cook right away, but chilling for 15 to 20 minutes makes shaping and flipping much easier. If your kitchen is warm or your mixture seems loose, chilling is worth it.
Can I bake tuna cakes instead of frying?
Yes, but the crust will be less crisp than pan-frying. Brush or spray the tops with oil and bake at 425°F until browned, flipping once, about 12 to 16 minutes depending on thickness.
What is the best tuna to use?
Any canned tuna works. I reach for solid albacore when I want larger flakes, and chunk light when I want a softer texture. The key is draining thoroughly either way.
How do I know the mixture has the right consistency?
When you squeeze a small handful, it should hold together without liquid pooling in your palm. If it crumbles, add a teaspoon of mayo. If it feels wet and slippery, add breadcrumbs a tablespoon at a time.
The recipe
Classic Tuna Cakes
Crispy, tender tuna cakes made from canned tuna with just the right binder and moisture so they hold together and stay juicy inside.
- Prep
- 20 minutes
- Cook
- 10 minutes
- Total
- 30 minutes
- Yield
- 8 tuna cakes
Ingredients
- 2 (5-ounce) cans tuna, drained very well
- 1 large egg
- 1/3 cup panko breadcrumbs, plus 2 to 4 tablespoons more as needed
- 3 tablespoons mayonnaise
- 2 tablespoons finely minced onion or scallion
- 1 tablespoon Dijon mustard
- 1 teaspoon lemon zest
- 1 tablespoon lemon juice
- 2 tablespoons chopped parsley (or dill)
- 1/2 teaspoon kosher salt, plus more to taste
- 1/4 teaspoon black pepper
- 1/4 teaspoon paprika (optional)
- 2 to 3 tablespoons neutral oil for frying, such as canola or avocado, plus more as needed
- Lemon wedges and sauce for serving (optional)
Instructions
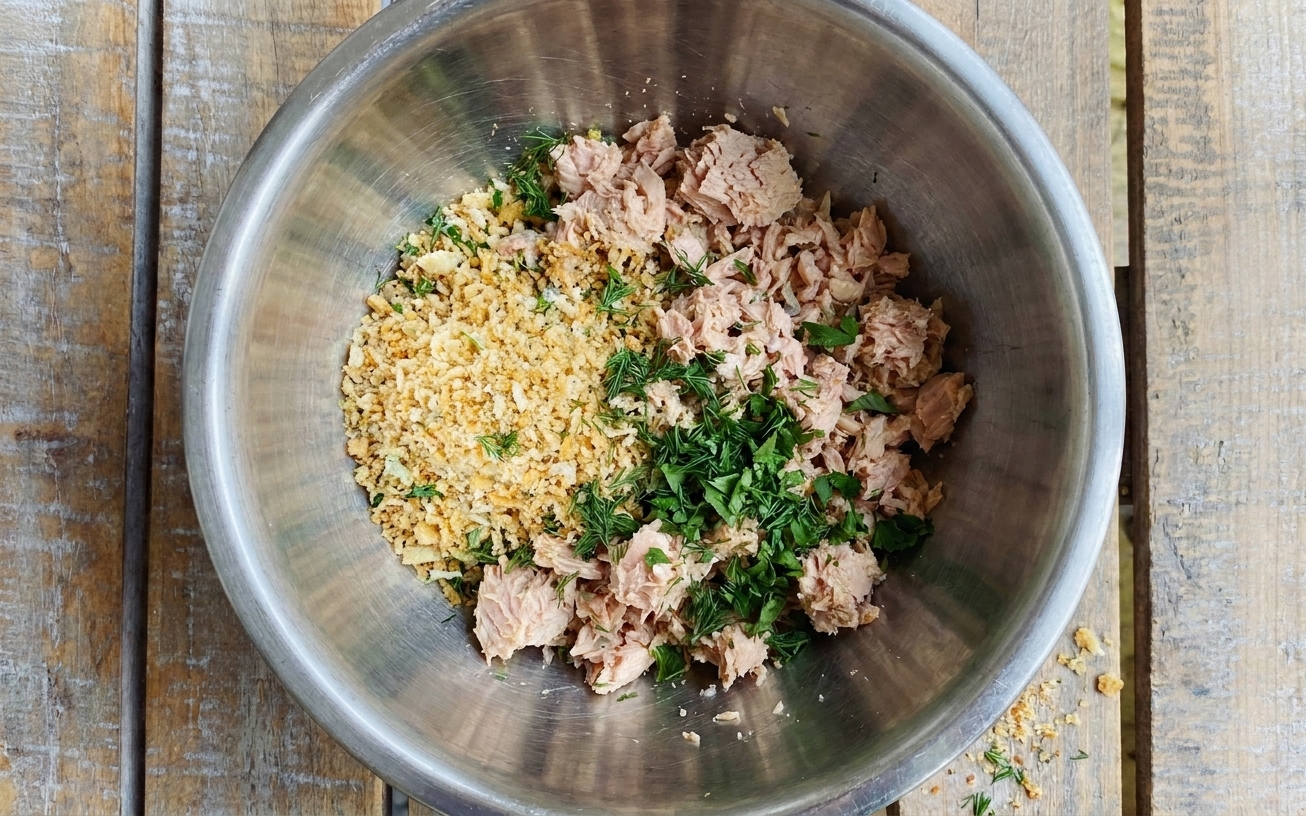
- Drain the tuna thoroughly. Press the tuna in a strainer, or squeeze gently in paper towels to remove as much liquid as possible. Add the tuna to a mixing bowl and flake it with a fork.
- Mix the binder and seasonings. Add the egg, 1/3 cup panko, mayonnaise, onion, Dijon, lemon zest, lemon juice, parsley, salt, pepper, and paprika if using. Mix with a fork until combined, stopping as soon as it holds together.
- Adjust the texture. If the mixture looks wet or will not hold a patty shape, add panko 1 tablespoon at a time until it does. If it seems dry and crumbly, add 1 teaspoon mayonnaise and mix briefly.
- Shape and chill. Divide into 8 portions and shape into patties about 3/4-inch thick. Place on a plate or sheet pan and refrigerate for 15 to 20 minutes to firm up.
- Pan-fry. Heat a large skillet over medium to medium-high heat. Add 2 tablespoons oil. When the oil shimmers, add the patties, leaving space between them. Cook 3 to 4 minutes per side until deeply golden and crisp. Add a little more oil if the pan looks dry, and lower the heat slightly if they brown too fast.
- Drain briefly and serve. Transfer to a wire rack or paper towel lined plate for 2 minutes. Serve warm with lemon wedges and your favorite sauce.
Notes
Make-ahead: You can shape the patties and refrigerate, covered, up to 24 hours before cooking.
For extra crispness: After chilling, lightly dust both sides with a tablespoon or two of panko before frying.
Oil-packed tuna: Drain very well and reduce the mayonnaise by 1 tablespoon if the mixture feels soft.