
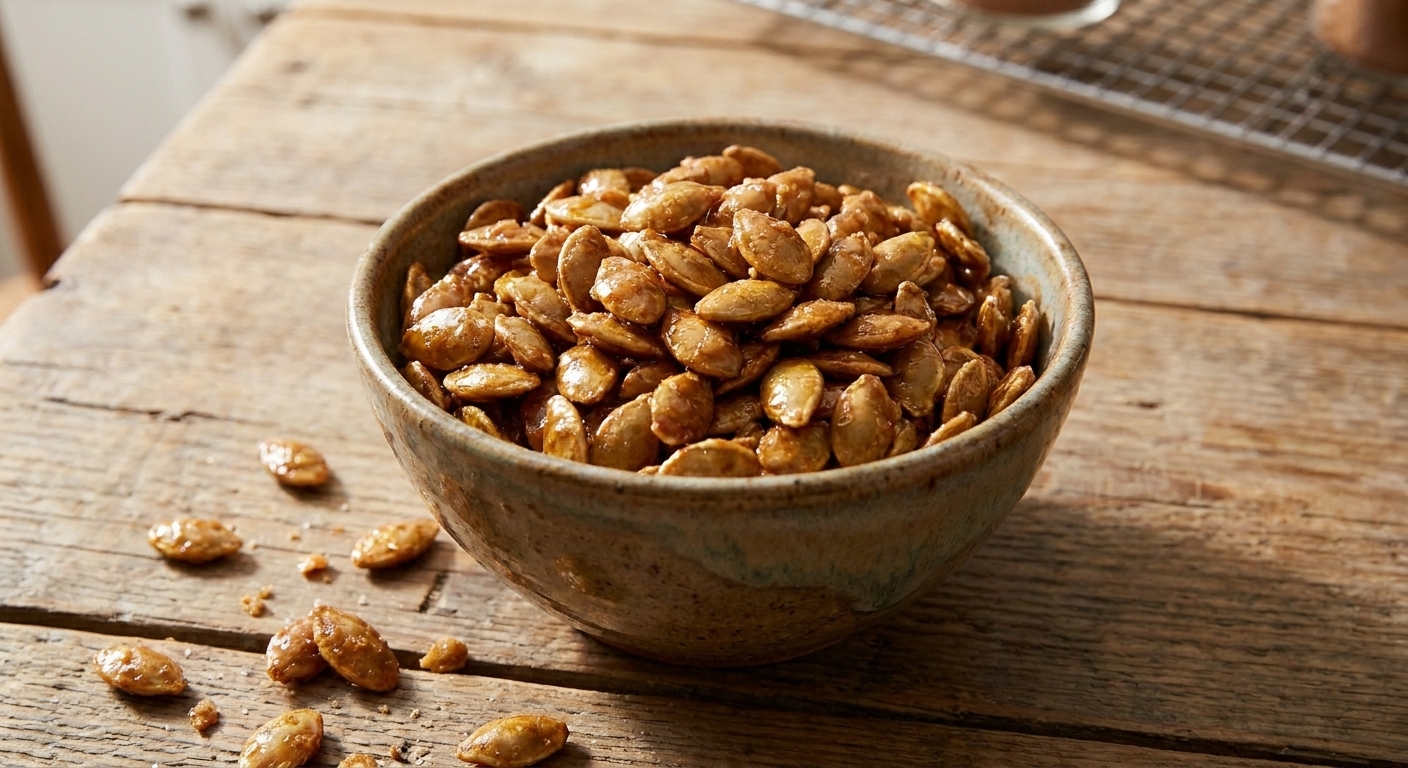
Every fall, I end up with at least one bowl of pumpkin seeds on the counter and exactly two moods about them: salty-crunchy, or sweet and a little bit magical. These candied pumpkin seeds are the second mood. Think: a thin, shiny sugar shell that snaps when you bite down, then gives way to that toasted pumpkin seed flavor.
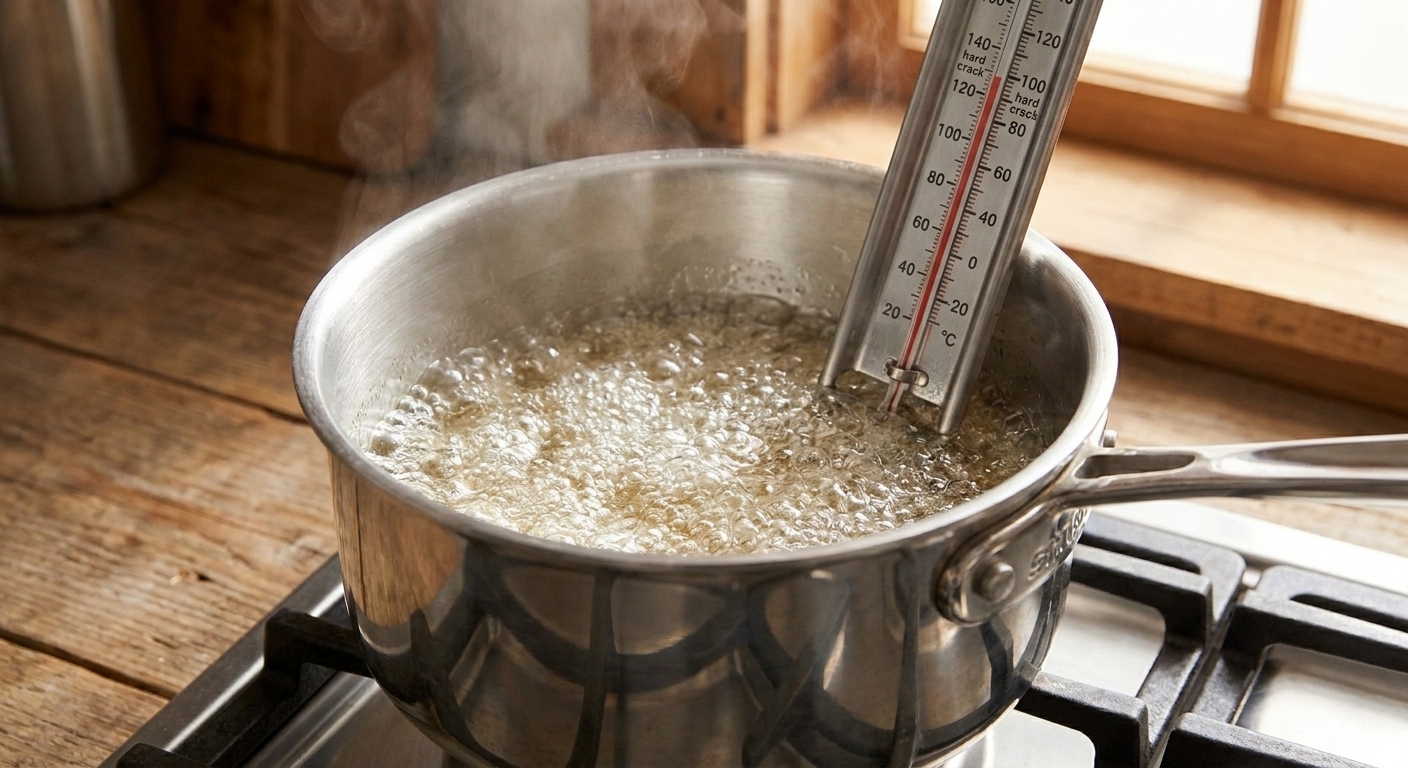
The key is treating the sugar like candy, not like a glaze. We cook a simple syrup to the hard crack stage (right around 300°F), when it looks thicker and glossier and the bubbles get tighter and louder. Then we toss the seeds so they get evenly coated, and spread them out fast so the shell sets crisp instead of turning sticky.
Speed helps, but it is not the only thing that keeps these crunchy. Undercooked syrup, humid air, and even slightly damp seeds can make the coating tacky. Start with very dry seeds, keep your tools dry, and let the seeds cool uncovered before you stash them in a container.

If you have ever made caramel corn or praline nuts, the rhythm will feel familiar. If you have not, do not worry. You are looking for a clear syrup that turns glossy at hard crack, and you will want two forks ready so you can pull apart clumps on the sheet pan in the first minute, before the candy sets into a single pumpkin seed brick. Hot sugar is no joke, so keep your focus on the pan and your fingers out of the syrup.
What to expect
- Texture: crisp, crackly candy coating with a toasted center
- Flavor: sweet and nutty, with an optional warm cinnamon note
- Time: quick stovetop candying, then hands-off cooling
- Skill level: beginner-friendly if you watch the syrup cues
Why this recipe works
- We aim for a true candy stage. Cooking the syrup far enough concentrates the sugar so it dries into a hard shell instead of staying tacky.
- Fast spreading prevents clumps. The coating sets quickly. Getting the seeds onto a lined sheet and separating them while warm keeps them snackable.
- Dry heat finishes the job. A brief, controlled cook to toast the seeds and drive off surface moisture helps the shell stay crisp.
- Cooling time is part of the recipe. The shell is not fully crisp until it cools completely. Touching or storing too early traps steam and softens the coating.
Ingredient notes
Pumpkin seeds (pepitas)
You can use raw, hulled pepitas or cleaned pumpkin seeds from a carving pumpkin. If you are using fresh-from-a-pumpkin seeds, rinse well and dry thoroughly before you start. Water is the enemy of crisp candy.
Granulated sugar
Granulated sugar gives the cleanest, glassiest shell. Brown sugar adds flavor but tends to make a slightly softer, more hygroscopic coating that can turn sticky sooner in humid kitchens.
Water
Just enough to dissolve the sugar at the start. After that, we are boiling water off to reach the right syrup concentration.
Salt
A small pinch makes the sweetness taste brighter and more balanced.
Cinnamon (optional)
Add it near the end so it blooms in the hot coating without scorching. If you love a stronger spice profile, see the variations section for additions like pumpkin pie spice.
Equipment you will need
- Medium, heavy-bottom saucepan
- Heatproof spatula or wooden spoon
- Sheet pan
- Parchment paper or a silicone baking mat
- Forks or a thin metal spatula for separating clumps
- Optional but helpful: candy thermometer
Pro tips
How to know the syrup stage without a thermometer
With a thermometer, you are generally looking for the hard crack range. Without one, rely on sight and sound: the bubbles go from large and watery to tighter, louder, and more glassy-looking as water boils off. The syrup will look thicker and will start to cling to the spoon more like hot candy than simple syrup.
Separate clumps while the coating is still warm
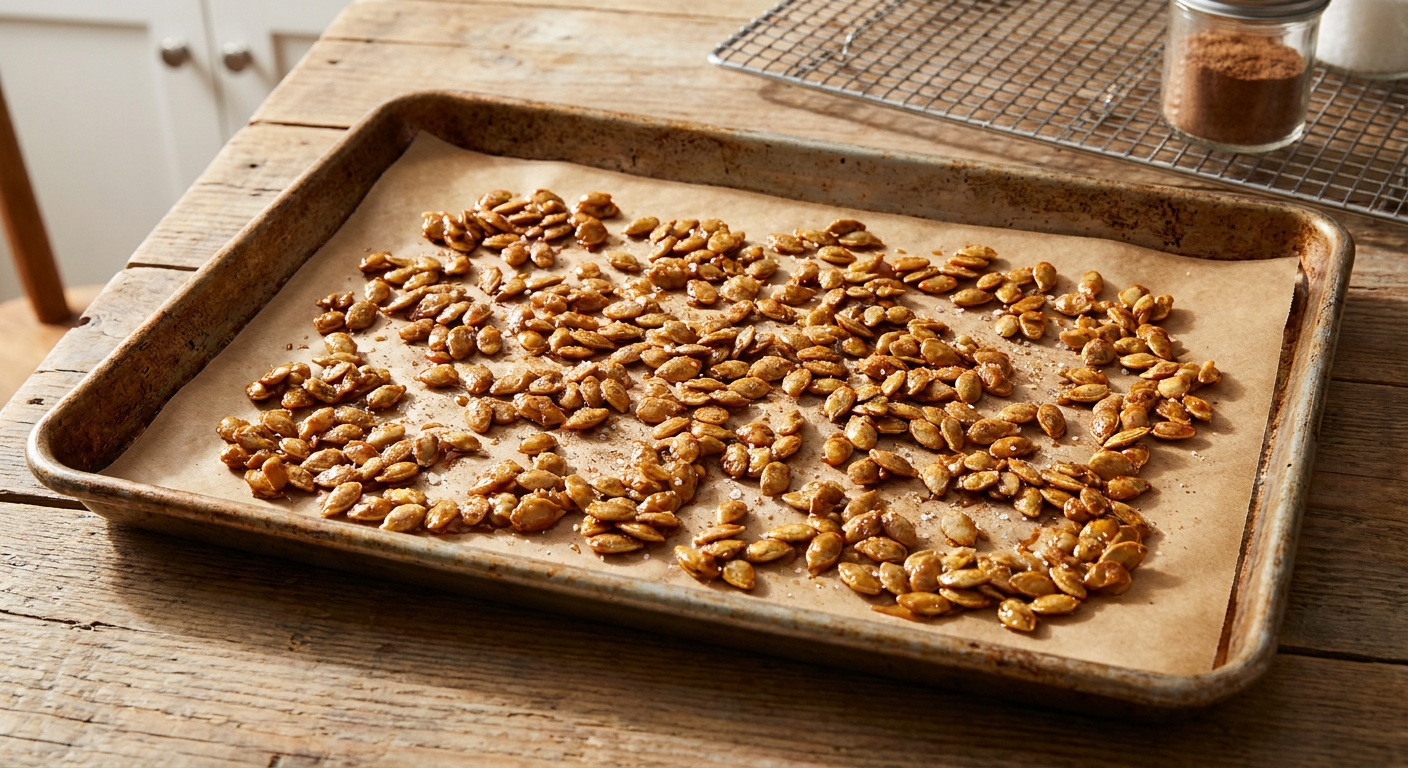
Once the seeds are spread on the lined pan, use two forks to gently pull apart any clusters. Do this in the first minute or two, before the shell fully sets. If you wait, you will be stuck with bigger shards.
Cool completely for maximum crunch
I know it is tempting to snack immediately, but the coating continues to harden as it cools. Give it time, uncovered, at room temperature.
Work dry
Any water on the seeds, on the spoon, or on the pan can lead to sticky candy. Dry equipment matters as much as dry seeds.
Substitutes that work
- Pepitas vs. pumpkin seeds: Either works. Pepitas candy more evenly because they are flatter and drier.
- Vanilla extract: Add a tiny splash off the heat if you want a bakery-style aroma. Be careful since extracts add moisture and can cause bubbling.
- Maple flavor: Use a drop or two of maple extract rather than maple syrup, which adds water and can soften the shell.
Variations
- Cinnamon sugar: Toss the warm-coated seeds with cinnamon (and a pinch more salt) right before spreading to cool.
- Pumpkin pie spice: Swap cinnamon for pumpkin pie spice for a more complex, holiday-style flavor.
- Spicy-sweet: Add a pinch of cayenne with the cinnamon for a warm, subtle heat.
- Sesame crunch: Add a spoonful of sesame seeds at the very end for extra texture.
Serving ideas
- Sprinkle over fall salads with apples, bitter greens, and goat cheese
- Top yogurt, oatmeal, or chia pudding for a crunchy sweet layer
- Scatter over roasted squash soup right before serving
- Package in small jars as an easy homemade gift
- Use as a crunchy topper for vanilla ice cream
Storage and reheating
How to keep the sugar shell crisp
Humidity is the fastest way to soften a hard sugar coating. Let the seeds cool completely, then store them in an airtight container at room temperature. If your kitchen runs humid, add a small packet of food-safe desiccant or a spoonful of dry rice wrapped in cheesecloth to help absorb moisture.
Avoid the refrigerator, which is a humid environment and often turns the shell tacky. If the coating softens, you can re-crisp the seeds briefly in a low oven, then cool again uncovered before re-sealing.
Common mistakes
- Stopping the boil too soon: If the syrup is undercooked, the coating will feel sticky instead of crisp. Cook until the syrup visibly thickens and the bubbling looks tighter and more vigorous.
- Stirring the syrup aggressively early on: Constant stirring can encourage crystallization on the sides of the pan. Stir just to dissolve the sugar, then let it boil.
- Not drying the seeds first: Damp seeds cause spattering and a soft shell.
- Leaving the seeds in the hot pan: Once coated, get them onto the lined sheet pan quickly so the candy sets in a thin layer.
- Covering while cooling: Trapped steam equals sticky candy. Cool uncovered.
FAQ
Why are my candied pumpkin seeds sticky?
Usually it is one of two things: the syrup did not reach a high enough stage, or the finished seeds absorbed moisture from the air. Make sure you cook the syrup until thick and glossy, then cool the seeds completely before sealing. Store airtight away from humidity.
How do I break up clumps after they harden?
You can tap the cluster gently with the back of a spoon to break it into shards. For the best individual seeds, separate while warm on the sheet pan using two forks.
Can I use seeds from a carving pumpkin?
Yes. Rinse off all pumpkin pulp, pat dry, then air-dry thoroughly. Any leftover moisture will work against a crisp candy shell.
Do I need a candy thermometer?
It helps, but you can do this by visual cues. Watch for a noticeable thickening of the syrup and tighter, louder bubbling as the water cooks off.
Can I double the recipe?
Yes, but use a larger saucepan so the syrup can boil evenly, and have two sheet pans ready so you can spread the seeds out fast.
The recipe
Candied Pumpkin Seeds
Crunchy candied pumpkin seeds with a thin, hard sugar shell and an optional cinnamon finish. Great for snacking, salads, and gifting.
- Prep
- 10 minutes
- Cook
- 10 minutes
- Total
- 25 minutes
- Yield
- About 2 cups
Ingredients
- 2 cups pumpkin seeds (pepitas), raw or roasted, very dry
- 1 cup granulated sugar
- 1/4 cup water
- 1/2 tsp fine salt, divided
- 1 tsp ground cinnamon (optional)
- Nonstick spray or 1 tsp neutral oil (optional, for lightly greasing spoon)
Instructions
- Prep the pan. Line a sheet pan with parchment paper or a silicone baking mat. Set it next to the stove. This recipe moves fast once the seeds are coated.
- Start the syrup. In a medium heavy-bottom saucepan, combine the sugar, water, and 1/4 tsp salt. Stir over medium heat just until the sugar dissolves and the mixture looks clear.
- Boil to a candy stage. Stop stirring and bring the syrup to a steady boil. Continue boiling, watching closely, until the bubbles look tighter and more vigorous and the syrup looks slightly thicker and glossier. If using a candy thermometer, cook to hard crack stage, about 300°F.
- Coat the seeds. Reduce heat to low. Add the pumpkin seeds and stir quickly to coat every seed. The syrup will cling and begin setting up as you stir.
- Add cinnamon (optional). If using cinnamon, sprinkle it in now along with the remaining 1/4 tsp salt, and stir for 10 to 20 seconds to evenly distribute.
- Spread immediately. Pour the coated seeds onto the lined sheet pan. Use a spoon or spatula to spread into a single layer as much as possible.
- Separate clumps. While the coating is still warm, use two forks to gently pull apart clusters into individual seeds or small snackable groups.
- Cool completely. Let the seeds cool uncovered at room temperature until the candy shell is fully hard and crisp, about 10 to 15 minutes. Once cool, break up any remaining clusters with your hands.
- Store. Transfer to an airtight container only after fully cooled.
Notes
Seed dryness matters: If your seeds were rinsed, dry them extremely well before starting. Even a little surface moisture can make the coating sticky.
Humidity note: Hard sugar coatings absorb moisture from the air. Store airtight at room temperature and avoid the refrigerator.
Re-crisping: If the coating softens, spread seeds on a sheet pan and warm in a 250°F oven for 5 to 8 minutes, then cool completely uncovered before re-storing.