
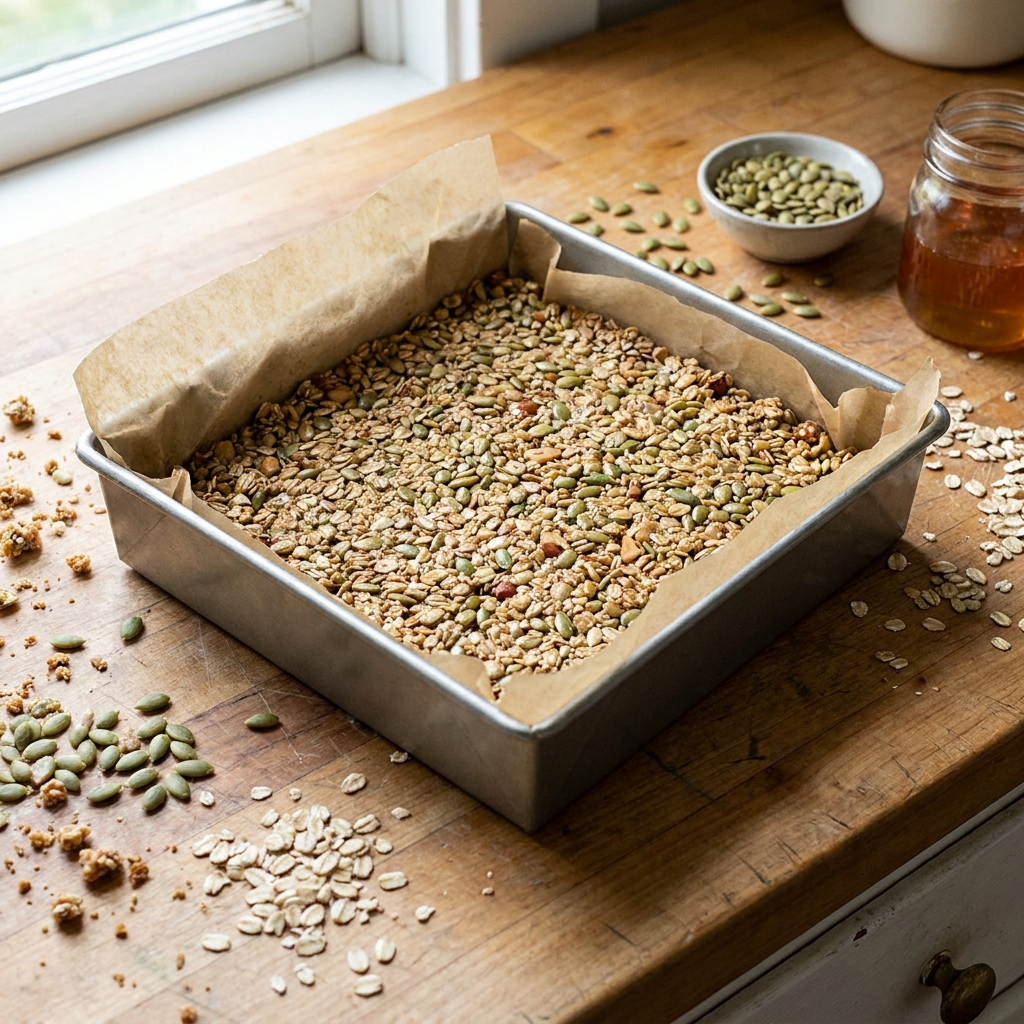
If you have ever made “homemade granola bars” that crumble the second you peel back the parchment, I have been there. Back when I managed a bakery, we could hide a lot with a drizzle of chocolate and a tight plastic wrap. At home, I want a bar that survives a lunchbox, a diaper bag, or the bottom of my tote after the farmers’ market. These no-bake pepita granola bars are my sturdy, low-effort answer.

Flavor-wise, they are toasty and nutty from roasted pepitas, mellow and creamy from sunflower seed butter, and just sweet enough from honey. The texture is chewy and sliceable, not crunchy and sandy.
They are pressed bars, not baked granola or granola clusters. That distinction matters because baked granola relies on oven drying and caramelization to crisp and clump. Here, structure comes from a thick binder that sets as it cools. In this recipe, the fridge does the heavy lifting so the slab firms up consistently and slices clean, even on warm days.
My non-negotiables for bars that hold are: (1) a reliable bind ratio, (2) pressing much harder than you think, and (3) a real chill, not a quick “ten minutes while I clean up.” You will see all three built into the recipe card. When I say “1 to 3,” I mean a tested, by-volume guideline for this style of bar: the binder here is seed or nut butter plus honey, measured in standard cups and made pourable on low heat. The “dry mix” is the oats and pepitas (plus any small, dry boosters like flaxseed). If you swap in extra dry add-ins, you may need a touch more binder to keep that same sturdy feel.
Why this recipe works
- A set binder, not wishful thinking. These bars use a high binder-to-dry ratio so the mixture presses into one cohesive slab and firms as it cools.
- The bind ratio is built in. Aim for about 1 part binder to 3 parts dry mix by volume. Here, the binder is seed or nut butter plus honey, and it is formulated to coat and hold the oats and pepitas.
- Firm pressing removes weak spots. You are not gently patting this into the pan. A tight press removes air pockets so every bite has binder holding it together.
- Chill time does the heavy lifting. Refrigeration firms the fats in the seed butter and thickens the honey mixture, so bars slice instead of smearing.
- No oven means a chewier bar. Because nothing is baked dry, you get a tender, satisfying chew instead of a crunchy granola bite.
Ingredient notes
Pepitas (roasted pumpkin seeds): Use roasted and preferably salted pepitas for the best flavor. If yours are unsalted, add an extra pinch of salt. If they are raw, toast them in a dry skillet for 3 to 5 minutes until they smell nutty, then cool completely before mixing.
Old-fashioned rolled oats: Rolled oats give structure without turning the bar dense. Quick oats can work in a pinch, but the bars will be tighter and slightly pastier.
Seed butter or nut butter: Sunflower seed butter is a great nut-free option and pairs beautifully with pepitas. Almond butter and cashew butter are also excellent. Use a no-stir style if possible. Very runny natural butters can make the bars softer unless you increase chill time.
Honey: Honey provides stickiness and helps the bars firm as they cool. Maple syrup can work but usually makes a softer bar. If using maple syrup, plan to keep the bars cold and press very firmly.
Brown sugar (optional but helpful): A small amount deepens flavor and slightly thickens the binder as it dissolves.
Salt: Salt is what makes these taste like a snack you crave, not a health bar you tolerate. Even sweet versions benefit from a pinch.
Vanilla and cinnamon (optional): Vanilla rounds everything out. Cinnamon is cozy with pepitas, especially if you add dried fruit.
Equipment you will need
- 8x8-inch square pan for thicker bars, or a 9x9-inch pan for slightly thinner bars
- Parchment paper, cut wide enough to create a sling for lifting
- Small saucepan (or microwave-safe bowl) for the binder
- Rubber spatula for thorough mixing and scraping
- Flat-bottomed measuring cup or a second piece of parchment for pressing
- Sharp chef’s knife for clean slicing
Pro tips
- Follow the 1:3 binder rule. If you want to customize, keep the total dry ingredients to about 3 times the volume of the binder (seed or nut butter plus honey). Too many dry add-ins is the fastest route to crumble.
- Press harder than feels polite. Use a flat-bottomed cup and put your body weight into it. I press for a full 60 to 90 seconds, focusing on corners and edges.
- Warm binder, cool mix-ins. Melt the binder just until smooth and pourable. But make sure any toasted pepitas are fully cool so they do not thin the binder.
- Line the pan with a parchment sling. It makes lifting and slicing dramatically easier, and it keeps the edges neat.
- Chill before slicing. Refrigerate at least 2 hours, and for the cleanest cuts, go 4 hours or overnight.
- Knife trick for tidy edges. Run your knife under hot water, wipe dry, then slice. Repeat as needed.
Substitutes that work
- Nut-free: Use sunflower seed butter or tahini.
- Honey-free: Maple syrup or agave can substitute, but expect a softer bar. Add 1 to 2 tablespoons extra oats if the mixture seems loose, and keep bars refrigerated.
- Oats: If you need gluten-free, use certified gluten-free oats. If replacing oats entirely, use a similar-volume mix of crisp rice cereal and shredded coconut, but know the texture becomes lighter and more brittle.
- Pepitas: Sunflower seeds or chopped almonds work well. Keep the same total volume of dry ingredients so the bars still bind.
- Sweetness level: Reduce honey slightly for less sweetness, but do not cut too much or you will lose structure. If you reduce by more than a tablespoon or two, add a tablespoon of nut or seed butter to compensate.
Variations
- Chocolate pepita bars: Stir mini chocolate chips into the cooled, slightly warm mixture, or drizzle melted chocolate over the chilled slab before slicing.
- Cranberry-orange: Add dried cranberries and orange zest. This is a favorite for road trips because it feels bright and not too heavy.
- Trail mix style: Add chopped dried apricots and a handful of chopped nuts. Keep pieces small so the bars slice cleanly.
- Extra crunch: Replace 1/2 cup of rolled oats with crispy rice cereal for a lighter bite.
- Sesame-ginger: Use tahini as the binder, add a pinch of ground ginger, and sprinkle toasted sesame seeds on top before chilling.
Serving ideas
- Pack as a grab-and-go breakfast with yogurt and fruit.
- Serve as an afternoon snack with sliced apples or pears.
- Cut into small squares for a snack board with nuts, dried fruit, and dark chocolate.
- Crumble a bar over Greek yogurt if you end up with a few imperfect slices.
Storage and reheating
Refrigerator: Store bars in an airtight container in the fridge for up to 1 week. Place parchment between layers to prevent sticking. These hold their shape best when cold.
Freezer: Freeze tightly wrapped bars for up to 2 months. Thaw in the fridge or at cool room temperature for 15 to 20 minutes.
Room temperature: These are designed as a no-bake, chilled bar. They can sit out for a bit, but for the cleanest bite and least mess, keep them refrigerated, especially in warm kitchens.
Common mistakes
- Not pressing firmly enough: The most common issue. If the slab is not tightly compacted, it will crumble no matter how long you chill it.
- Too many chunky add-ins: Big nuts or lots of dried fruit create fault lines. Chop add-ins small and keep the total dry volume in check.
- Overheating the binder: Boiling can make the mixture greasy and can seize or melt mix-ins instantly. Warm and pourable is the goal.
- Slicing too soon: A quick chill makes bars sticky and prone to tearing. Give them the full chill time.
- Expecting baked-granola crispness: These are intentionally chewy. If you want crunchy clusters, that is a different recipe with oven time and a different texture payoff.
FAQ
Best binder ratio
A dependable starting point is 1 part binder to 3 parts dry ingredients by volume. In this recipe, the binder is seed or nut butter plus honey. If your bars crumble, you likely need a touch more binder, a harder press, or a longer chill.
How hard to press
Hard. You want a compact, even slab with no visible air pockets. I press with a flat-bottomed measuring cup for 60 to 90 seconds, paying extra attention to the corners, because that is where bars love to fall apart.
How long to chill
Chill at least 2 hours. For the cleanest slices and best hold, chill 4 hours or overnight.
Why bars fall apart
The usual culprits are not enough binder, not enough pressing, slicing too early, or too many dry add-ins. Also check your nut or seed butter. Very runny natural butter can make a softer bar unless you chill longer.
Baked granola clusters vs these bars
Baked granola clusters rely on oven heat to dry and crisp the mixture and set sugars. These bars are pressed and chilled, so the texture is chewy and cohesive rather than crunchy and brittle.
The recipe
No-Bake Pepita Granola Bars
Chewy no-bake granola bars packed with roasted pepitas and oats, bound with seed or nut butter and honey. Press firmly, chill thoroughly, then slice into sturdy bars that actually hold together.
- Prep
- 15 minutes
- Cook
- 5 minutes
- Total
- 2 hours 20 minutes
- Yield
- 12 bars
Ingredients
- 2 cups old-fashioned rolled oats
- 1 cup roasted pepitas (salted preferred)
- 1/4 cup ground flaxseed or wheat germ (optional)
- 1/4 teaspoon fine salt (plus more to taste if pepitas are unsalted)
- 1/2 teaspoon ground cinnamon (optional)
- 1/2 cup sunflower seed butter, almond butter, or cashew butter
- 1/3 cup honey
- 2 tablespoons packed light brown sugar (optional)
- 1 teaspoon vanilla extract
Instructions
- Line an 8x8-inch square pan with parchment paper, leaving overhang on two sides to create a sling. Set aside.
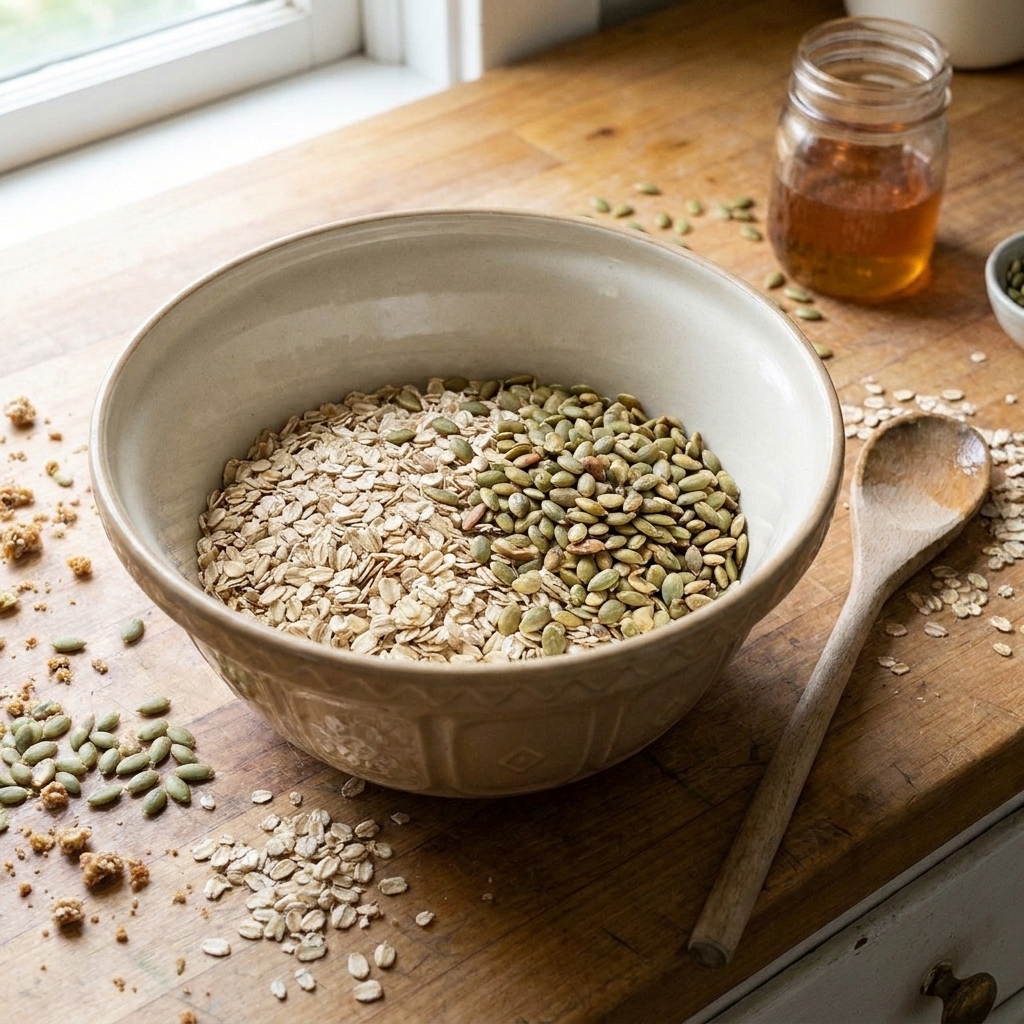
- In a large bowl, combine the rolled oats, pepitas, ground flaxseed (if using), salt, and cinnamon (if using). Stir well so the smaller ingredients are evenly distributed.
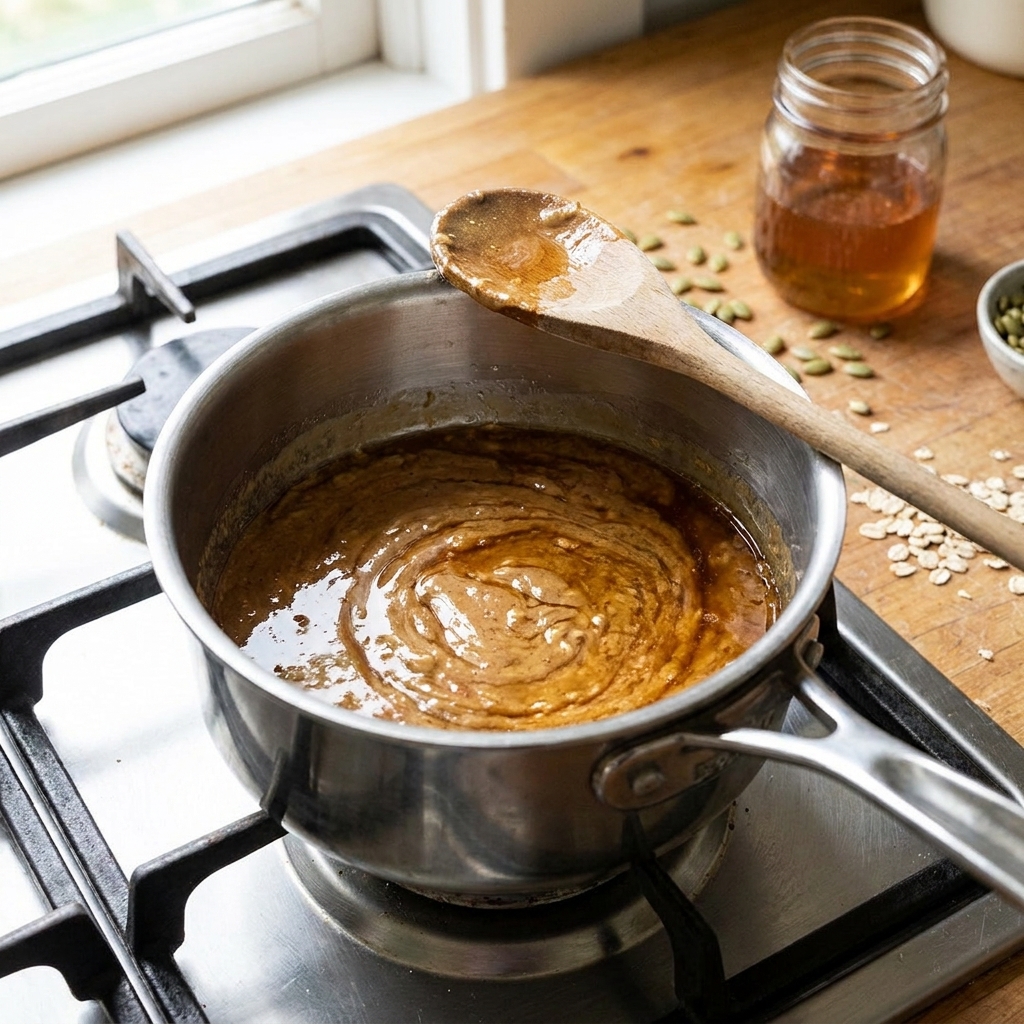
- In a small saucepan over low heat, combine the seed or nut butter, honey, and brown sugar (if using). Warm, stirring constantly, just until smooth, glossy, and easily pourable, 2 to 4 minutes. You are looking for a unified, shiny mixture that falls off the spoon in a thick ribbon. Do not let it boil.
- Remove from the heat and stir in the vanilla extract.
- Pour the warm binder over the oat mixture. Use a rubber spatula to mix thoroughly, scraping the bottom and sides, until no dry patches remain and everything looks evenly coated.
- Transfer the mixture to the prepared pan and spread it into an even layer.
- Press the mixture firmly into the pan. Use the bottom of a flat measuring cup or a second sheet of parchment and press hard for 60 to 90 seconds, focusing on corners and edges, until the top is flat and tightly compacted with no visible air pockets.
- Refrigerate until fully firm, at least 2 hours (4 hours or overnight for the cleanest slicing). The slab should feel firm and set when you press the center, not soft or tacky.
- Lift the slab out using the parchment sling and place on a cutting board. Slice into 12 bars with a sharp knife. For the neatest cuts, warm the knife under hot water and wipe dry between slices.
Notes
Bind ratio: For sturdy no-bake bars like these, a dependable guideline is about 1 part binder to 3 parts dry ingredients by volume. Here, the binder is the seed or nut butter plus honey. In this recipe, 1/2 cup seed or nut butter plus 1/3 cup honey binds about 3 cups of dry ingredients (oats, pepitas, and optional flaxseed).
Set expectations: These bars are pressed and chilled, so they are intentionally chewy, not crunchy like baked granola clusters. Many no-bake bars can set at room temperature, but chilling makes these slice cleaner and hold up better in a bag.
Storage: Keep bars in the refrigerator for best structure, especially in warm kitchens.